


How to Build a Rustic Outdoor Hanging Light ~ With Step by Step Video

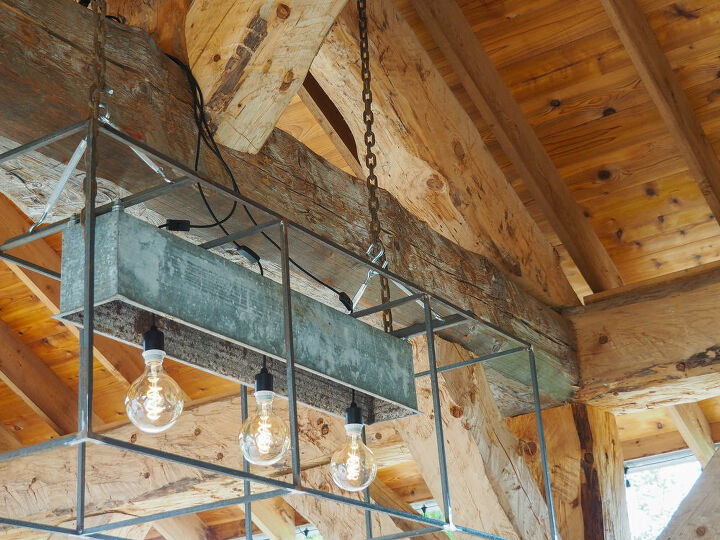
Rustic Outdoor Hanging Light Fixture : Turn an old galvinzed planter into a Rustic Outdoor Hanging Light!
Welcome to the Workshop at The Gardens!! In the Workshop at The Gardens is where a lot of the magic begins. Creative ideas are brought to life for all the visitors to The Gardens in the workshop. From simple twig/branch projects to complicated timber frame pergolas you’ll always find and honest traditional craftsman approach to the build. But, giving it a unique spin of design that makes it a Gardens Original! Thanks for checking out the video. We would love to hear from you, so leave us a comment! Please subscribe to the channel! Again, thank you for watching! ~ Enjoy!!
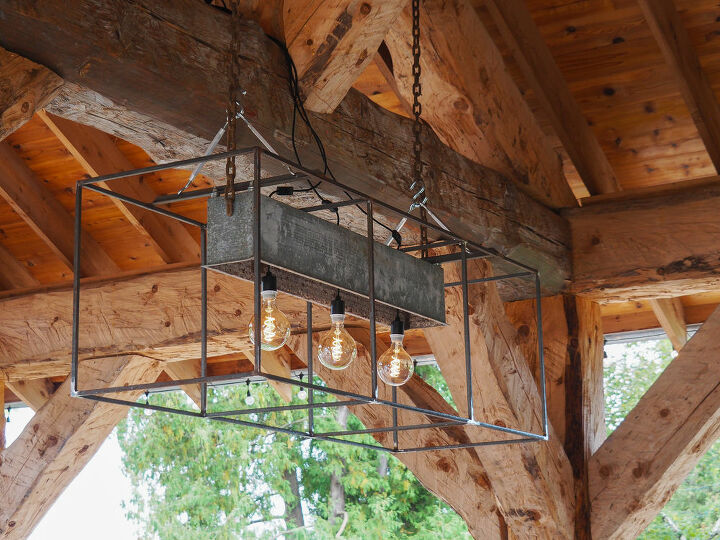
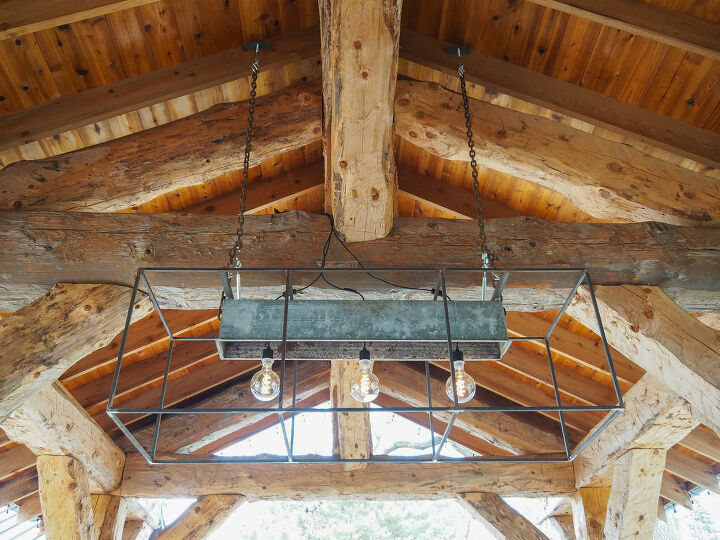
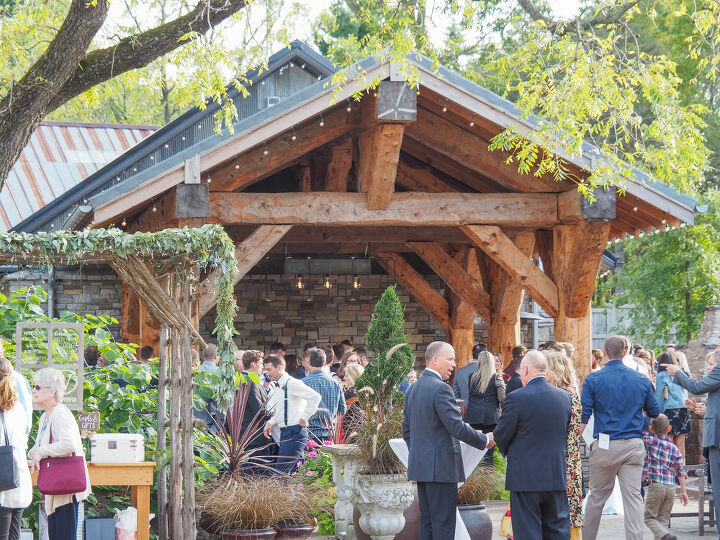
Step by Step How to Build a Rustic Outdoor Hanging Light- The Rustic Outdoor Light installed in the post and beam Garden Pavilion.
Step by Step How to Build Video for Rustic Outdoor Hanging Light - Thanks for checking out the video. We would love to hear from you, so leave us a comment! Please subscribe to the channel! Again, thank you for watching! ~ Enjoy!!
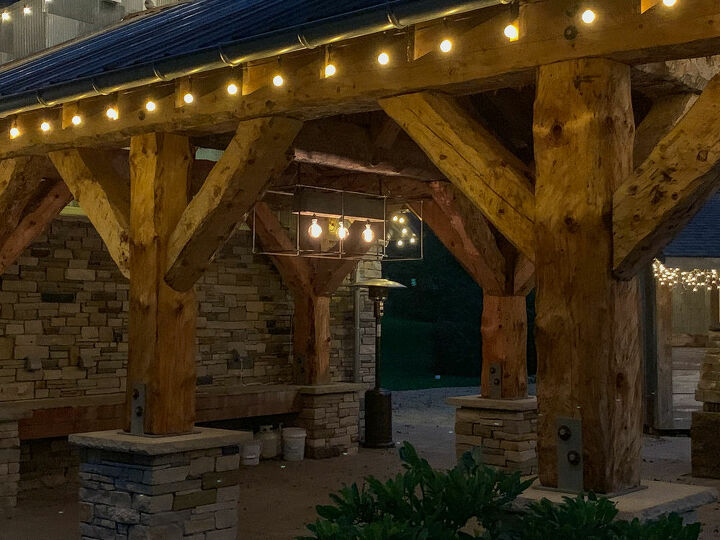
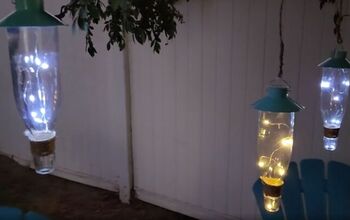
Step by Step How to Build a Rustic Outdoor Hanging Light- The Rustic Outdoor Light installed in the post and beam Garden Pavilion. The first night of adding light to the space.
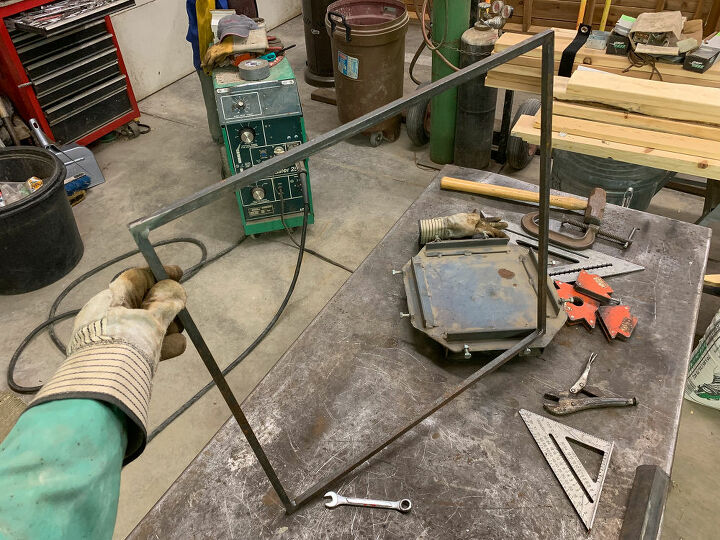
Step by Step How to Build a Rustic Outdoor Hanging Light- Making the steel cage for the light fixture. The four squares were welded together first before assembling the whole cage. - 2' x 2' square of 1/2" square bar stock

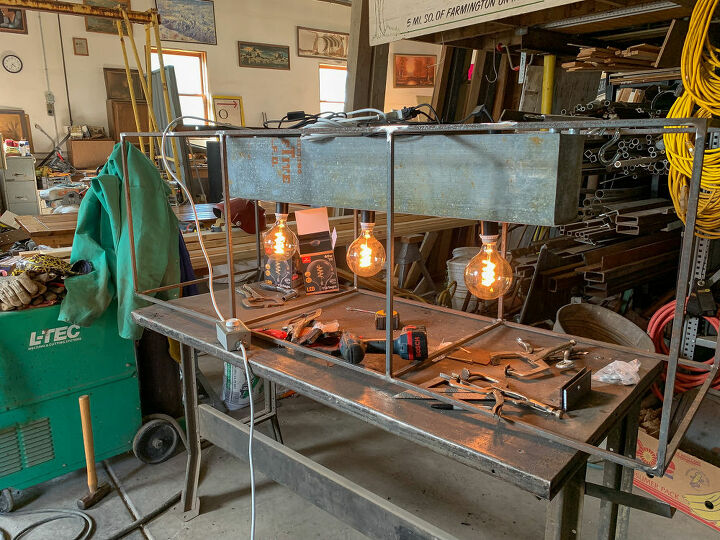
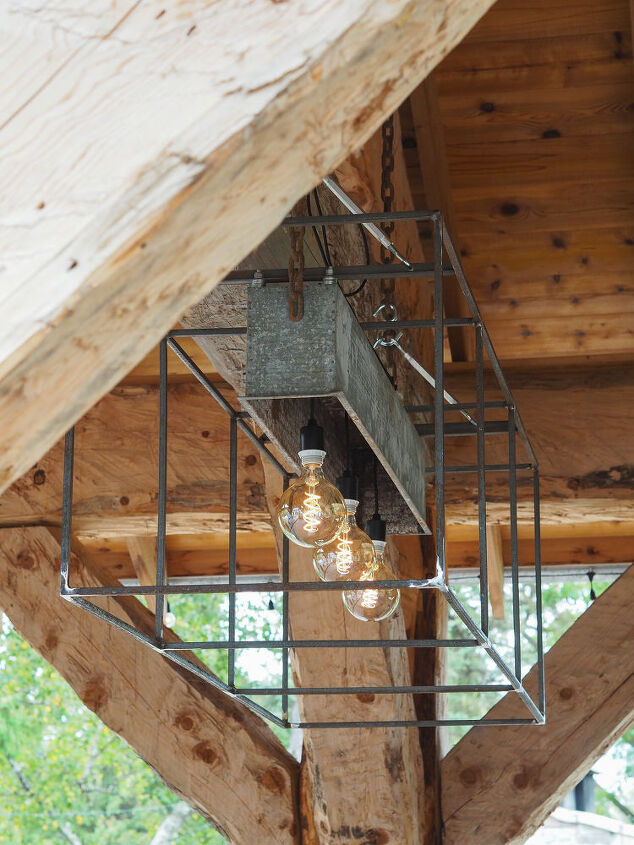
Step by Step How to Build a Rustic Outdoor Hanging Light- The whole steel cage of the light fixture is assembled. Hanging the vintage LED light buld in the cage just to see what it will look like! Exciting time in the build. Cage size is 2'x2'x6'

Step by Step How to Build a Rustic Outdoor Hanging Light- Angle iron was added to the top of the steel cage to hold the galvinized planter. Each had holes predrilled for attachment.
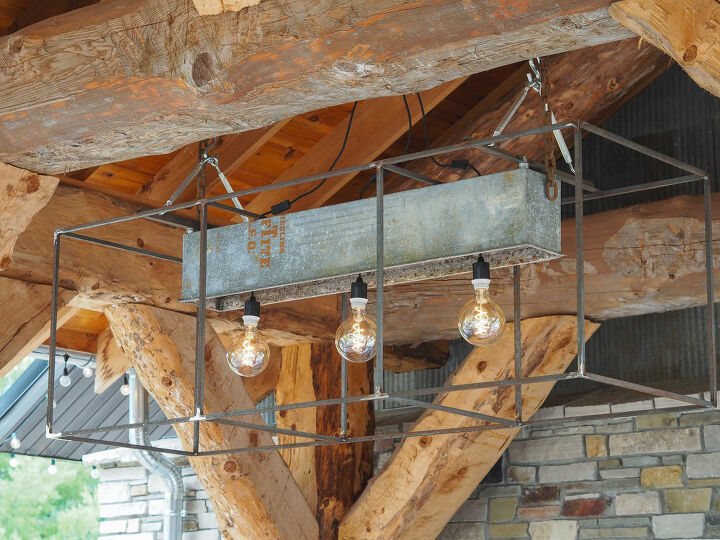
Step by Step How to Build a Rustic Outdoor Hanging Light- The light is fully assembled and tested before installation. A dimmer switch was added to control brightness of light. Make sure the LED lights you get are dimmable.
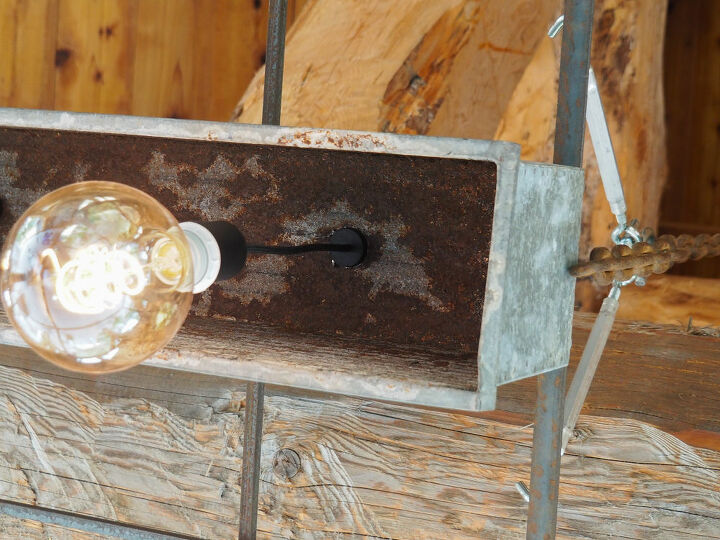
Step by Step How to Build a Rustic Outdoor Hanging Light- Rubber stops were modified to hold the outdoor rated light cord in place and prevent the cord from wareing on the hole cut in the planter.
Step by Step How to Build a Rustic Outdoor Hanging Light- Angle iron was secured to the rafter. A threaded eye-bolt was used to secure the log chain to the rafter bracket and allow for height adjustments.
Step by Step How to Build a Rustic Outdoor Hanging Light- Four turnbuckles were used to attach the light fixture to the log chain. The turnbuckles were used to level the light once it was installed.
Step by Step How to Build a Rustic Outdoor Hanging Light- The electric cords were left loose in the hanging for an individual wire look.
Step by Step How to Build a Rustic Outdoor Hanging Light- The outdoor rated light cords were run to an GFIC outlet for outdoor use.
Step by Step How to Build a Rustic Outdoor Hanging Light- The light is all ready to host a party and it's shining bright!
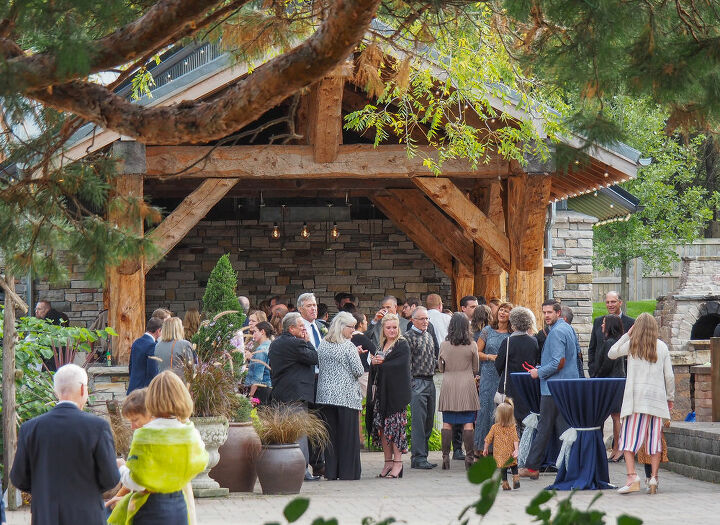
Step by Step How to Build a Rustic Outdoor Hanging Light- The size of the cage, even though very large, works perfect in the large space of the Garden Pavilion.
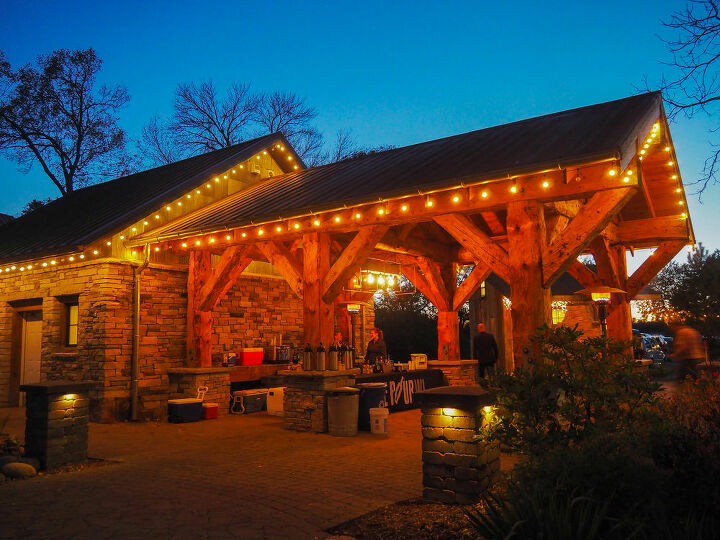
Step by Step How to Build a Rustic Outdoor Hanging Light- Beautiful light at night indeed!!


Frequently asked questions
Have a question about this project?