Hanging Outdoor Solar Light DIY

This post was transcribed by a member of the Hometalk editorial team from the original HometalkTV episode.
My wife has a cozy little spot outside where she likes to sit and I think I can enhance the area. I headed down to my local Dollar Tree and the whole goal of this project is that everything has to come from there.
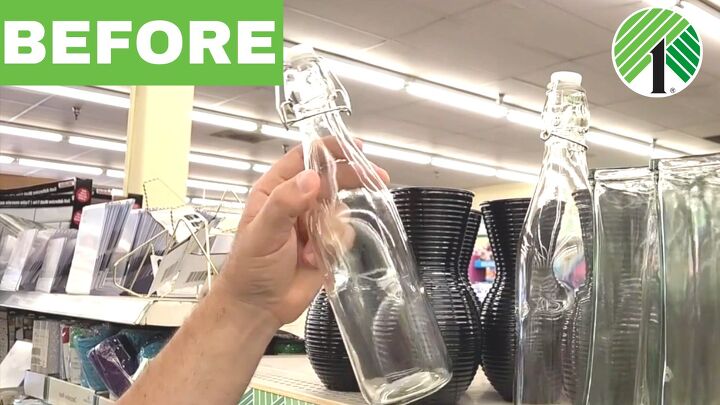
To start, I grabbed some rope and some clear bottles.
I also grabbed some cool little light lights that actually have a little light bulb, but they're fairy lights.
The first thing I want to do is take the hook off the top of the light. We need that for later, so we're just going to set that aside.
Next, we're going to take the bulb off. This is something we don't need, but be careful taking it out. We don't want to damage the light.
We need to take the actual light mechanism and pop it out. It's really easy to do. Just give it a push and out it comes. Again, be careful with the fairy lights.
Now we need to paint the cover. I'm going to paint it the same color as the chairs that are outside. Remember, it's always good to give it a little bit of a light coat first. If you need to add a second coat, go ahead.
There is a cork here on the bottle so go ahead and remove it. We don't need that anymore. Let's toss that away.
Next, I grabbed a bottle cutter from Amazon. It was only $20. It's got a little score mechanism on there.
What we're going to do is put the bottle on the rollers and go ahead and start turning it.
It's going to score the bottle, which is giving it a little line. The cutter will cut the bottle but not all the way through.
Once you have gone around the bottle, you want to get some water boiling and right next to the water we're going to need some super cold water. This is how we separate the bottom of the bottle.
Now stick the bottle in the boiling water for a good 30 seconds.
Once you get it in there and it's heated up, immediately go ahead and put it in the icy cold water.
What happens next is amazing. It's going to separate along the score line. It will take off the bottom and you get a nice flat, smooth line.
The next thing we got to do is go ahead, put the lights back through our painted cover and clip it back on. You can add a little glue if you need to. It should go right on.
Now grab a Mason jar that will hold our bottle upside down.
Take some E 6000 glue and place it around the edge in 4 different spots.
I added some hot glue to the spots where the E 6000 wasn’t. That's going to hold the cover in place while the glue is drying.
Once we got the hot glue on there, we're going to stick the lights inside the bottle, set the cover on top, and hold it nice and steady while the hot glue dries. Then the other glue will dry at the same time.
Then we're going to take some rope, mine had a wire in it, and wrap it around the neck of the bottle. Use some hot glue to hold it in place if you need to. This is going to give it a nice cool design.
Go up the neck as far as you want. Once you get to the end, go ahead and sticksome more hot glue on there. This will hold it in place and then you can go ahead and trim the excess off.
Next, take this extra twine that you have left over and we're going to put it through the hook on the light. Have a little bit of extra laying over and kind of like we did with the neck of the bottle, we're going to just twist it right around, give it a kind of nice, cool little look.
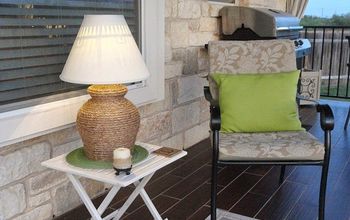
Now it's time to go outside. I went ahead and added a second chair, grabbed a stump for a side table, and grabbed some of my wife’s favorite homemade lemonade.
Finally, I hung the lights and they made for a perfect summer afternoon and evening.
Enjoyed the project?
Resources for this project:
See all materialsComments
Join the conversation
-
 Cathy Stahl
on Jul 24, 2024
Great presentation. Your explanation was very easy to follow and understand. I really liked this project!!! Thanks for sharing with us!!
-
-
 Dl.5660408
on Jul 24, 2024
They’re so pretty! What a lovely thing to do for your wife❤️
-










Frequently asked questions
Have a question about this project?
I am confused, where did the fairy lights come from and how did they get in the bottle? Everything else is so clear. Also are they solar or battery and where is that part? Where and how are they attached?
PLEASE wear rawhide gloves & safety googles with this craft! broken glass cutting hands or coreas is no fun!