


How to Stencil Your Floor
Just because you're not in love with your floor, doesn't mean you have to just live with it. Especially if the floor is still in great condition. Instead, you can paint and stencil a new design to breathe new life into your space.
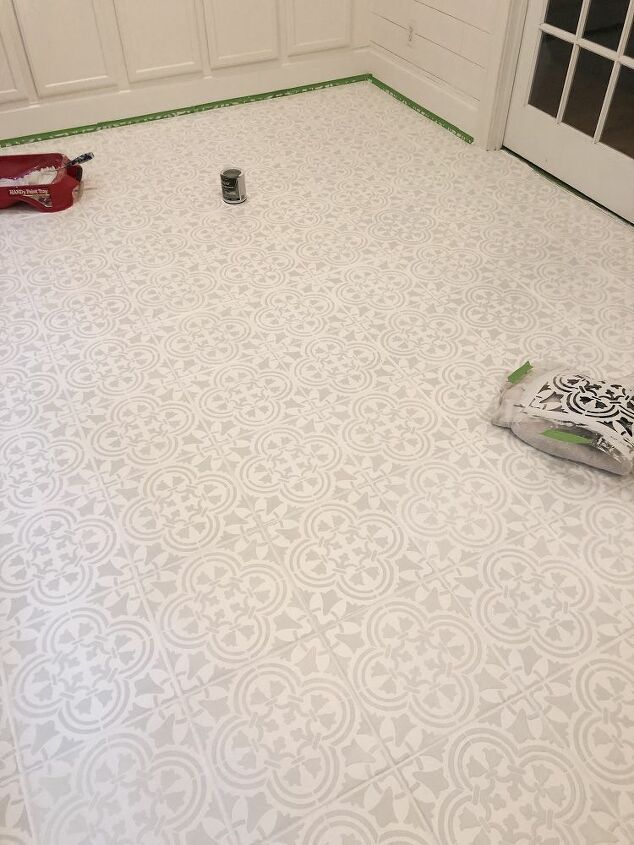
Stenciling the floor was not only so easy, it made a huge impact.
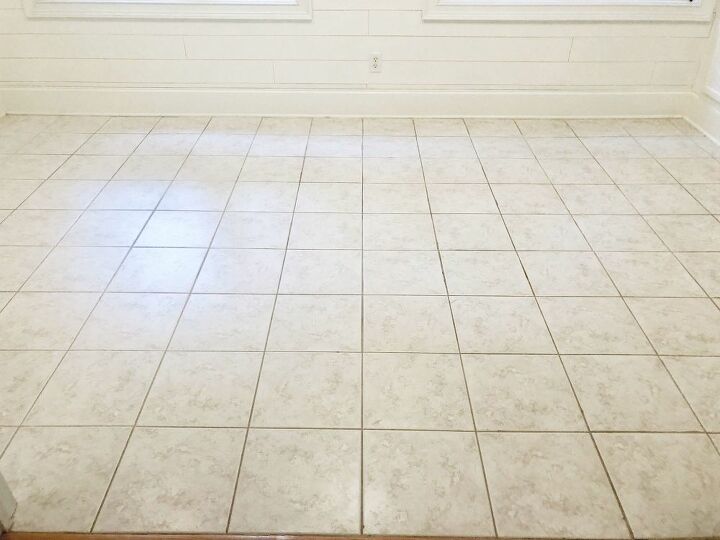
First step is to completely clear out the room, fix any noticeable damage, and clean the floor really well.
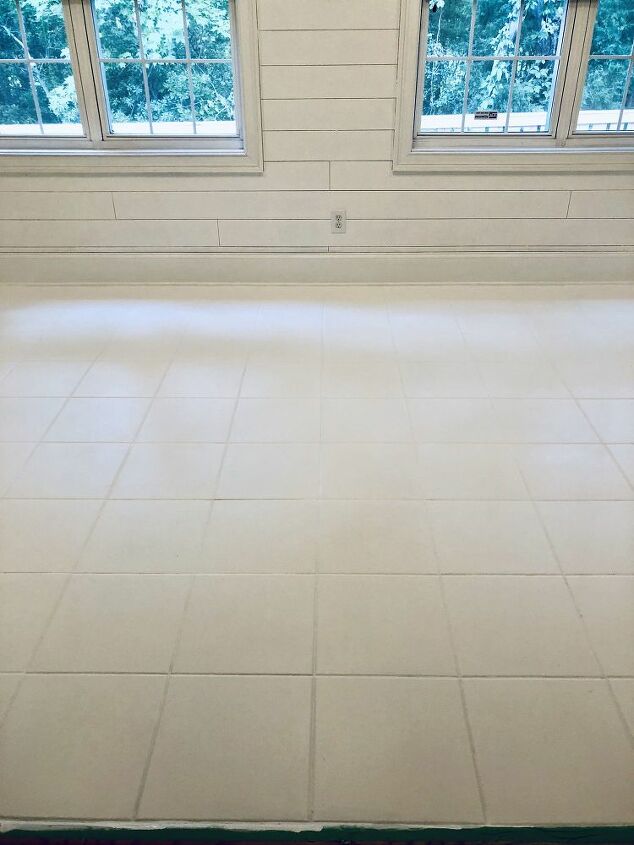
Paint the floor with bonding primer to adhere the paint to the tile. After the proper dry time, paint with the base color of your choice in Valspar Porch and Floor paint.
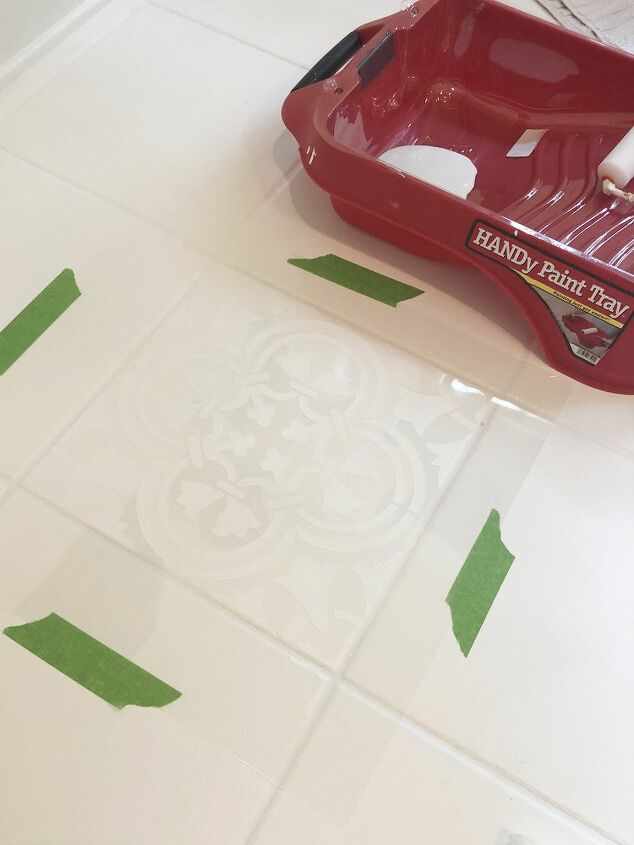
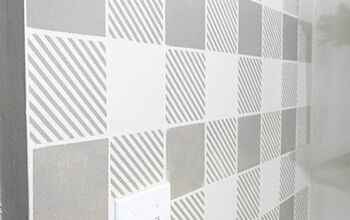
After allowing the floors to fully dry, pick a color to compliment the space. Using a foam roller, go over the stencil being careful not to push the paint and cause bleeding.
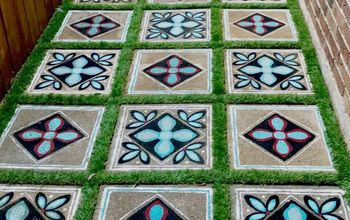
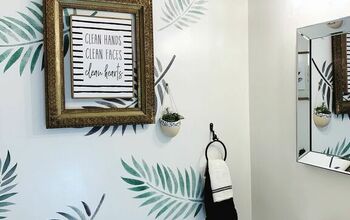
Here's another project and more unclose pictures for stenciling.
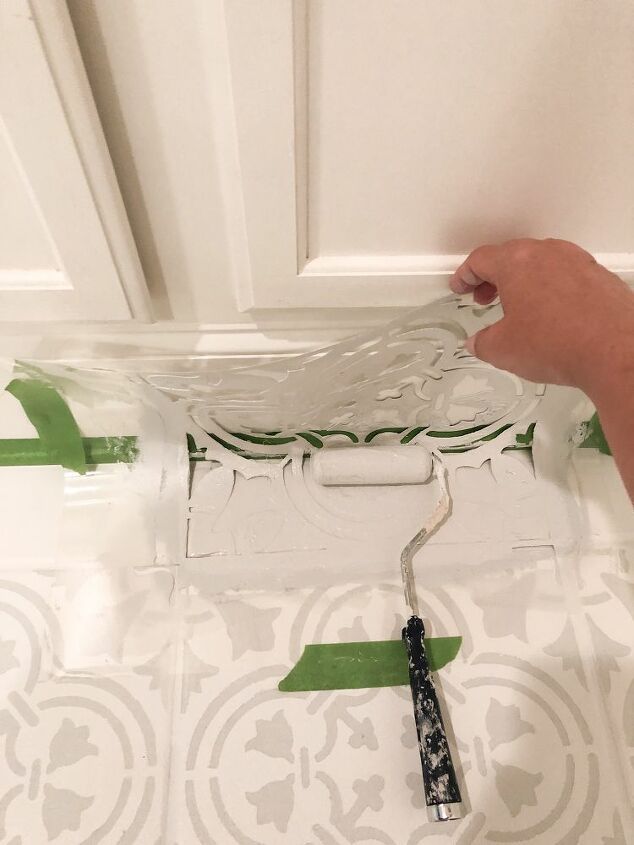
For the edges where there is a partial tile, wait until you have stenciled the entire floor. Then you can either cut the stencil or simply fold it to get into those spaces.
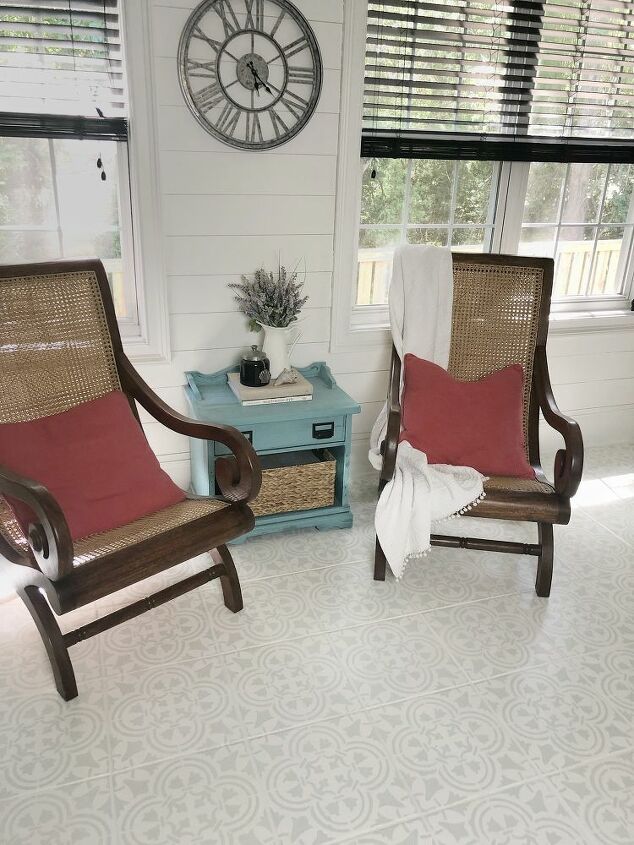
Once the stencil is done and fully dried, follow up with a clear polycrylic in a matte finish. For a more information and tips, head to the full article.
https://www.homes.com/blog/2019/06/updated-flooring-for-under-200/?cmp=HDC-BrookeCribbs-UpdatedFlooring-07012019
Resources for this project:
See all materials


Comments
Join the conversation
-
lovely job!!
-
It looks like a completely new floor. Beautiful!


Frequently asked questions
Have a question about this project?
Can you post a picture of how it has held up since you did this. How do you keep it from not having a foot traffic worn area?
can this be done on a cement floor. Would I use the same paint or you something specifically for cement
Did you find the centerpoint of the room and start stenciling there or did you start just next to a wall