


How to Transfer Art Patterns Onto Concrete for Decorative Painting
When painting decorative art on our concrete porch this summer, we worked out some easy ways to transfer patterns. If you'd like to try decorative artwork on concrete, take a look a how we started this project.
In our video we demonstrate how to transfer art patterns onto concrete with a reverse stencil at 1:34; and by folding paper patterns at 3:19; and with a easy-to-make clear stencil at 5:38.
Painting our concrete was no freehand project! We needed to sketch designs onto the concrete before painting to make sure everything went well. After all, this would be permanent.
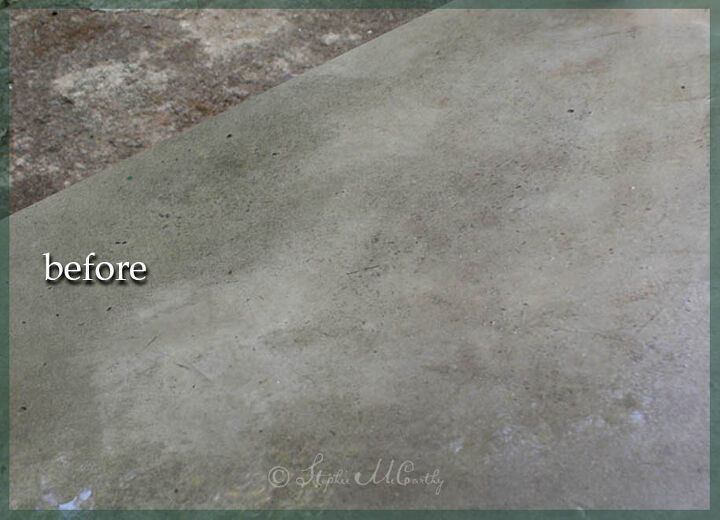
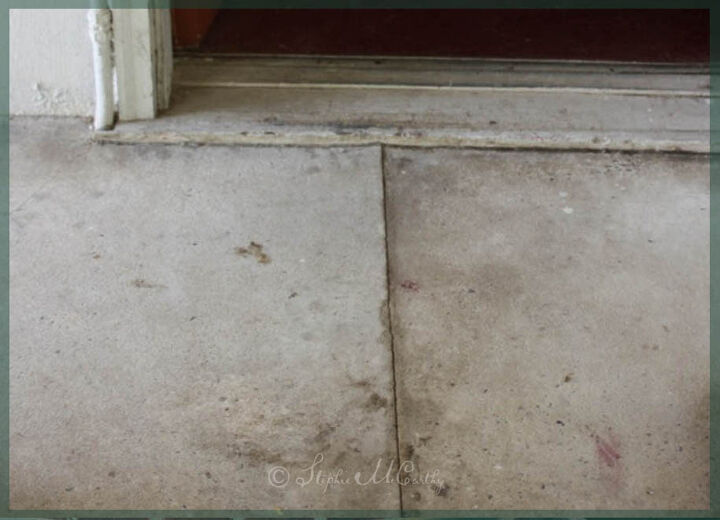
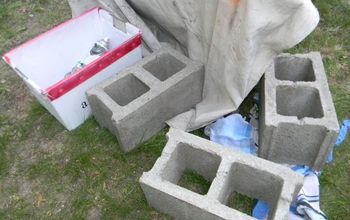
This is the concrete where the compass design would be BEFORE we started.
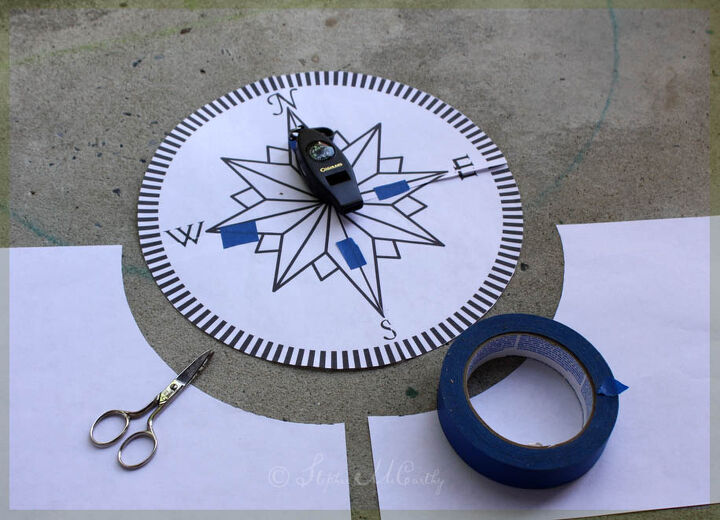
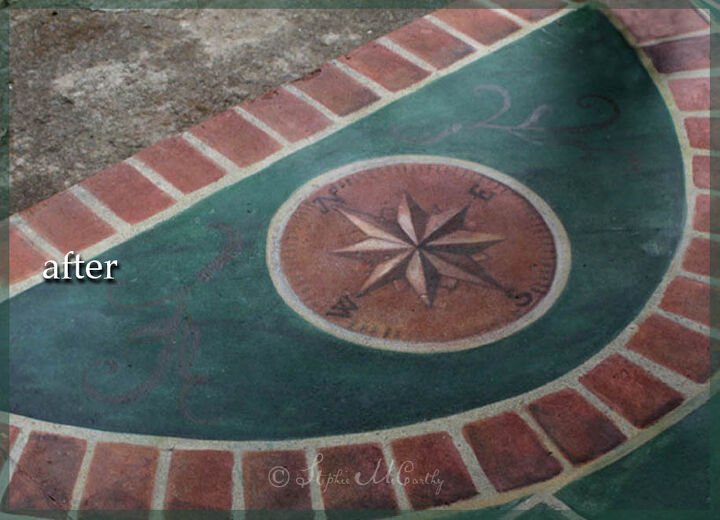
Download the compass pattern here. Save to your hard drive and print out the pattern in tile mode, or use BlockPosters.com to get the exact size pattern you need. We printed our pattern in tile mode in Photoshop, then taped the tiles together and placed them where they would be transferred. The real compass helped us align the design to true North. The video will show how to create this pattern at: 1:34
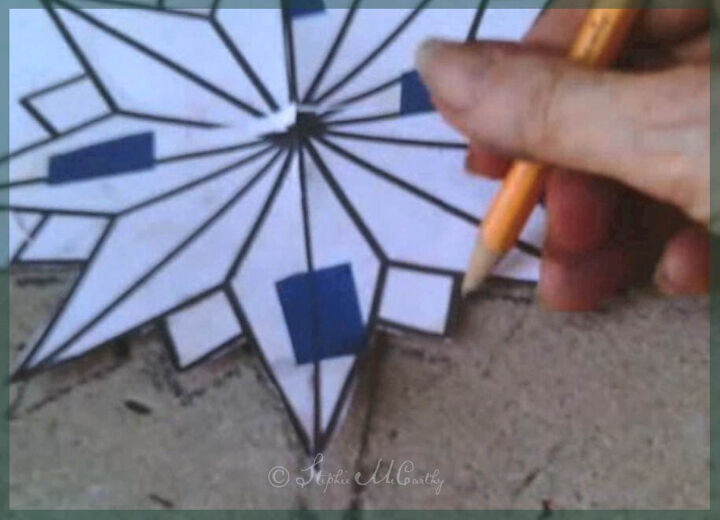
We traced the outer circle with chalk. Then by cutting away a little of the pattern at a time, we were able to outline the pattern with an pencil. The video will show how we referred to the pattern to add the rest of the pattern with a straight edge, using the outline as a starting point.
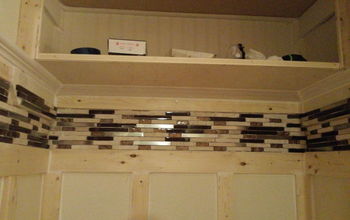
Here's another area of the porch which was grubby and stained that needed some help with decorative painting.
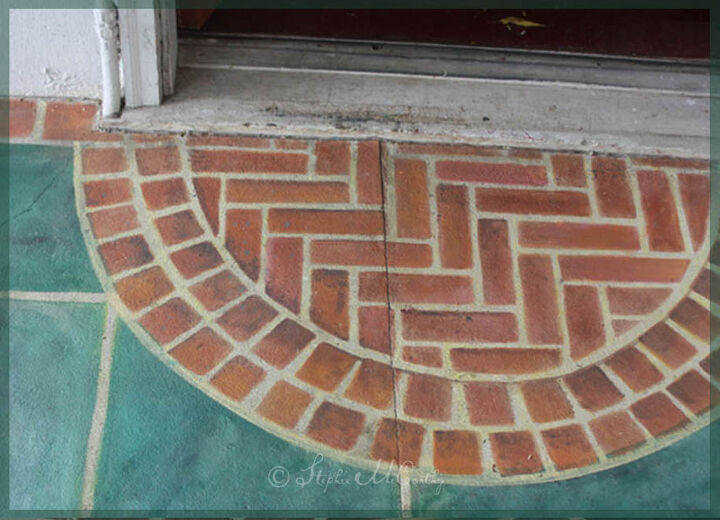
With special paints we created a herringbone brick design. This was much easier to do than we expected. To download the same pattern we used, click here.
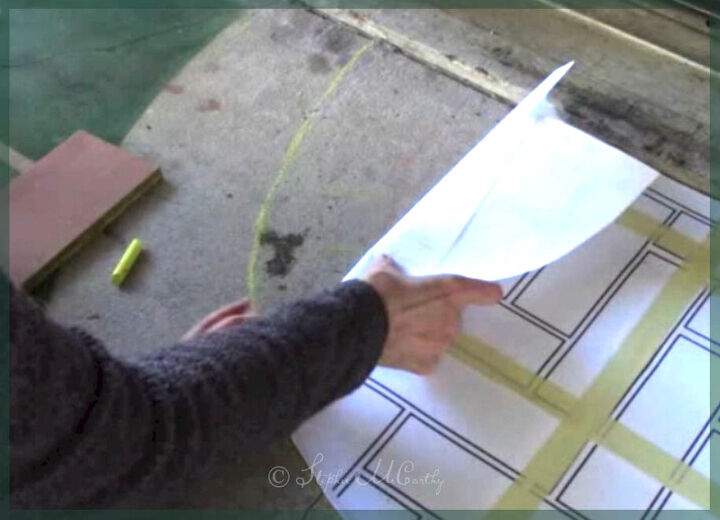
Once the pattern was made with paper, we were able to fold it back and use it as a straight edge to create the design on concrete using sidewalk chalk. We roughed in the design, then refined it. The video will demonstrate this technique at: 3:19
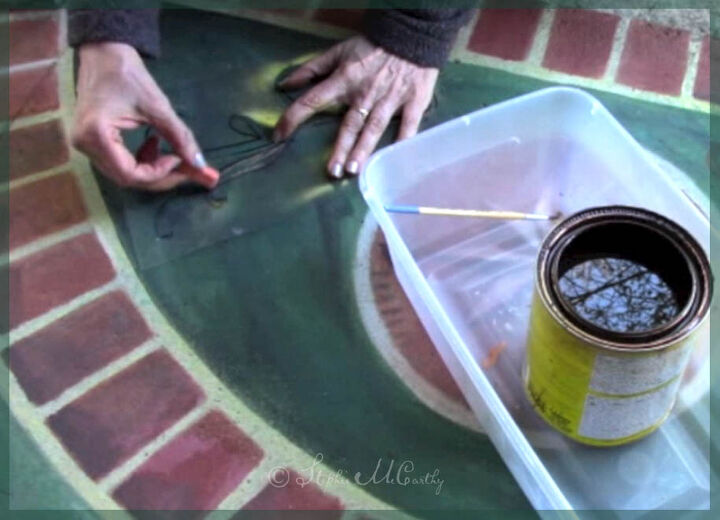
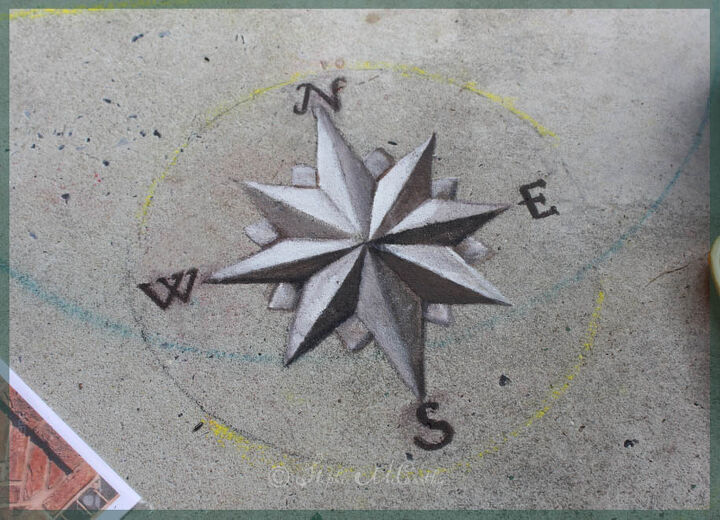
We finished the compass design by adding some curly foliage in the green marble area. We chalked the first one, then duplicated it by tracing it onto a clear sheet protector with a laundry marker. The video will explain this in more detail at: 5:38.
Finished! We'll be posting more information on how to create the realistic brick coloring in a future HomeTalk. See you then! -- Stephie
Resources for this project:
See all materials


Comments
Join the conversation
-
Very pretty!
-
Great idea, but all paint breaks down. Check out PAVERART (www.paverart.com)


Frequently asked questions
Have a question about this project?
This is awesome! It's difficult to see, but did you also paint the entire patio in green, to look like large bricks? Sorry if it shows more in the video. It kept stopping when I was watching and then just stopped, so I couldn't see the end. 😞. Thanks!
What did you use to prepare or to clean the concrete before painting?
Ummm, do you make house calls? I live in SanDiego if you want to do my courtyard 😃😎, I’ll cook???! Your work is gorgeous. Really, I’m serious, I’m told I’m a great cook 😌