


Kitchen Stools Turned Dining Chairs

I spent a lot of time searching for new dining chairs but was having a difficult time finding something I really liked. Most of the time, I’d like something but wasn’t crazy about the fabric. One day while I was sitting in my family room, I glanced over to my kitchen stools and I decided I would transform them into chairs. I was planning on getting rid of them anyway because I purchased new ones. I have a habit of trying to save and get one last use out of an item by transforming it before getting rid of it 🤦🏻♀️ I’m always up for a challenge.
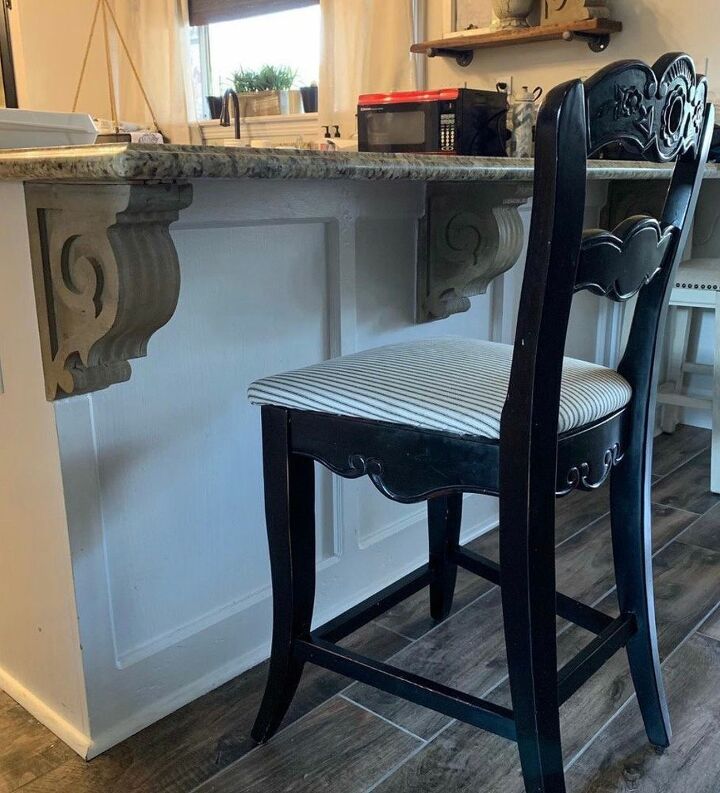
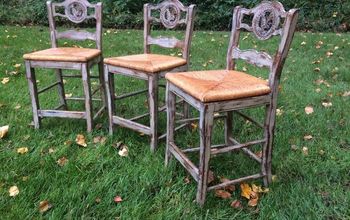
This is what the stools looked like before the transformation. I’ve always loved the details on them and that was why I decided that I would transform them into chairs instead of getting rid of them. Before I started painting, I cleaned them with TSP and warm water, I cut off about 2.5 inches from each leg and sanded the raw wood. I had to so that they’d be the perfect height for my dining table 💁🏻♀️
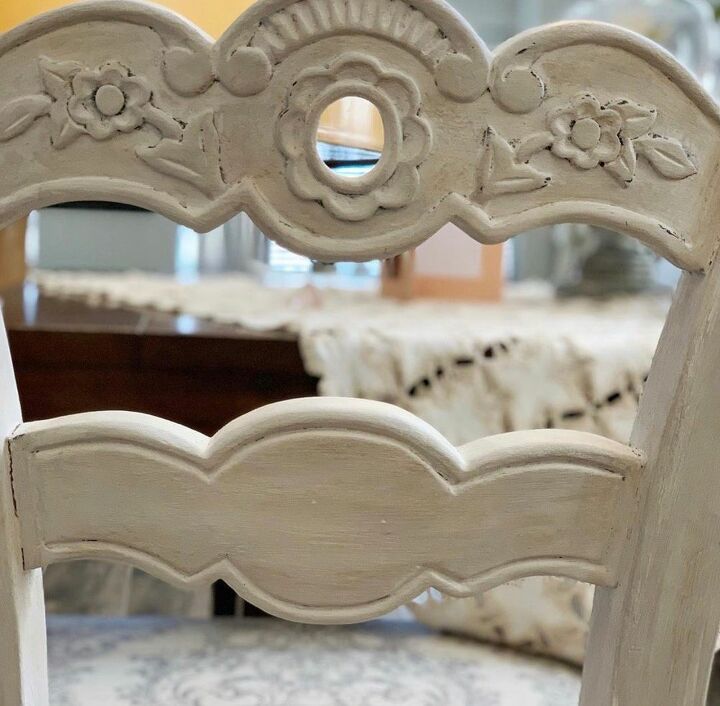
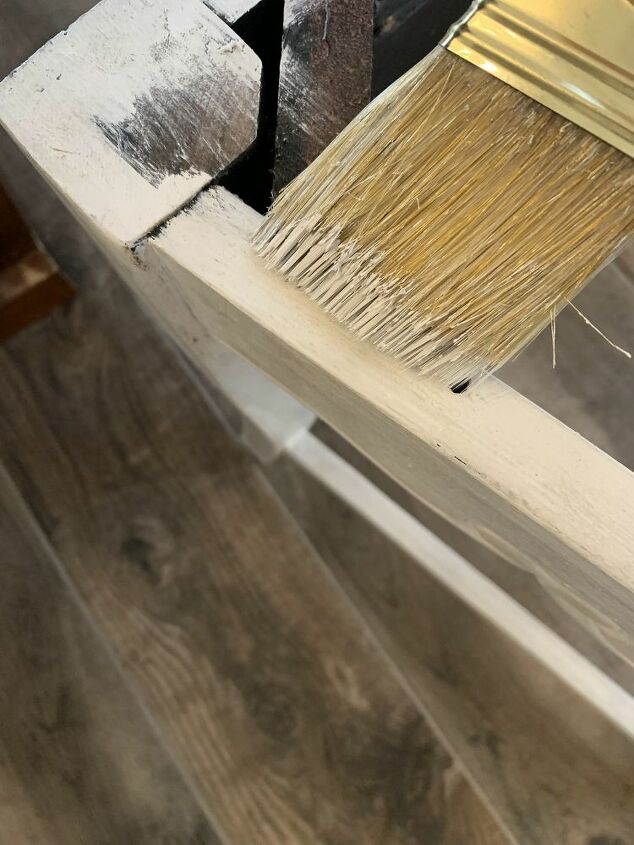
Now, for the paint: I used Annie Sloan Old White and then applied a clear wax and a dark wax to give it that aged look. When I applied the dark wax, I wiped it and rubbed it off using a lint free rag. I then applied more dark wax, using a brush to the areas that I wanted to create a more aged look.
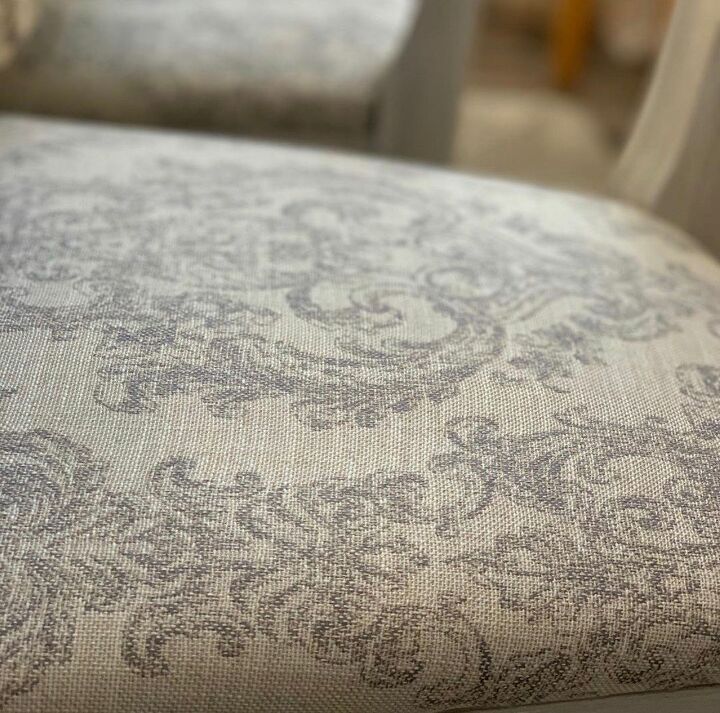
My fabric inspiration came from French country linen 😍 I love neutral colors and the French country look. I think this was a great choice for my home. The color is very neutral and the pattern is somewhat muted which I loved.

I reupholstered the cushions using a staple gun. I find it easier to begin with the corners and then staple the sides of the fabric. It’s important that you pull the fabric taunt so that the top is smooth and without wrinkles.
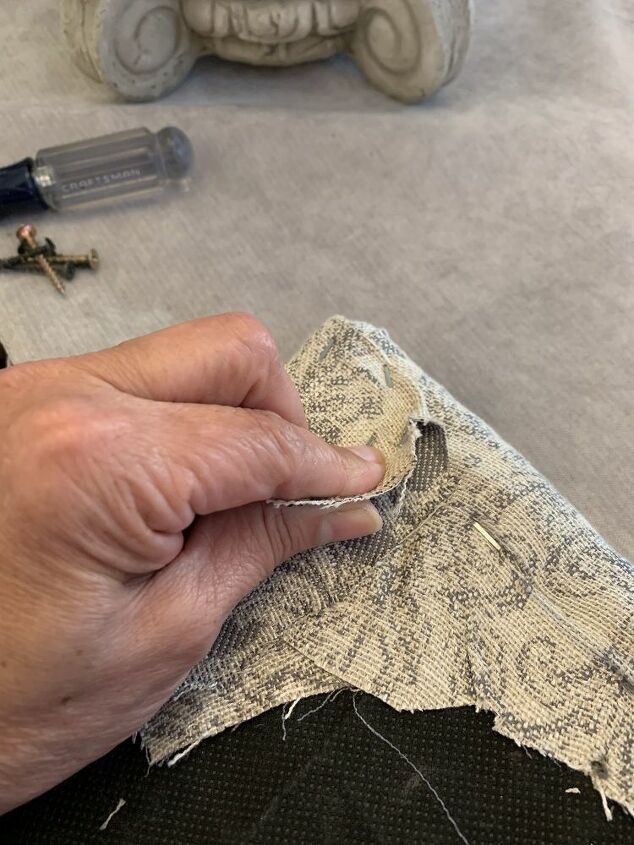
I staple the corners before proceeding with the sides so that the corners are tight and secure. I first pull the tip of the fabric over the corner and staple and then each side of the corner gets pulled in and staples. I hope this makes sense.
I also painted the top of the seat area where the cushion sits. Initially I hadn’t but when I placed the seat on the chair, I was able to see some of the existing paint.
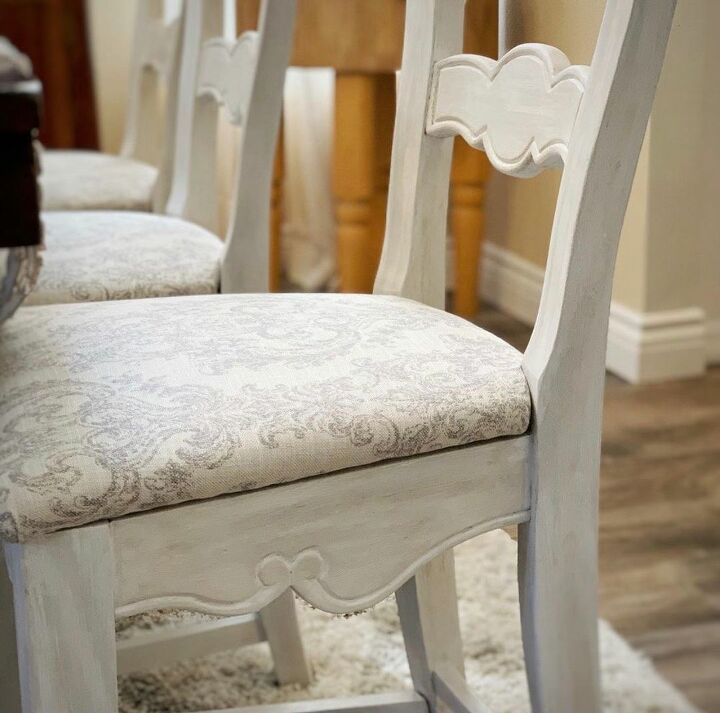
Here is a side view of the chair.
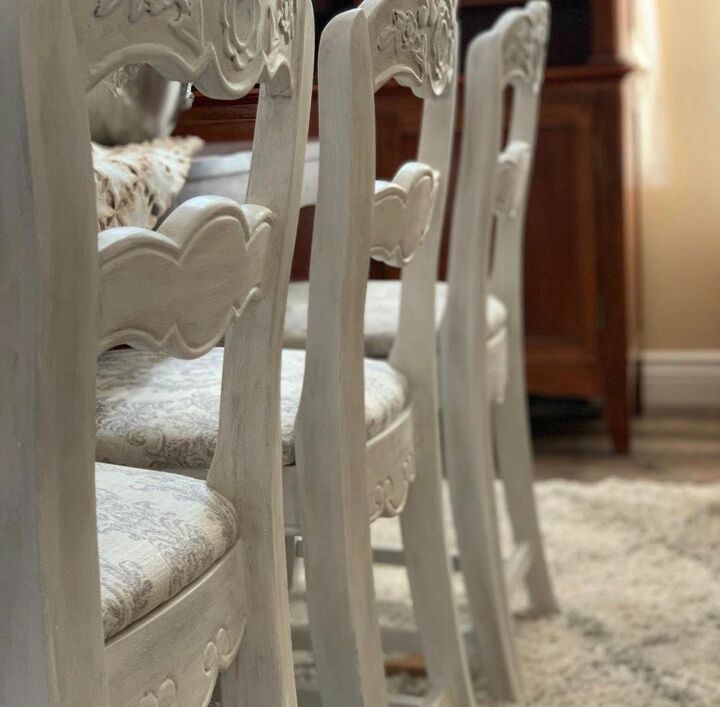
This is a shot from the back of the chairs, I only painted 3 because the other side of the table has a bench.
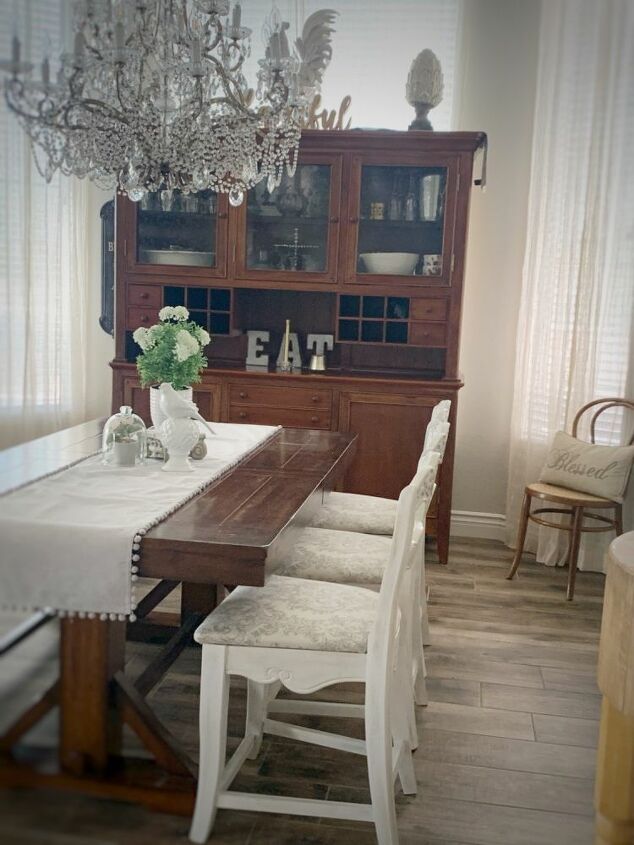
Here is my completed project, I plan on painting the legs of my table too, I just haven’t gotten around to it yet. The bench will also be another project. I plan on painting the legs and applying a cushion and tacks or hammered nails, not sure yet but so far, I’m liking the change. Happy DIYing and if you want to see more of what I do, please come visit me on Instagram at
Resources for this project:
See all materials


Comments
Join the conversation
-
Gorgeous is right, beautiful job !
-
Is beautiful! A great idea!


Frequently asked questions
Have a question about this project?
Would have the name of the fabric & where did you purchase it from??? Thanks Linda DIYER AT HEART !!!! SO BEAUTIFUL I LOVE THEM !!!
FABRIC IS BEAUTIFUL ALSO !!!
Just beautiful!!!!
Wondering where you got your fabric. Do you know the manufacturer or company who made your fabric? It is usually printed on the selvage end of the fabric. I have been looking for fabric like this, but have been unsuccessful.