


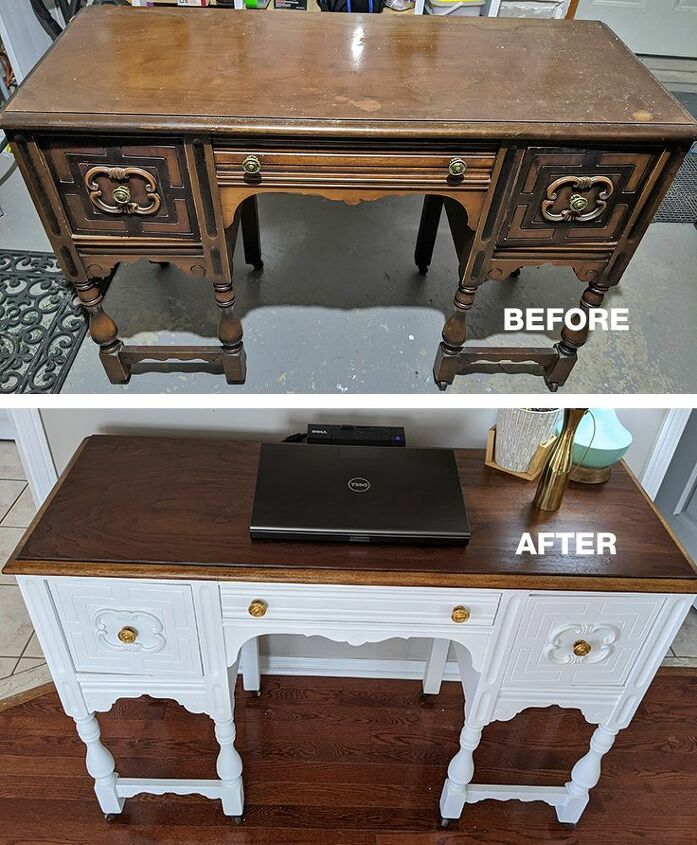
Circa 1940 Desk Makeover

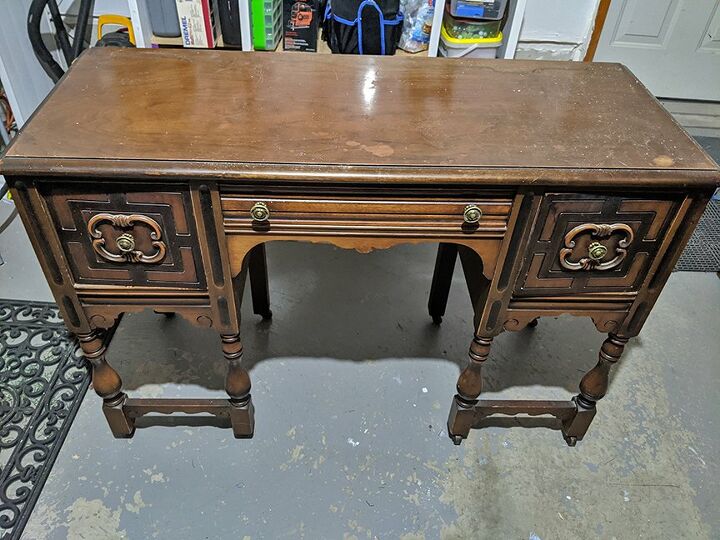
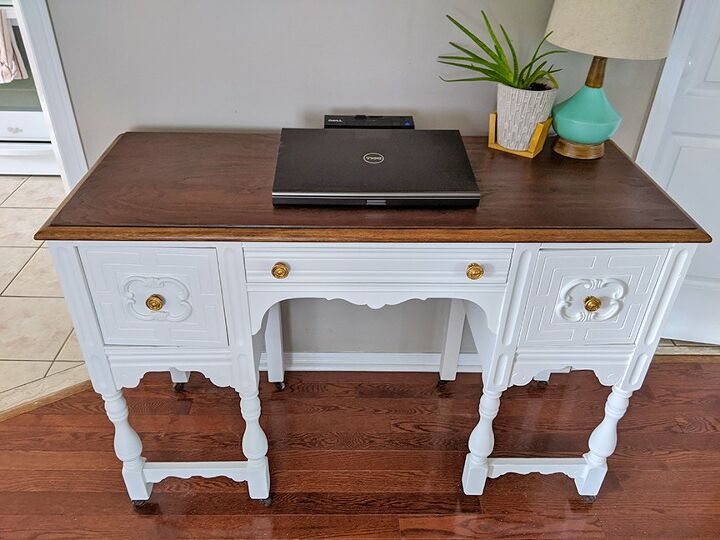
I was getting tired of having a laptop on our dining table and decided we needed a little desk for the main floor. I found a 1940s desk online with lots of character, but it was a little tired and in need of a refresh.
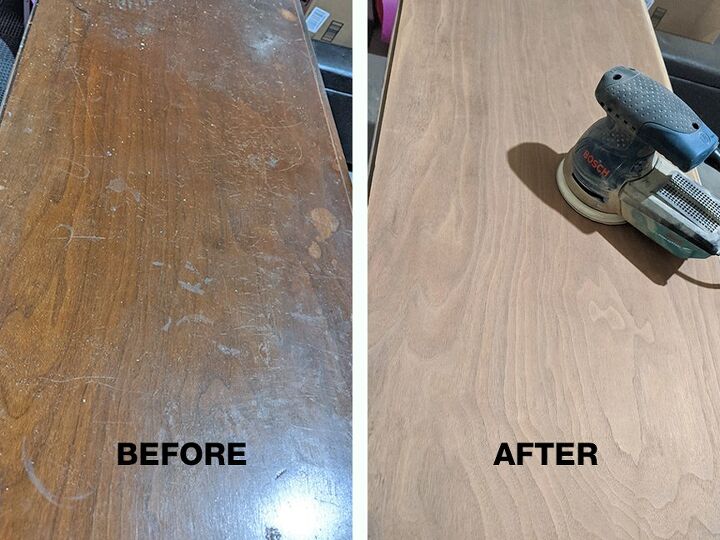
The first thing I did was re-stain the top. I started by sanding it with a 120 grit sandpaper, but it wasn’t taking off all the finish. I was beginning to think it may be veneer, as the more I sanded the smoother it became. So I decided to try an 80 grit paper and it took the stain right off! And thankfully, it was not veneer!
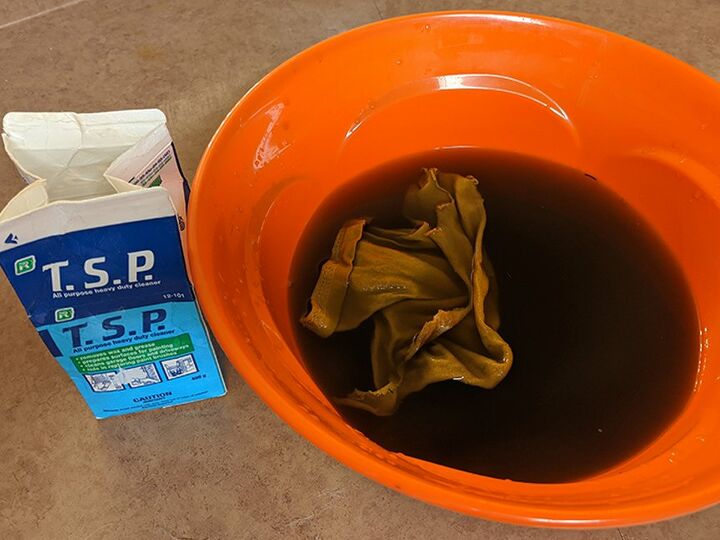
I gave the desk a good cleaning with TSP. It was filthy!! Nearly 80 years of furniture polish build up is my guess. I’ve worked with a lot of old furniture in my time, but this one was probably the dirtiest!
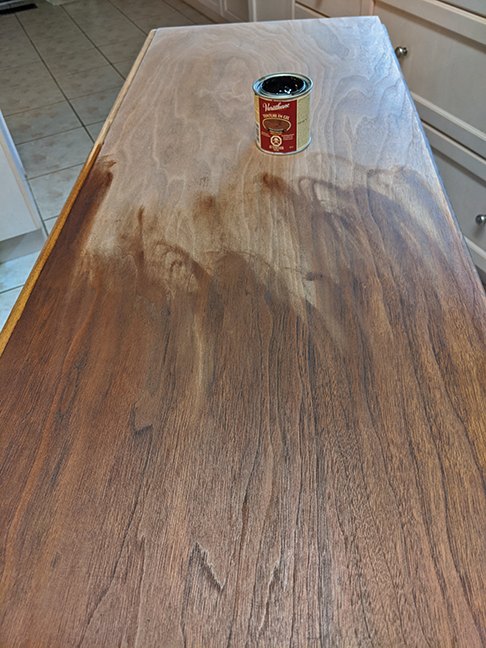
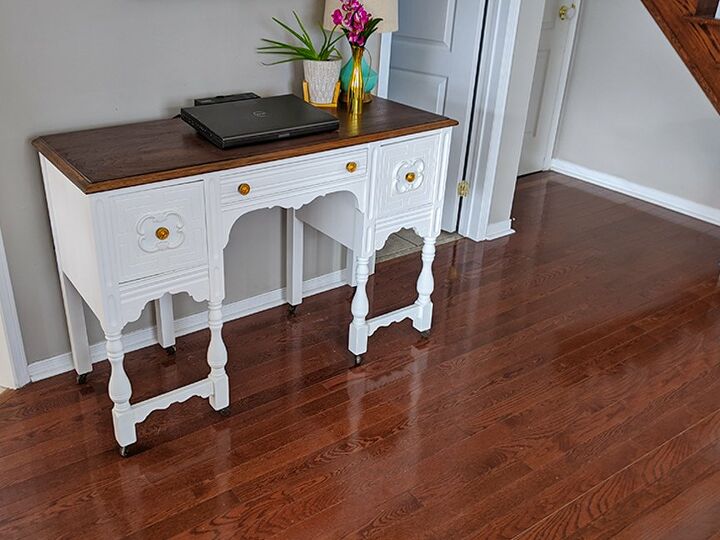
I stained the top using gel stain, applied with an old t-shirt. I wanted to use a colour that would blend well with the other wood pieces in that space, so I went with Provincial. I normally go with darker colours – but I think the colour came out pretty nicely! Once dry I sealed it with a clear finish – 2 coats – applied with a brush.
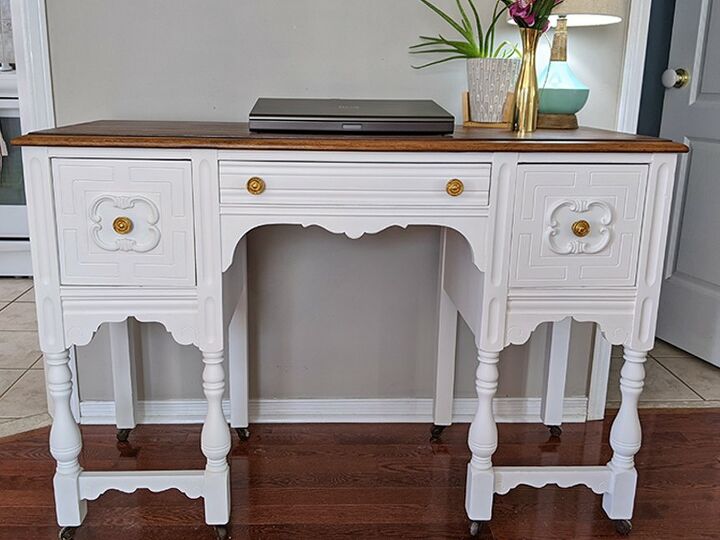
I wasn’t entirely sure what I wanted to do with the base – but because of all the natural wood pieces in the space, I really wanted to go with something lighter and brighter for contrast. So I went with white! After a light sanding, I painted 2 coats of primer. I know many people groan at the thought of primer. And I was one of those people for many years. But the way I see it, primer is far less expensive than the paints I use. And no matter what, I always need to do 3 coats. I have to clean brushes, etc after each coat anyway, so primer is not really any more labour. And it really cuts down the cost of a makeover project!
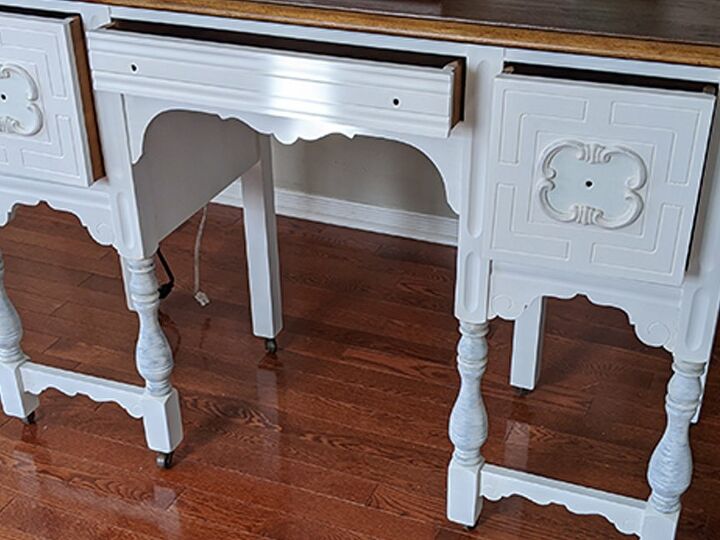
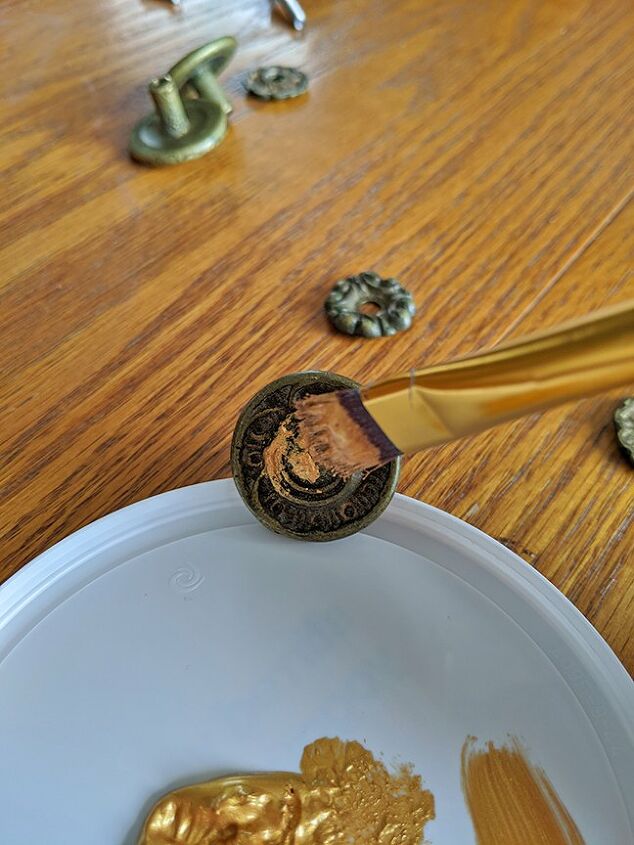
After the primer, I did a final coat of white mineral paint. Then I hand painted the drawer pulls with a gold paint I had picked up at a thrift store. It ended up matching well with the stain on the top.
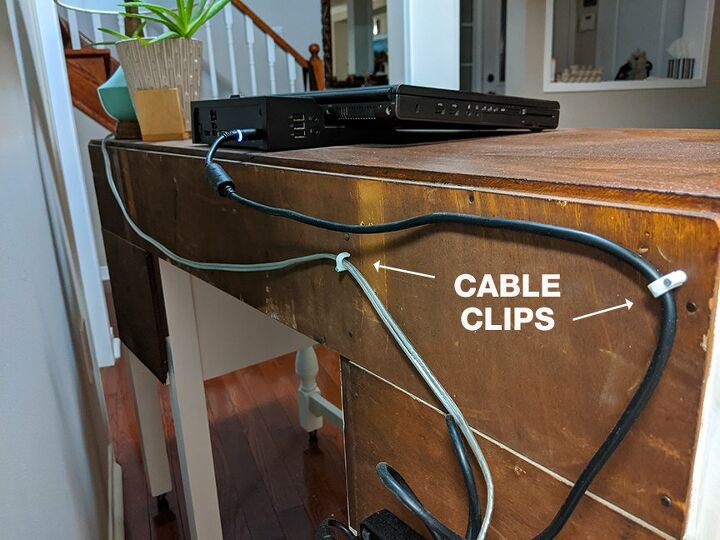
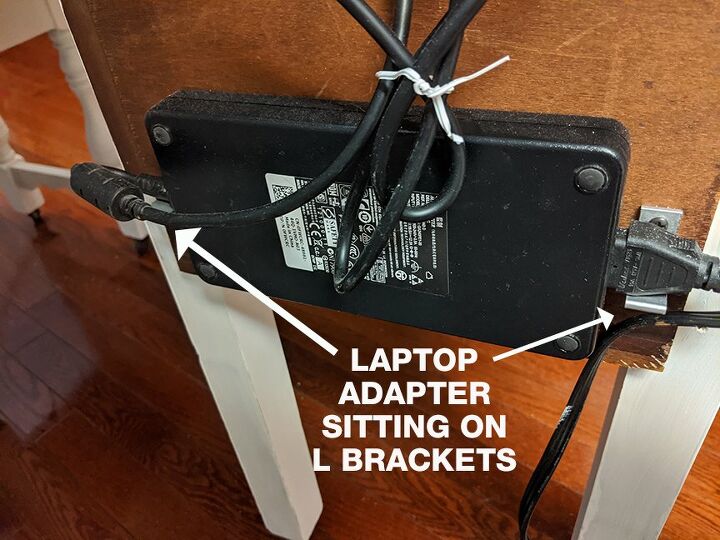
When I put everything in place I could see the cords from my lamp and laptop hanging down behind the desk. And knowing that this would bug me (more than it should) I decided to add a few cable clips to the back to run the cords along.
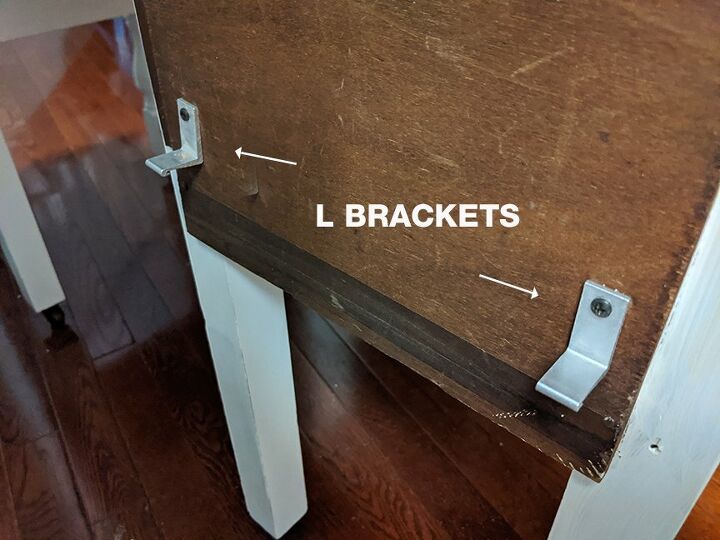
Then I added two small L brackets to hang the block thingy from the laptop adapter. This step only took a few minutes and really made everything look neat and tidy.
And here it is after it’s makeover! I really like the outcome. Now I just need to makeover a chair to match. 😊

Resources for this project:
See all materials


Comments
Join the conversation
-
I LOVE it. I am so jealous, I can never find anything like this at my thrift stores. It is beautiful!
-
Thanks for sharing such great work!


Frequently asked questions
Have a question about this project?
Did you consider using some dark wax to highlight the details on the front? I just wondered even though I like it the way it is.
Why bother to clean brushes between painting coats? All you need to do is wrap them in plastic wrap and they'll stay soft until your next coat.
It is beautiful!!! Can you tell me what you used to seal the top of the desk?
Thank you for sharing your talent & g8 pics!!!