


Napkin Art

Can you believe it’s March already? I’m in the mood for Spring. Today I I”m sharing how to make artwork from your favorite napkin!
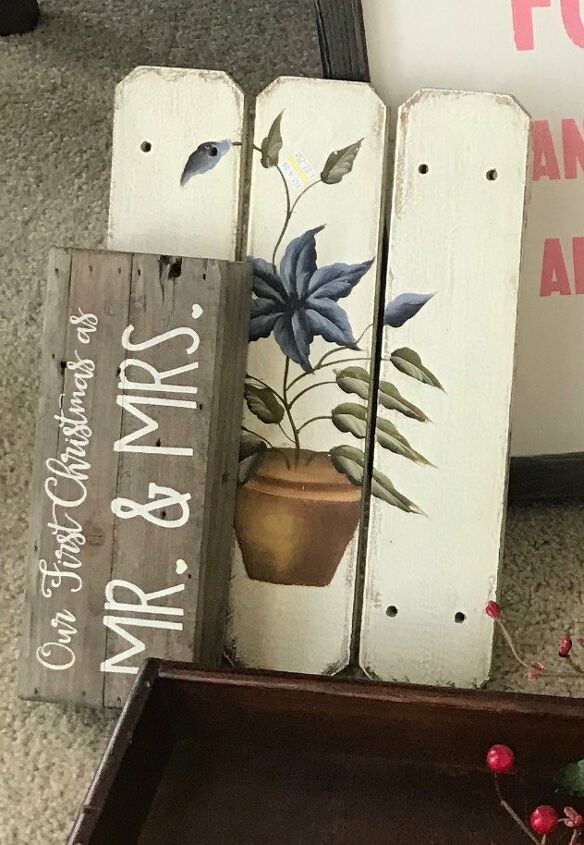
I found some artwork at our local thrift store. I sanded it to its natural state, then chose which napkin I’d like to use.
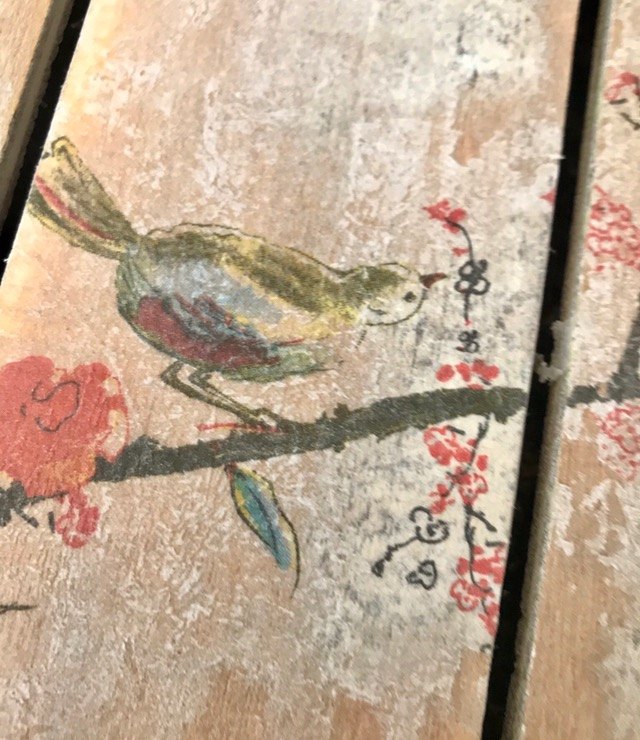
This was the art before I sanded it down.
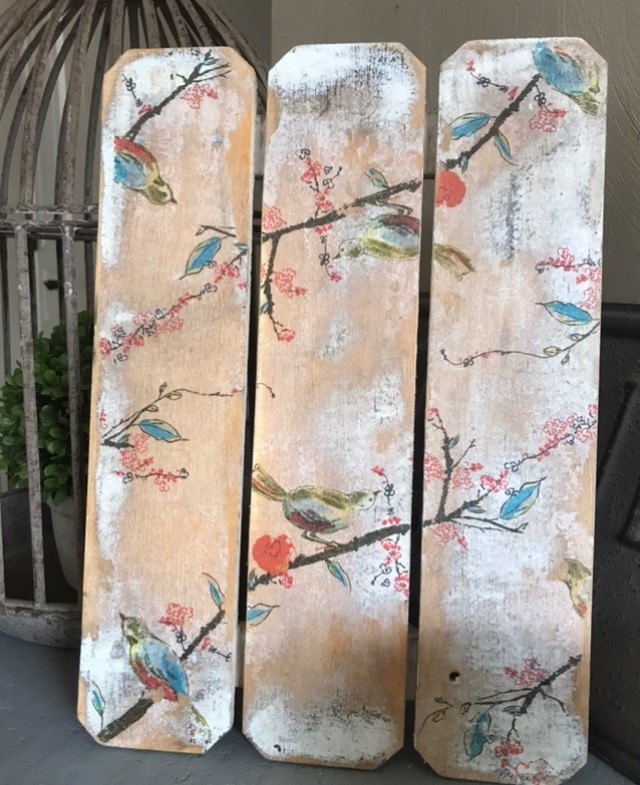
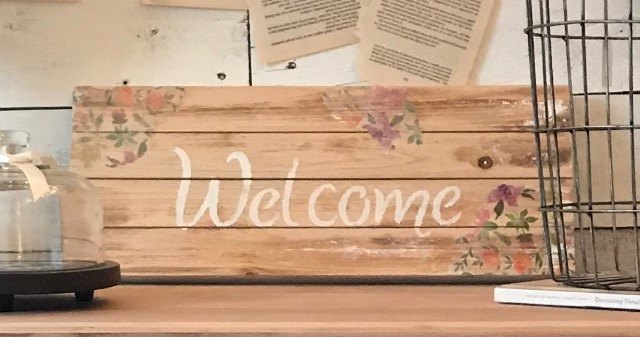
Here’s the after, it’s pretty simple to do.
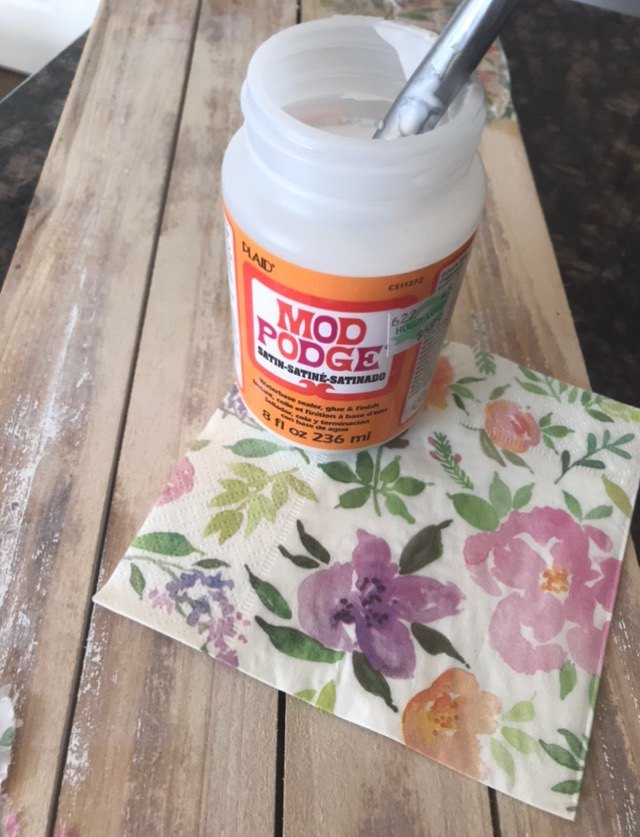
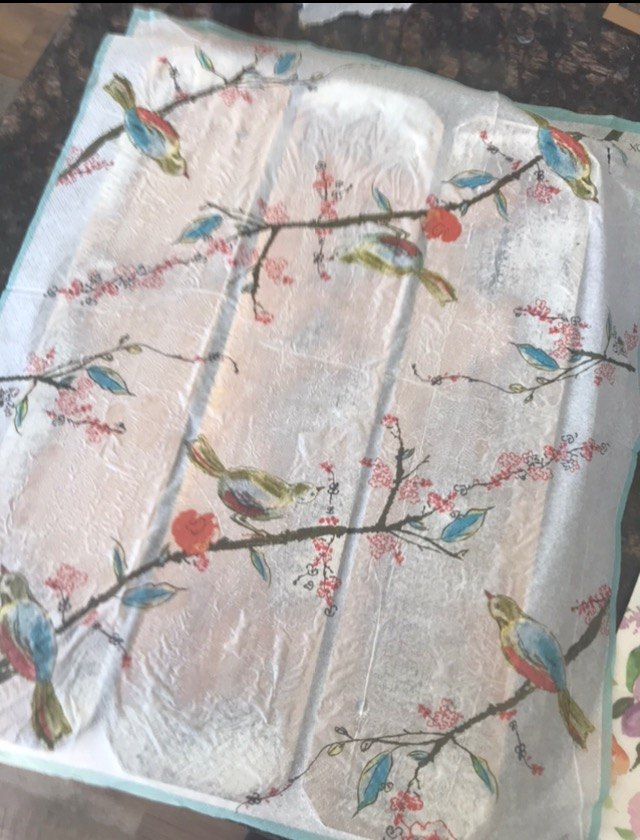
Once sanded, take any napkin and peel the top layer off. Take regular mod podge and put a fair amount onto the area you want your design to be, then lay the napkin down onto that area. Put extra glue over the napkin, very gently as you don’t want it to rip.
Wait a few hours till dry. I actually used a hair dryer to speed up the process.
I was doing two designs at the time!
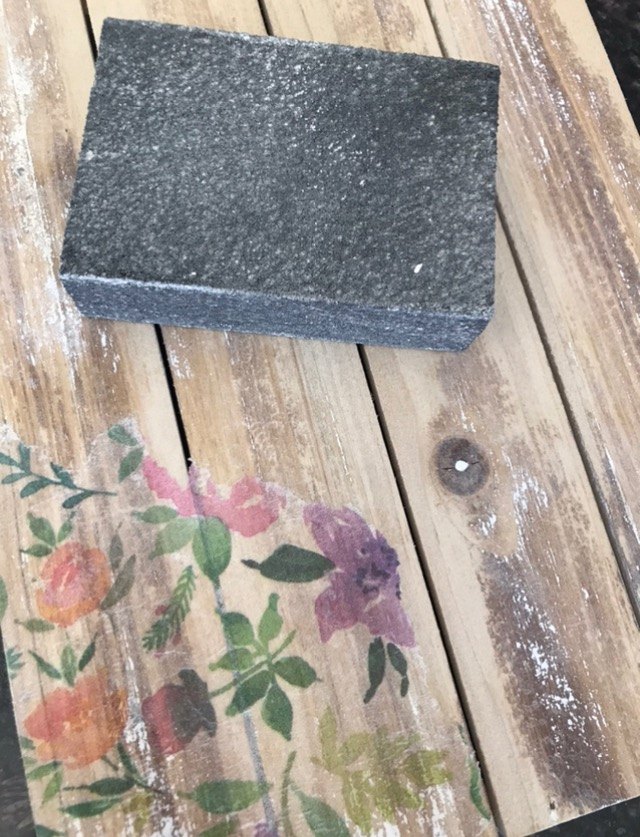
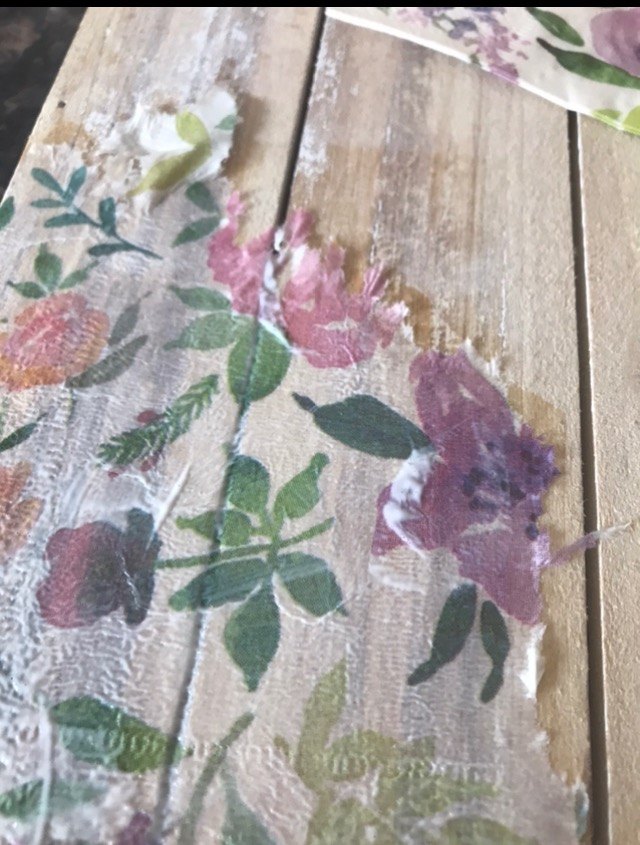
Once dry, take a sand block and lightly go over the entire area.
Here, I am removing pieces that didn’t stick. I sanded the entire piece. It’s OK some of it comes off, that’s the beauty of it!
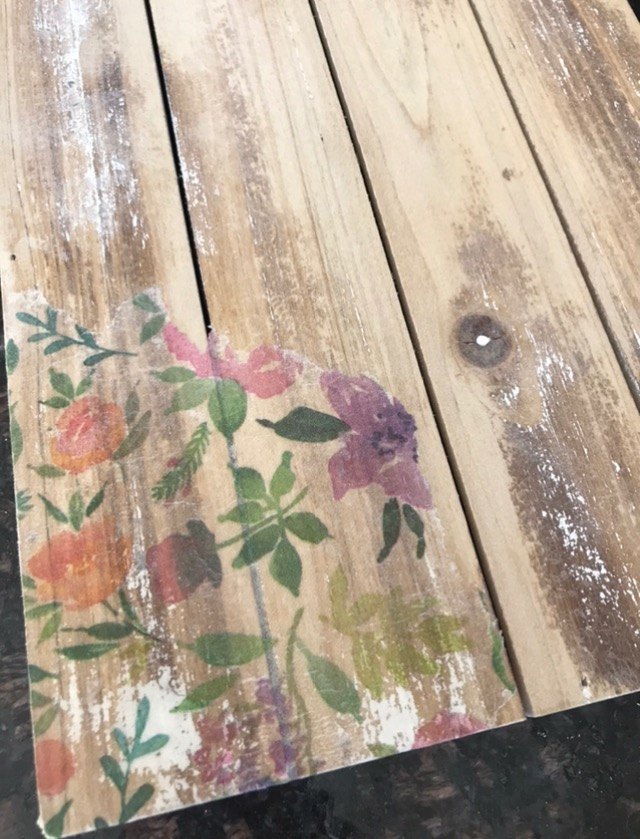
I just wanted the edges to have this gorgeous flower napkin on, so I ripped a piece off and added it to the corners.
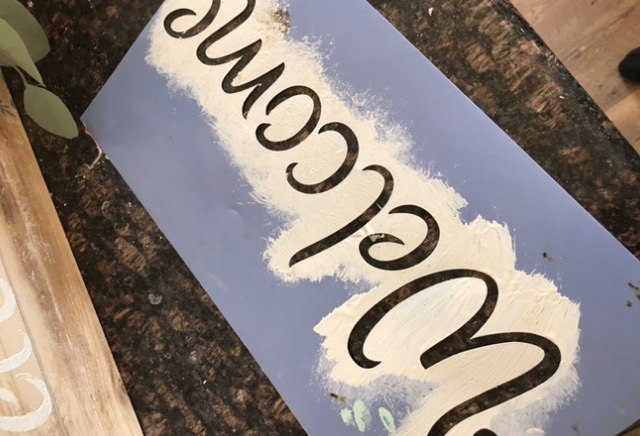
You can add extra designs or font ect... here, I decided to use a stencil. Using any latex paint, add your favorite stencil, then let dry.
Once dry, take a fine sand block and lightly sand all over, finally, use any wax to seal your project.

That’s all there is to it, simple, fun and inexpensive. Thanks for stopping by!
Comments
Join the conversation
-
Looks lovely. Thank you :)
-
That is very pretty :-)


Frequently asked questions
Have a question about this project?