


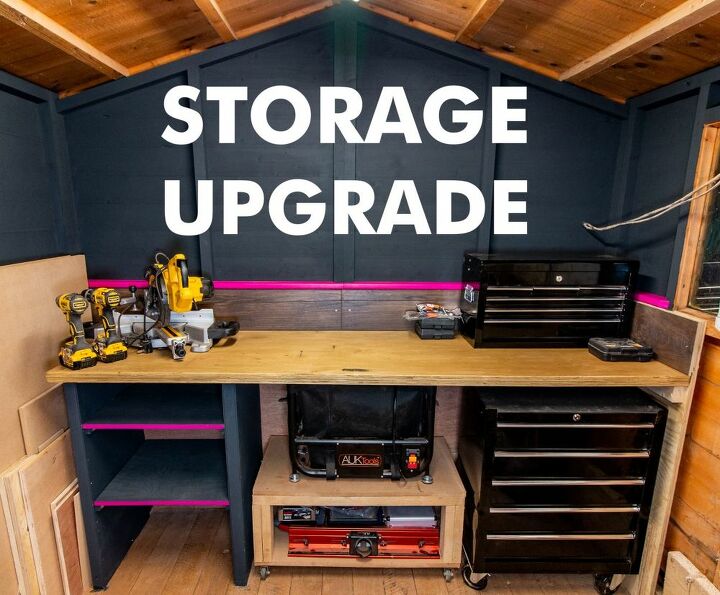
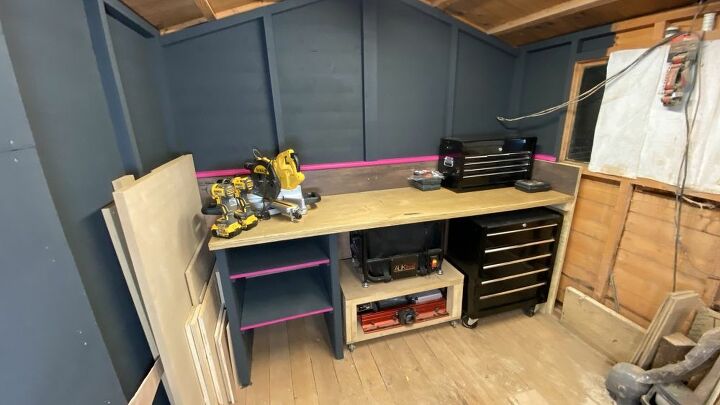
Upgrading My Workshop Storage
My workshop space hasn't been working well for me so it was time for an upgrade! I decided to build a new work surface and incorporate storage options for sheet material, my router table saw well as shelves and drawers. This project is sponsored by Magnet Driver. Using the code: JOE25 will get you 25% off your purchase from them.
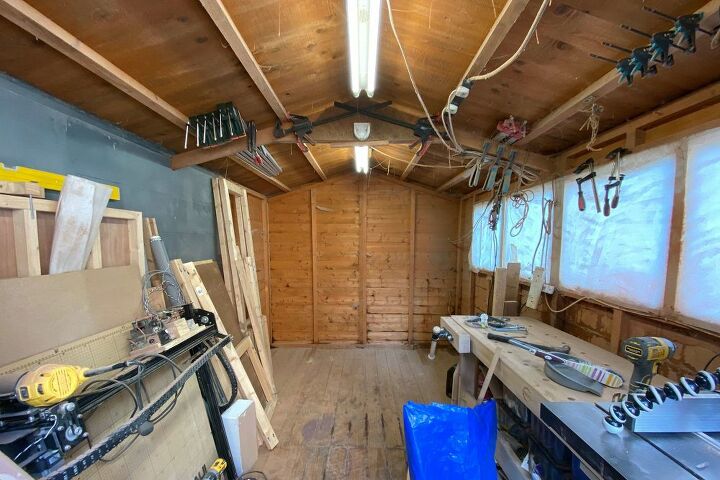
This was the back of my shed before I started the big clear out. The big frame is my fold down cnc table that hardly got used. To the right of that is my dust collection and on the lest are some wasted shelves.
With some space cleared I could turn my attention making some sawdust.
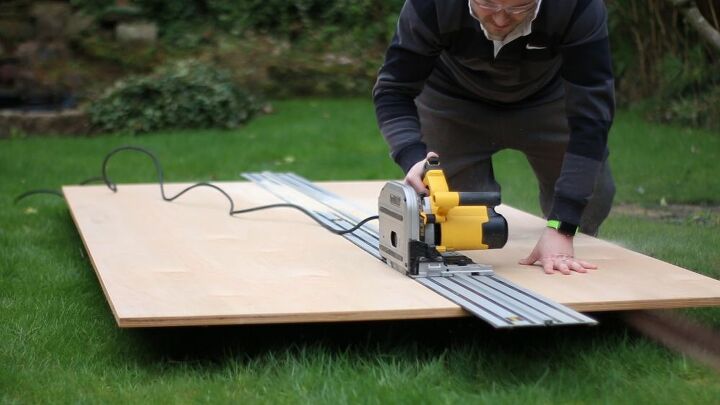
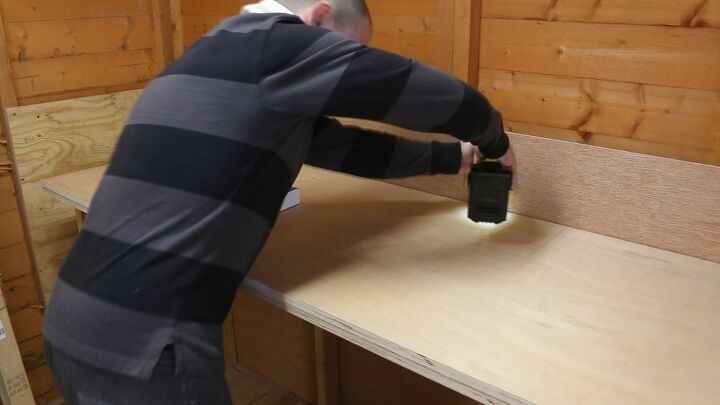
Using my track saw I first cut some 6mm plywood to box in the back of my workshop. I cut it to 108cm x 230cm. I also cut some 18mm plywood to form the new work surface. I cut to 2 pieces to 210cm x 60cm.
I used the track saw for the cross cuts too. I cut both pieces of 18mm plywood together so I could sure they were the same size.
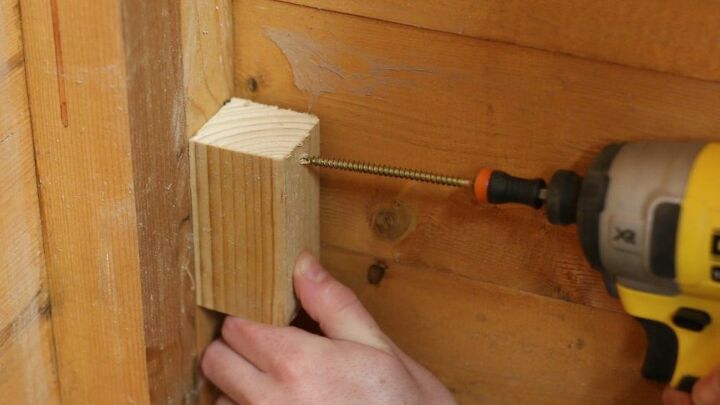
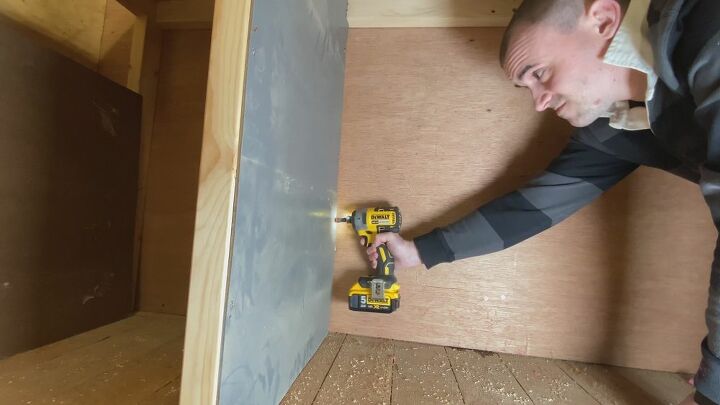
Before boxing in the back I needed to add some scrap blocks. These will give me something to screw the 6mm plywood too where there aren't any studs. I made use of the Magnet Driver bits on this step. They help a ton when needing to hold a piece in place with one hand.
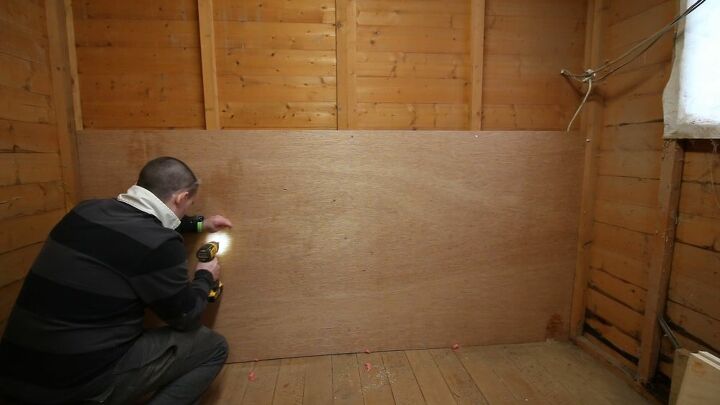
Boxing in the back was as simple as using screws to hold the 6mm plywood in place. I added some 18mm pieces to the left and right side to box in too.
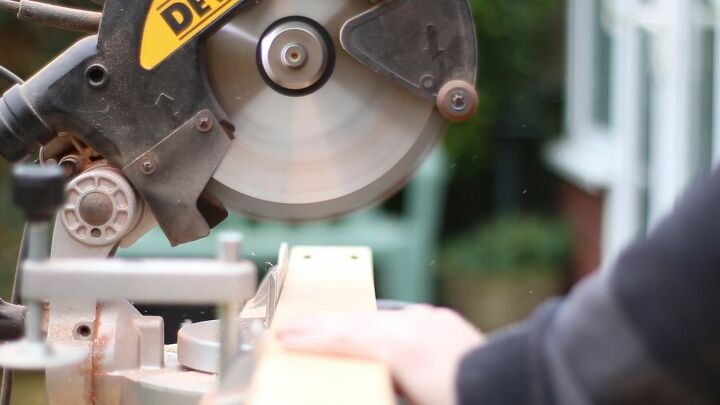
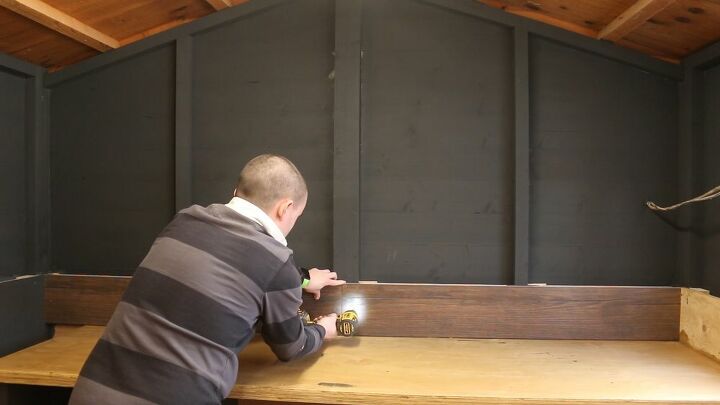
With the back boxed in its time to cut the CLS timber. I used the mitre saw to do this. I cut battens for the back and right hand side of the wall. The work surface will be secured to these. I also cut some pieces to make rectangular legs.
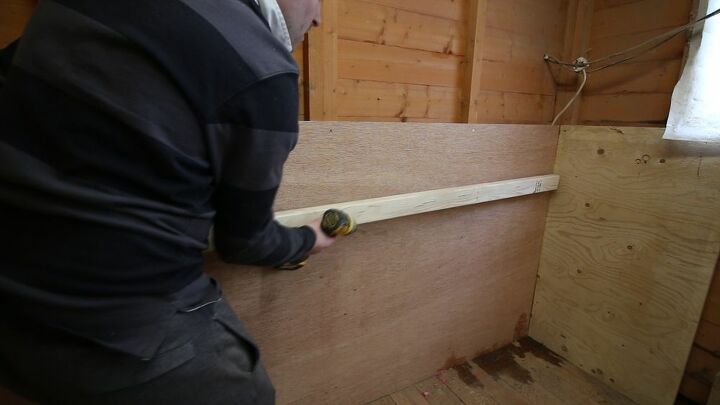
The magnet driver bits helped again when it came to screwing the battens in place. Holding the timber with one hand and driving with the other was much easier.
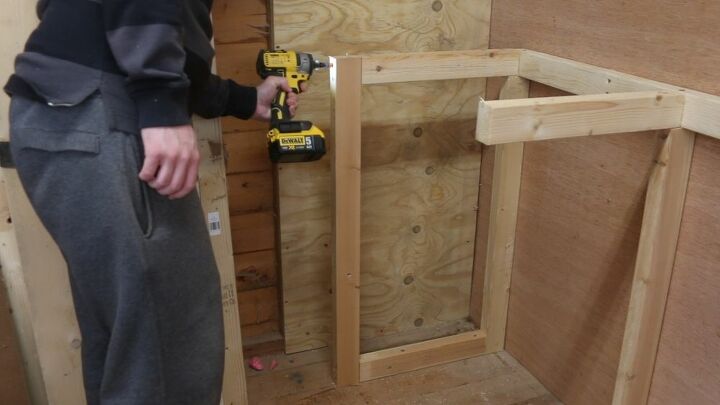
I put the rectangular legs together in place. Less chance of getting the sizing and positioning wrong this way. Just screwing the wood together like this isnt very strong... on its own anyway. When I add the plywood top and hardboard boarding to the sides it will be solid. The space I have to left hand side will be for sheet material storage.
On goes one of the 18mm plywood pieces. It gets screwed to the rectangular legs and the battens. The second piece of 18mm goes on top and just gets screwed to the first piece of plywood. This way, when the top gets ruined it can easily be changed for a new piece.
The hardboard will add strength to the rectangular legs and will prevent things falling off the shelves that will go in between.
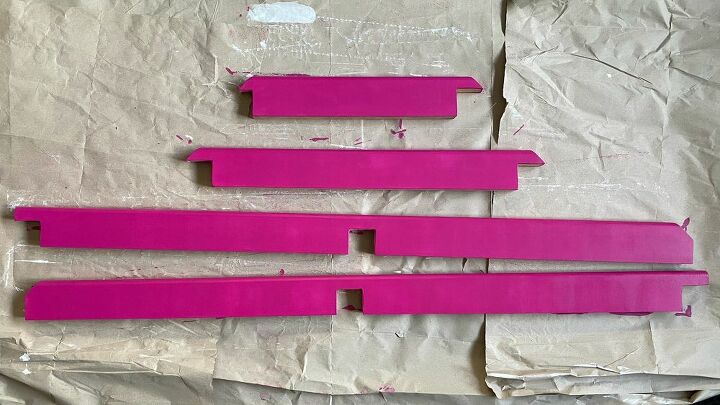
I needed to make some small shelves to prevent bits falling down the back of the plywood I boxed in the back of my workshop with. MDF was ideal for this. I cut up some 25mm MDF into 7cm wide pieces using my track saw. I then rounded over the edges with my router.
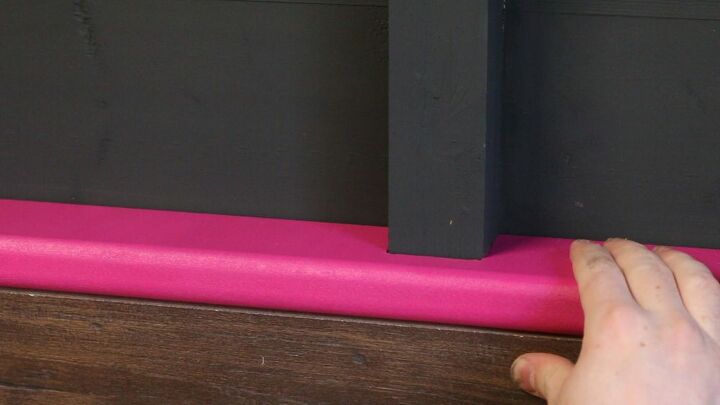
Using a jigsaw I cut out notches to let the shelves in around the studs on the wall. They then got 2 coats of white undercoat paint followed by 2 coats of magenta acrylic paint. These should be a nice accent colour against the grey.
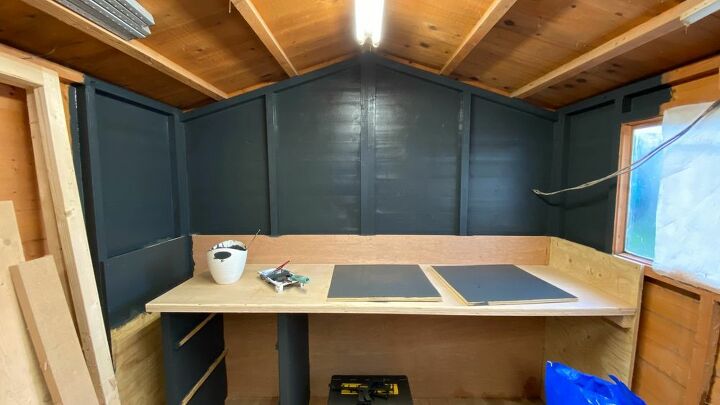
I painted the back wall and sides a nice dark shade of grey.
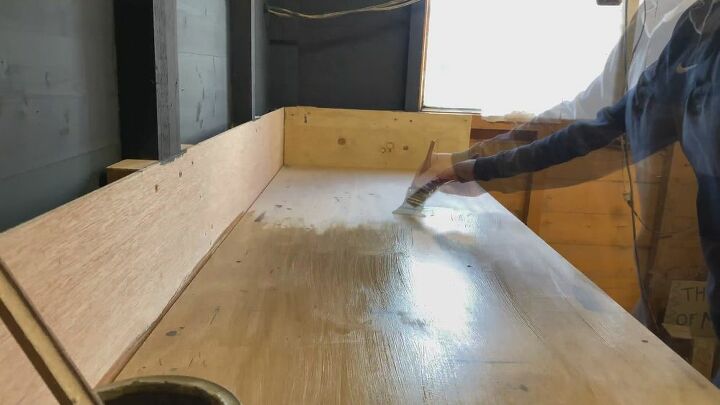
To try and protect the work surface a little I applied a couple of coats of wax stain. I don't know how long it will hold up but its better than nothing.
To give a bit of a backdrop I screwed some laminate flooring in place. I got this as part of a damaged pack from my local hardware store. Its always worth checking what they have in the clearance section.
Adding the shelves in place now really makes them stand out. The contrast with the dark grey and dark brown laminate flooring shows of the magenta really well.
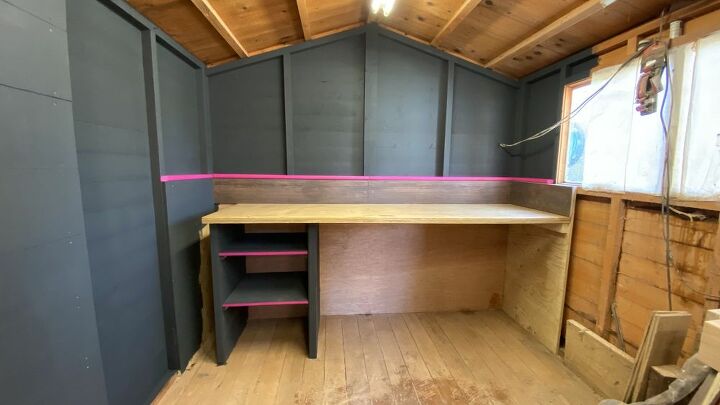
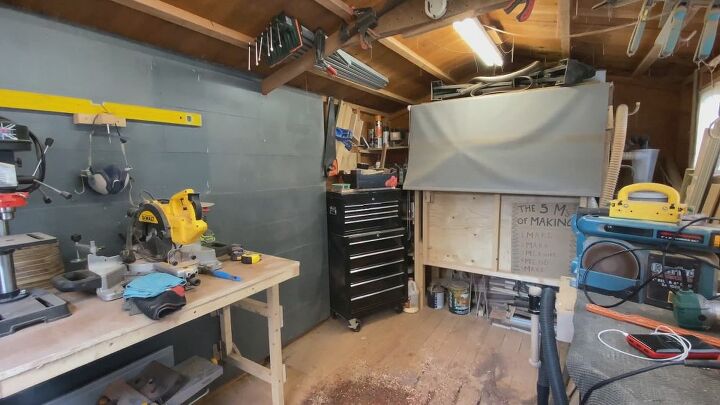
I'm so glad sorted out this space. It looks loads bigger, its given me a ton more storage space and its given me another work surface.
I hope its inspired you to have a go at changing up your work space.
Resources for this project:
See all materials


Comments
Join the conversation
-
Wow, super impressive!
-
NICE!!! I bet it's exiting to enter your shop and be 'greeted' with such a pleasant view and additional storage/bench.


Frequently asked questions
Have a question about this project?