


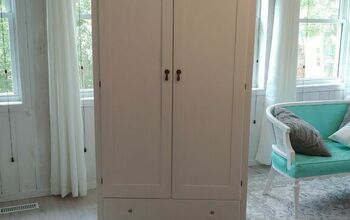
Transformed Armoire

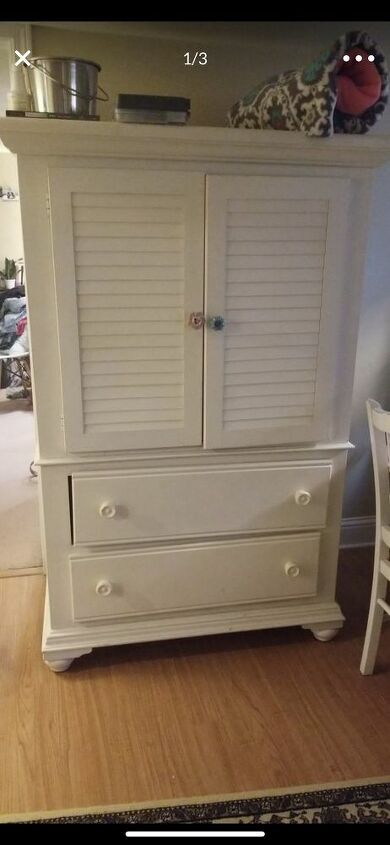
I was given this armoire to make into something new.
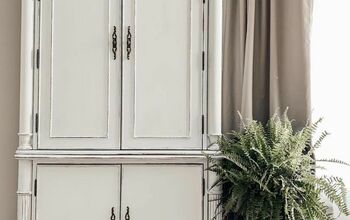
The person who wanted it refinished had had since her childhood, but it was definitely in need of an update.
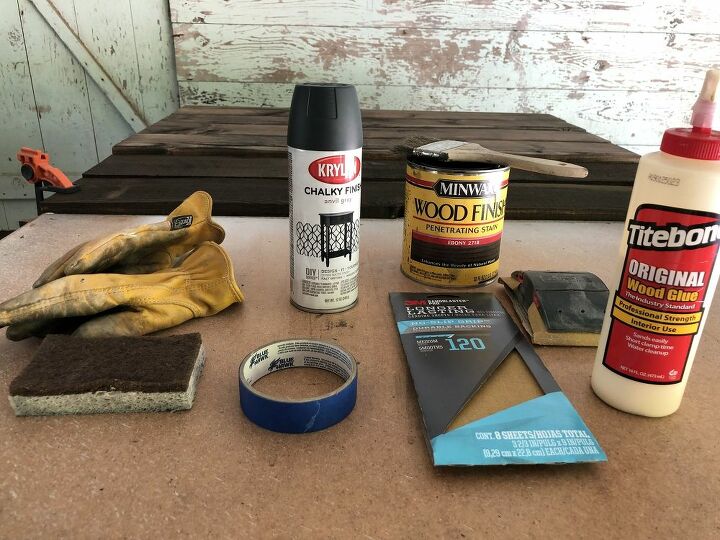
Here is a photo of all the things I used to complete this project.
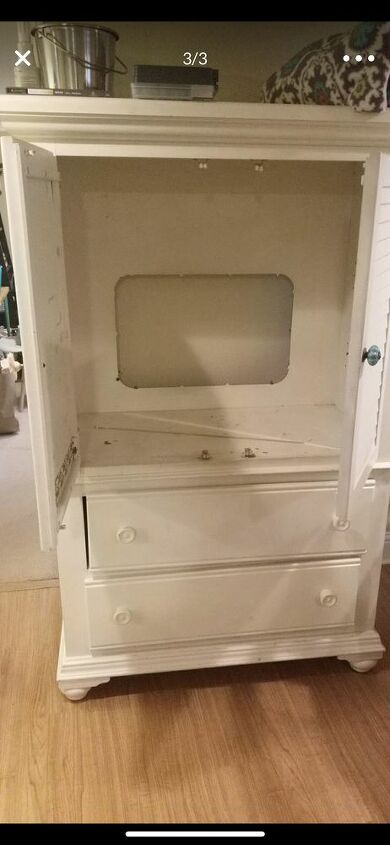
I started by taking the front doors off, taking the magnetic pieces off of the doors and on the inside of the hutch. I initially thought I would be using the doors again, but in the end I decided to leave them off, because the person whom I refinished this for wanted to add baskets to the inside to complete this as her "coffee bar".
The old, but sturdy armiore ha a lot of potential!
I cut and measured the wood i choose to use to size. After I cut the boards to size I stained them.
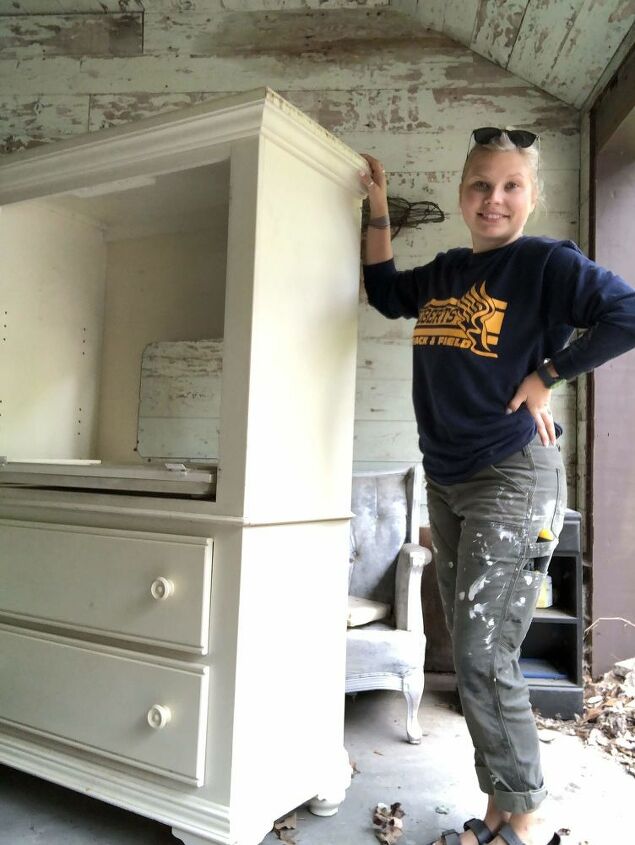
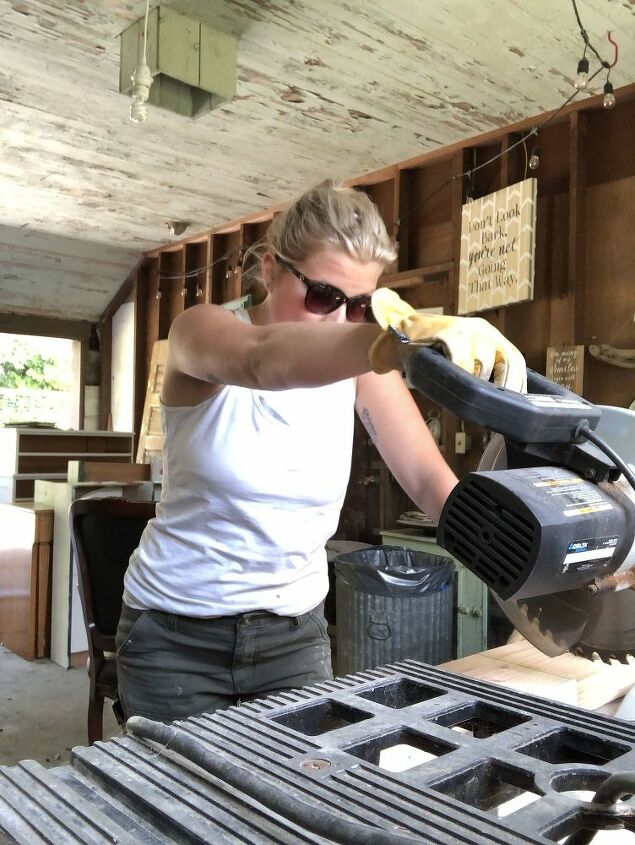
I used my chop saw to cut the wood planks that I made the new backing out of!
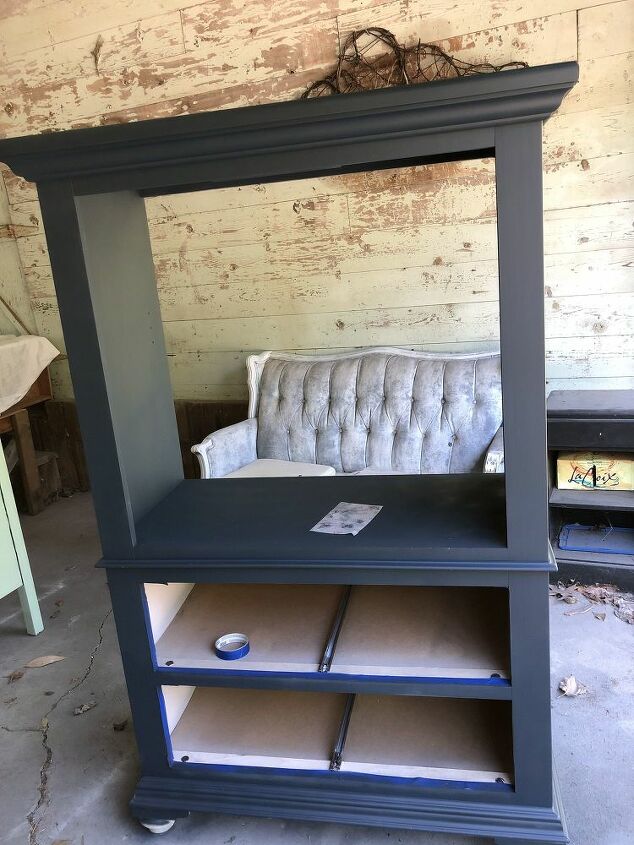
After I took the door off, and pulled the drawers out I decided on my paint color, I then used a light 120 git sand paper and ran it over the entire piece. Then I started painting. I used two coats of "anvil grey chalk paint" on this entire project, which was about 4 cans of paint.
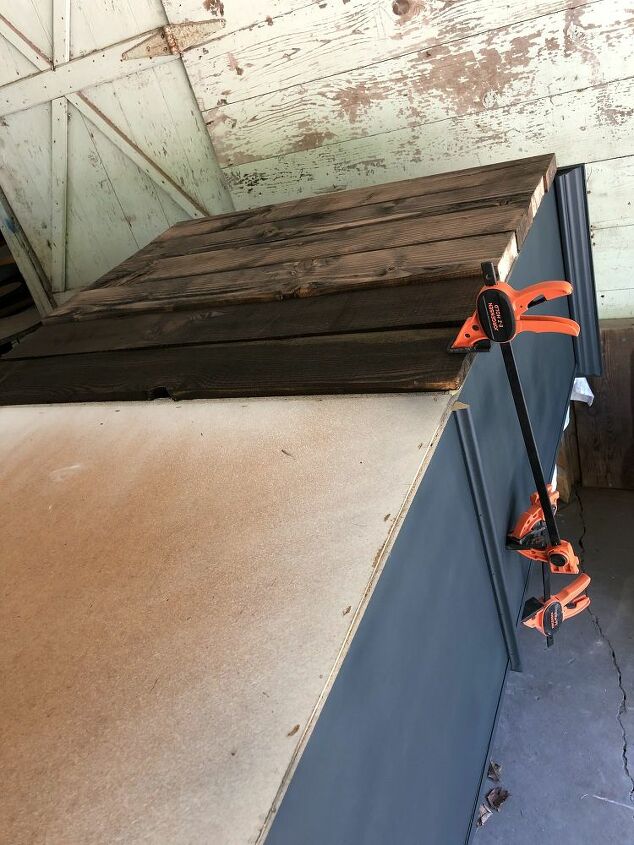
Then the next part was a little tricky because I decided to first lay down the hutch on it's front side to lay the boards down in the order that I wanted, and then add a layer of wood glue so they would be extra secure. I left the armiore down for an entire day to ensure the glue was dry. I then screwed the boards into the armiore.
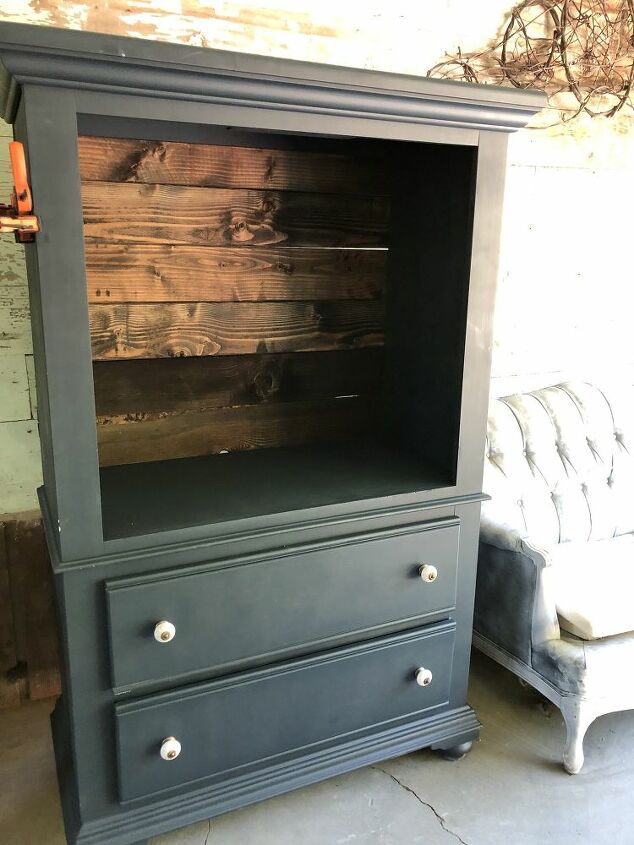
The new wood back made the entire piece more sturdy, while also adding a touch of that "farm house" look!
After I had the back on I added the knobs and it was complete!
Resources for this project:
See all materials


Comments
Join the conversation
-
Love it!
-
Very nice change!


Frequently asked questions
Have a question about this project?