


DIY Outdoor Bar
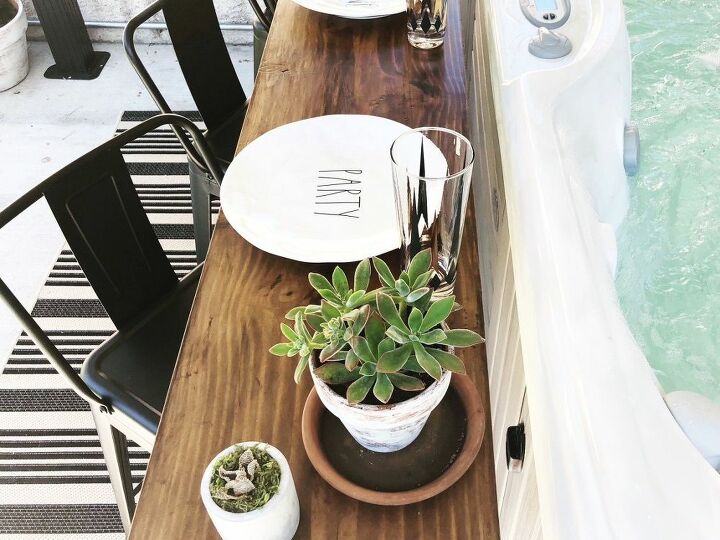
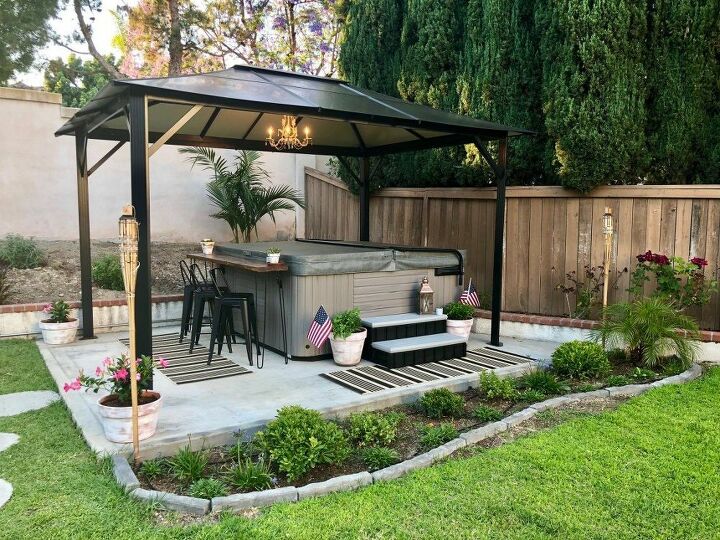
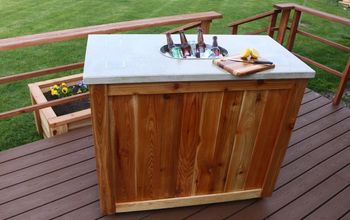
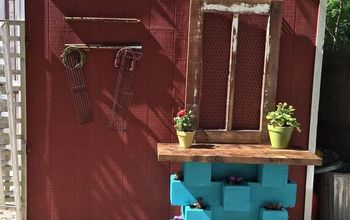
As we head into summer, make yourself an easy and affordable outdoor bar area! Whether its placed against your hot tub like ours, or just an extra space for food and drinks, it will add a custom look to your space!
Let's get started!
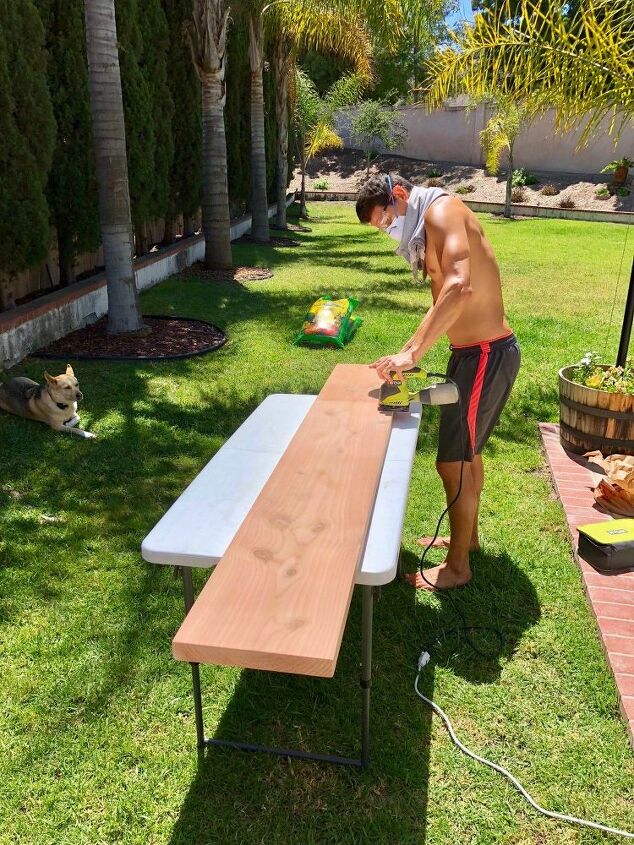
Cut your wood to the length of your choosing. After your wood is cut to the length you need, use your electric sander to sand the wood until it is smooth to the touch.

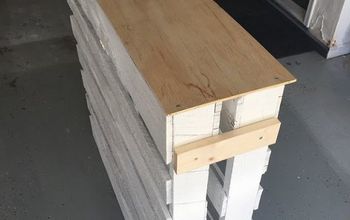
Decide which side of your wood will be the top, and flip it over so that the bottom of the wood is facing up. Align your hairpin legs to the very edge of each corner. We weren’t super precise about this, we just lined them up to sight and touch. Now take your drill and screws and screw each leg into place.
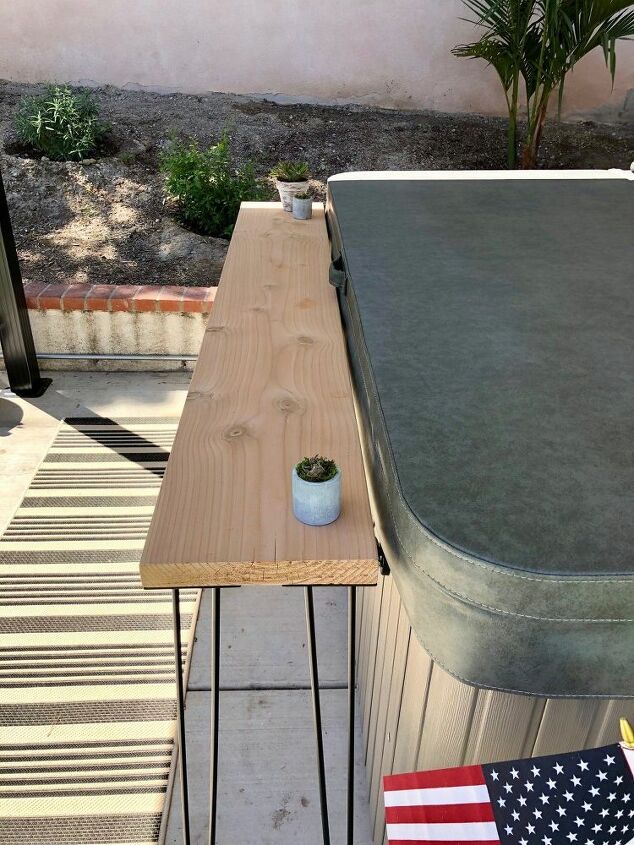
Now that your legs are attached, flip your table to stand.
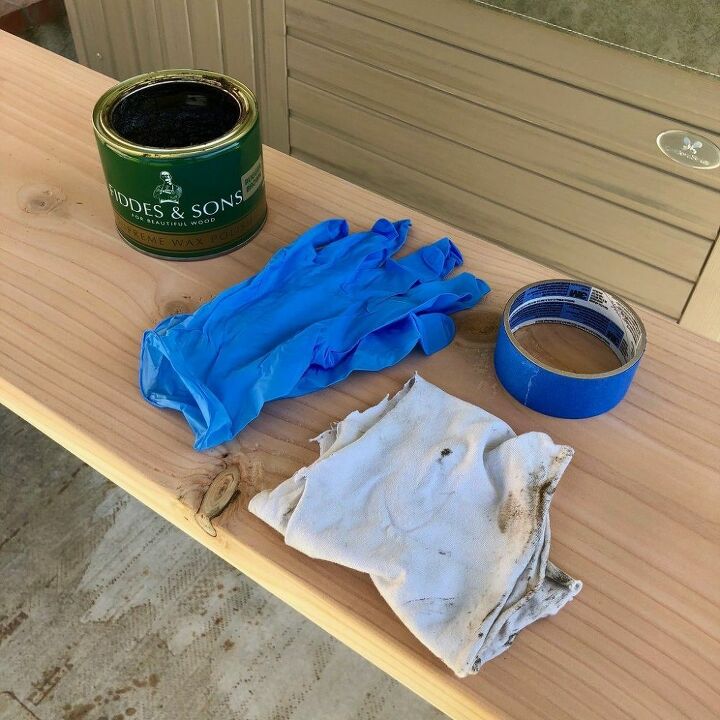
Time to wax! (I personally used wax because it has a natural moisture repelling property as opposed to stain or paint, however you can choose whichever medium you prefer). Use your first rag to apply the wax liberally to your wood, in the same direction as the grain. Make sure you get the top, sides, and bottom. Be careful with how much wax you get on your rag though, as the wax tends to fly off and land on the floor (or you!) when you least expect it! You could always put down a plastic tarp to save the floor surface, or tackle this step in the grass where it wont matter! Also make sure you’re wearing clothes you don’t care about!PRO TIP: If you PAINT your bar, you’ll want to do so BEFORE you attach the legs. (I suggest oil based paint for outdoors). You could also wax your wood BEFORE you screw the legs on, but I didn’t have an issue doing it after the fact. I personally wasn’t sure how I was going to finish the table top, and I wanted the bar to actually use ASAP. It worked out that I ended up waxing and not painting!
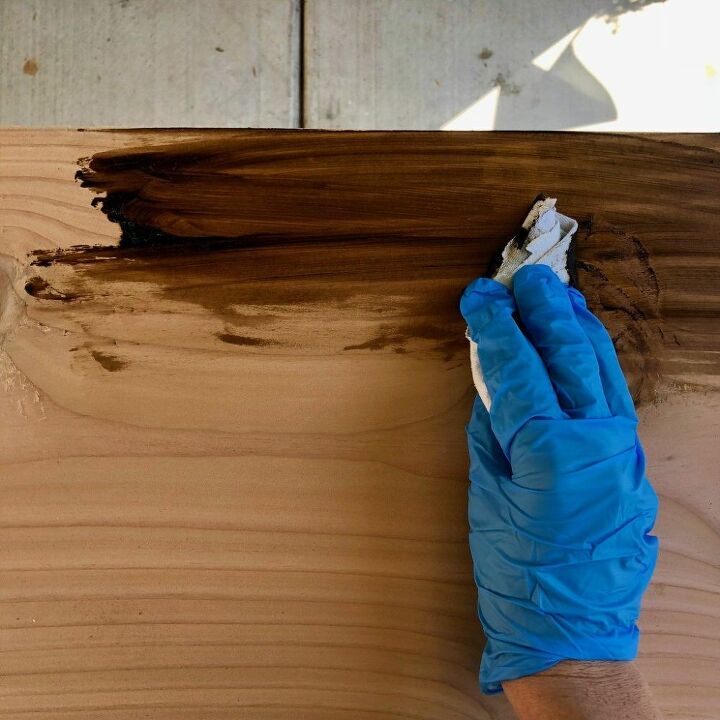
Once your bar top is completely waxed, allow to sit for about 20 minutes. Now take a clean rag and buff the entire thing – really put some elbow grease into this, as this is what makes the waxed wood super smooth to the touch. If you want to seal your bar after the wax or paint for extra protection, use an oil based spar urethane.
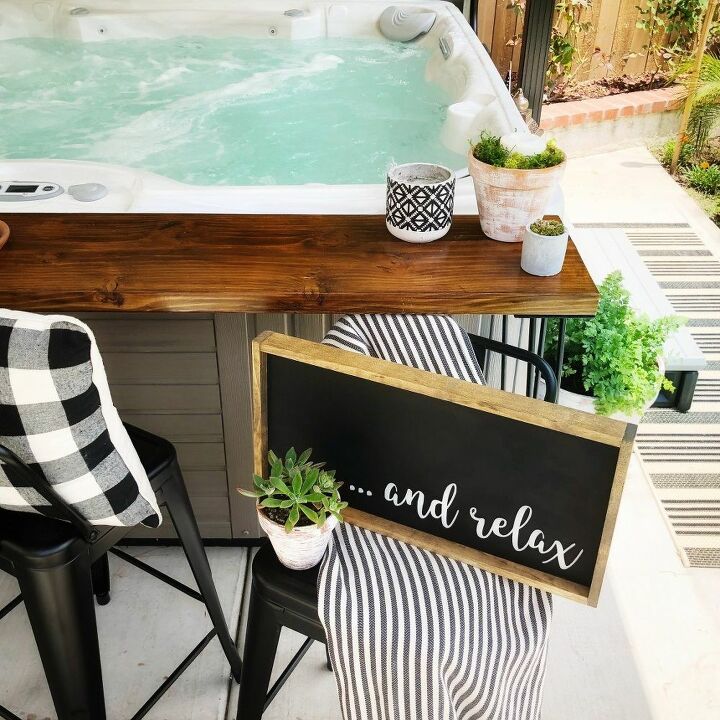
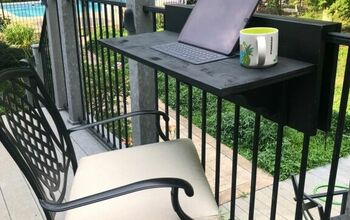
Allow to dry for 24 hours before use. Now enjoy, and relax!
It’s that easy friends! And such a great inexpensive alternative to all of the outrageously priced outdoor bars that are actually on the market (seriously, the ones I liked were between $300 and $500, where as this cost under $100)! And the best part is you can customize it to your exact specifications! Please note that depending on where you place your outdoor bar (full sun, wet area, etc), you may have to do a quick sand and re-wax seasonally. For us, our wood, due to moisture levels, sometimes seeps sap. The spar urethane will help to slow that process down, or may even stop it depending on the elements specific to your location and home, but as with ALL outdoor furniture, the wear on this is much faster than if you were to keep it indoors. You can try adding a cover or bringing into the garage or a shed for winter to help as well!For more easy and inexpensive tutorials, check out my blog and Instagram!
Resources for this project:
See all materials


Comments
Join the conversation
-
It looks great! We attached a similar bar top to our deck rail with collapsible supports, so it can fold down when not in use. But it’s always in use 😁
-
I think I can do this one! It looks very easy. And I think Home Depot or Lowes will cut wood to size if you buy it there.


Frequently asked questions
Have a question about this project?
What is the height if the legs?
Where did you get your gazebo? I’m looking at one that looks like it at sam’s club wondering if it’s the same. The Durham gazebo by Paragon Outdoor? We are getting a hot tub soon and I’m trying to create the same kind of look.
How did you get electricity to your light hanging in the gazebo? Did you have to get an electrician to install an outlet? Thanks so much for the help.