


Create an Easy Centerpiece With Spring Bulbs
Nothing say ‘spring’ like cheery blooming daffodils and fragrant hyacinths! This blooming centerpiece takes less than 10 minutes to create.
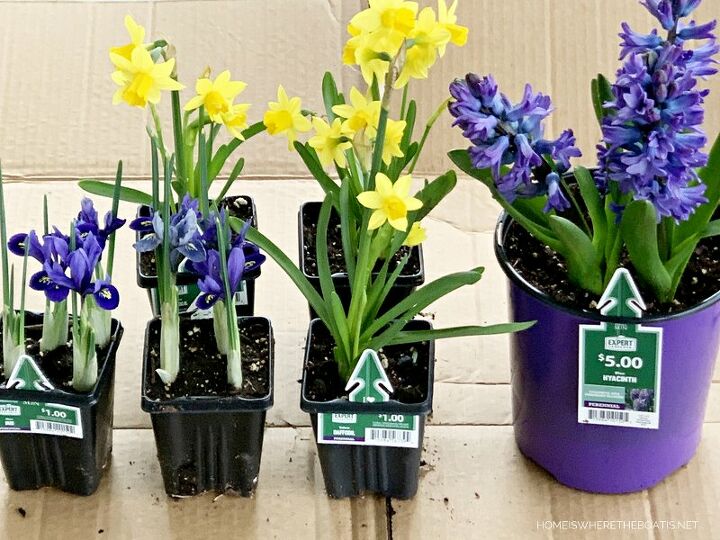
Start by watering your flowering bulbs well, allowing the excess water to drain. I picked up the spring bulbs~ daffodils, hyacinths and iris, at the garden center at Walmart. Small pots were a $1 each and large pots were $5 and are easily divided.
Note: To stay safe while self-isolating, some garden centers are offering curbside pick up.
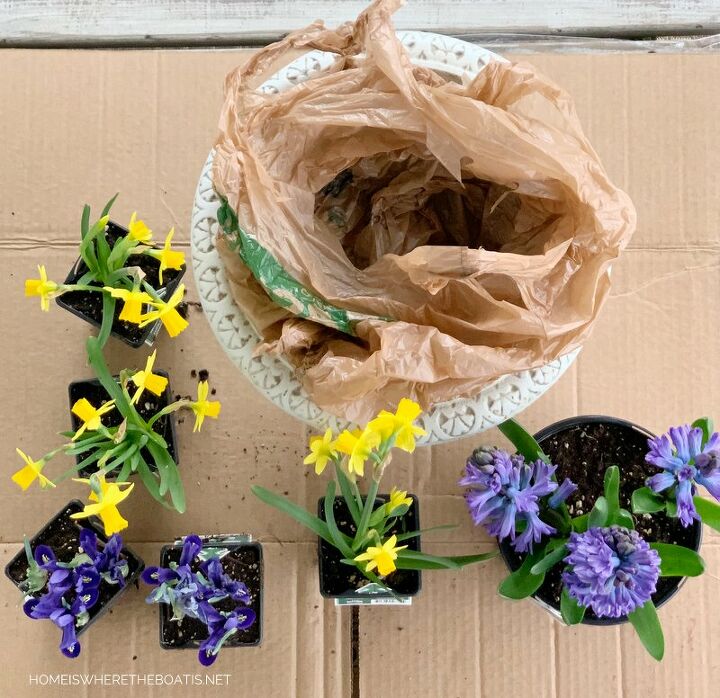
To make a blooming centerpiece with bulbs, I lined a garden urn with a several layers of plastic grocery bags, for easy removal after the bulbs are spent.

Remove your bulbs from their plastic pots. I also removed some of the extra soil surrounding the roots of the bulbs to help them fit in the urn.
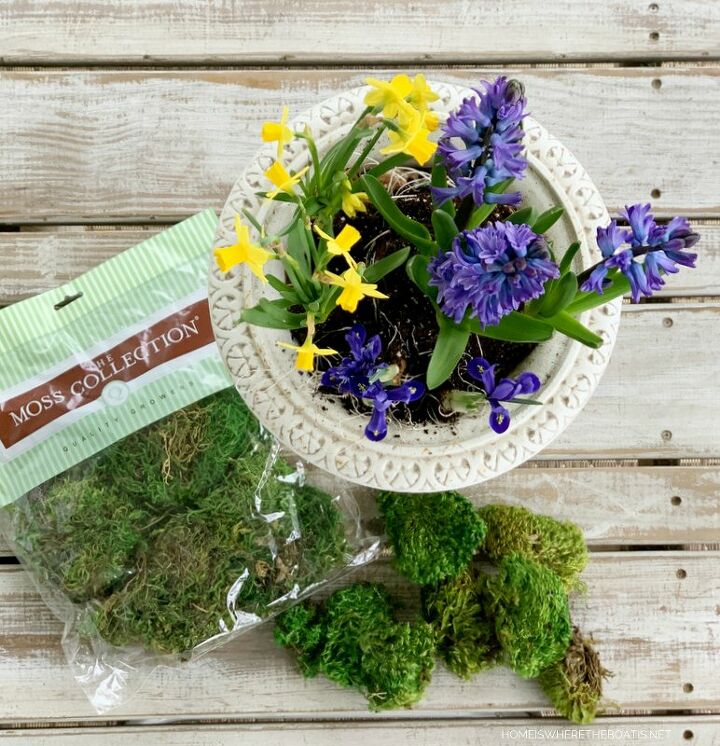
After arranging the bulbs to your liking, cover the soil with moss. I used a combination of sheet and mood moss. You can find moss at the craft store with the floral supplies or online. Download Hobby Lobby's and Michaels' mobile app to your smart phone so you can access their weekly coupon when you shop.
Note: Michaels is now offering free curbside pick up.
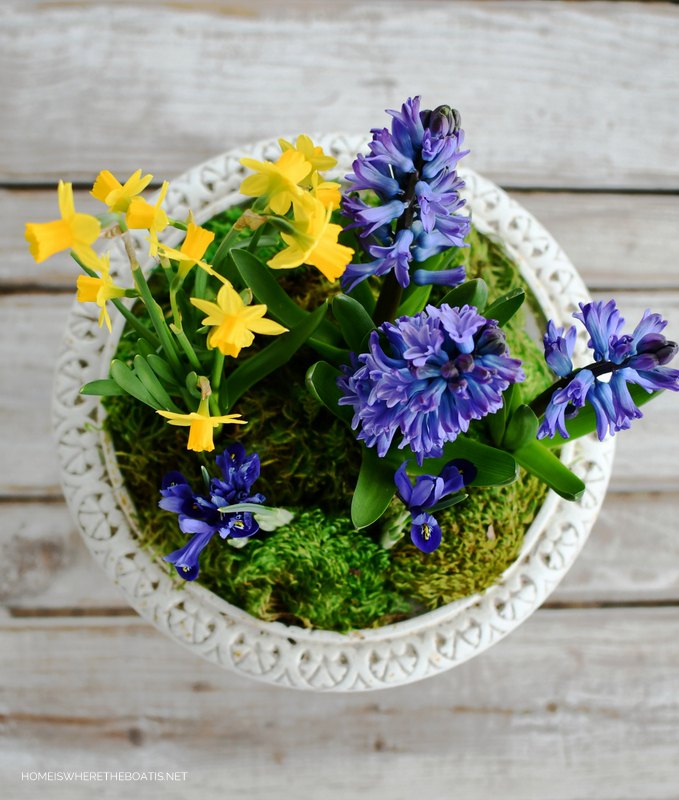
Here's an overhead view of the finished arrangement. After the flowers fade, the bulbs can be planted in the garden to enjoy and bloom next year.
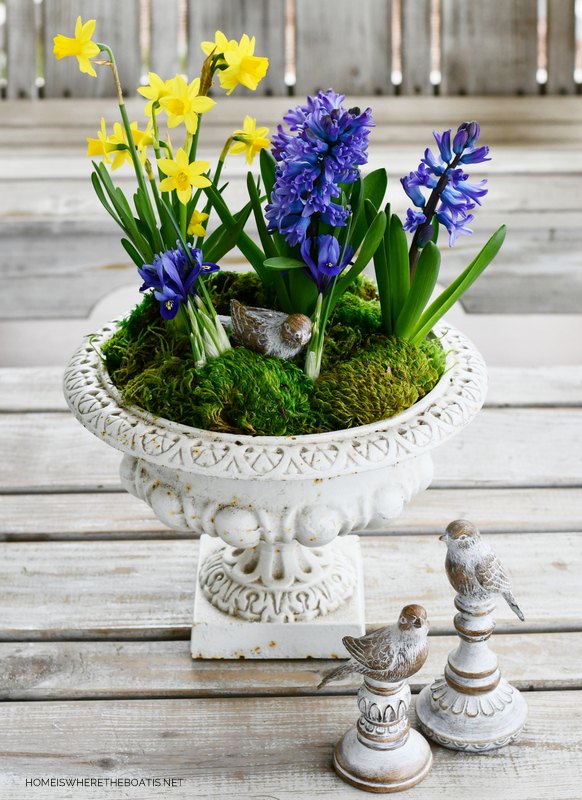
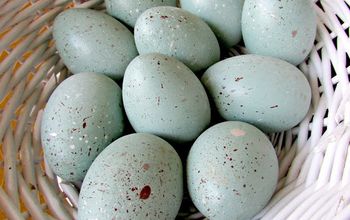
I tucked a little bird for decoration and placed him on the moss.
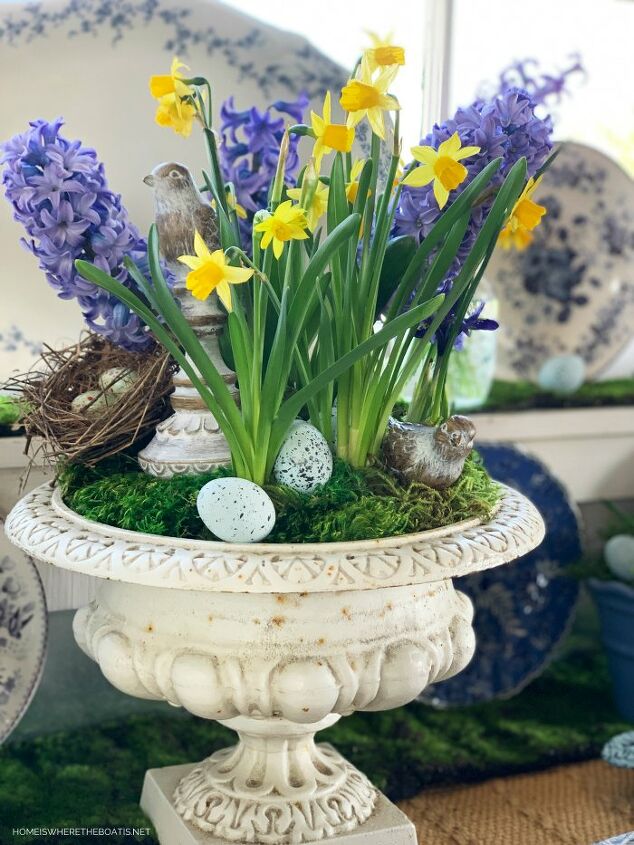
Once I got the arrangement in place, I added another bird, faux eggs and a bird nest .
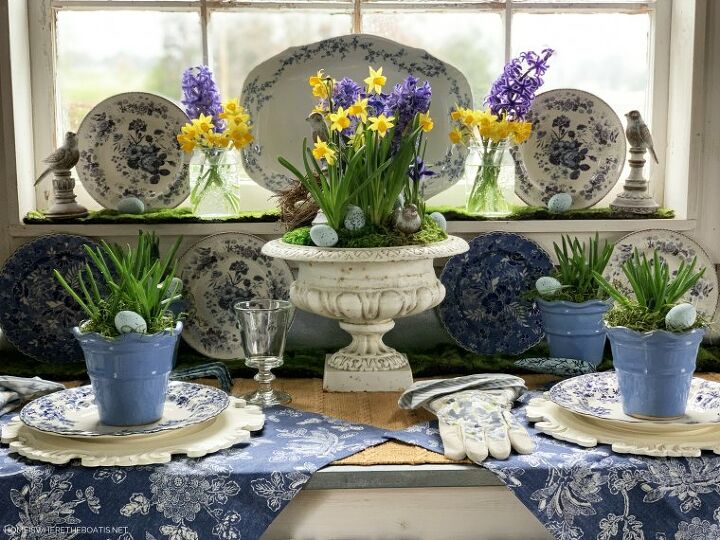
Your spring centerpiece will last a couple of weeks depending on where your bulbs are in their blooming cycle. You can mist your centerpiece and bulbs with a spray bottle of water if needed. Here is my spring tabletop display in the Potting Shed.
More photos and details at the link below.
Happy Spring!
Resources for this project:
See all materials


Comments
Join the conversation
-
Man, Can I live in your potting shed???? Gorgeous!
-
This is so very pretty! Good tutorial, too, thank you.


Frequently asked questions
Have a question about this project?