


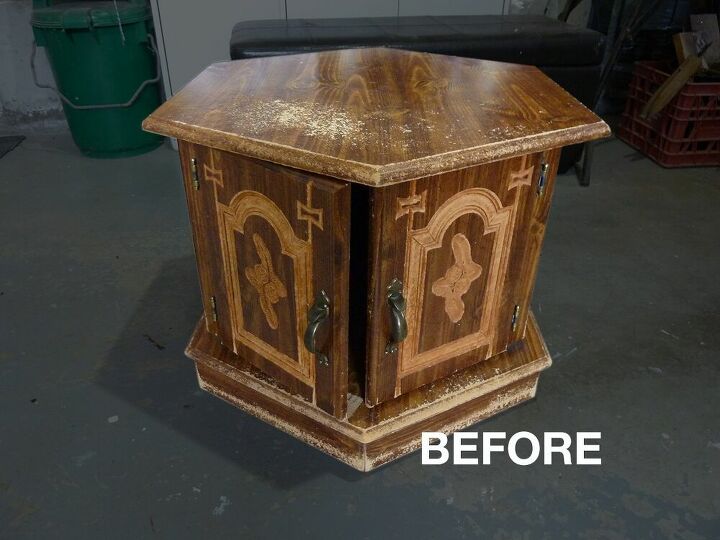
Oral Hygiene Station

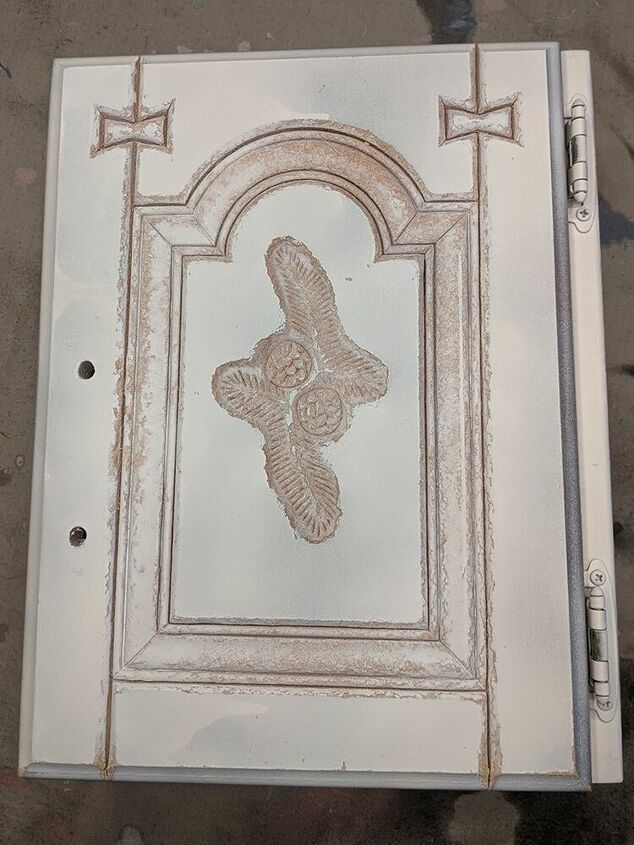
I picked up a free ('70s?) hexagon table online a while back. But once I got it home, I realized it was in really bad shape and beyond refinishing. It was not solid wood and was falling apart. The material reminded me of a thick cardboard! So I took it all apart and added the pieces to my scrap pile.
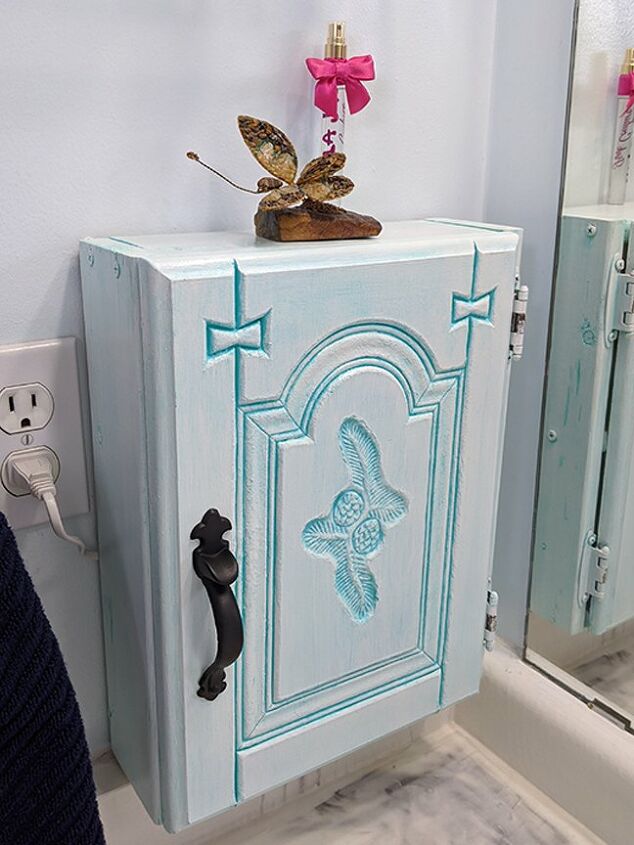
One day I was thinking it would be nice to have a little cabinet to house all my oral hygiene stuff – and decided to use one of the little doors from the hex table as a jump off point.
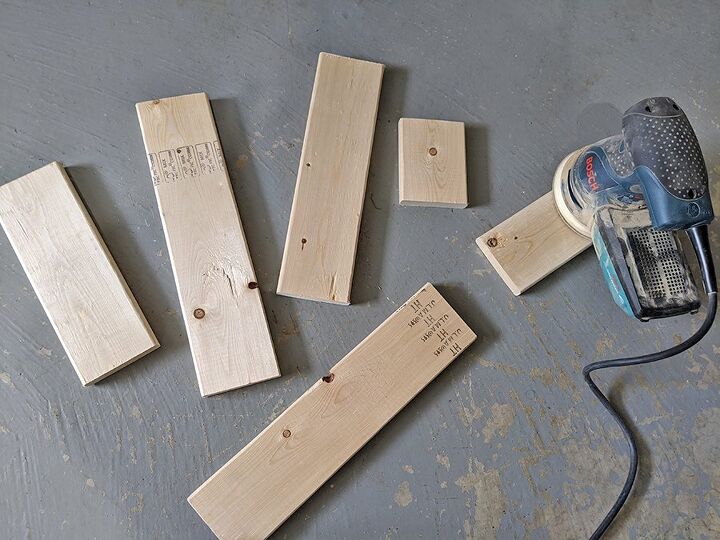
BUILDING THE FRAME
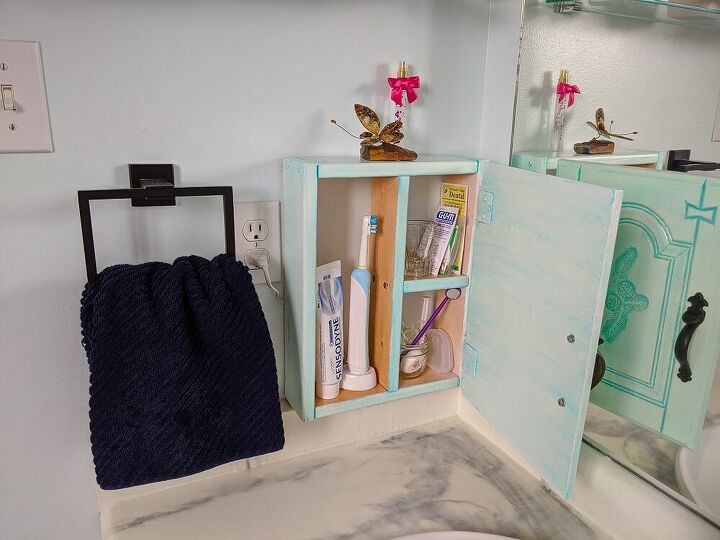
I measured the door and calculated how much wood I would need for a frame, with one divider and one shelf. I picked up an inexpensive piece of wood ($2.62) at Home Depot - 1” x 4” x 8’ SPF (spruce, pine, fur).
I cut out my pieces and sanded them, to smooth out any splinters and sand off the stamps.
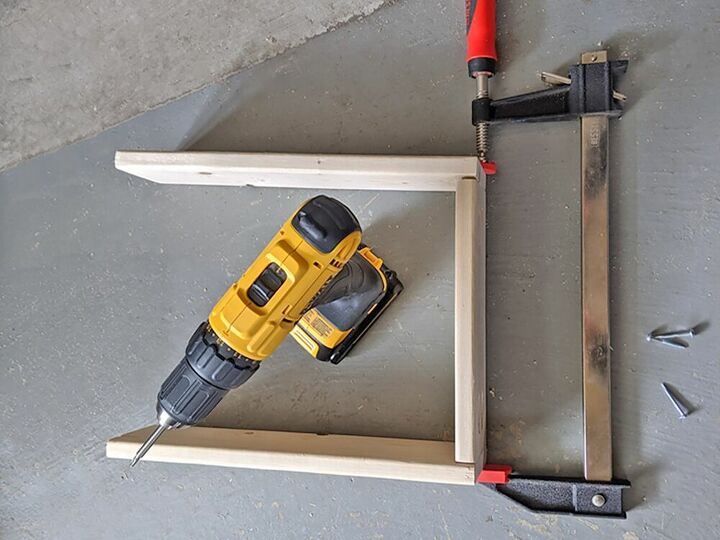
I attached the bottom of the frame using pocket holes. I used a large clamp to hold it in place while I screwed them together.
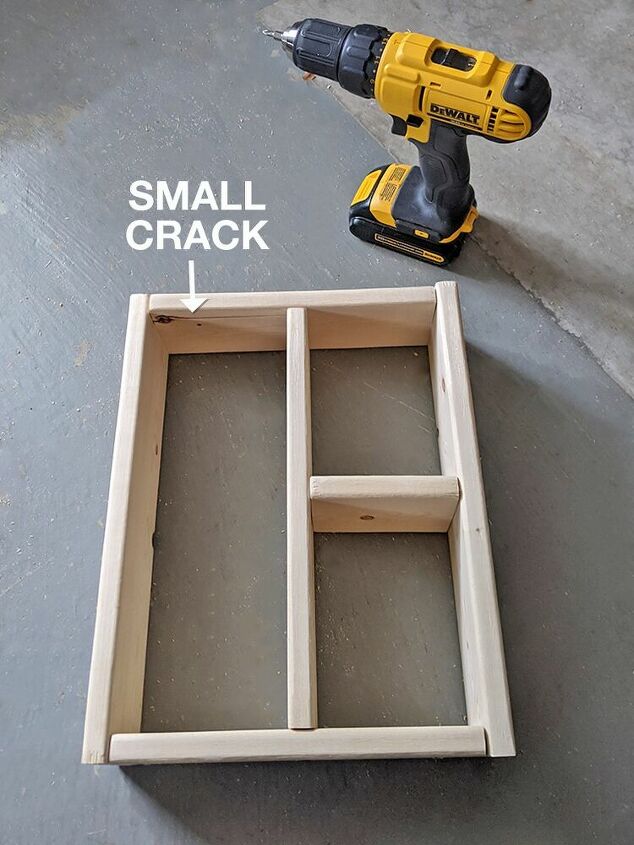
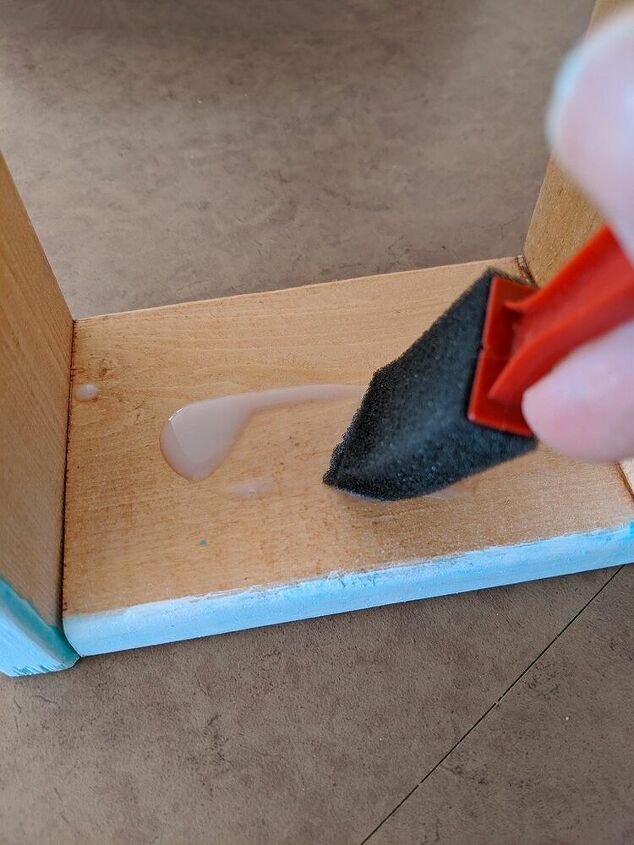
For the top and the shelf, I drilled pilot holes and screwed directly together because I didn’t want to fill and sand all the visible pocket holes. One screw hit a knot and split apart a little. But the frame was still quite sturdy so I just used wood filler to repair the small crack.
PAINT & STAIN
Then I screwed the door onto the new frame – using the existing hinges that were on the door originally.
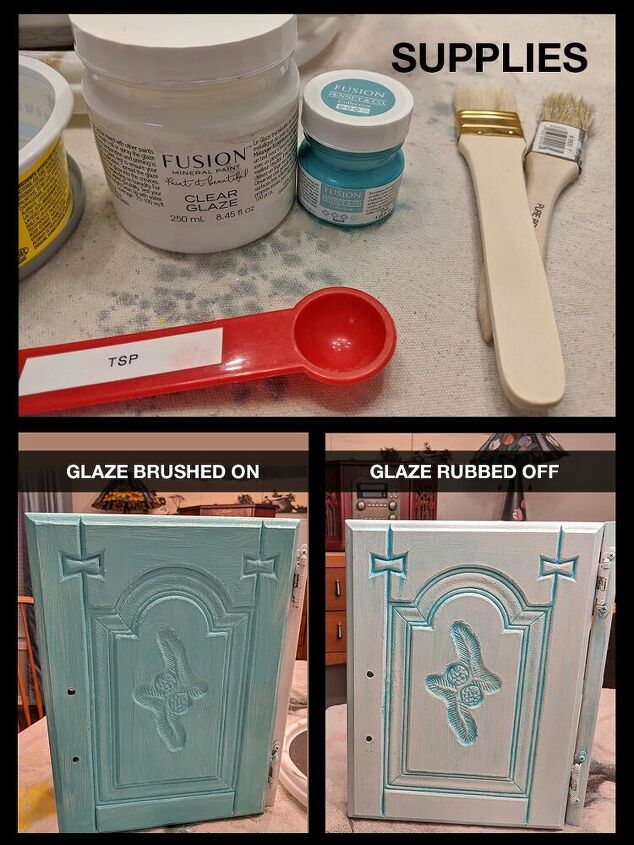
I spray painted everything with white primer. Because the door was a very porous (cardboard like) material it sucked the paint right in!
So I used a second primer, applied with a chip brush. And then a final coat of white mineral paint.
Once it was dry, I applied a glaze. I mixed 1 tsp of blue paint with 4 tsp of clear glaze. I brushed it on with a chip brush, and then wiped it back off with an old t-shirt.
On the inside, I stained the wood with a pecan gel stain, applied with a cloth.
Then I sealed everything inside and out with a semi-gloss clear finish, applied with a foam brush.
I also spray painted the door pull with flat black.
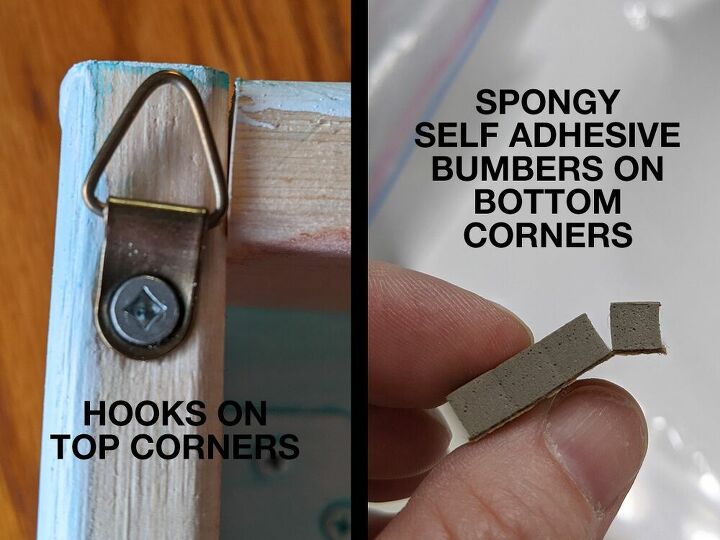
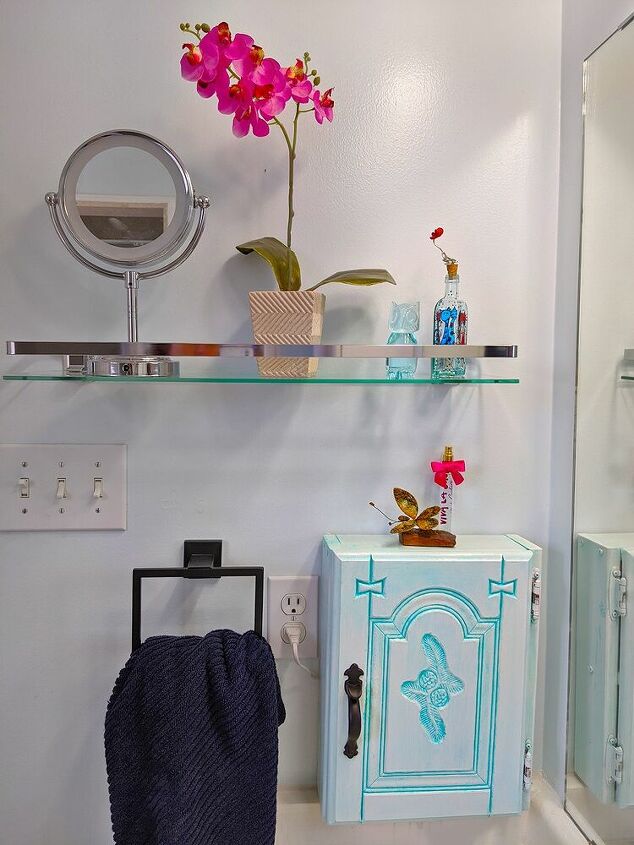
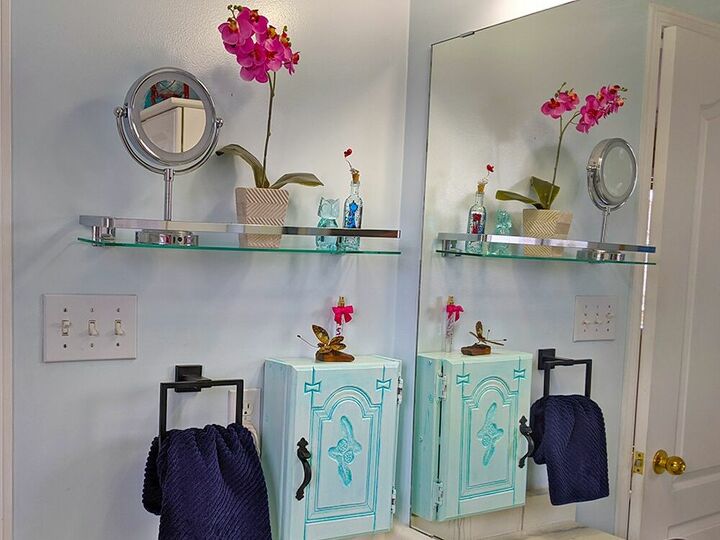
Then I attached hooks to the two top corners on the back of the frame and little bumper pads to the bottom corners, so everything sat flush against the wall. I hung it using plugs and screws.
Then I put all my oral care items inside! This is one of the first things I’ve ever built, and while it’s far from perfect, I really think the outcome is pretty cute. 😊


Resources for this project:
See all materials


Comments
Join the conversation
-
For anyone wanting to try this project - If you have an obtrusive looking outlet that is not used very much, just cut out enough of the back wall of the 'cabinet' the size the outlet, hiding it, and mount the whole cabinet or frame right over it. When needed, the second plug-in can still be accessed by simply opening the door.
This idea can also be adapted easily into an attractive 'recharging station'.
-
Love this!!! Thank for sharing!


Frequently asked questions
Have a question about this project?
What was the cost of all the finishing materials- paint, stain, etc. that you had to purchase to complete this project?