


DIY Twig Plate Charger’s
I recently saw some twig place mats at Pier One Imports and decided they would be perfect for my Spring table. Then I saw the price and it was major sticker shock. After I had a chance to recover, I remembered a set of 6 tarnished plate charger’s that I’d purchased from Goodwill for only $.99. A plan began to form.
If you are looking for more thrift store makeover's, you may want to visit here!
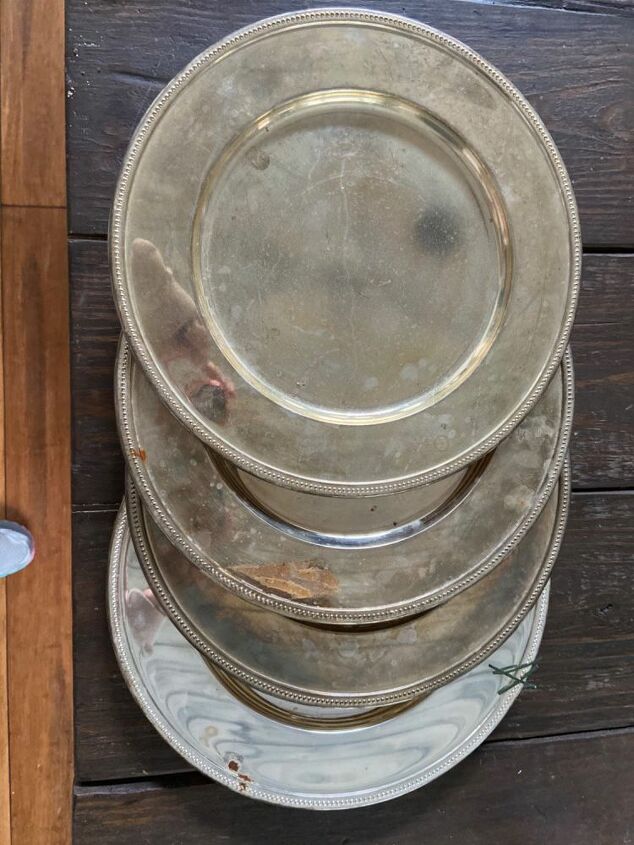
I began by digging through my storage for the charger's. I knew they would come in handy one day!
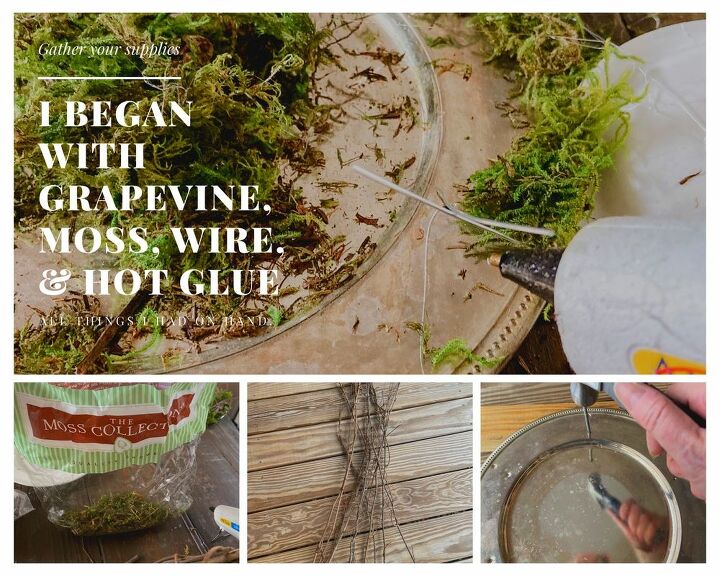
I began by gathering some grapevine that we have an abundance of on our property. I braided several lengths of the vine to allow for more control while attaching to the charger’s. I then gathered more items that I already had on hand from previous projects.
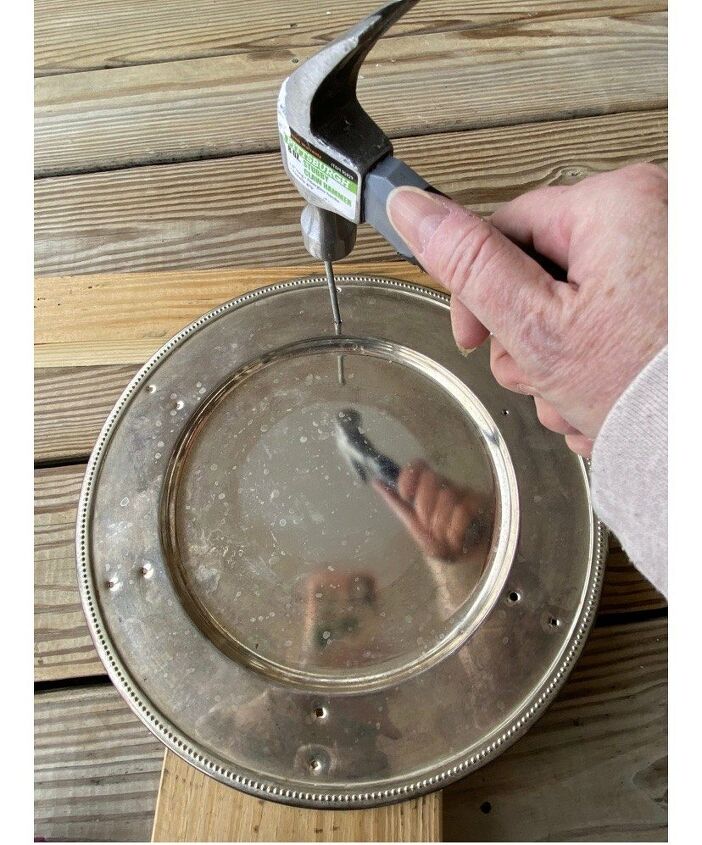
I used a large nail and hammer to punch holes into the rim of the charger. Be sure to place the rim on a scrape block of wood while punching the holes. This will keep the charger from becoming bent.
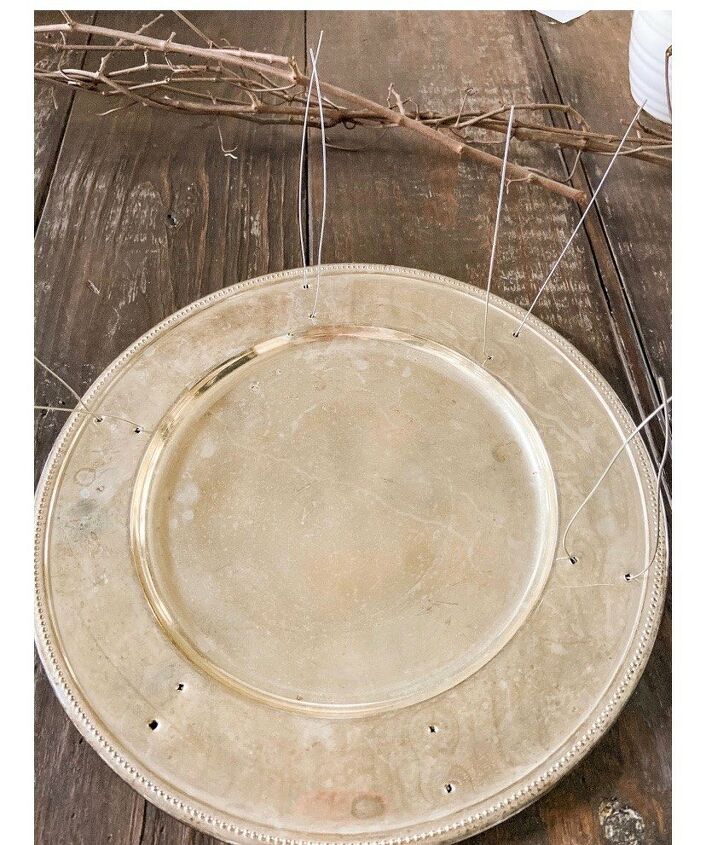
Then I cut lengths of the galvanized l wire approximately 10 inches long and threaded the lengths from the underneath side of the rim. I bent the wire flat on the under side to keep the lengths even.
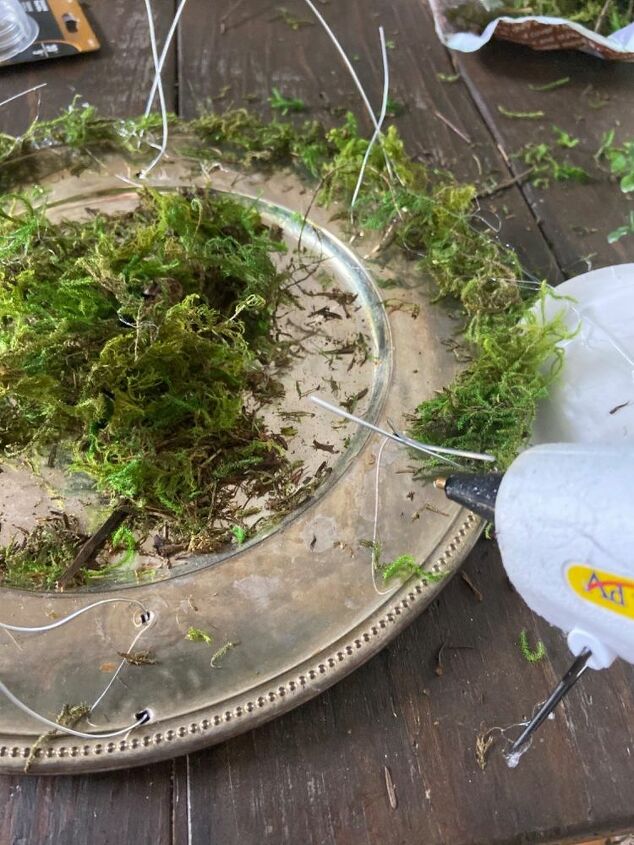
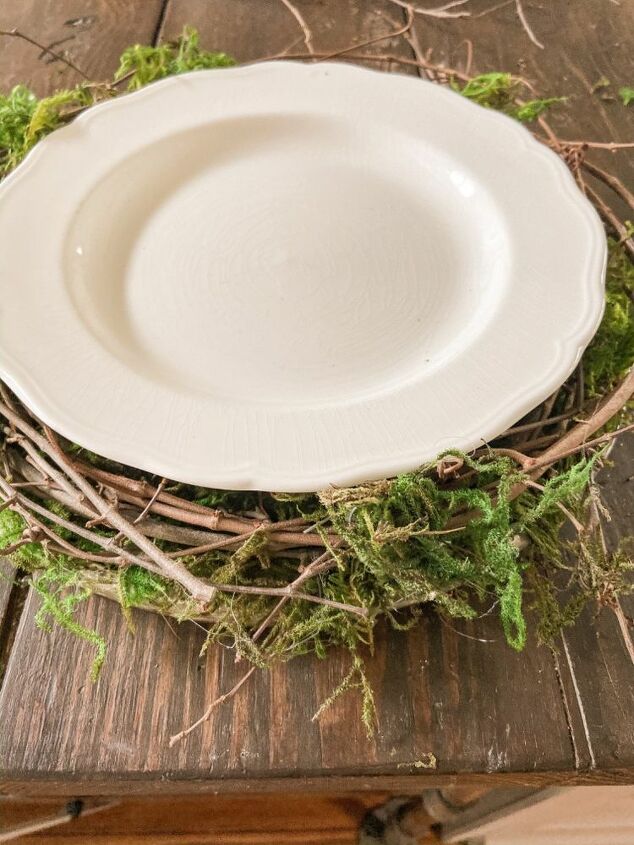
I started by adding a small amount of moss around the rim of the charger’s using the hot glue.
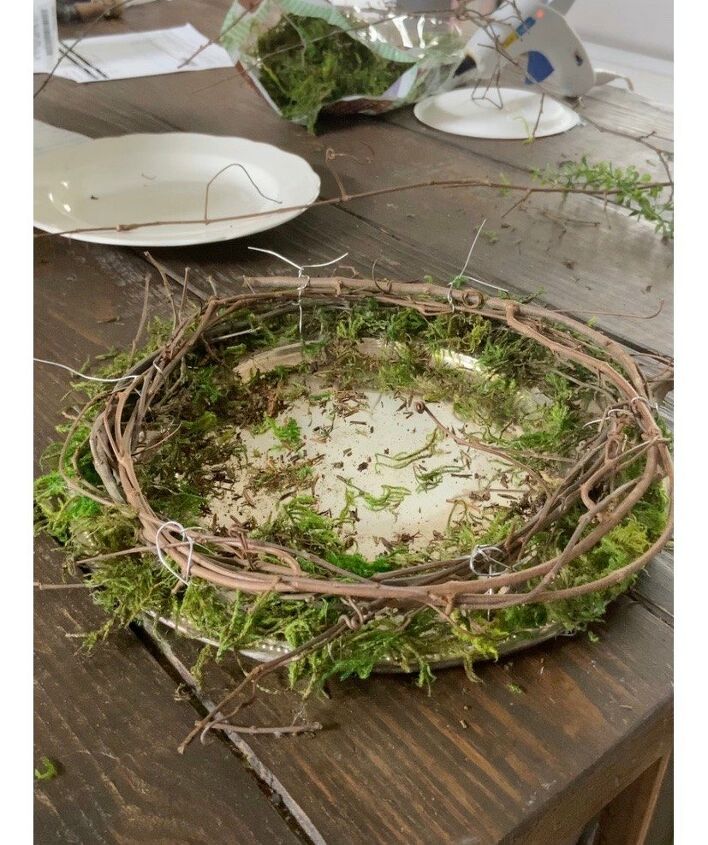
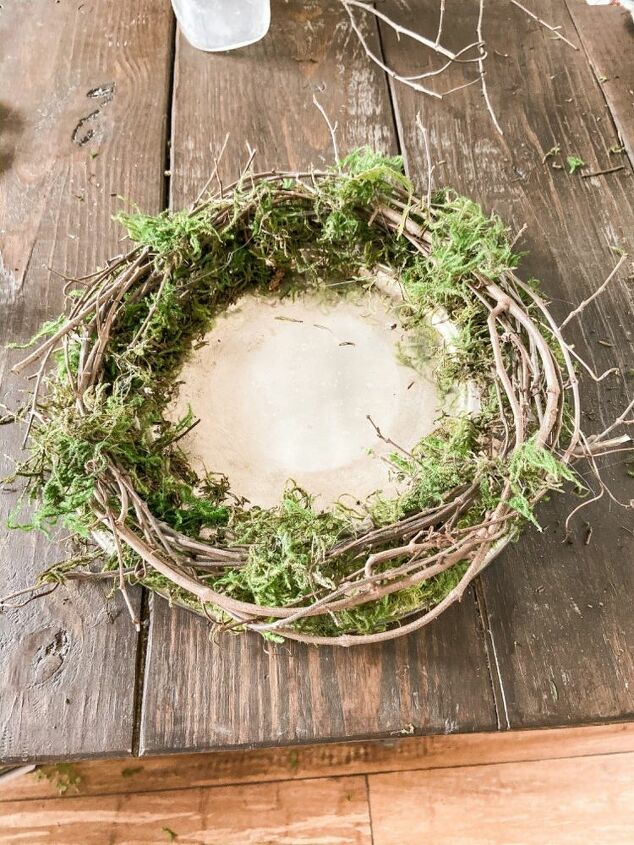
After the rim is covered and the glue is dry, I began to wrap the grapevine around the rim and secured it by twisting the wire around the vine. After the vine is secured to the charger, I trim away any excess wire and tuck the ends into the vine.
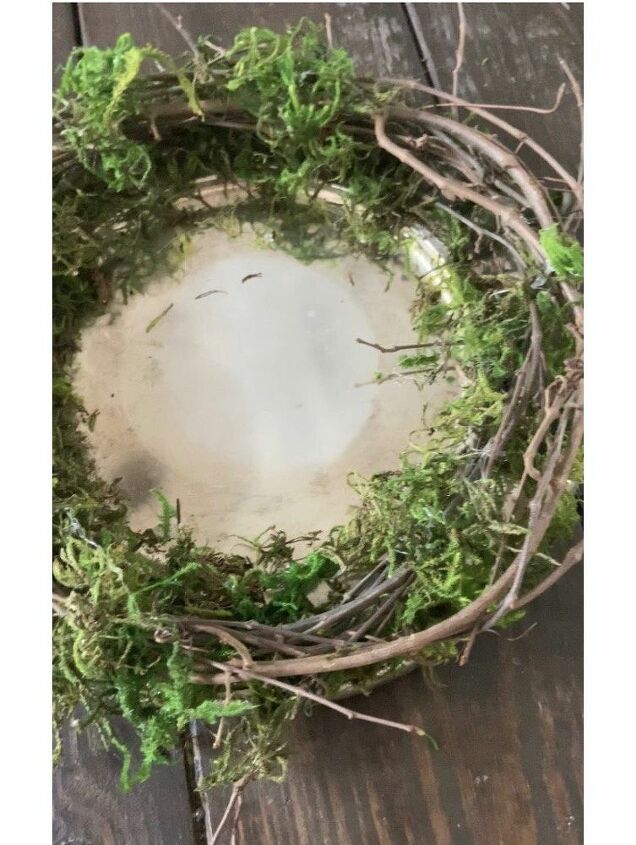
Last I added more moss around the vine to fill in any holes and cover over any unsightly wire that may be exposed.
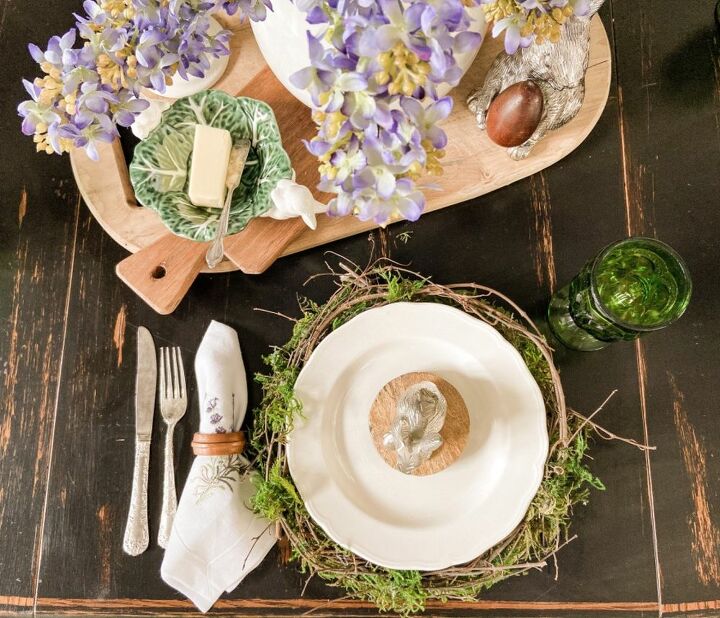
Add plates and style your table.
I was able to make 6 chargers for only $.99 because I had everything left over from previous projects. The result was a stunning table for spring.
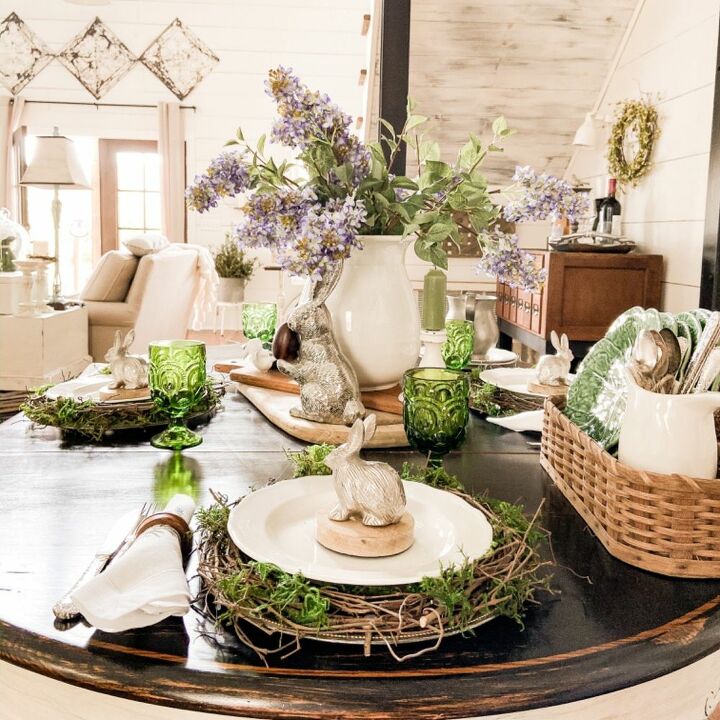
If I’d purchased all my materials for this project, I estimate I’d have spent less that $15.00 for all 6 chargers! This is less than one of the placemats that was my inspiration. Check out more of my projects here.
Thanks,
Rachel.
Resources for this project:
See all materials


Comments
Join the conversation
-
Lovely idea , so nice and natural for an outdoor feast or even a centerpiece for candles or a lantern , you have inspired me LOLs
-
Beautiful ! 😍 I just love it all! Lilacs are one of my favorites..The silver bunnies are stunning!! Did they come like that or did you silver leaf them? Charges are earthy yet add interest and texture. Green glass ware and cabbage plates...perfect choice!! You've covered every detail. What an eye for detail you have!! Looking around the picture, you have a lovely , warm and cozy home!!


Frequently asked questions
Have a question about this project?
Really darling! Just wondered how they can be cleaned?
Beautiful! These would also make vey cute plant saucers!
Great idea, going to adapt to make a tiered tray with this method !😍