


Jewelry Box Makeover

Have you thought about styling your jewelry box to house what styles you? Who says your jewelry box has to be boring? Here’s an idea!
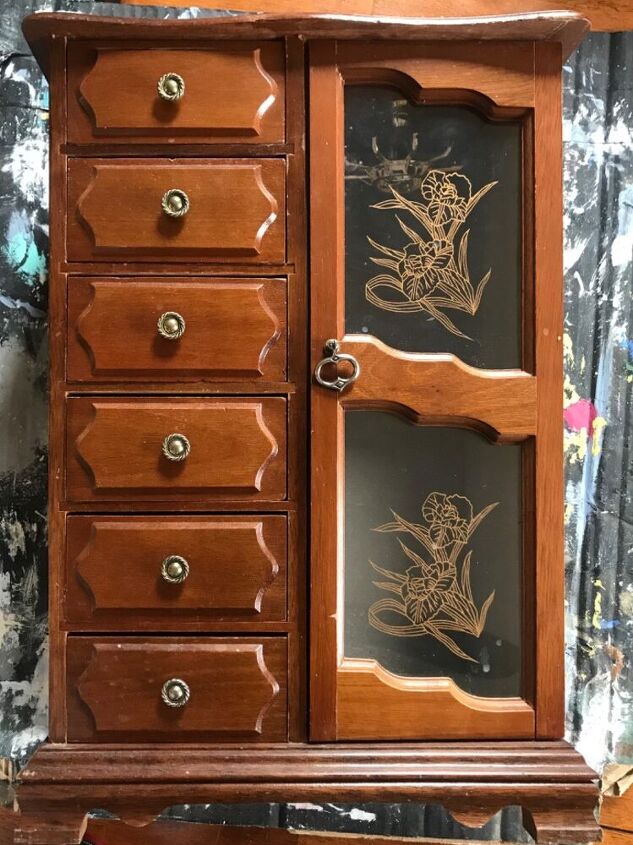
Before starting. Clean your piece and remove the glass. Leave any door on!
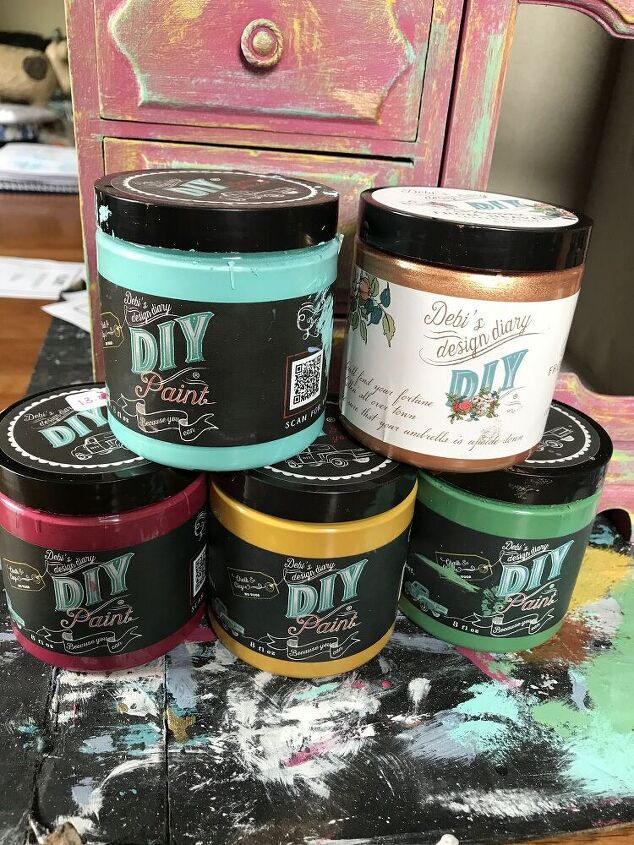
I used DIY Paint and Finishes for this project.
Start with a base coat. I typically use two coats of paint as my base.

I leave the drawers in then pull them out just enough to clean up the edges. And get the inside trim of the jewelry box.
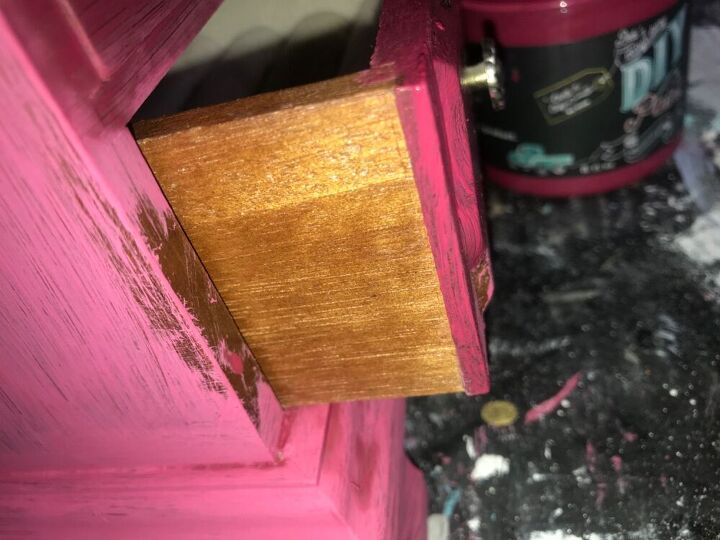
If there isn’t an edge you can create one.
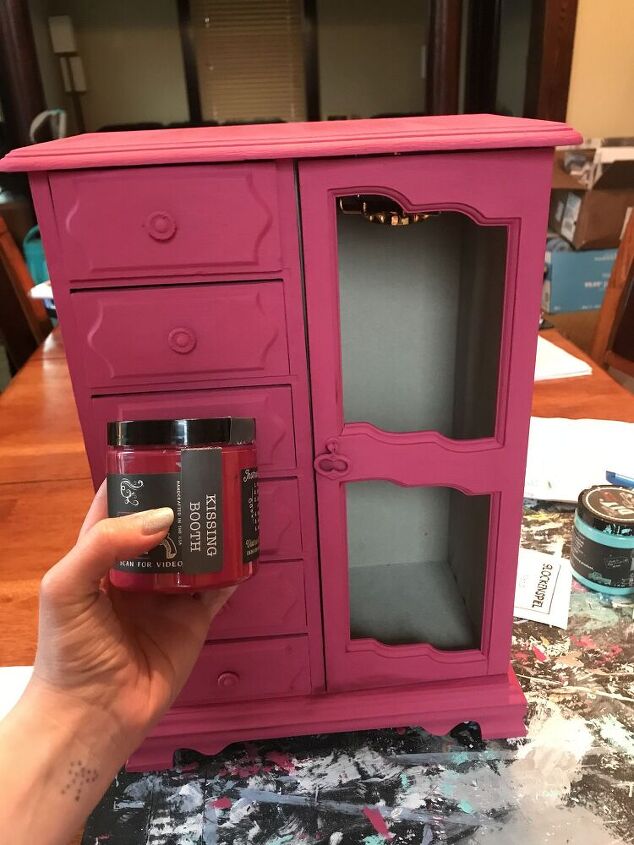
Two coats done. Base coat is finished.
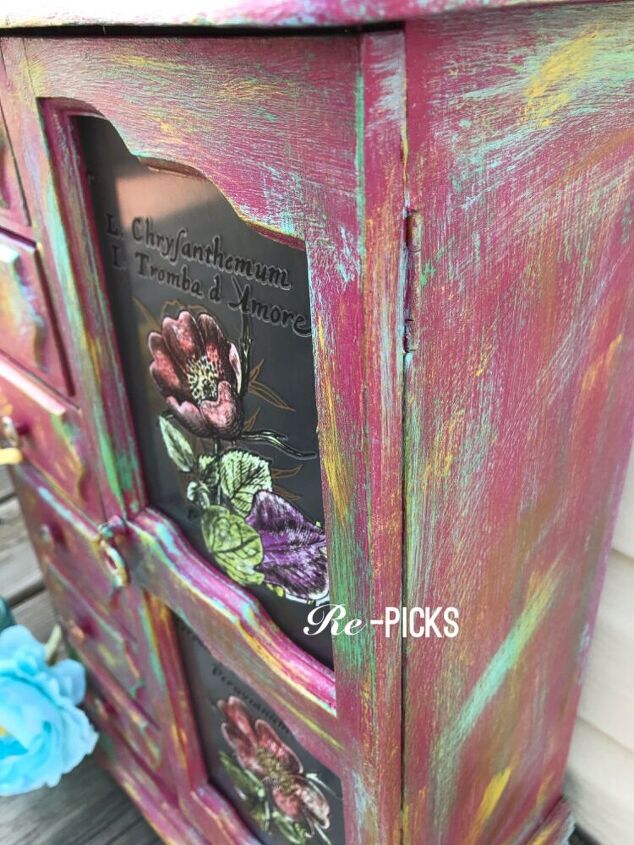
I chose a few different colors. You can use less or more.
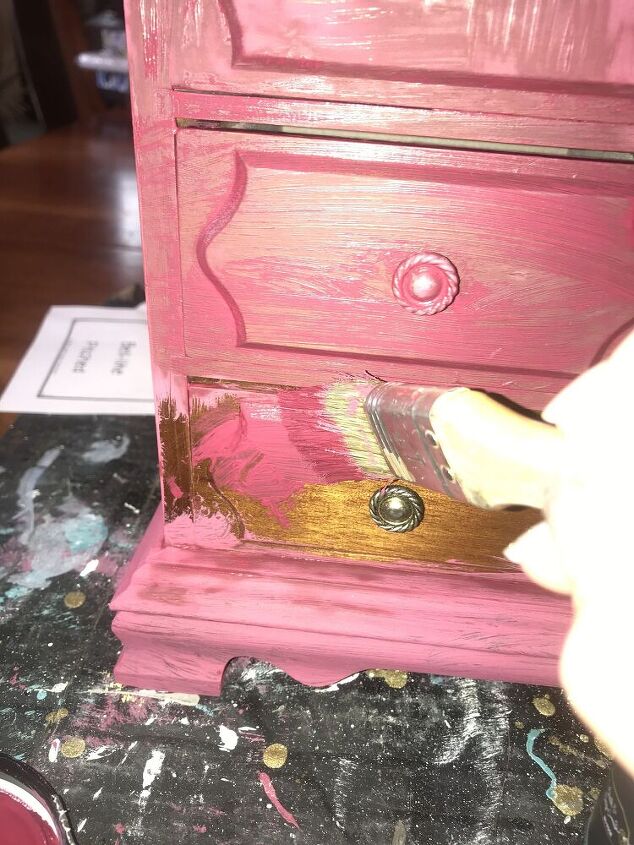
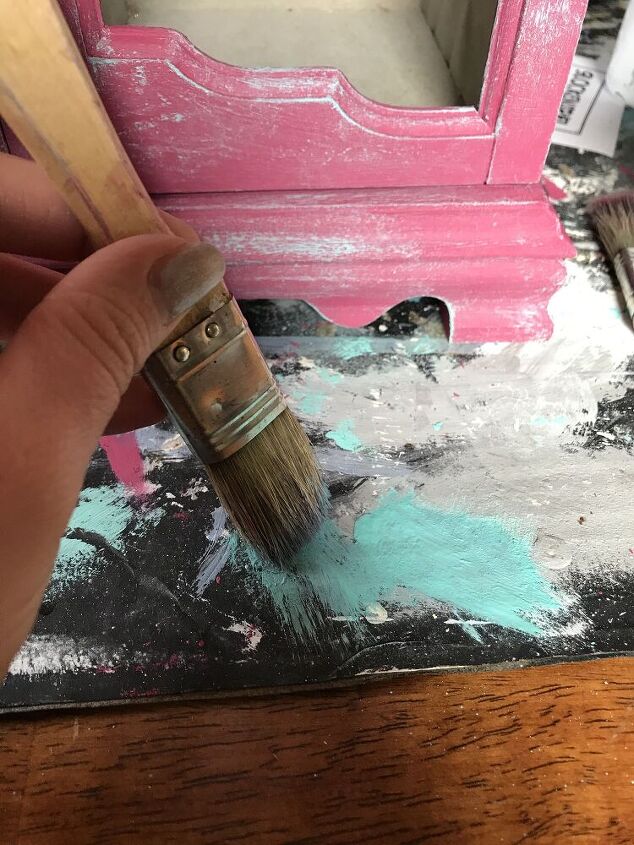
dip your brush I’m the paint and then wipe the access off on a paper towel or cardboard. Whatever you have is fine.
The key is to not have a lot of paint on your brush .
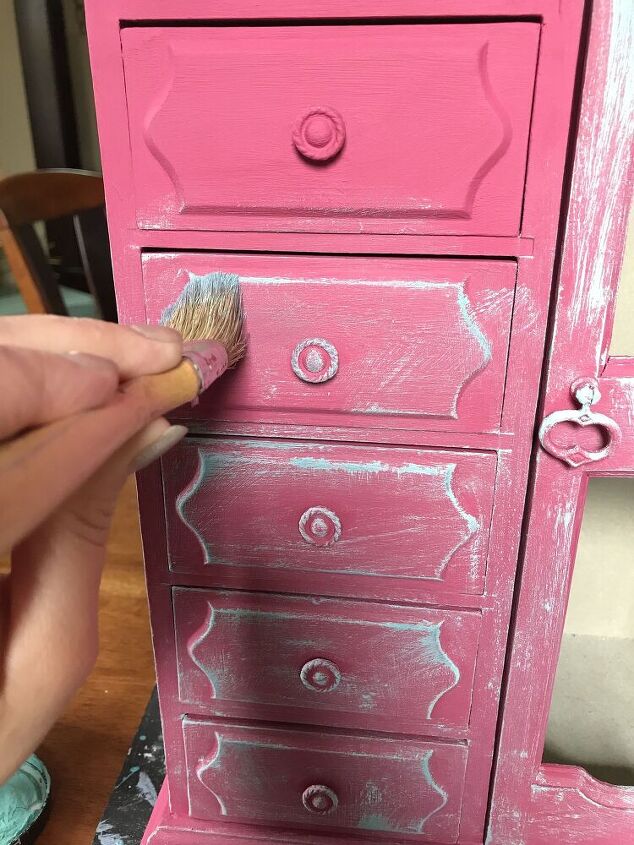
Lightly go across the entire jewelry box all over. Repeat this step with every color.
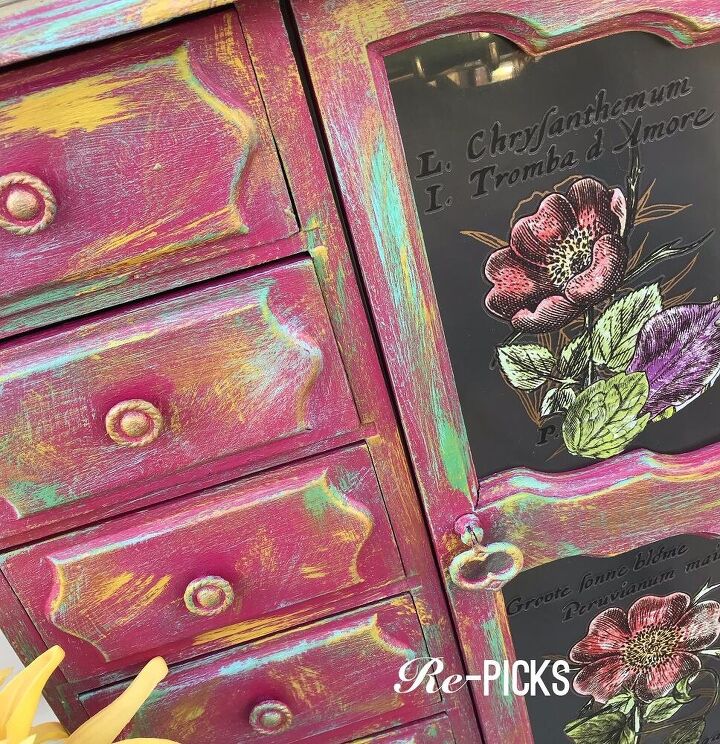
After you get your desired look. Apply a top coat or wax to seal.
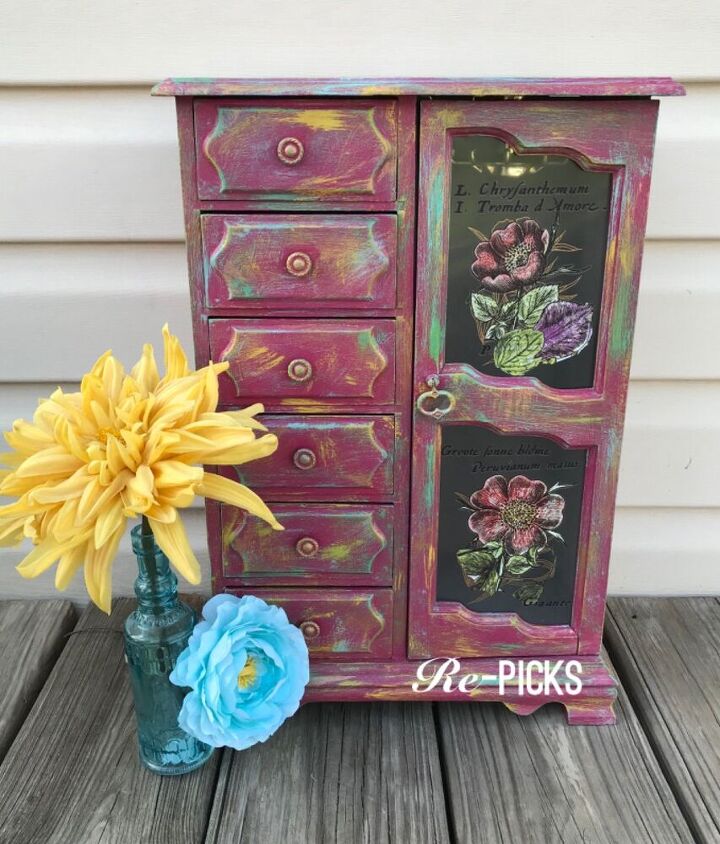
The flower decal did match the new makeover, so I applied a transfer. It really tied the look together. But you can do what you prefer.
I used IOD transfers for mine.
Resources for this project:
See all materials


Comments
Join the conversation
-
Beautiful
-
I have two boxes of the same size but different design, going to redo to make them match. Maybe a space between to put an old music box and a shelf on top for incense.


Frequently asked questions
Have a question about this project?