


Easy $50 Walkway
We removed a broken old concrete walkway in the front of our house with this lovely stepping stone and pea gravel walkway. Here's how we did it for $50 and no concrete pouring involved.
I wanted a new walkway that I could do 100% myself. I didn't want to mess with pouring concrete so I decided on a stepping stone and gravel approach instead.
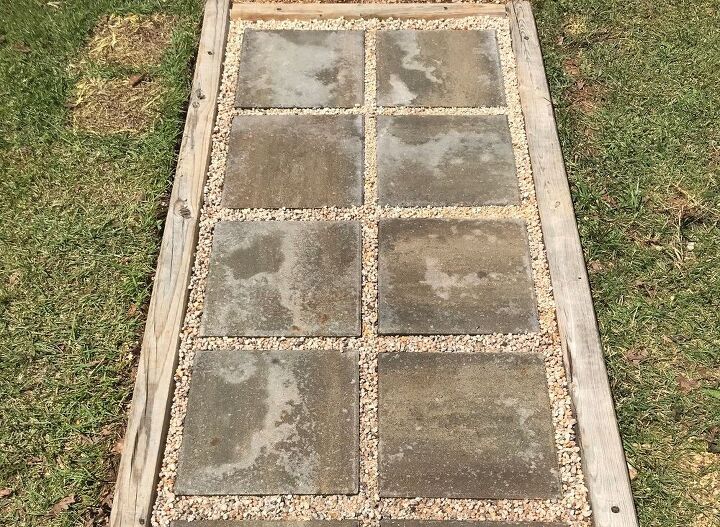
Here's how our walkway looked when it was complete. I've gotten so many compliments on it already!

The first owners of our house used landscaping timbers as a form and poured concrete into it for the front walkway.
Over time (and with delivery trucks driving over it again and again) the concrete cracked and was coming up in pieces.
First I used a sledgehammer to break up the old concrete even more into manageable pieces. I was amazing at how easy it was to break it up (my first time using a sledgehammer).
Then we threw the pieces into the back of my husband's truck and hauled it off to the dump. I used a garden rake to remove any large rocks and get a relatively smooth dirt layer for the new walkway.
It doesn't have to be perfectly level since you'll use leveling sand but get it as level as you can in this step.

I measured the length and width of my walkway to figure out how many stones to buy.
Since my walkway was rather wide I decided to use these large 16 inch by 16 inch stepping stones that were available at my local Home Depot.
I figured that with an inch or two spacing on all sides I would need 10 stones. You could add more or less space for filling with gravel to make the stones work.
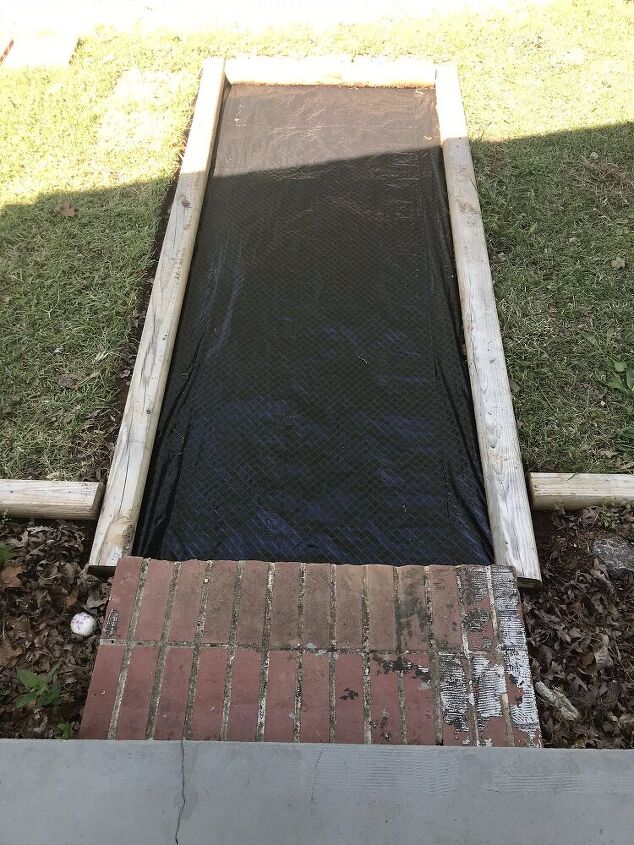
Next I put down some weed fabric to make sure I never had to pull weeds out from between the stepping stones and gravel.
I made sure it went underneath the landscaping timbers and secured it with fabric staples.
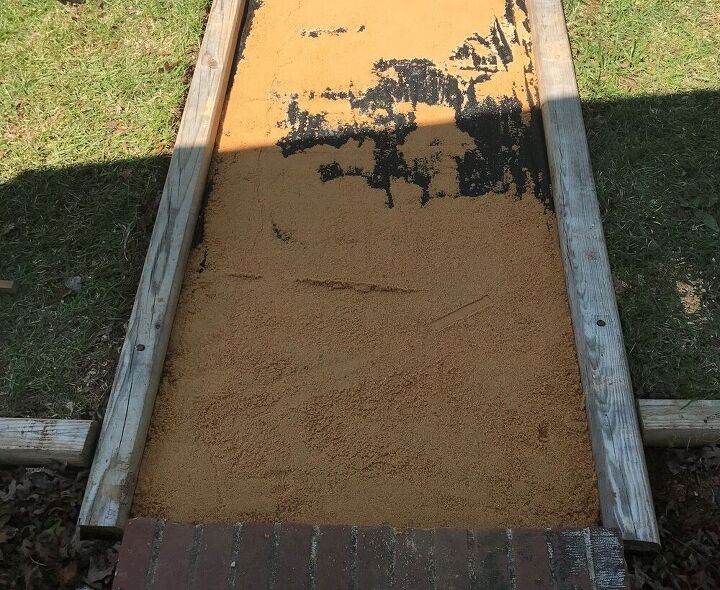
Next I put down a bag of leveling sand and used it to create a flat surface for setting down the stones.
Use a piece of wood or level and drag it along the surface to make it flat. If there are craters fill them in with sand and drag your level across again until no more craters appear.
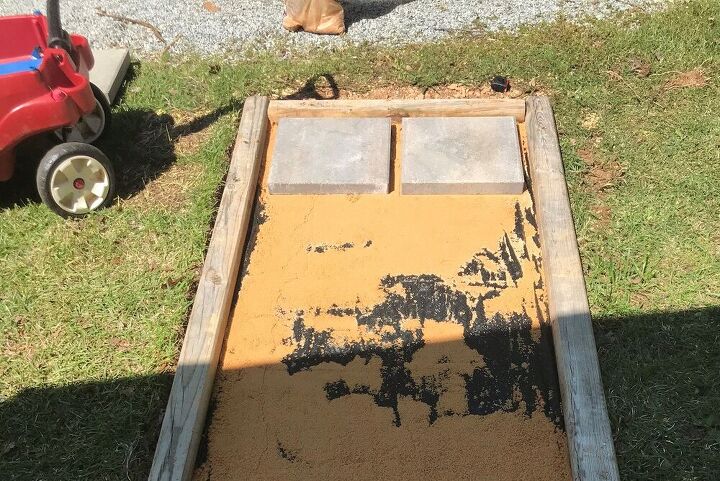
Next lay your stone out exactly where you want them. Once you put the gravel in there is no moving them around!
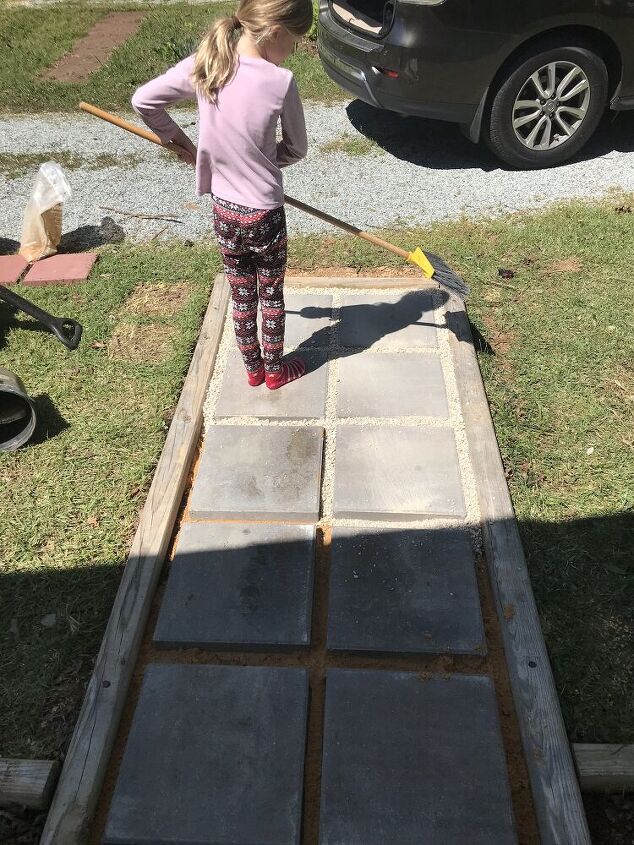
To put the gravel down I dumped little piles on each stone. Then my daughter used a broom to brush them into the spaces between the stones.
When we needed more to fill in the spaces I just dumped more on the stone and let her broom it in.
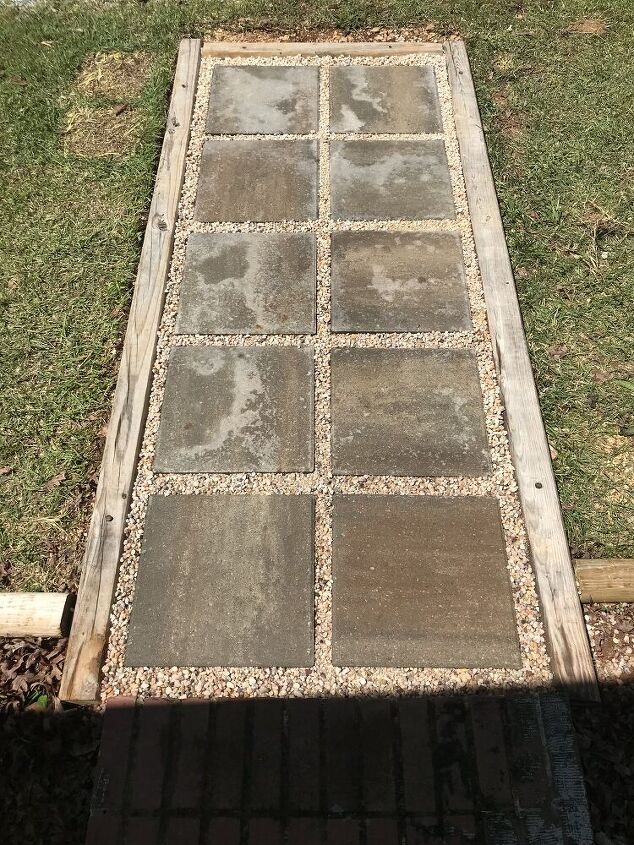
And here it is when complete!
I love that if the delivery truck drives over a stone and breaks it all I have to do is replace that one stone.
And it looks lovely and Zen. What do you think?
Resources for this project:
See all materials


Comments
Join the conversation
-
I too was fed up with people cutting corners and driving over my grass and gardens when turning into my laneway. My solution which worked 100%...strategically place large, decorative rocks at these locations. They are back far enough that snow removal is not affected.
-
Good job, I tried this but found the gravel ended up in the lawn only to be slung by the lawnmower


Frequently asked questions
Have a question about this project?
While the gravel looks lovely, wouldn't sand work better, in that it would be less prone to being swept away when you need to sweep for leaves and debris?
It’s a beautiful look, but I would have to buy and lay the wood for framing first. I’m thinking the price of the wood could make this project much more expensive. And I think I’d have to half bury the wood so it wouldn’t be able to move around. Any suggestions?
Why the heck is a delivery truck driving that close to your house or through your yard? I'd stop that immediately 🫣🤭