


Don’t Buy a Little Princess Playroom Teepee Tent, Build One!
I’ve been putting together my daughter’s playroom and I wanted to put a teepee in the space. After a quick look online, I realized that buying a teepee was out of my budget, but making one myself was not! This DIY teepee is an easy build that really only requires some basic materials and a few hours of your time. Even better, you can easily customize it to fit the theme of your space. The theme in my new playroom will be princess, so I used pinks and light blues, and a gorgeous ruffle fabric for the teepee I made. Check out my step by step tutorial to get started making your own DIY teepee tent.
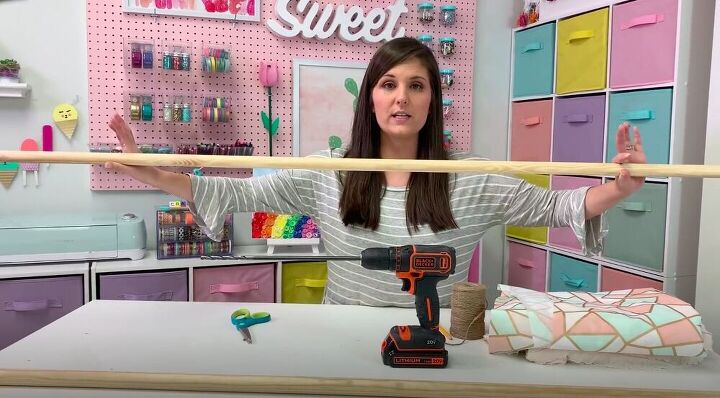
Tools and Materials
- Four 6 foot dowels
- Fabric
- Twine
- Drill
- Scissors
- Thumbtacks
- Hot glue gun
- Hot glue
- Pompoms

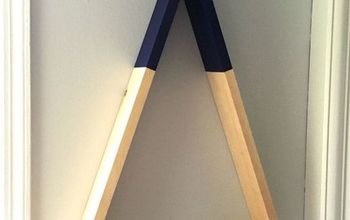
The first thing I did was drill a hole into the top of each dowel, about ten inches down from the top. Make sure that the drill bit is big enough for the twine that you’re using to go through easily.
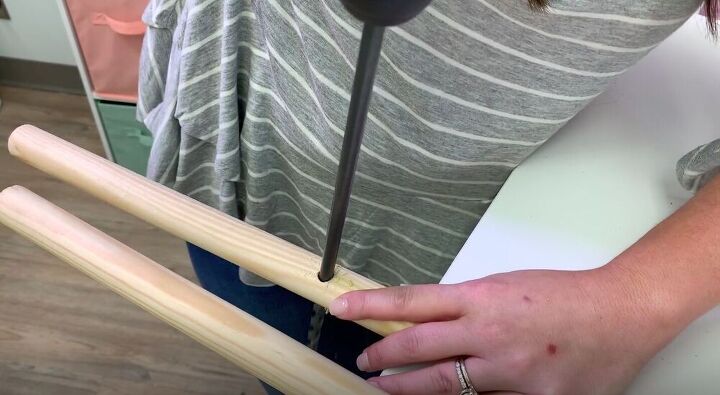
Once I had drilled my hole, I reversed it back out, giving me a clean hole for my twine.
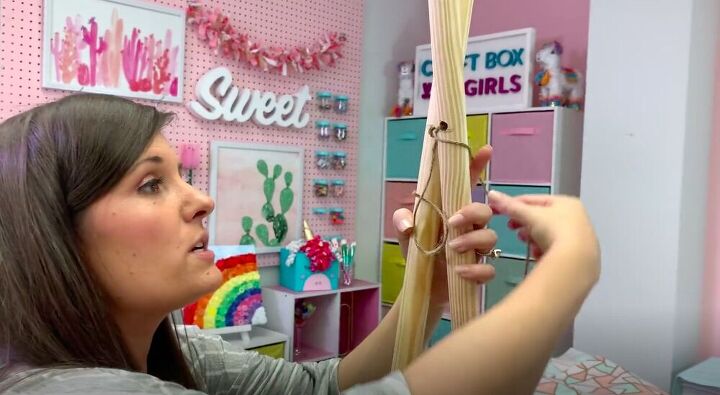
Feed a length of twine through two of the dowels and tie a knot. Make sure you fasten them together as tightly as possible.

I also pulled the twine over and in between the poles to strengthen them even more.
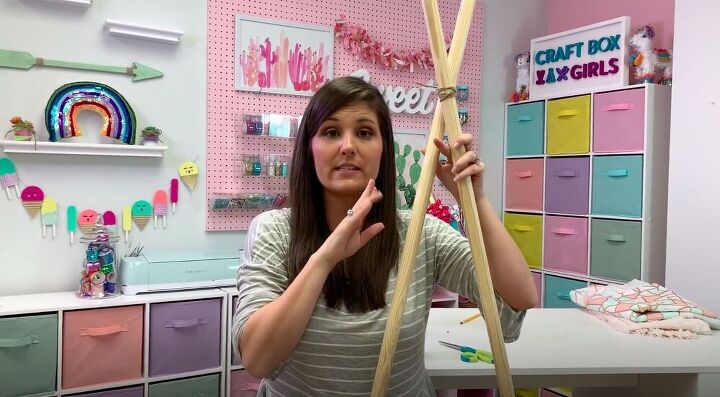
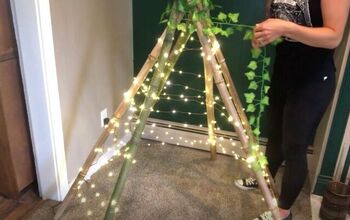
I kept wrapping until the whole piece of twine was wrapped around the dowels and then tied them together. Then I layered in two more dowels and repeated the process.
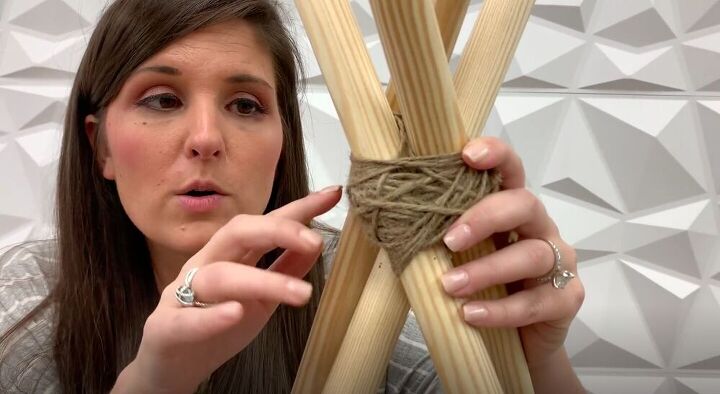
As you can see I wrapped it with quite a bit of twine. I wrapped it in, down, and around to make sure that it was as secure as possible. The last thing I want is one of my teepees collapsing on my daughter.
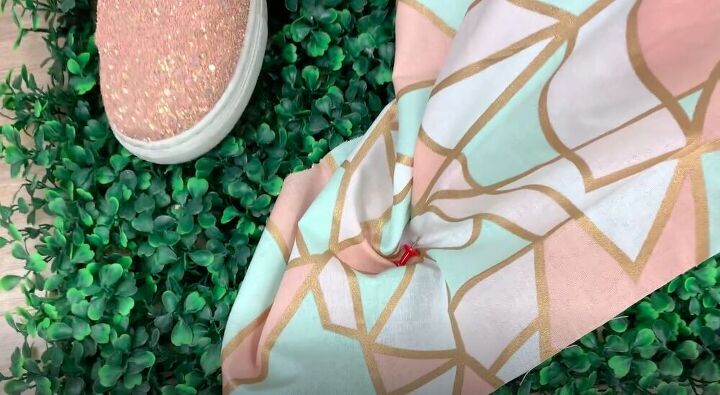
If you’re working on hardwood it’s helpful to put something down on the floor under the teepee to stop it from sliding while you’re working on it. With the dowels secure, I was ready to move on to attaching the fabric. I pinned the fabric to the bottom of the dowel using a thumbtack. This would make it easier for me to pin the top next.
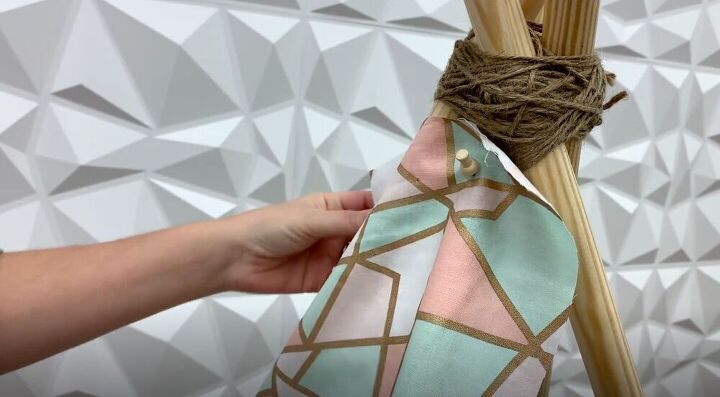
Next I pinned the top of the fabric to just under where the twine on the teepee ended.

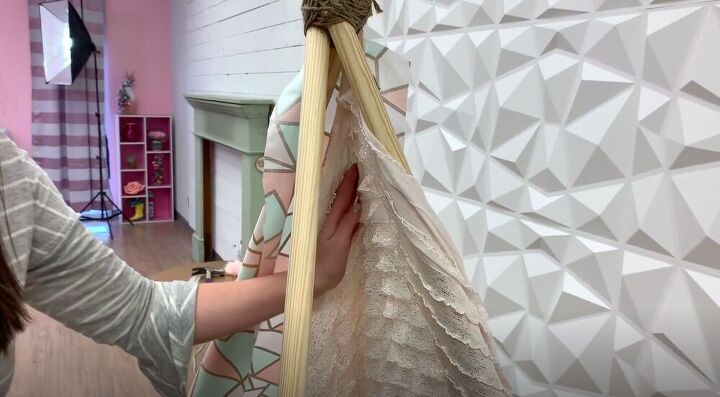
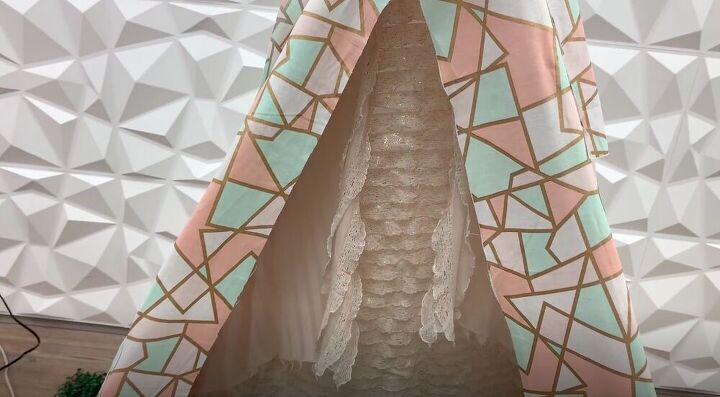
On the back of the teepee I wanted to add another fabric to the inside so that you could see some cute ruffles when you looked inside the teepee. I tacked it up at the top with the ruffles facing the inside of the teepee.

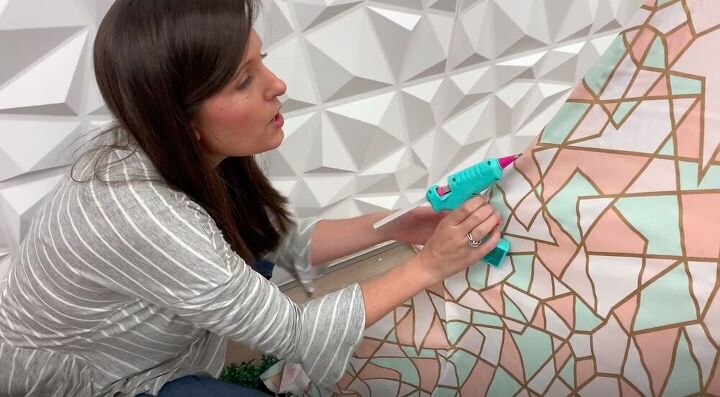
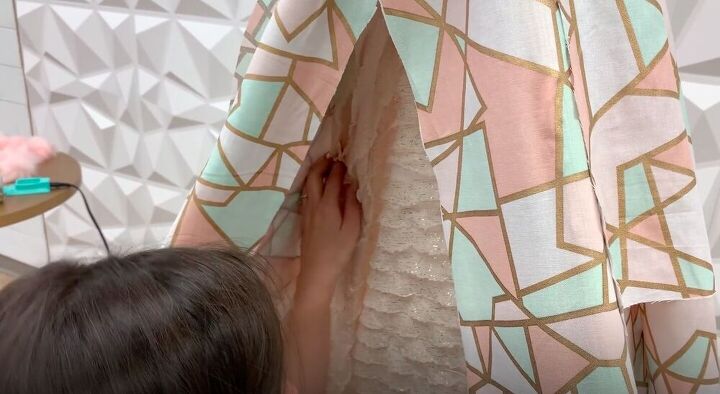
With my fabric tacked in place, I added a line of hot glue all along the dowel and glued the fabric in place. If you want to you can hem the edges. I like the imperfect look so I decided to leave my edges raw and let them hang.
As you move around the teepee, make sure to pull the fabric taut. If it’s too wrinkled for your liking, you can always come back at the end and steam it.
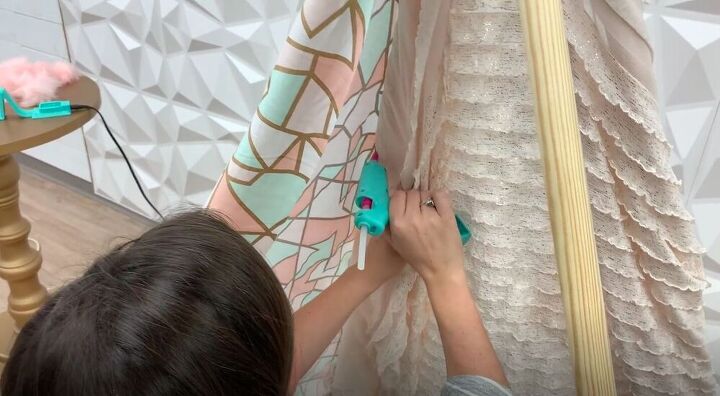
For the ruffled fabric I glued it along the inside of the dowels and left the excess fabric hanging for a whimsical feel.
I continued tacking and gluing the fabric until I had covered the entire teepee. Don’t be afraid to get down on the floor to glue the fabric all the way down to the bottom of the dowels. Give yourself a little work out!
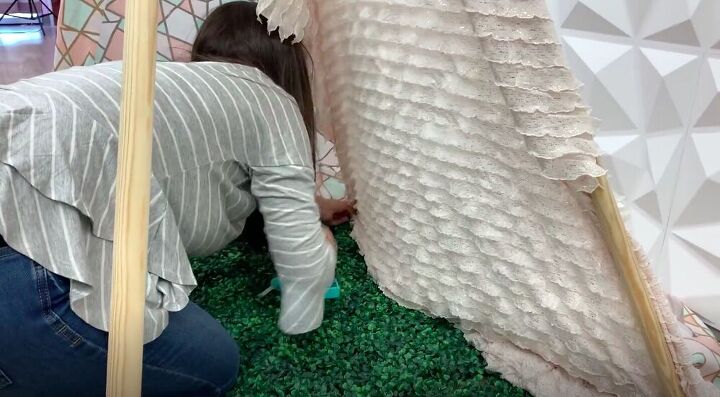
This part of the project will take some time to get it to your liking, so don’t give up! You can use other glues besides hot glue, but I like to work with hot glue because it dries quickly.
Tip:
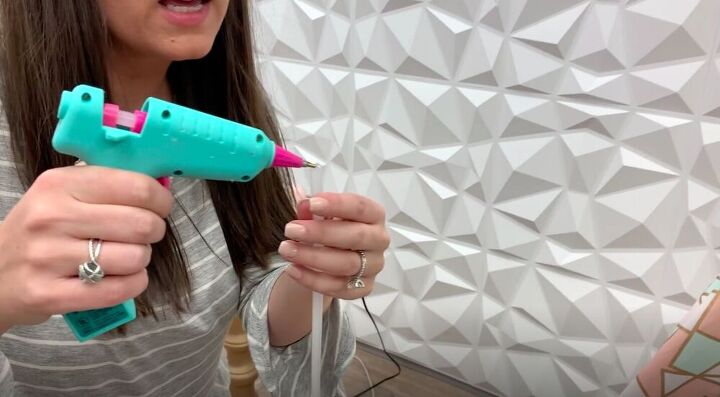
When adding a new glue stick, apply a dot of glue to the end of the new stick and then stick it in. This stops it from falling out.
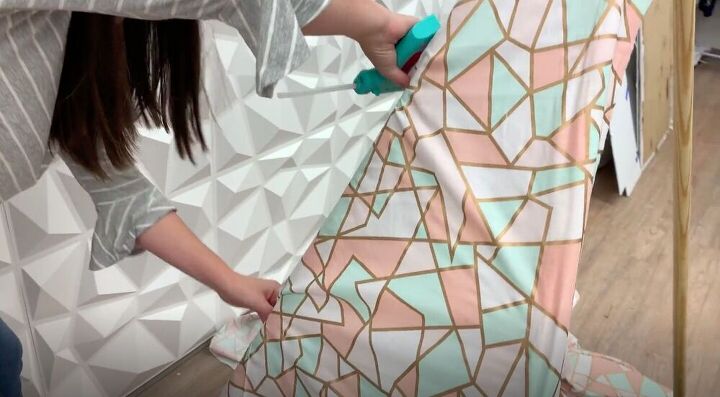
When it comes to the excess fabric, you can choose to cut it off or let it hang for some texture, it’s totally up to you. Make sure to take all of the tacks out once your glue dries.
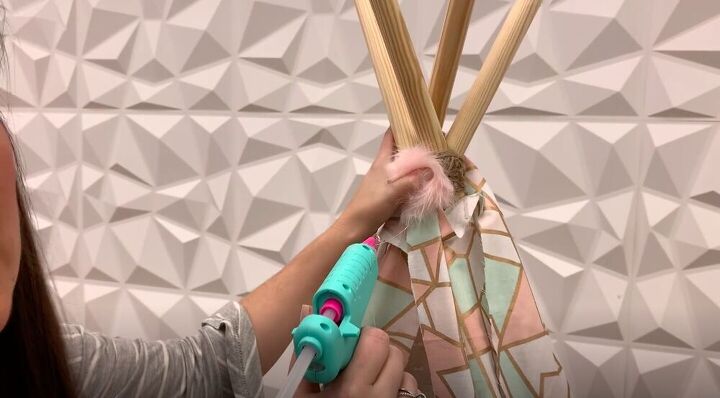
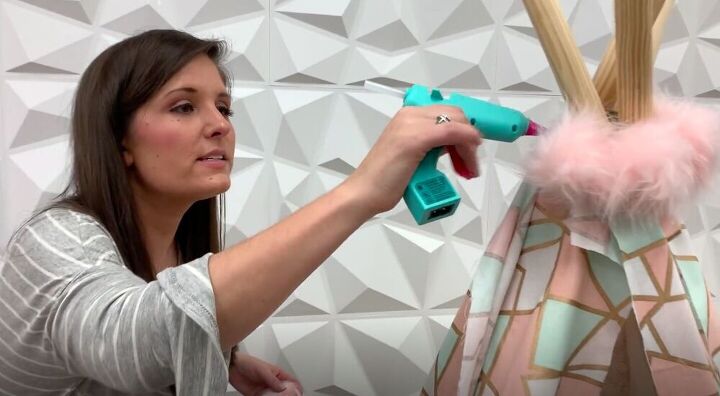
How you choose to embellish your teepee is totally up to you, but I decided to add a few cute pink pompoms to the top of my teepee to cover up where the fabric meets the twine.
I actually grabbed these pompoms for a project I did for Christmas, but I think they fit perfectly with the color story I chose for my teepee.
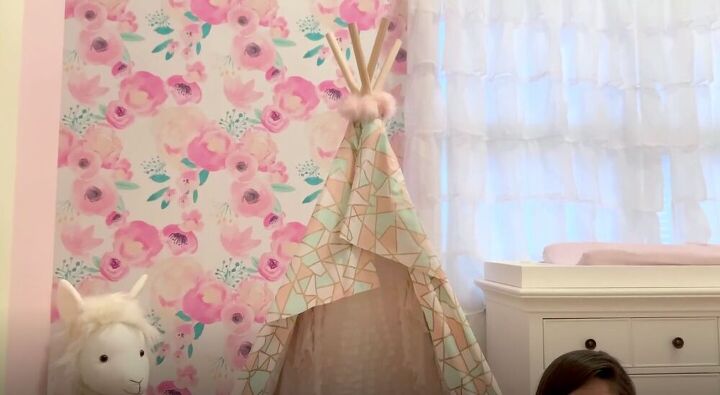
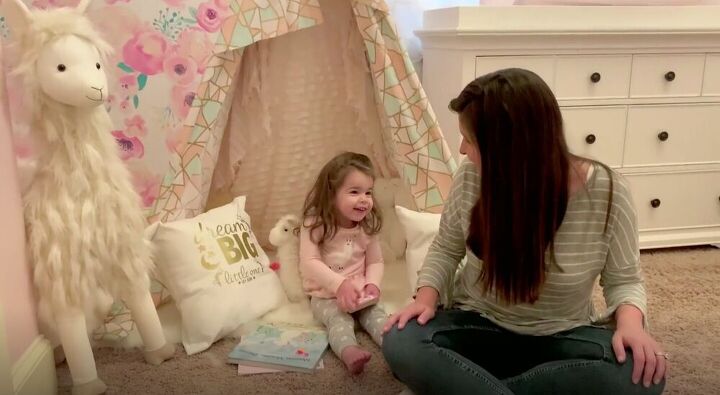
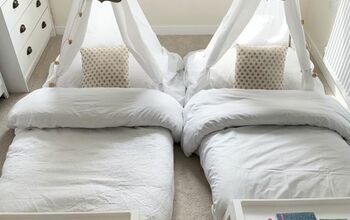
And that’s it! This teepee went straight into my daughter’s bedroom. Once I get her playroom set up, I’ll move it in there, but for now it’s the perfect place to read a book with her or just to snuggle. What fabric designs would you use for yours? Let me know in the comments below!


Comments
Join the conversation
-
I did one for myself and pets.... Awesome! Will send pics when I get back home, we are out of town for 2 weeks.
-
Was it easy to transport the teepe.
I was thinking of making one for our church raffle. I just love it thank you for the different ideas.


Frequently asked questions
Have a question about this project?
What kind of wall tile was that.The white geometric
I love this project! It turned out absolutely sweet and has simple steps. I'm sure the twine wrapping and glueing doesn't feel simple at the time but it's well worth the effort cor the end result. BTW You're daughter is an absolute cutie patootie. 👼
I actually had to start your post over a couple of times because of all of the beautiful and interesting decor in the background. I would read some look at the picture and get caught up from there. You have a good eye. I can't wait to make some of these for the grandchildren. They will LOVE it! Besides, every child needs a cozy reading spot. It would be amazing to make an even bigger one for outdoor play. Maybe repurpose old tent material or layer up vinyl tablecloths for the exterior fabric? Thanks for sharing!
I need that wall. Please inform