


Thrifted File Cabinet Makeover Using Stencils and Paint

I am currently in the process of creating a travel themed room for my 9 yr old son. As a military family, we move and travel a lot. I found this $15 wood filing cabinet, at Goodwill, and decided to create a subway style word art project, representing our travels.
I wanted the words to represent places my son has visited or lived. I am going to show you how I accomplished this by using paint and stencils.
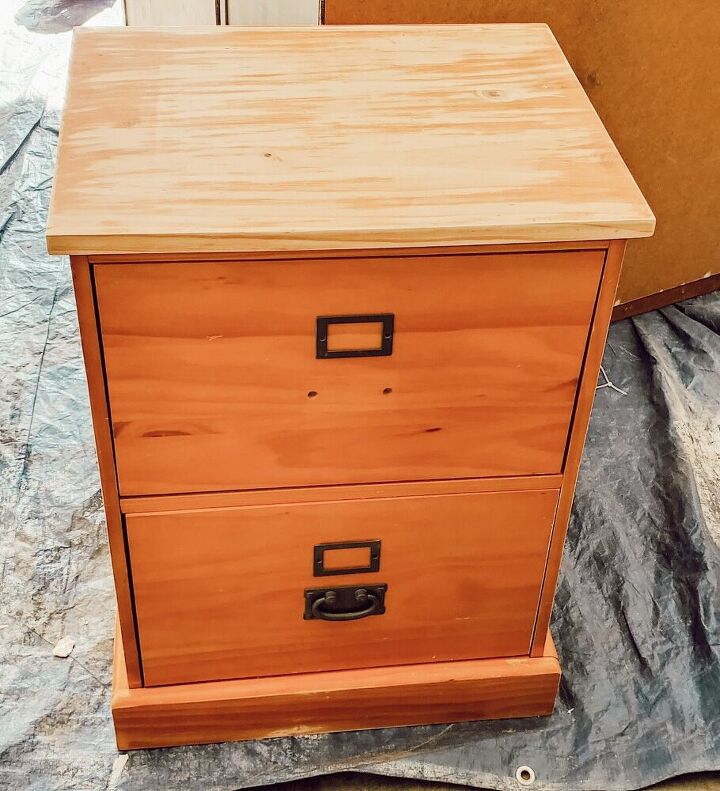
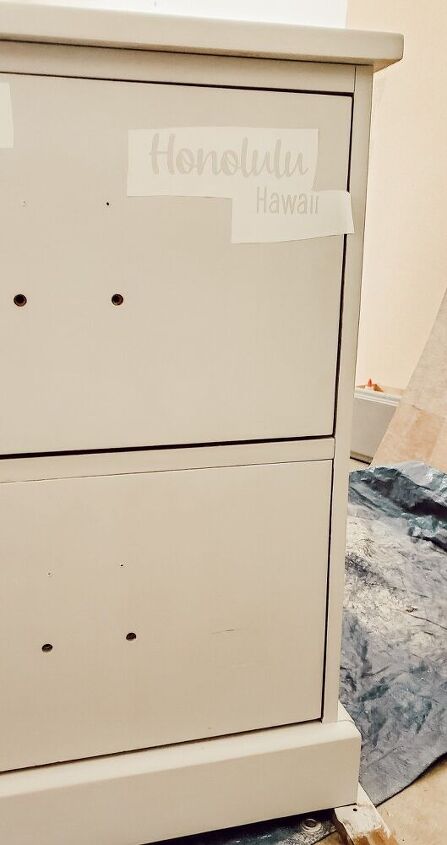
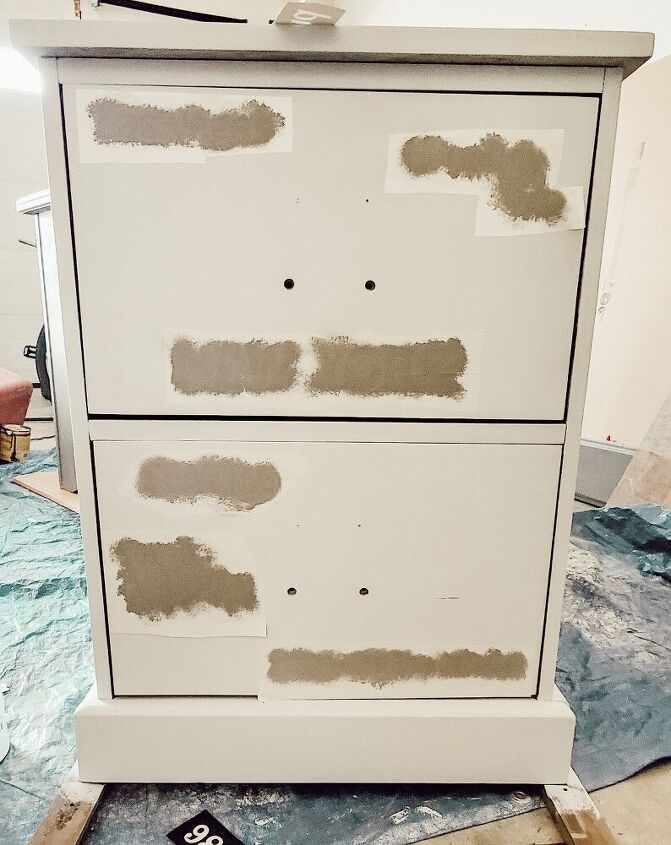
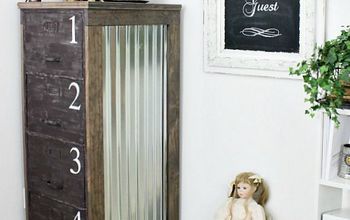
This is what the file cabinet looked like when I saw it in the thrift store. I took the top pull off before taking the picture.
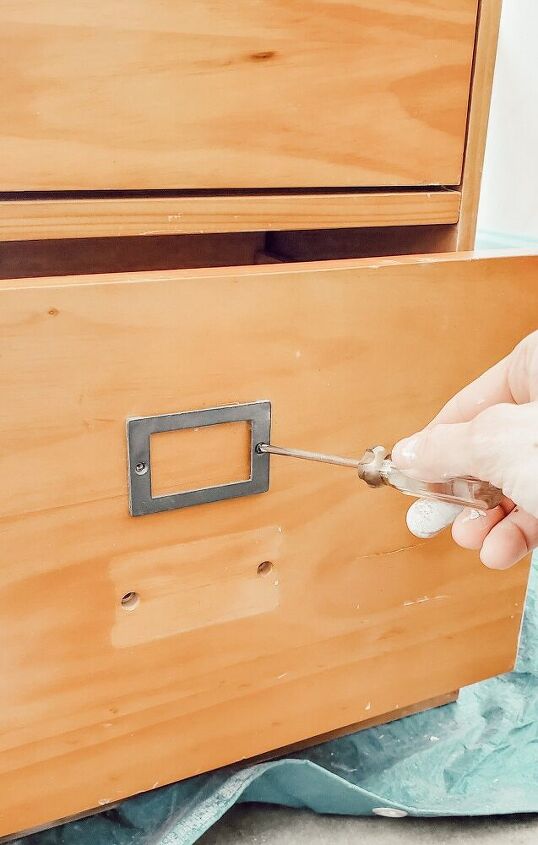
before painting the cabinet, I removed the hardware with a screw driver.
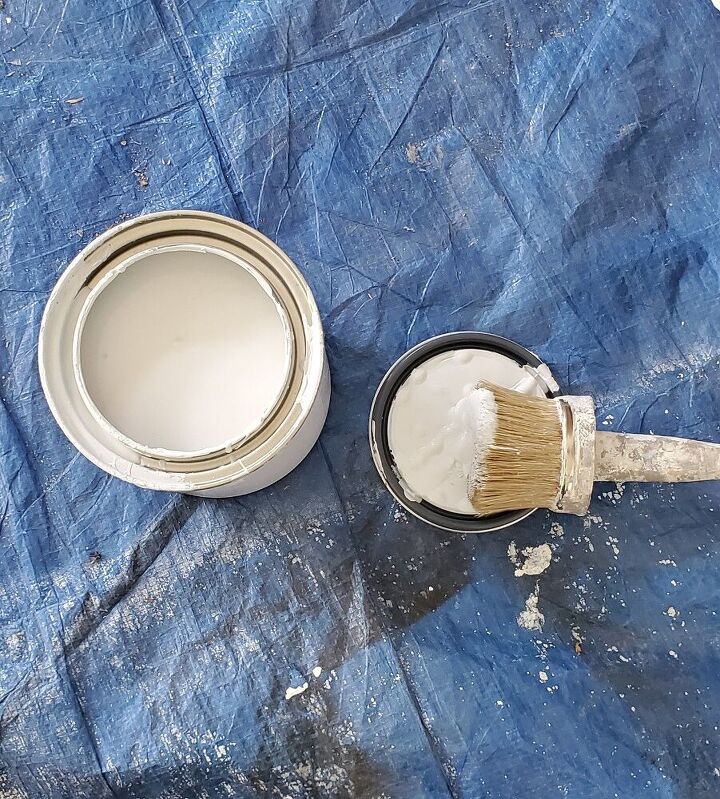
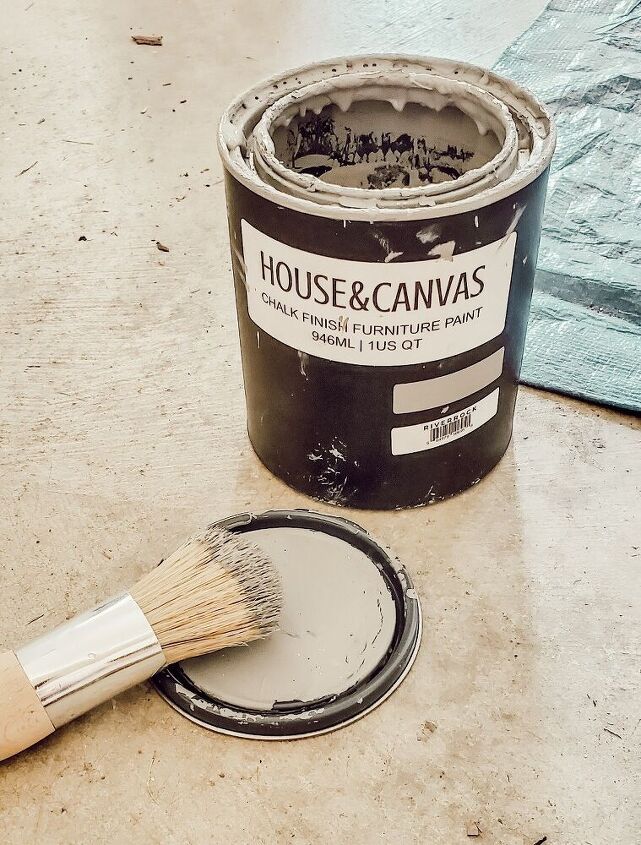
I decided to go with a light grey color for the cabinet. I used House and Canvas chalk paint, in Sterling.
I love how neutral and light this pretty grey is.
You can find the paint at this link.
https://www.houseandcanvas.com/product/houseandcanvas-chalk-finish-furniture-paint/
I always recommend using a round bristle brush, when applying chalk paint. It leaves little brush strokes and creates a smooth finish. I like to use the round brushes from House and Canvas paint. They have various sizes to choose from too!

The focus of my stencils was travel, since this piece will be going into my son's travel themed room. I created stencils of different places we have lived or visited. I figure it will serve as a memory too. :)
These days, you can easily find stencils in any craft store! I personally like to create my own, using my Silhouette Cameo 3 machine. This is very similar to a cricut cutting machine. I just used scrape vinyl to create my stencils. If you do not have a cutting machine, you can always purchase lettering stencils from the store. :)
I wanted to create something similar to subway word art. I decided to keep all the wording on the front two drawers. You can always decide to go another route, and place your stencil in any location you please.
when I first started stenciling a few years ago, I always seemed to have issues with my paint bleeding under my stencil. It was so frustrating!
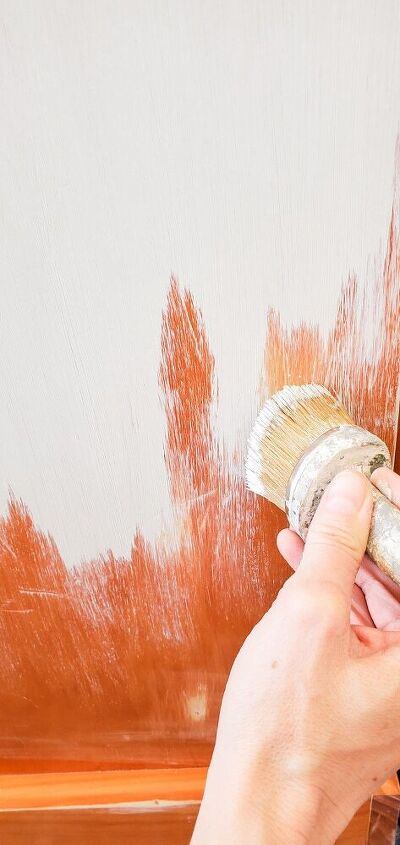
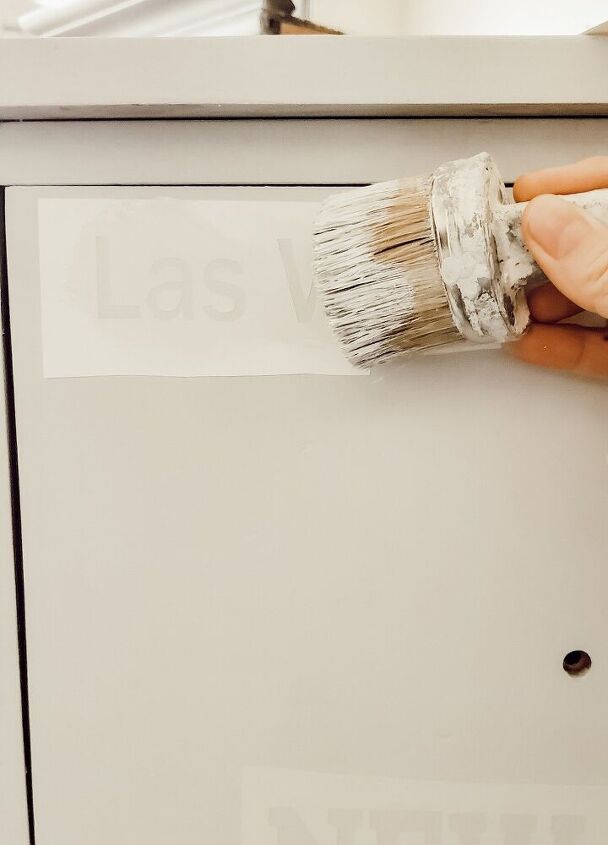
I read somewhere you should always first apply a layer of your base color before apply the stencil paint. By doing so, it seems to eliminate that bleeding issue. I always apply one layer, let it dry, then apply my stencil paint color.
For the stenciled lettering, I wanted to go with a darker color than the cabinet. I loved the idea of keeping the color in the grey family; so I decided to use House and Canvas chalk paint in River Rock. This grey is more of a medium dark grey; and really compliments the lighter grey.
after my layer of base paint was dry, I very carefully applied the darker grey on my stencil.
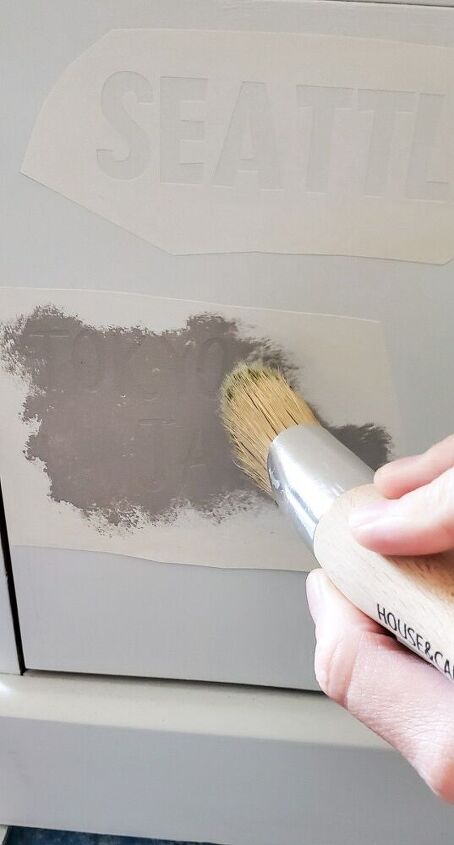
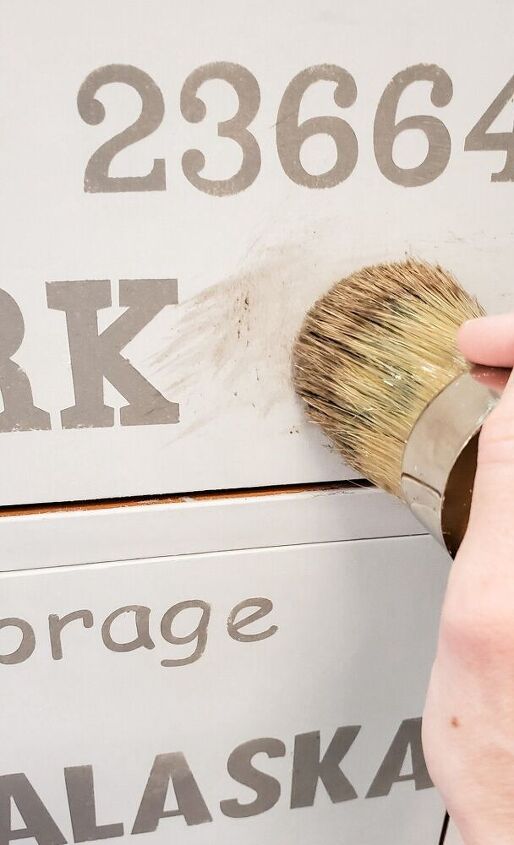
I know they make small brushes for stenciling; but I used what I had on hand. Personally, if you are new to working with stencils, I would suggest using a smaller brush. It gives you more control.
I find it easiest to apply a very small amount of paint on your brush, and use a light dabbing motion when applying to the stencil. Make sure to stay focused, as it can be very easy to accidentally get paint outside the perimeter of your stencil.
I decided to go ahead and paint a few of my stencils before adding all the wording. This allowed me the opportunity to get a visual of what the wording would look like. I also needed the space the stencil vinyl was taking up, to apply more words. Lol
Once all the stenciled words were applied, I used House and Canvas furniture wax, in Walnut, to seal the chalk paint. I wanted the piece to have a vintage feel, which is why I chose a dark wax.
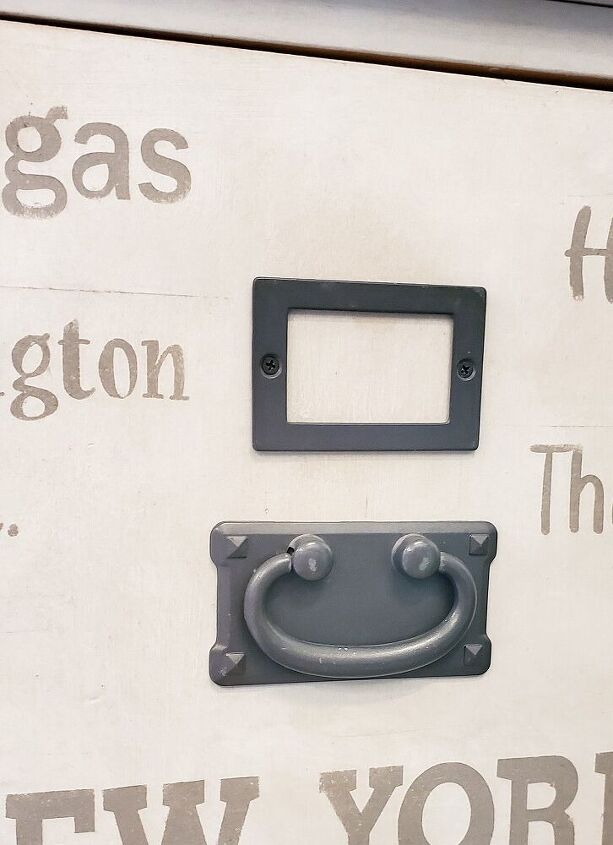
after I waxed the cabinet, I reapplied my hardware.
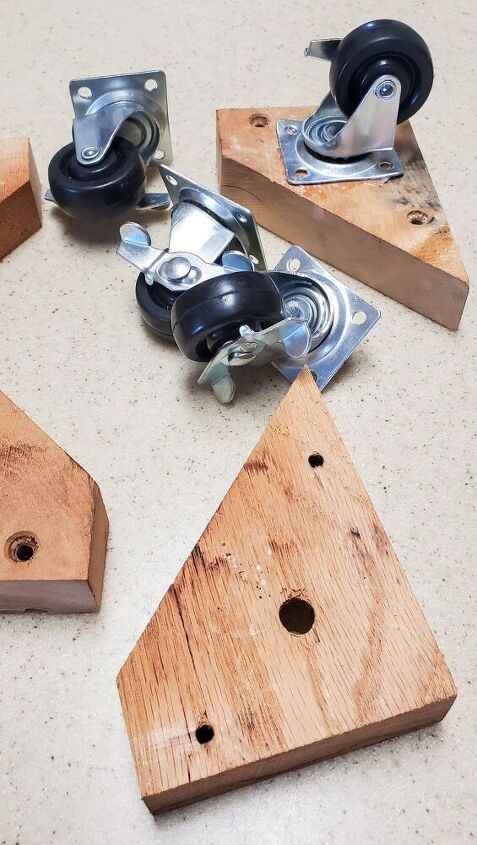
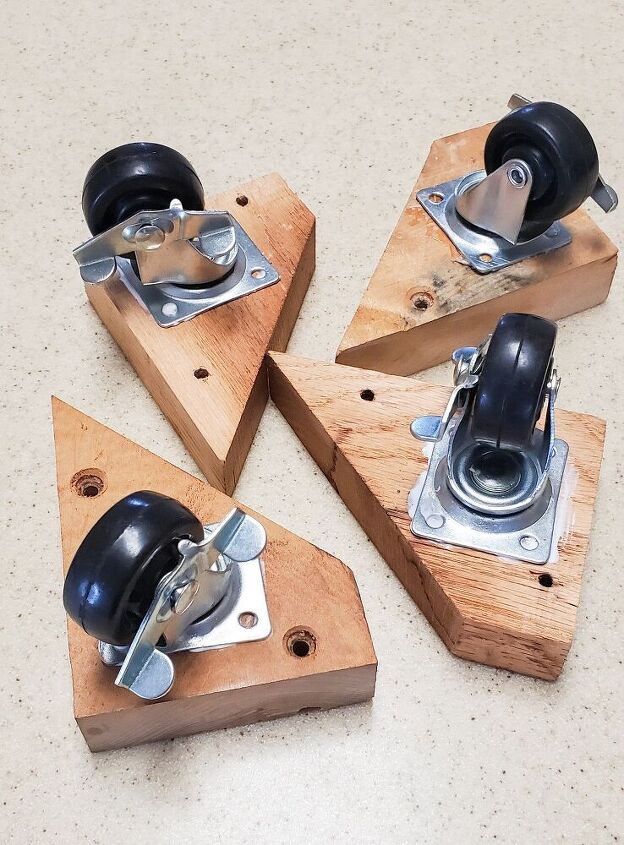
I decided I wanted to add a bit of an industrial feel to the wood cabinet. I had these wheels lying around, and thought they would be a great addition. I found these wheels at a dollar store, while living in Japan.
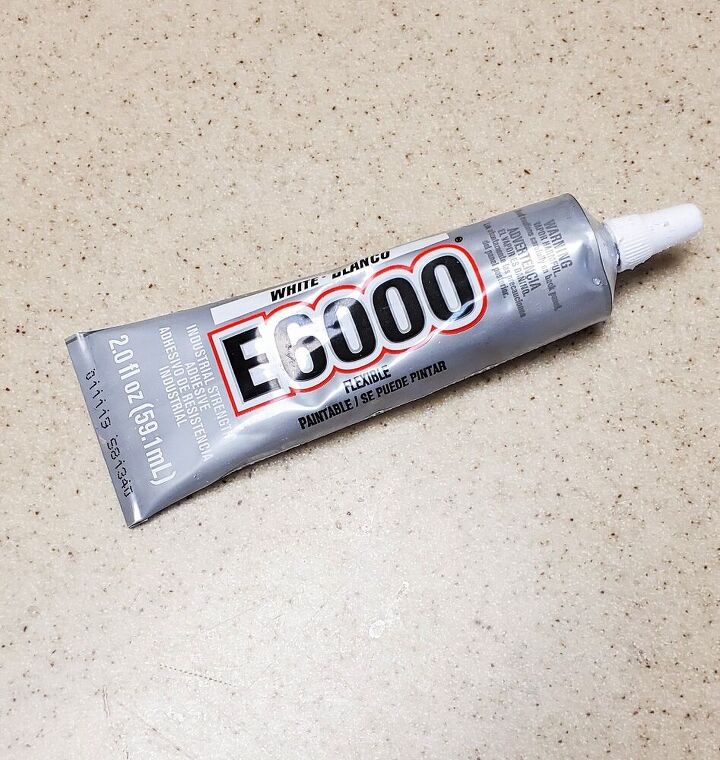
E6000 glue is my go to for all craft projects! I absolutely love the strong bond it provides.
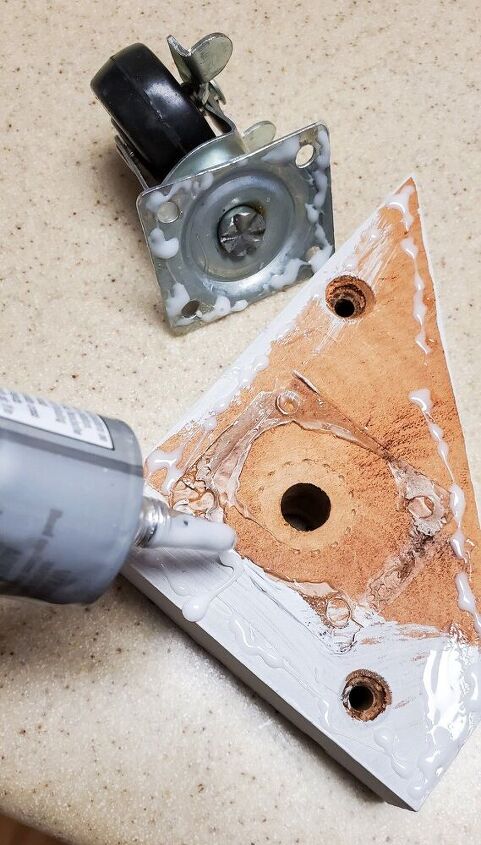
I used E6000 glue to attach the wheels to the wood pieces. This was my preference; but you can choose to use screws instead.
After gluing the wheels on the wood, I let it sit overnight.
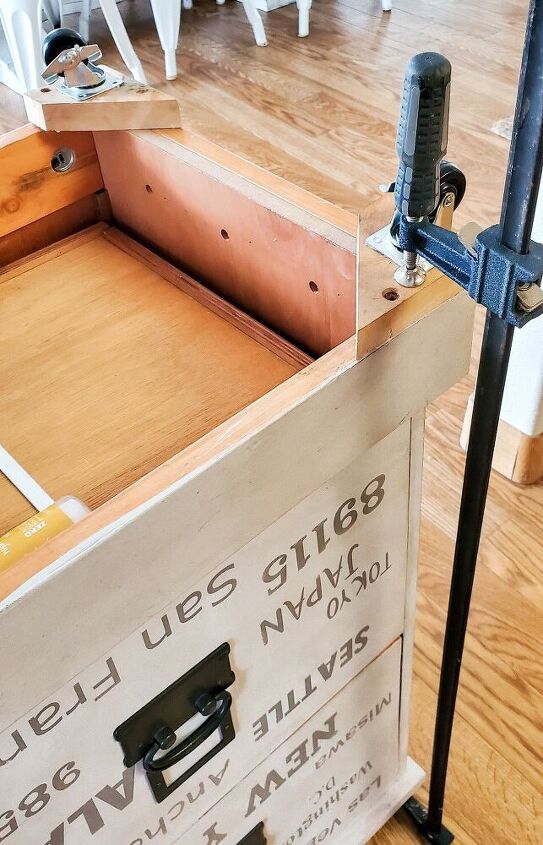
I used the E6000 glue to attach the wood pieces to the bottom of the cabinet. Wheels are definitely not necessary; and adding them can be done other ways as well. I just chose to do it this way.
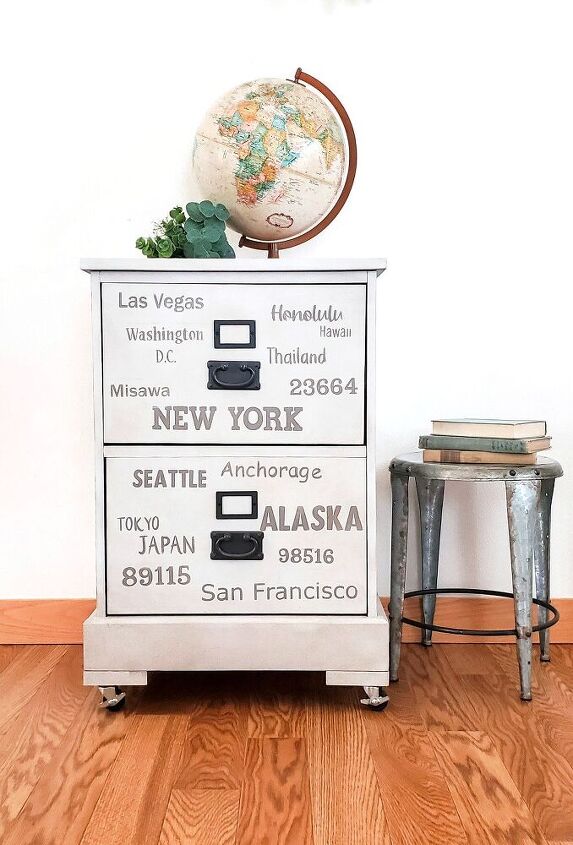
I'm really happy with the outcome. This will be the perfect addition to my son's travel themed room!
Resources for this project:
See all materials


Comments
Join the conversation
-
Super Cute Update! I have an old particle board one I have had for years and I would like to paint it and give it some character...love your idea. Thanks for sharing!
-
I am a retired military member (USAF) and I can appreciate the different places stenciled here as a reminder of one's travels. I love it!! Great job.


Frequently asked questions
Have a question about this project?
When you paint base coat color on stencil first to prevent bleed, do you leave stencil in place while drying AND for new color. Don’t remove stencil until both coats dry? Sorry, new to stenciling. Love, love, love this cabinet!!!
I LOVE that you painted a piece special for your son. However, solid wood file cabinets left natural are quite collectible. I wish you had purchased a cheap metal one to paint and sold the wood one. Did you price out the value prior to painting it?