


Make a Cute Riser Using a Bunch of Fun Techniques

Risers are currently all the rage. Single risers, layered risers, risers galore! I wanted to make my own to fit my home’s aesthetic. I figured that I could use a bunch of my favorite craft techniques to make mine, and that’s just what I did! My mixed media riser is the perfect addition to my home. In my tutorial below I’ll teach you all of the techniques I used, including molded clay, decor transfers, stamping, and how to create a faux wood stain. Interested? Check out my step-by-step tutorial below to get started!
Tools and Materials:
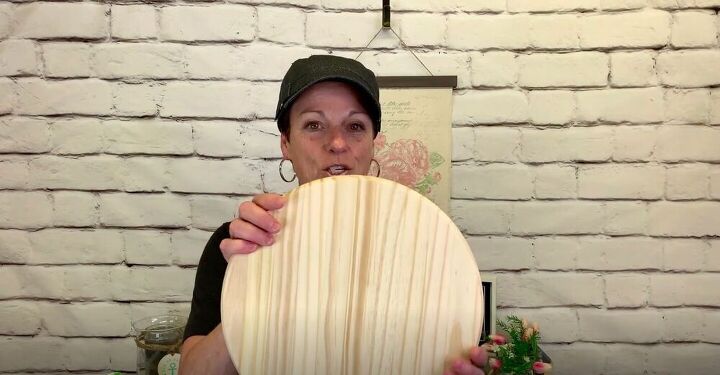
- 12” wood round
- Fine grit sandpaper
- Air dry clay
- Decorative mold
- Flour
- Brush
- Wood glue
- Fusion mineral paint
- Chippy brush
- Decor transfer
- Scissors
- Acrylic paint
- Paint brush
- Brayer
- Dragonfly stamp
- 3 ball knobs
- Baby wipe
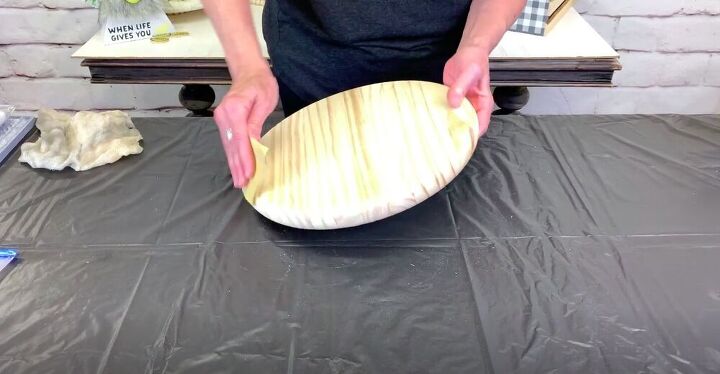
I started off by giving the wood round a light sand all over. Then I wiped off any dust.

I wanted to take my riser up a notch by adding some decorative clay molding along the edge. To make this quick and easy I used air dry clay and a decor mold. I pulled off a chunk of the clay and worked it in my hands a bit to make it more pliable. Then I brushed the mold with a bit of flour to stop the clay from sticking.
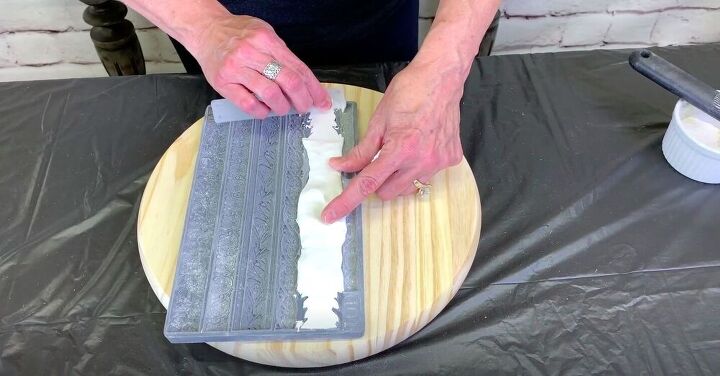
Next I pushed the clay into the mold and used a stiff piece of plastic to scrape off the excess. There is a microrim on this mold, which makes for a very clean edge.
I flipped the mold over and pushed the clay out. Because I had brushed it with some flour, the clay came out easily and in one piece.
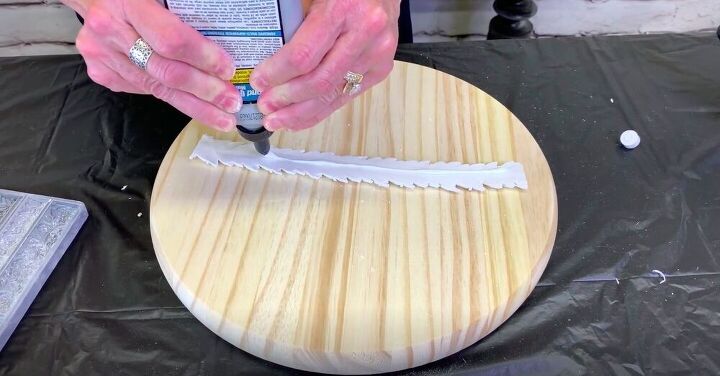
Next I added a bit of wood glue to the back of the clay and glued it to the edge of my wood round. The nice thing about this wood glue is that it grabs quickly and I don’t have to worry about holding it in place.
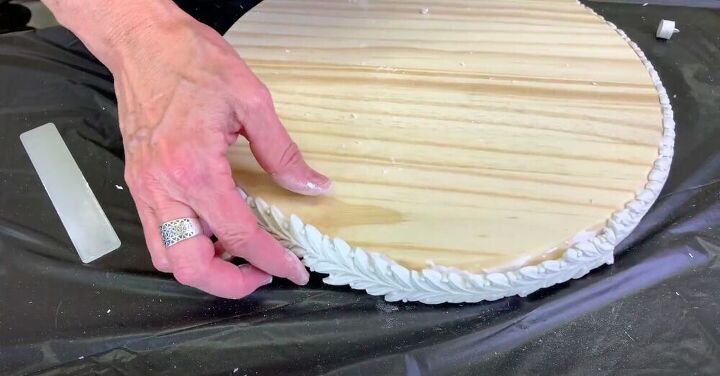
I repeated this process until I had covered the entire edge of the wood round. I really enjoy working with clay, it reminds me of my childhood, and these molds make it easy to quickly create something beautiful.
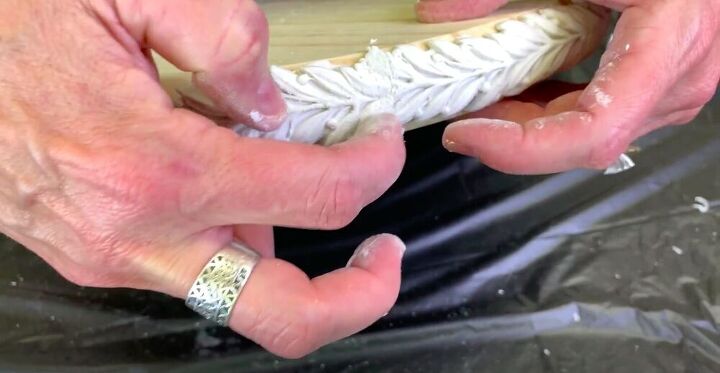
Where the ends of the clay met, I pressed them together a bit to marry the gap. Once I was done I left it to dry overnight. Air dry clay will crack when it dries. I like this look but if you don’t, you can just add a bit more clay to the cracks to fill them in.
Tip:
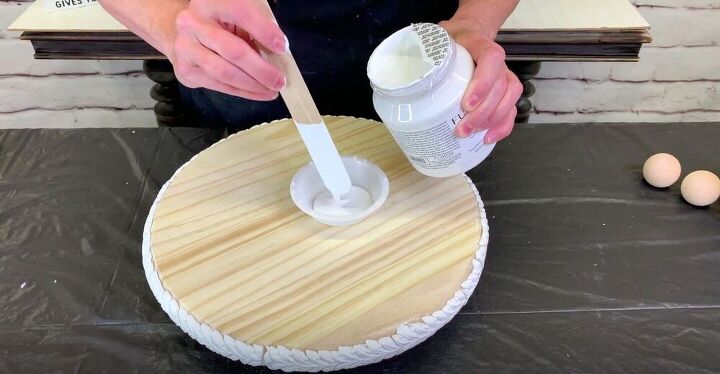
Make sure that you always put the paint you’ll be using in another container to make sure that you don’t accidentally contaminate the paint in the jar. You can always go back and take more if needed.
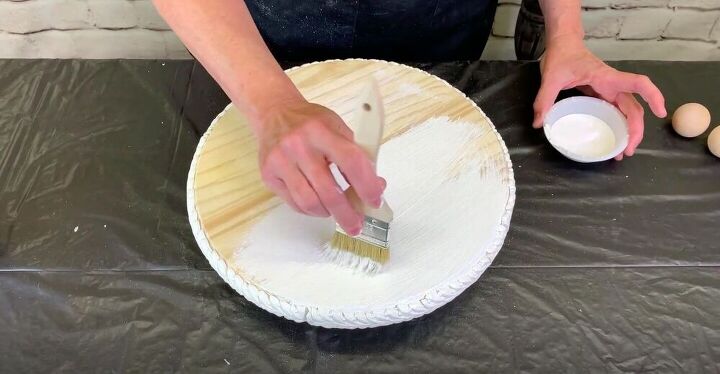
Using a chippy brush, I painted the top of the wood round. I like using chippy brushes because they are light and feathery, and are able to get into cracks and crevices easily. I painted two coats on the wood and left it to dry.
Tip:
Sometimes when painting on raw wood you will get something called grain raise, which means that the grain gets pulled up a bit and makes the wood rough and bumpy. If this happens, just give it a light sanding between coats.
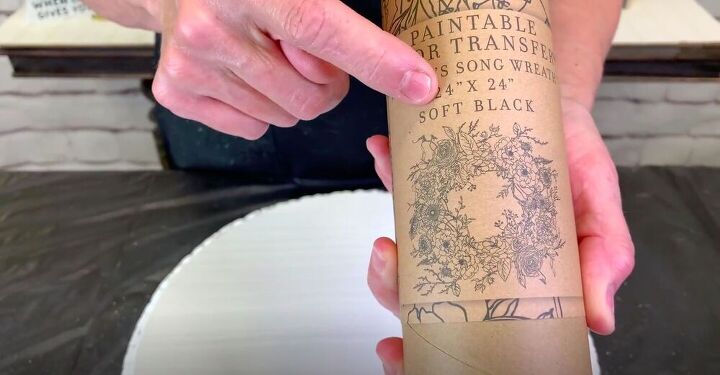
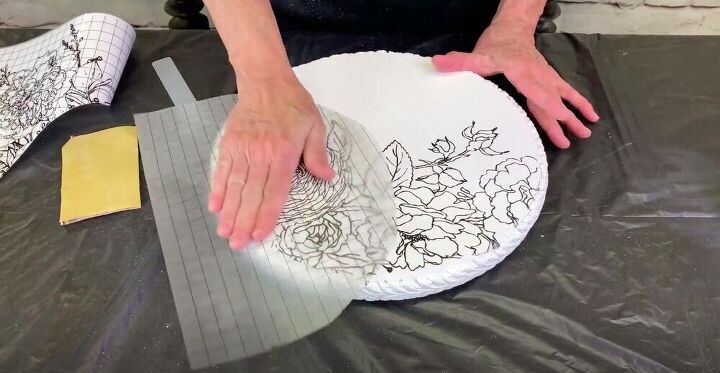
The next step was to add a decor transfer to the top of the riser.
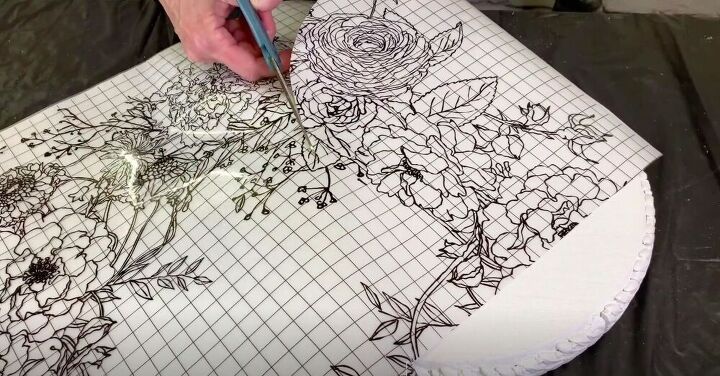
I determined what part of the transfer I wanted to use for this project and then cut it out.
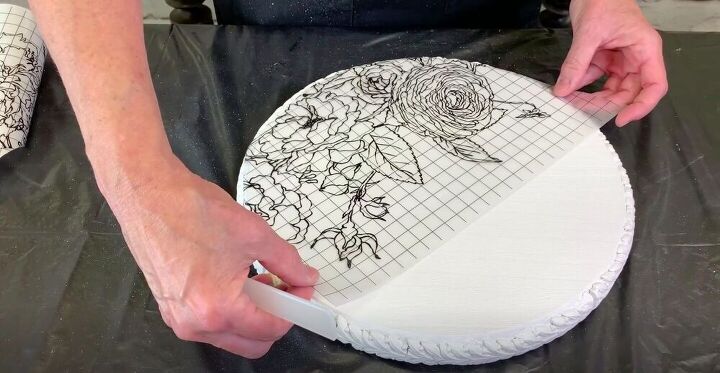
I removed the protective backing and lay it in place on the wood round.
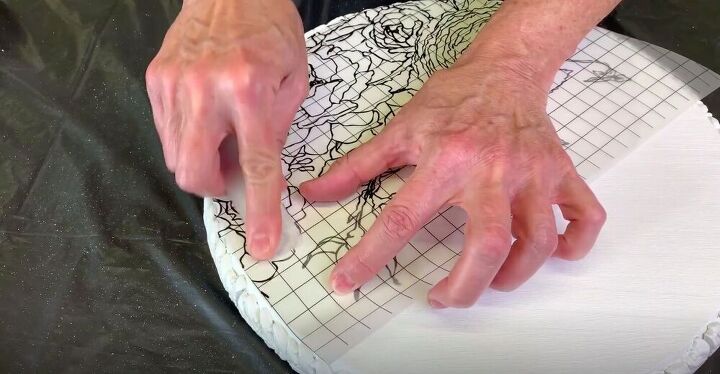
Then I went over it with the applicator stick that came with it. You’ll see that the design starts to be a bit muted, which is a sign that it’s coming off of the backing and adhering to your project.
Once it had transferred completely, I burnished it with the backing paper to make sure that it was all stuck to the wood round.
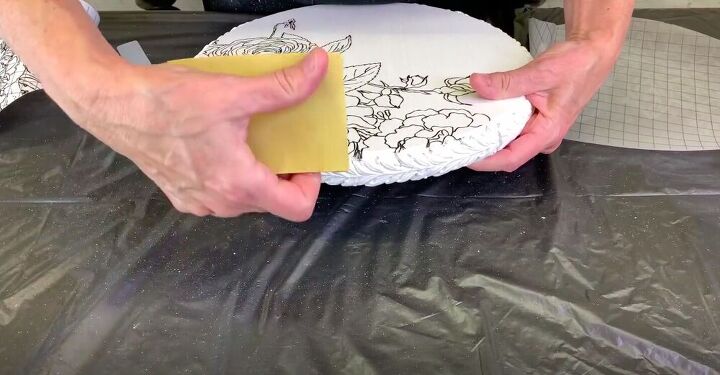
If there are any pieces hanging over the edge, you can knock them off with a piece of sandpaper.
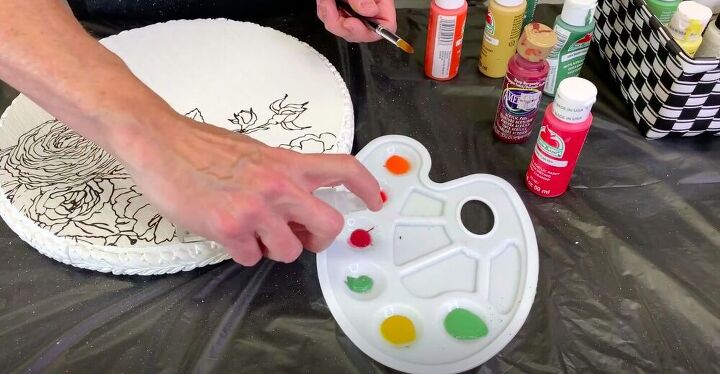
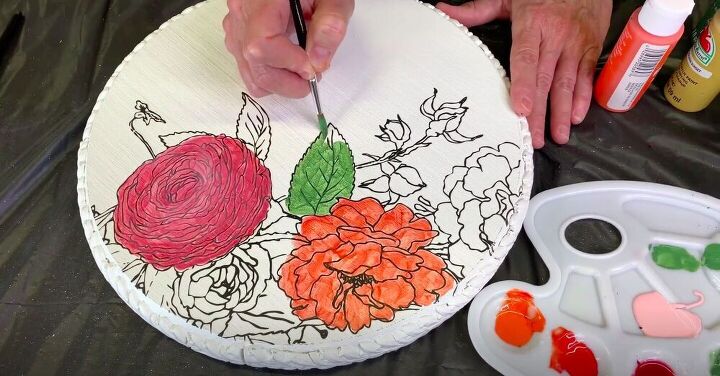
This transfer is paintable, which is exactly what I decided to do next. I used regular acrylic paint and a bunch of colors to fill in the flowers and leaves. I didn’t want the paint to be full coverage, so I added a spritz or two of water to a dollop of paint and mixed it.
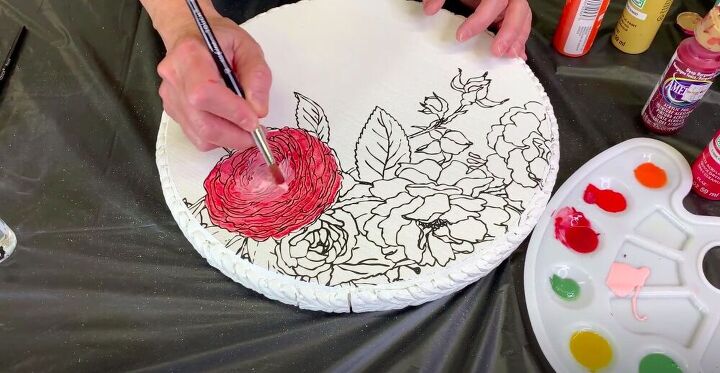
Then I got to painting. I had a lot of fun mixing the colors and playing around. I like the look of gradients and tried to achieve that in my painting here. No need to be a perfectionist here, anything goes.
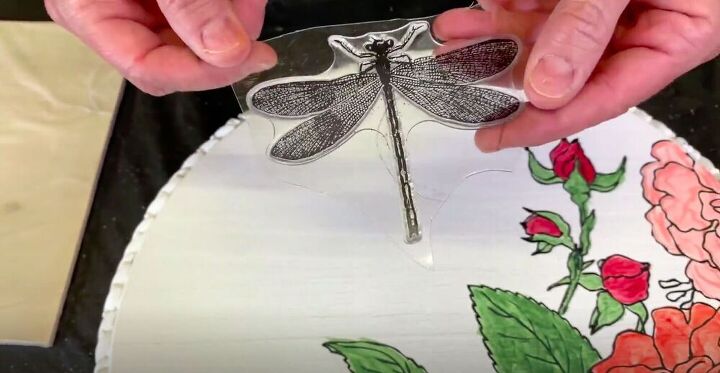
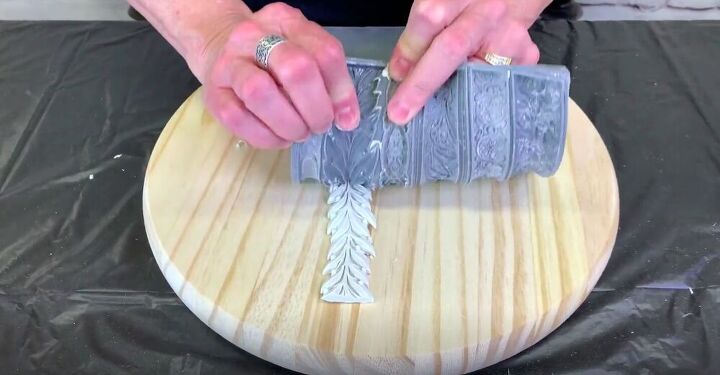
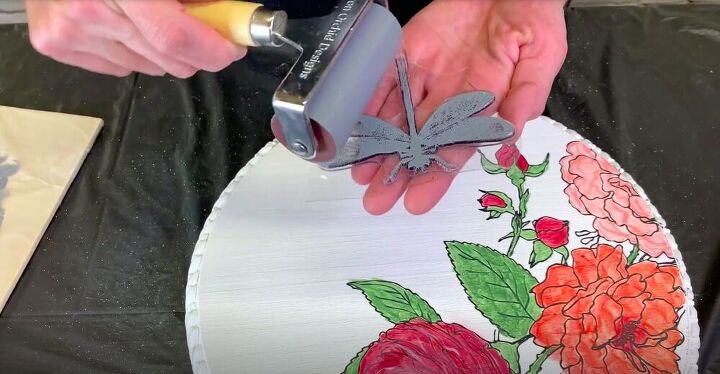
I felt like there was a bit too much negative space on the side without flowers, so I decided to add a stamp! I had a great dragonfly stamp that I thought would work perfectly for this project.
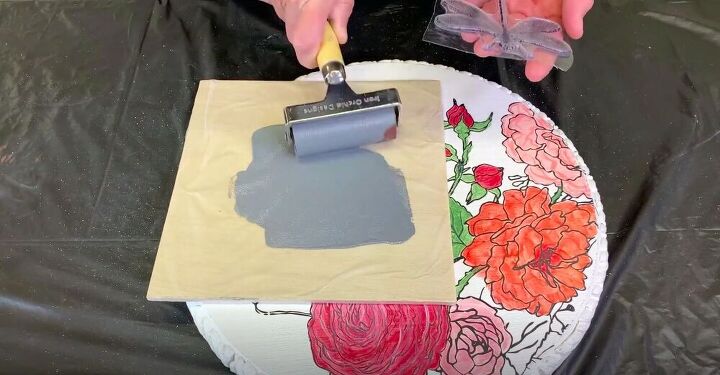
Using a brayer, I picked up an even layer of gray paint and then rolled it onto the stamp.
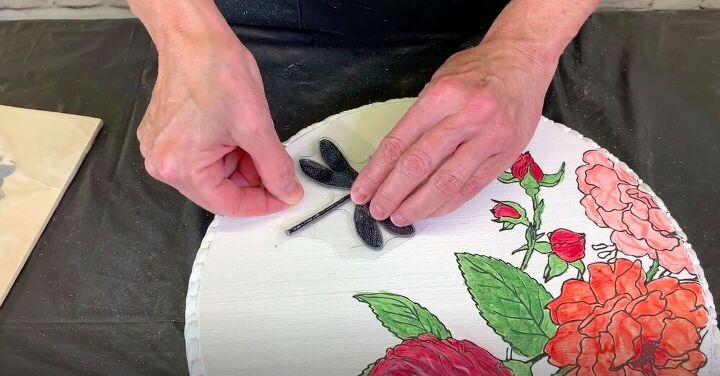
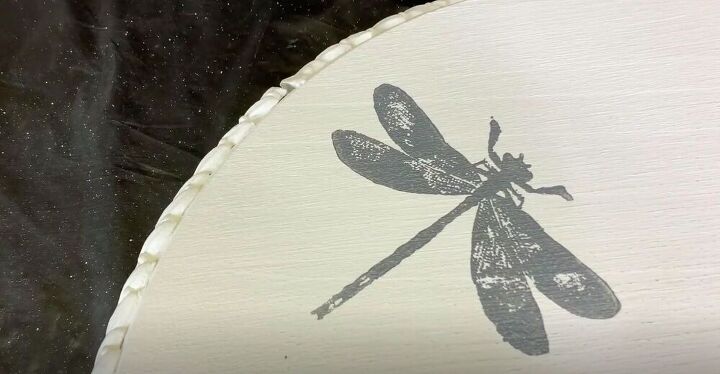
Once the stamp was evenly covered with paint, I stamped it onto the riser.
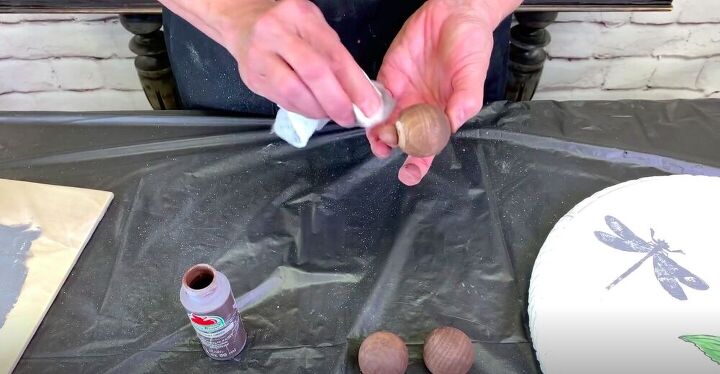
Using a baby wipe and burnt umber paint I added a faux stain to three ball knobs. This is a great way to get the effect of a stain without the smell or time needed for it to dry.
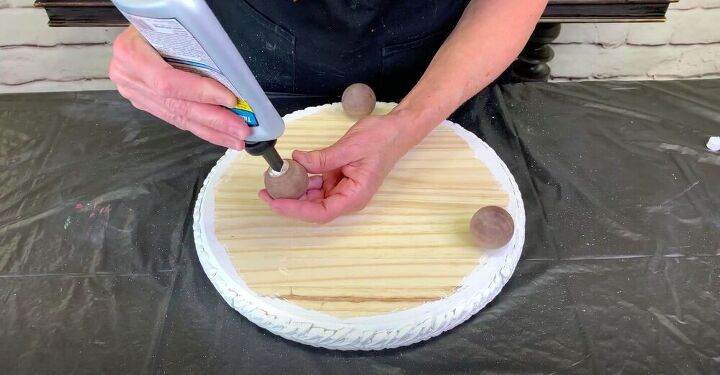
Once they had dried, I glued them onto the bottom of the wooden round, evenly spaced. I also added a water-based matte topcoat to the riser to seal in the paint.
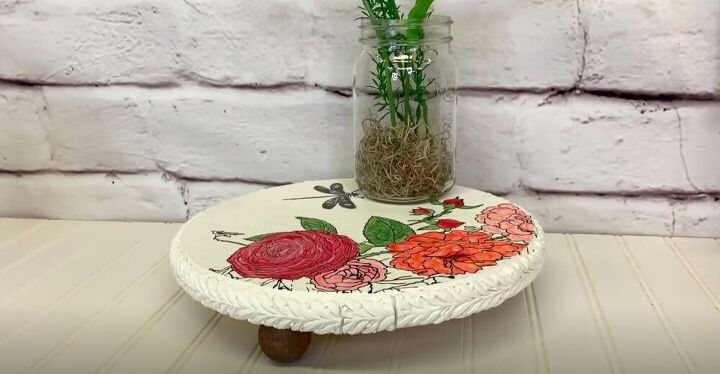
And that’s that! This is a great project if you want to try a bunch of different techniques and media, and the result speaks for itself! How would you decorate your own riser? Let me know in the comments below!
Resources for this project:
See all materials


Comments
Join the conversation
-
i love the different techniques. i am all for learning new things. end result is very cute and unique. yes, you can all always buy it ready made, but yours is yours alone.
-
You are a natural. Beautiful job of teaching all the techniques. I now have a way of jazzing up my wood round. Thanks and keep up the great work.


Frequently asked questions
Have a question about this project?
What is a riser? I don’t see the point. It doesn’t hold in the water from a plant set on top. It’s not a shelf.
Sorry it's beautiful but hard it for?
What is the thickness of the wooden roun?