


How to Make Halloween Glasses
Have you ever wonder how to get graphics onto wine glasses or mirrors. Are you having a party and would like to add some names or images to the glasses on the table. Then this projects is for you. This method can add temporary graphics for an occasion which can be soaked off when you are done, or you can seal them for longer use. You can keep reusing the same glasses prevent you have having cupboards full of unused glasses.
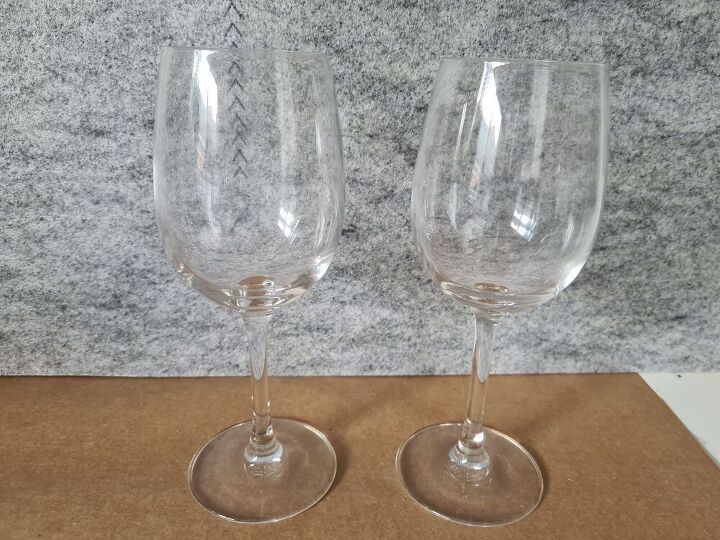
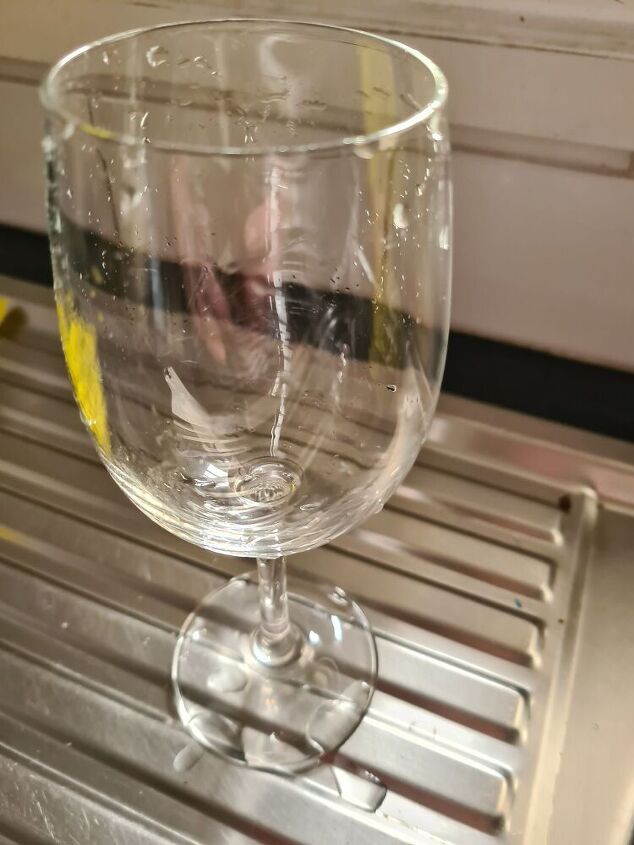
To use this method it works better if you use the large wine glasses. 340 ml and larger. The reason the size is a factor is the shape of the glass. It is difficult to add flat graphics to a round surface. So if your design is too big you will end up with creases in the film.
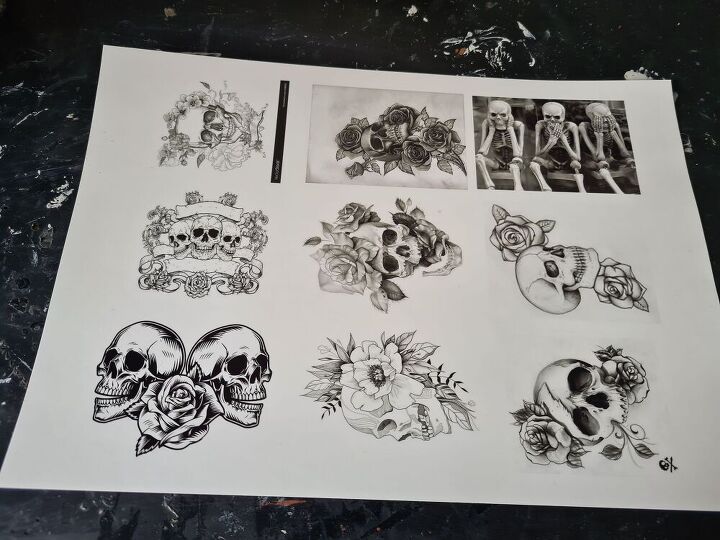
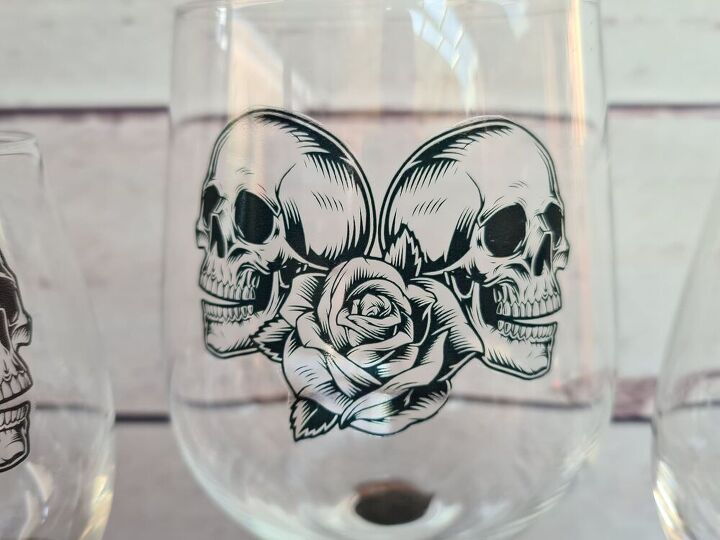
To make the graphics you need to have a standard inkjet printer and some waterslide paper. I did a search on the internet for free graphics for this project. If you are going to be selling them you need to make sure they are free for commercial use. Once you have your graphic selected it is as simple as printing them onto the water slide paper. This is the same way you would print a regular image. I originally wanted all the glasses different but after making them I found I liked the plain design best.
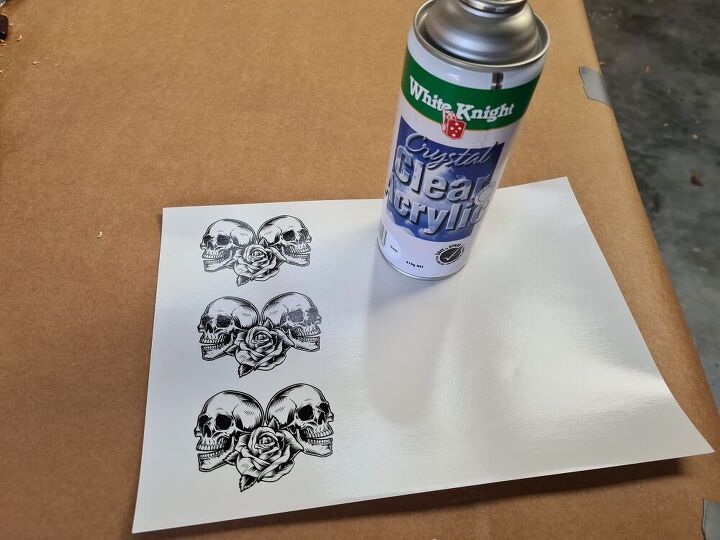
Leave the ink to dry first, this does not take long. Once the ink is dry you can spray the printed surface with clear acrylic spray. This will preserve the ink and prevent it from running in the water. Leave it to dry, this brand I used only take a few minutes.
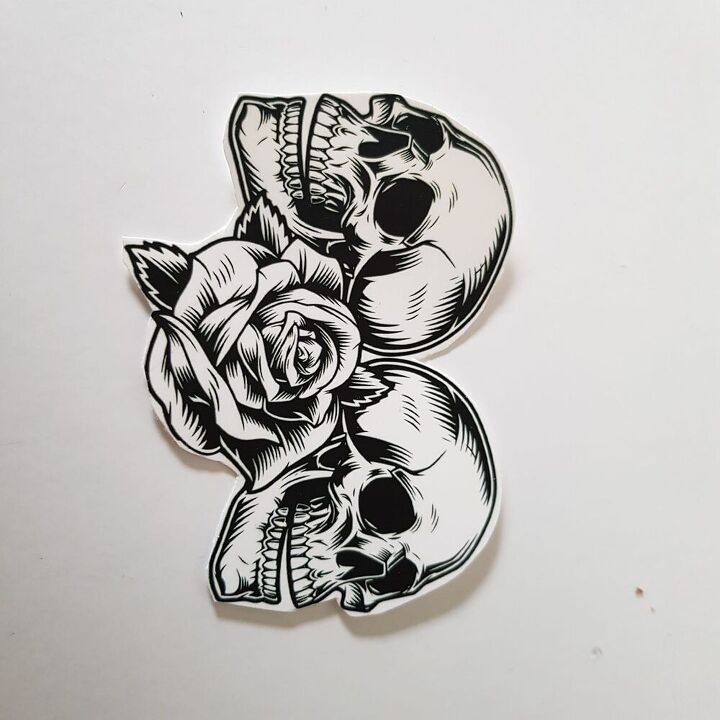
Cut around the image as close to the graphic, this will give you a nicer finish.
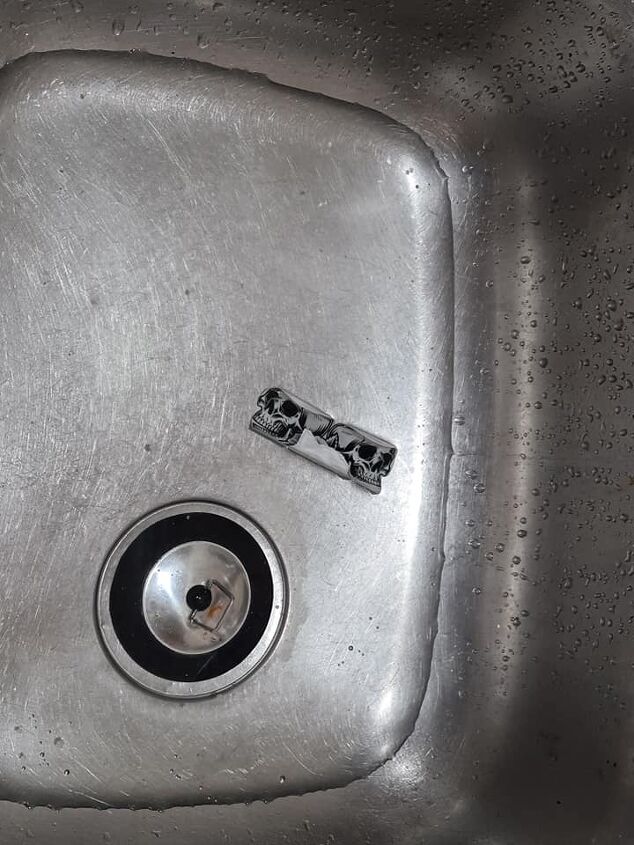
Add some water to your sink or a small bowl and put the waterslide paper into the water. It will instantly curl up, this is normal. Hold the paper under the water for about 30 second. Your brand of paper may be shorter or longer. You can tell when it is ready when you can see the image through the backing paper.
Run the outside surface of the glass under the tap. The surface need to be wet to help the image slid into place.
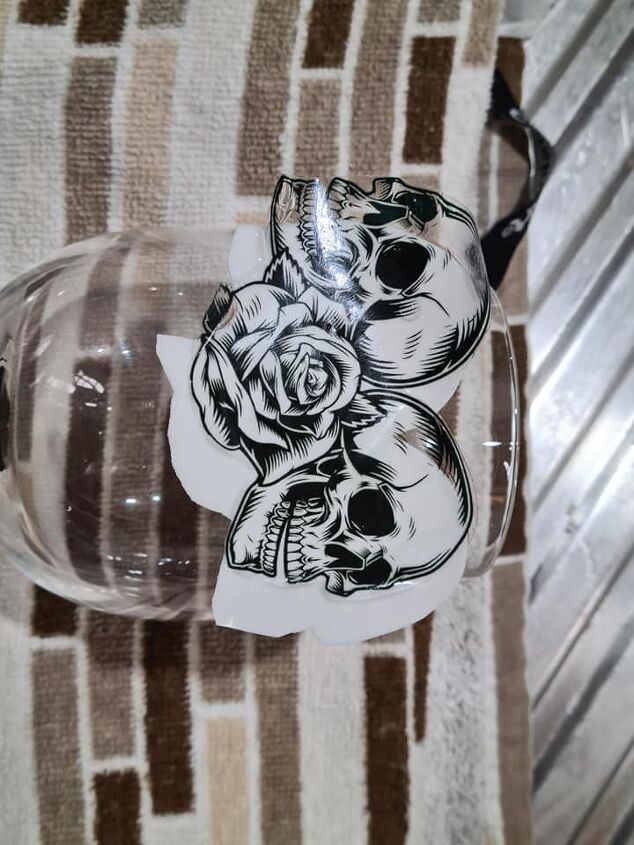
Remove the paper from the water and place it image up onto the glass surface. You should be able to use you finger and slide the image off the paper on to the glass. The water will help you move the image to the position you want.
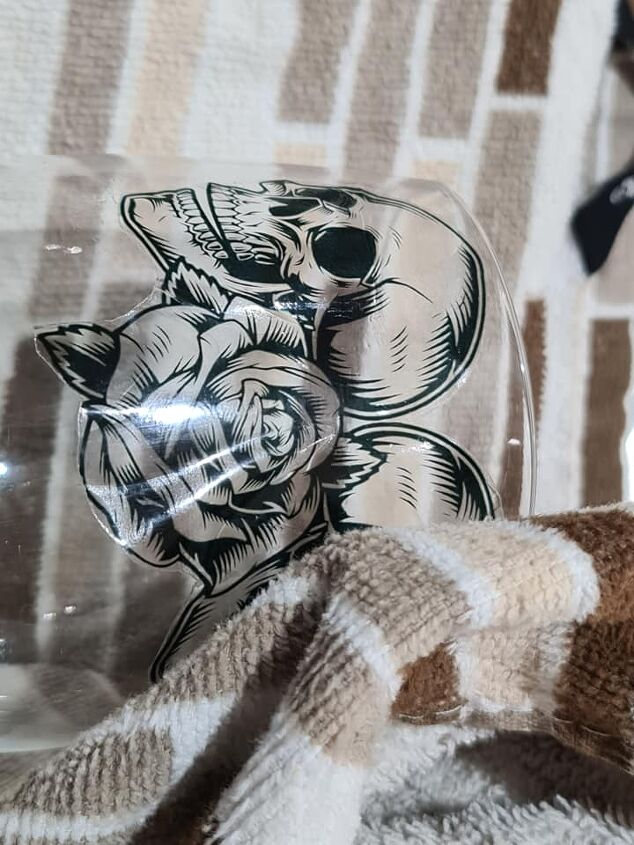
Using a soft cloth push the image down onto the surface from the middle of the image out. This will flatten the graphic to the glass and remove any water and bubbles from under the graphic. Make sure all the edges are pushed flat onto the glass.
Leave the image to dry before sealing the image.

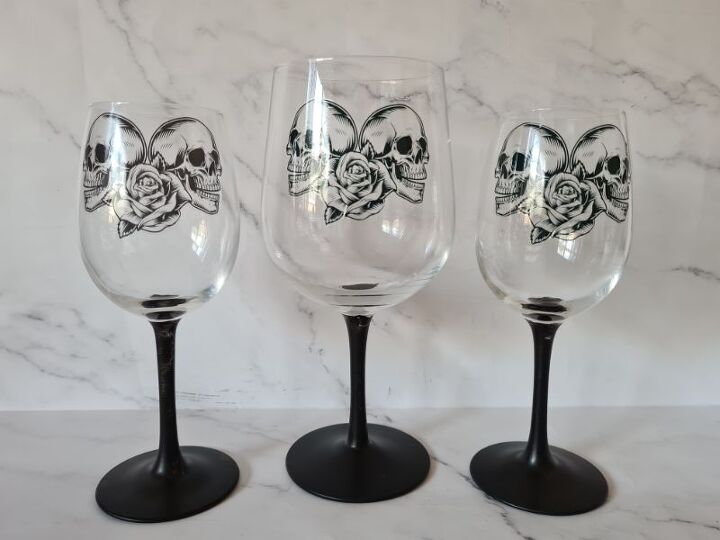
I only want mine to be temporary so I used black gesso to paint them. To seal the paint and graphics, add 2 coats of acrylic spray then bake in the oven at 100 degrees for 20 minutes. If you don’t want temporary glasses, you can use dishwasher-proof mod podge
To remove the images once you are done. Soak them in hot water for a few hours then scrape the image with your nail or a scraper.
Your cost for this project will depend on what supplies you have at home.
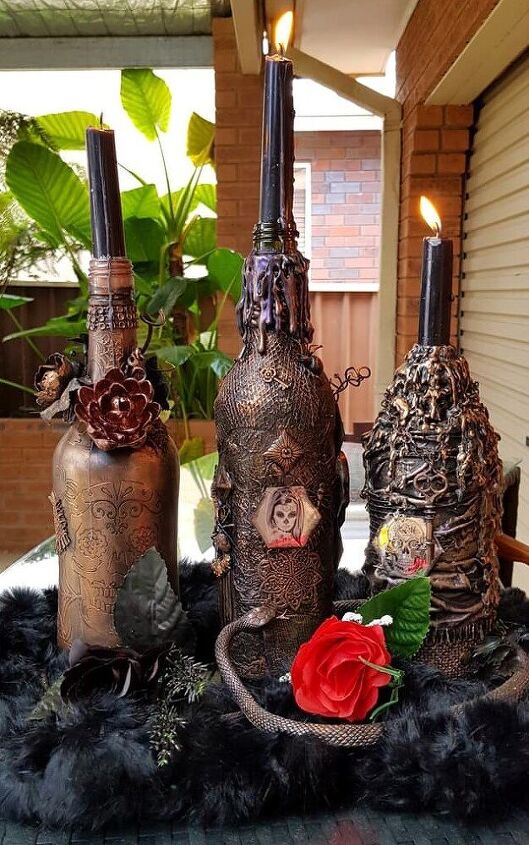
Check out these really cool recycled wine bottle.
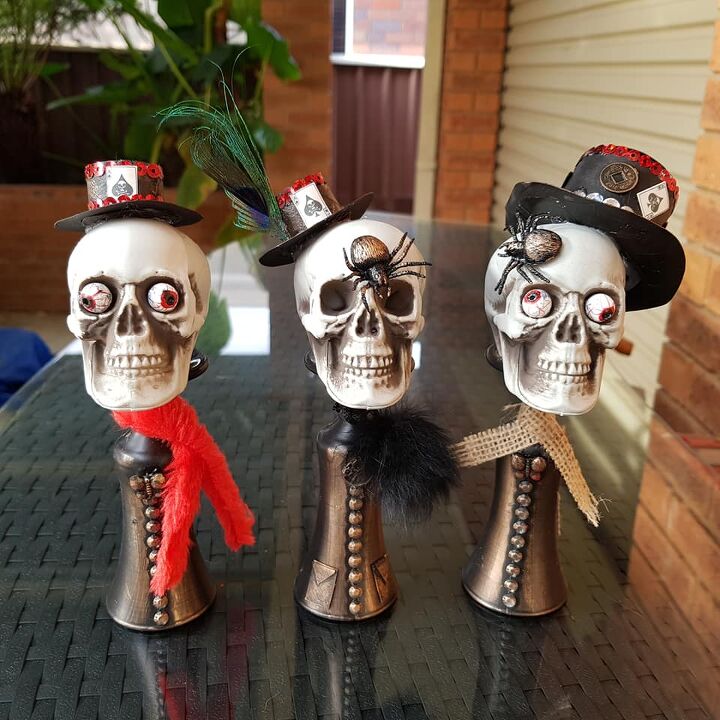
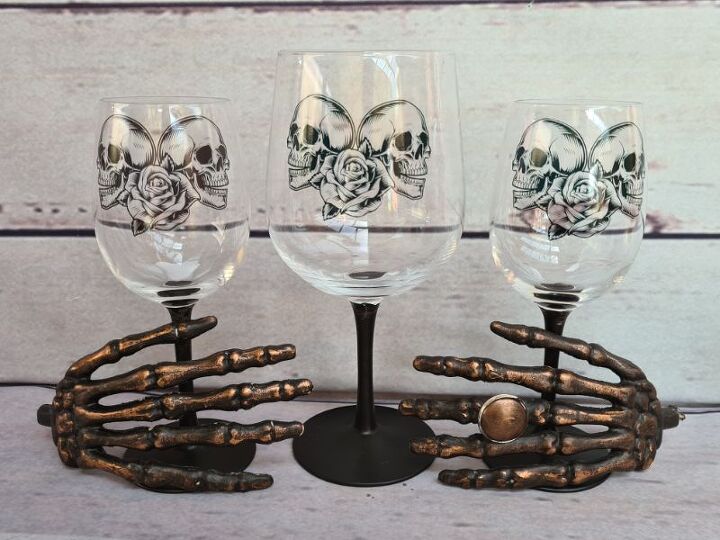
How about these really cute Halloween figures for your Halloween party table.
Resources for this project:
See all materials


Comments
Join the conversation
-
I LOVE projects that I know can be adapted for LOTS of applications. With different graphics and stem colors, this one can go ANYWHERE!
-
Anita of Unique Creations, I LOVE your choice of graphics. It's Cerebrally classic for Halloween.


Frequently asked questions
Have a question about this project?