


Trendy Wooden Display Shelf for Non-woodworkers

Don’t know your jigsaw from your orbital sander? That doesn’t mean you can’t make a shelf that looks like you are an expert carpenter and spent hours doing cutting edge design.
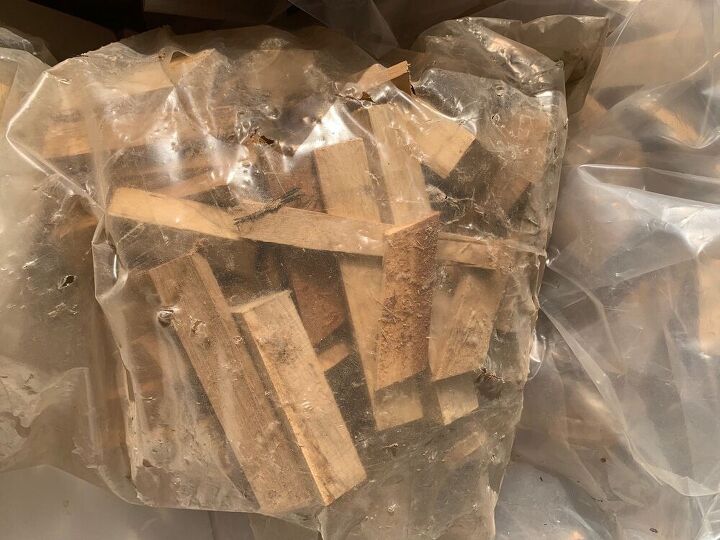
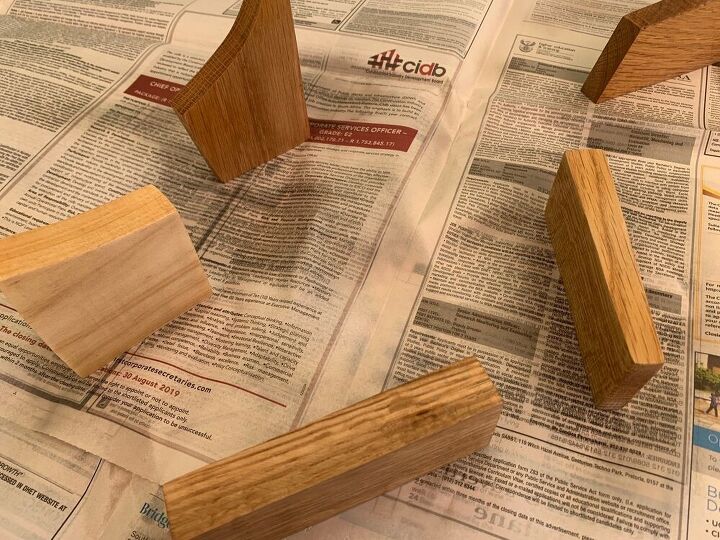
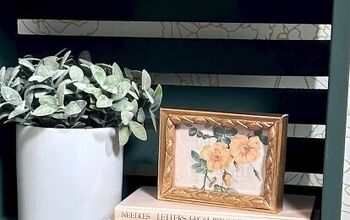
Scrolling through my previous posts you may notice that although I use wood, most of it is of the ‘not even cut once’ variety. Thats because, frankly, I can’t cut wood. Not even a bit. I can hardly drill a hole. I do, however, have bags of someone else’s off-cuts in my garage and every time I drive in I just love on the cute little blocks and try to come up with another project for them. This is my latest.
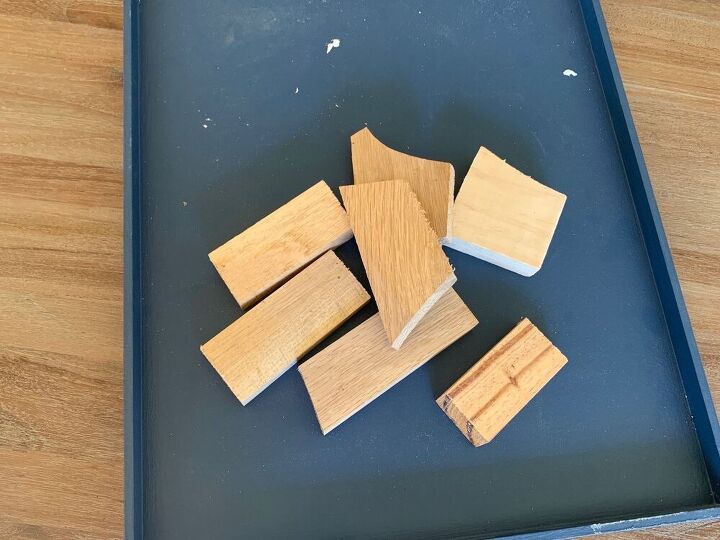
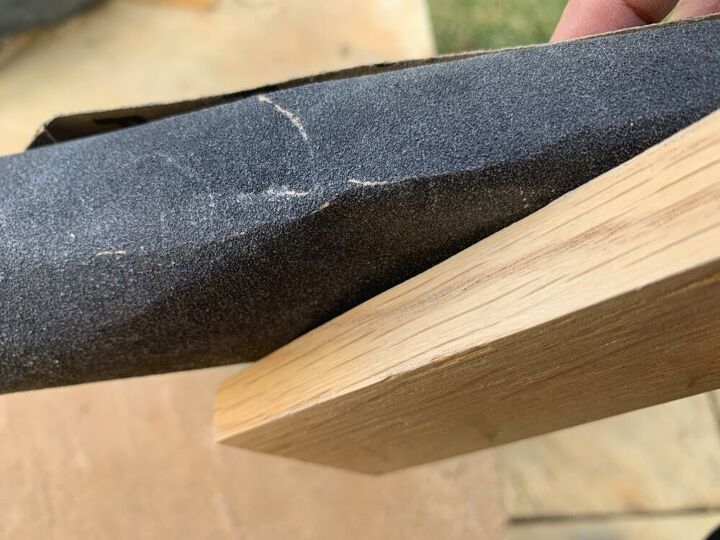
I spent a couple of glorious minutes sorting through my wood, admiring each little piece and finding the most interesting shapes and colours. Wearing gloves is a must since there are splinters galore. I looked for ones that had at least two straight edges, one that could be stuck to a frame and one that was level to serve as a shelf. Other than that, anything goes - some have curves, some are slanted, few are perfect rectangles.
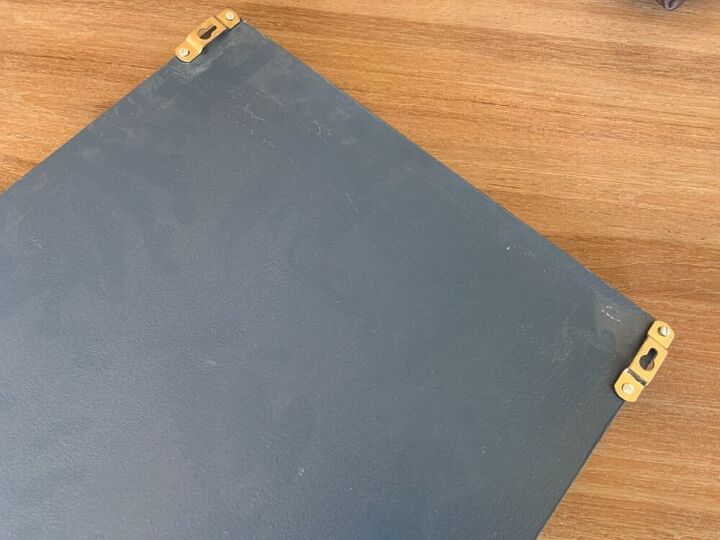
The frame is one of those supawood craft frames that you buy at hobby shops. This one had been used as a memo board and already had hooks attached.
Quite self-explanatory. I used Krylon Colormaster Cover Max in Clear to seal with.
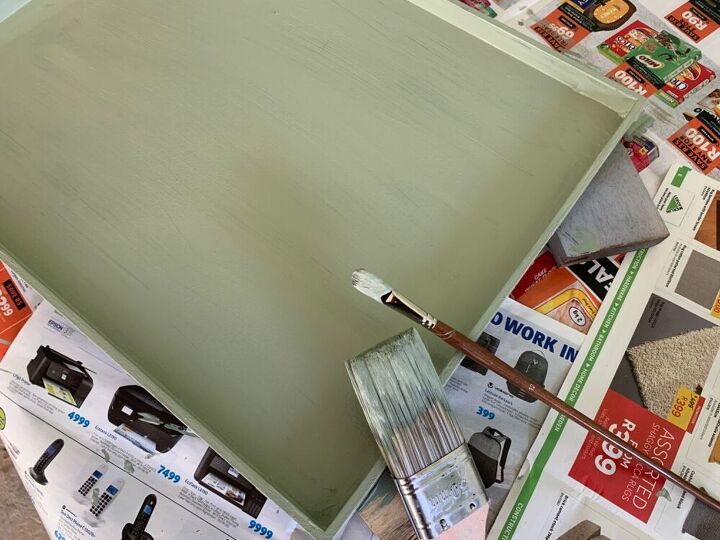
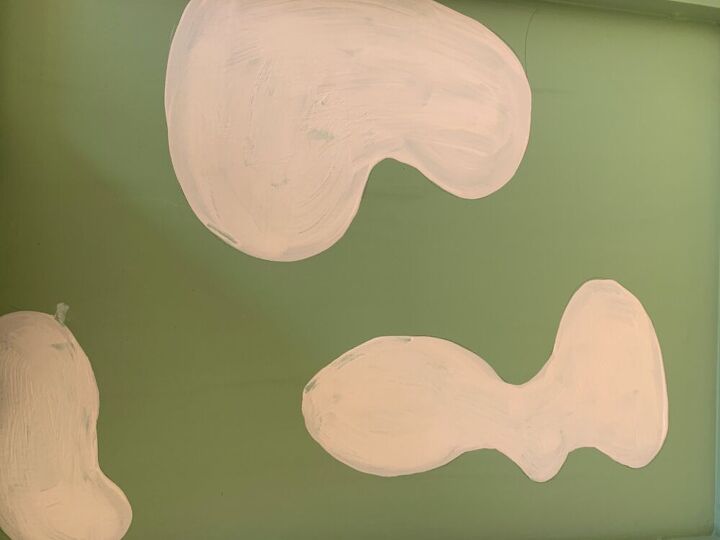
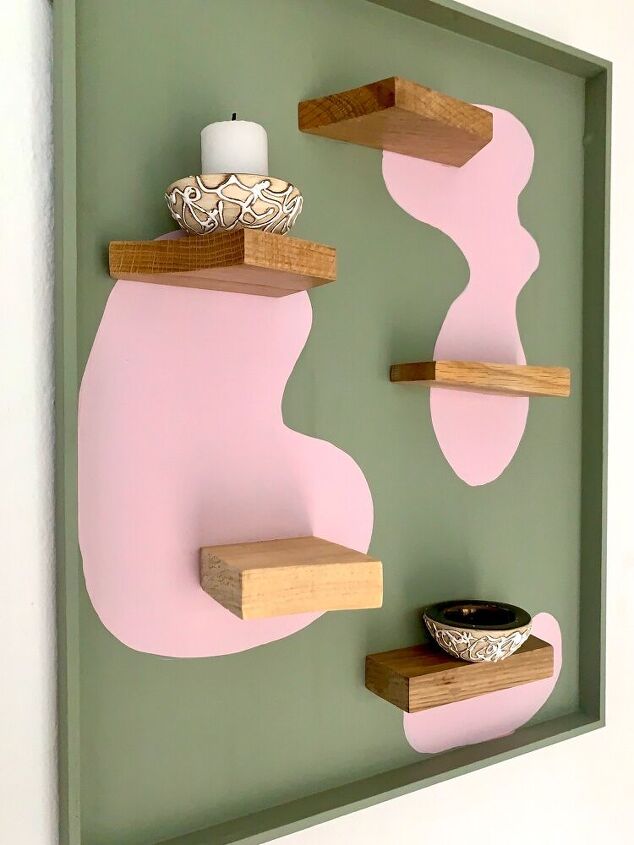
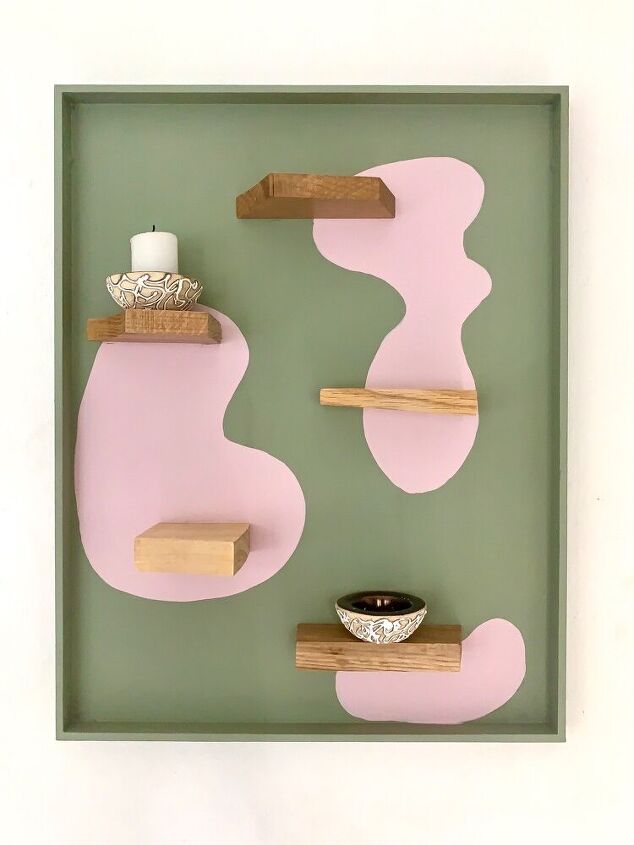
I used two coats of two different colours of chalk paint and allowed plenty of time between each for drying. I drew the mid-century splodges freehand with a pencil and used a smaller brush to outline them first. Afterwards I sealed everything with the Krylon.
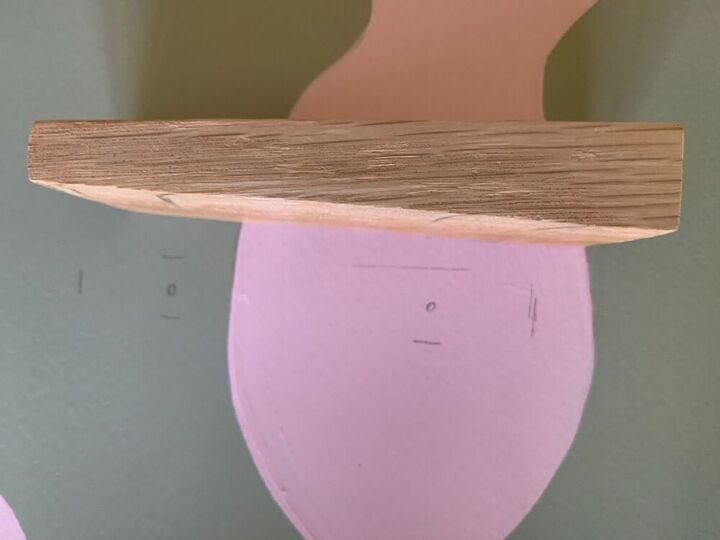
Initially I thought that I would make the shelves really strong by screwing them into the backing. I arranged them onto the painted design, took a photo for reference purposes and then marked the positions lightly! (spare yourself the frustration of trying to erase deep pencil ruts from chalk paint) with pencil. I then drilled two holes each. This meant that I had reference points when I screwed them in from the back.
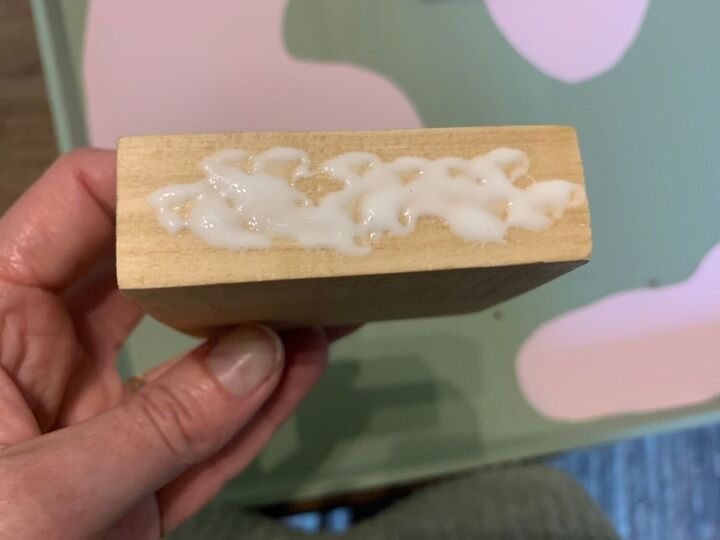
And then I got lazy and decided to glue them with wood glue instead, far easier but I am obviously not going to display heirloom glass paperweights on them. The glue squelched out and I wiped it away whilst still wet- another lesson learned a while ago. I left everything to dry overnight. As simple as that.
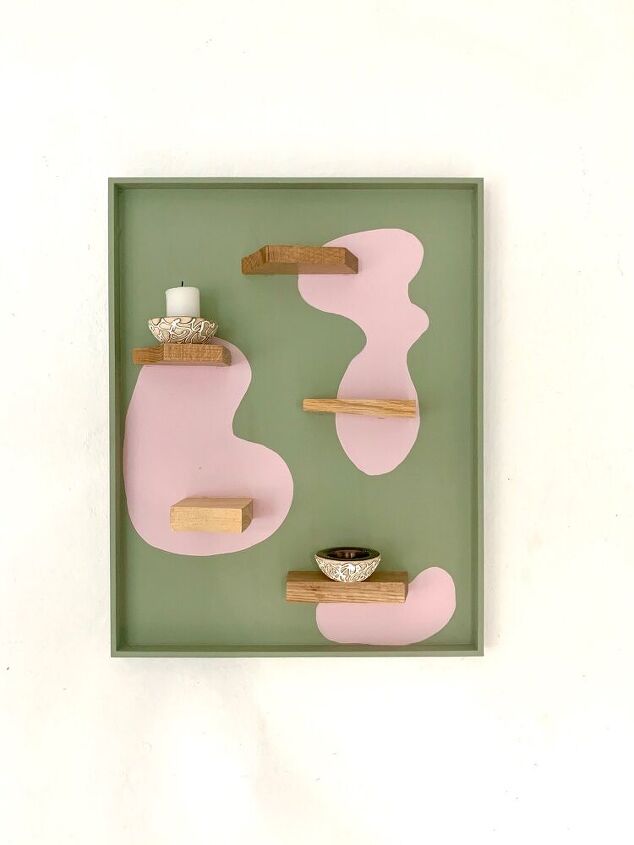
With my shelves dry and hooks already attached, all that remained was to drive 2 Hilties into the wall to hang the shelf ensemble. Now tell me it doesn't look like it was created by some edgy Scandinavian designer...
Resources for this project:
See all materials


Comments
Join the conversation
-
My great-niece will love this! Tween/teen with exceptional taste!
Pinned ❤️
-
I like reading your post because you always come up with low cost and unique projects. Seems like there’s not a lot of original home craft ideas out there. Thanks for sharing all your great home decorating projects.


Frequently asked questions
Have a question about this project?