


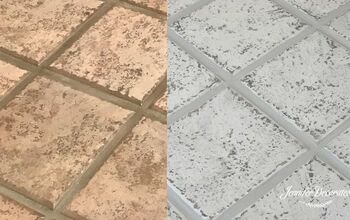
How To Paint Tile Floor (With Stenciling)
Are you wondering “can you paint a tile floor?” The answer is YES! Learn how to paint tile floor in your bathroom for a cheap and easy DIY!
If you love this project, grab your quick start DIY guide & subscribe to our blog!
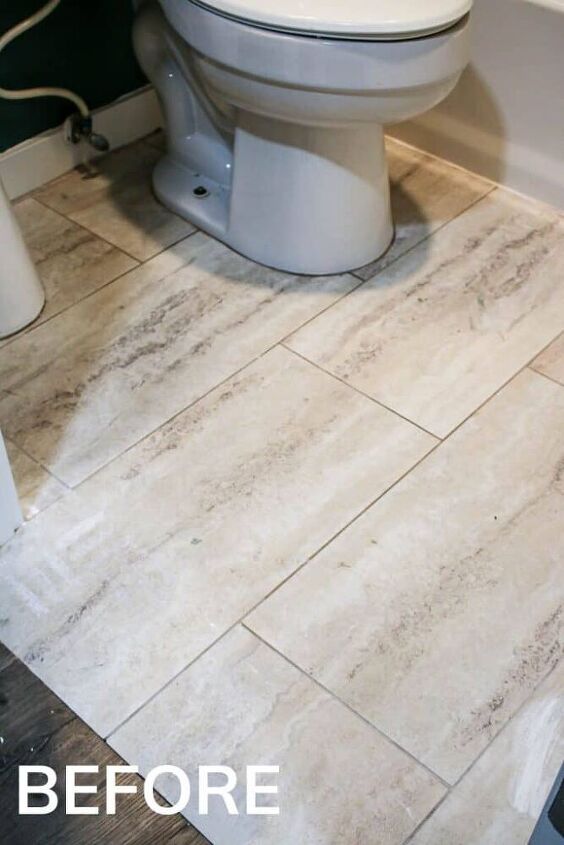
Say WHAAAAT?!? Maybe you’re wondering “can you paint a bathroom floor?” And the answer is YES, my friends!
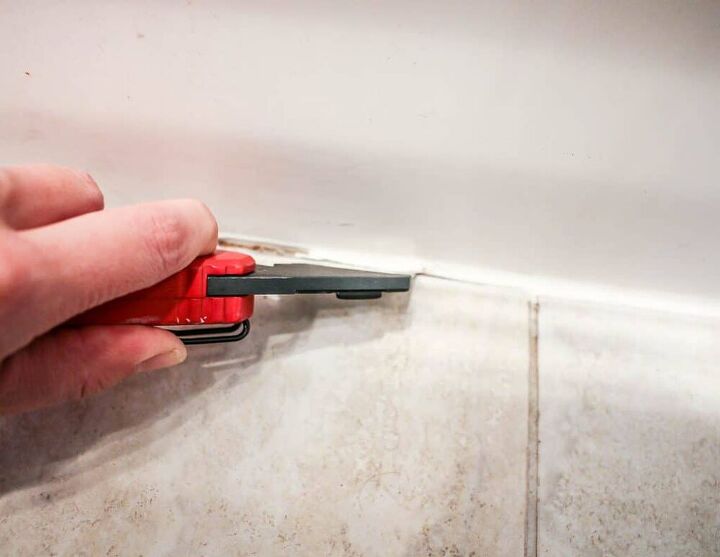
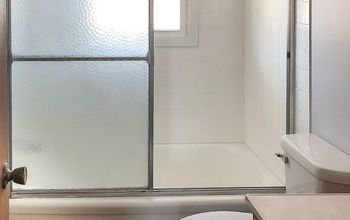
Step 1: Remove old caulk.To remove old caulk, use a sharp utility knife to score the edges of the caulk in between the floor and the caulk line & the tub and the caulk line. Then with needle nose pliers, pick out the caulk. Continue until all old caulk has been removed.
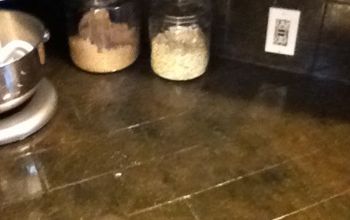
Step 2: Clean tile floors well. Krud Kutter is the best for this because it’s a super duper powerful cleaner that will remove dirt and grime.
Simply spray on and wipe clean with paper towels or a rag.
Step 3: Test floors for adhesion.
As recommended by Rust-Oleum on the can of floor paint, you should test your flooring first to make sure it doesn’t need to be sanded.
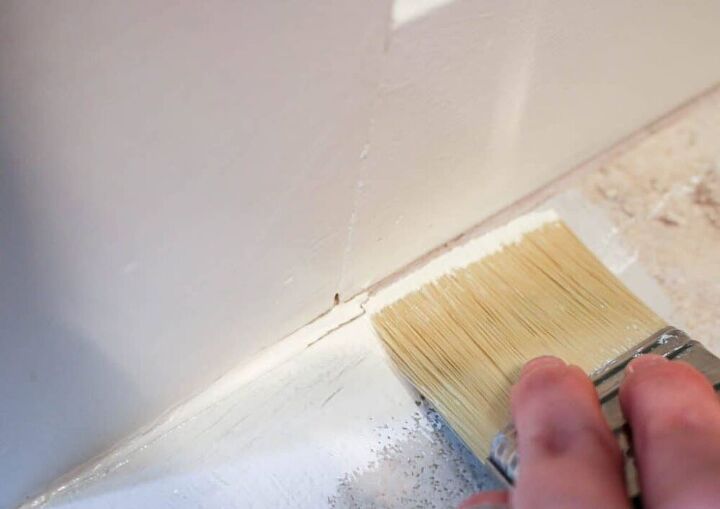
Step 4: Apply base coat of bathroom tile paint. Start by going around the room and around any edges. Alternatively, you could tape off your baseboards with painter’s tape.
Work your way out of the room so you don’t have to step on the wet paint.
Step 5: Colored base coat.
After waiting 6 hours to dry, I painted with the colored base coat.
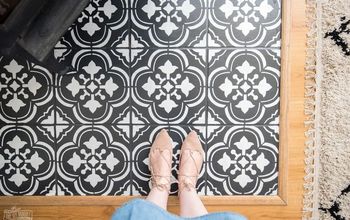
Step 6: Stencil. ow it’s time to move on to stenciling! I honestly think the smaller the room, the harder, because you end up having to do a lot of cutting with the tile floor stencils to make it work around the edges of the room, sinks and toilet.
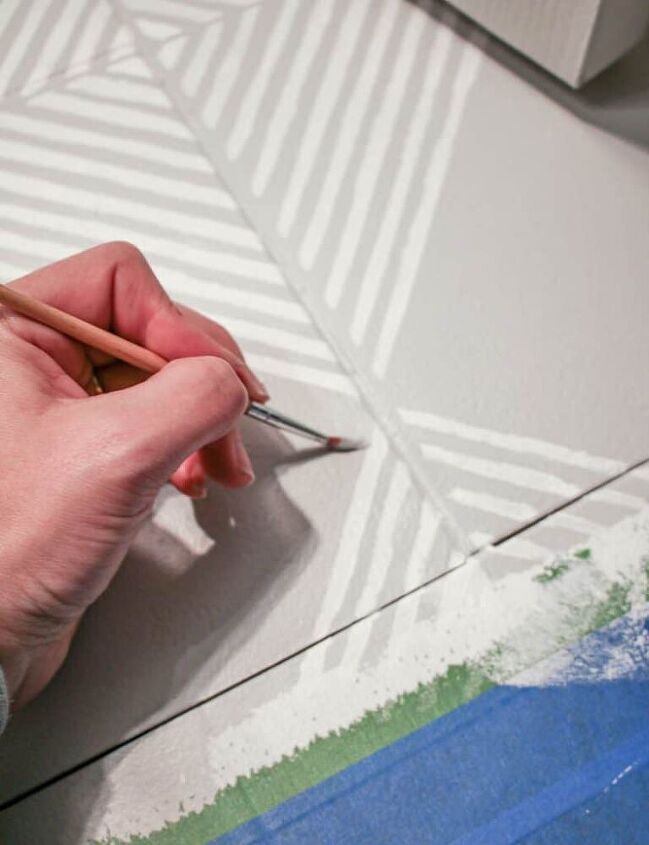
Step 7: Touch up stenciled floors.
Wait 6 hours and you can go back in and touch up with a small paint brush.
Step 8: Add top coat of floor coating.
Wait 6 hours and then you’re ready to seal the bathroom floor paint with the top coat.
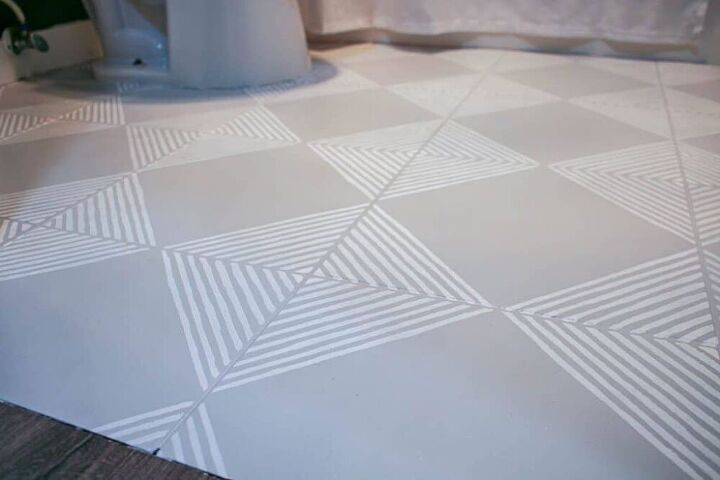
I’m pretty obsessed with how it turned out! I LOVE the stencil pattern and think it added so much character to the room!
Resources for this project:
See all materials


Comments
Join the conversation
-
Great job, but the original flooring was beautiful as well imho. Still, great job!!!
-
The before tiles are rectangles and the after are square. There was nothing in your tutorial about filling in the original grout lines and taping off to create new fake grout lines. Nor was there anything showing the stencil(s) or how you lined them up.


Frequently asked questions
Have a question about this project?
Can you paint hard wood floors
This is awesome. I love it. Great job!
will this work on the small mosaic ceramic flooring as well??
Your original tile looks to be a rectangular shape, but your stencil pattern appears to be square. Do the old grout lines show through in the new pattern, or is it not noticeable?