


Mirrored Backsplash to Pebble Backsplash

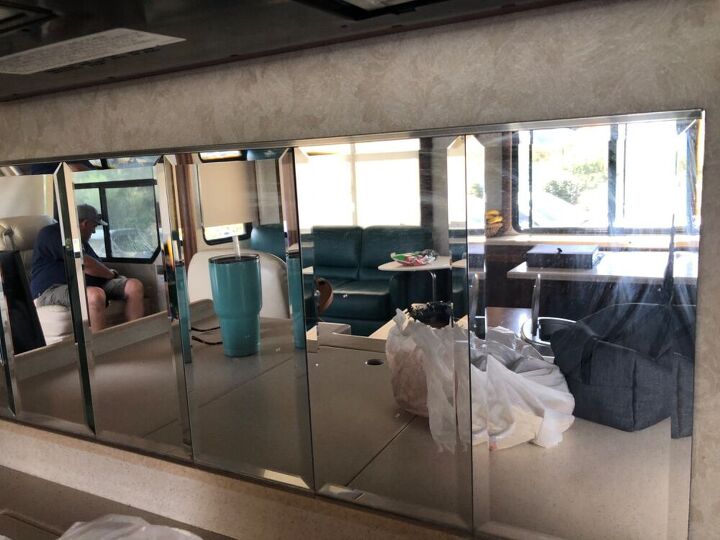
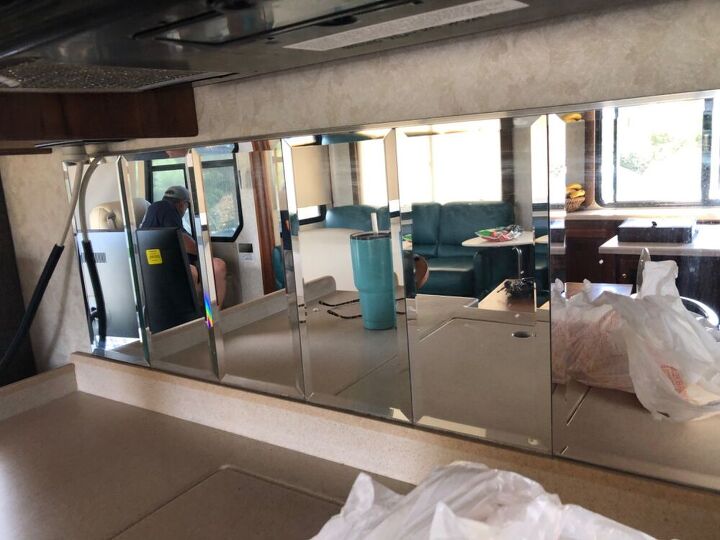
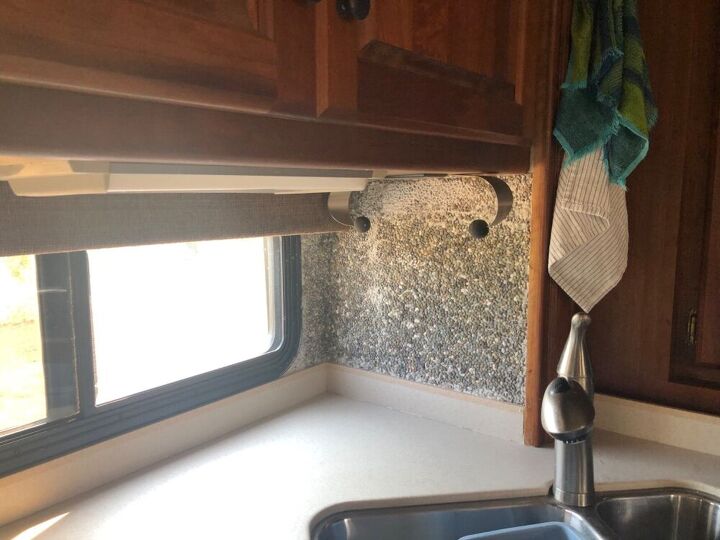
I am living in my RV for the time being, but there was a few things that I needed to fix in one of them was all the mirrors everywhere! Especially in the kitchen as a backsplash. I realize that mirrors make it look bigger but it mattered more to me to make it cozy and durable rather then for it to look big! Y And the manufacturer thought it was a great idea but after the multiple scrubbing of the mirrors while cooking I just didn’t wanna deal with it anymore.
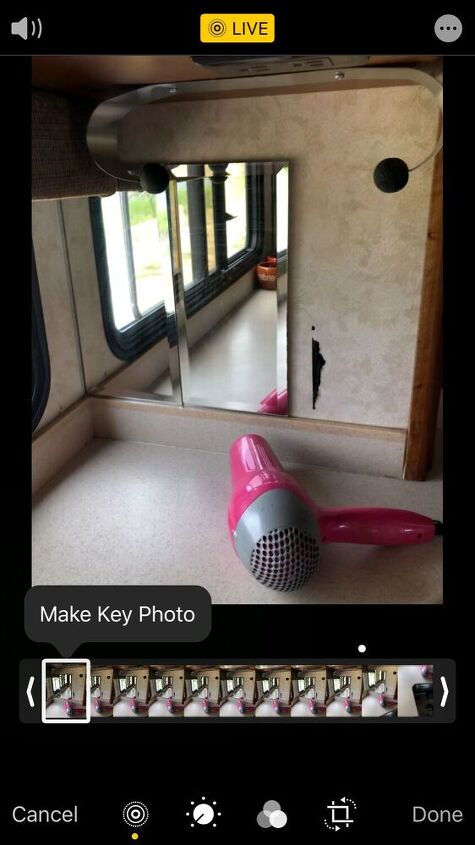
First thing first I had to remove the glass panels. Pulled out my blow dryer and a spackle knife that was flat and could slide under the back of mirrors to be removed.
I heated up the mirror with blow dryer and slid the spackle knife behind it and gently pulled away from wall. Took a little bit of patience but I didn’t want to break them and get seven years bad luck!
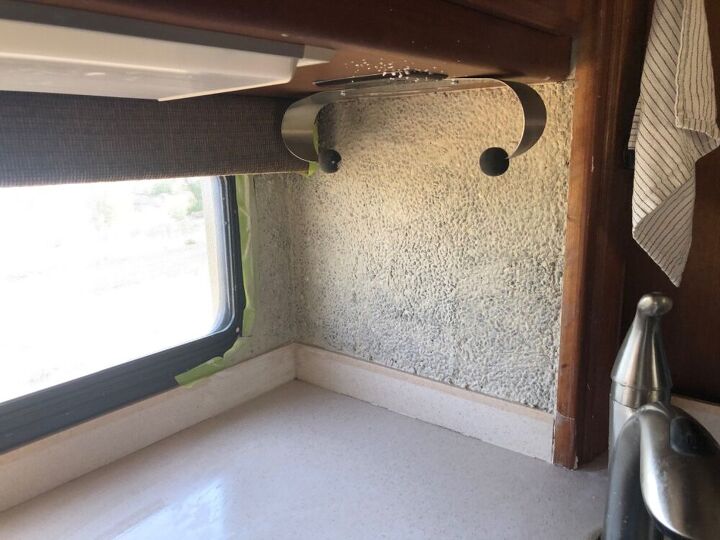
Once I got all the mirrors removed in one piece which was an accomplishment alone. I found that the glue was a little harder to remove. Are used a straight edge razor knife but it’s still left some raised residue areas. so I just used to goo gone to clean off the raised residue
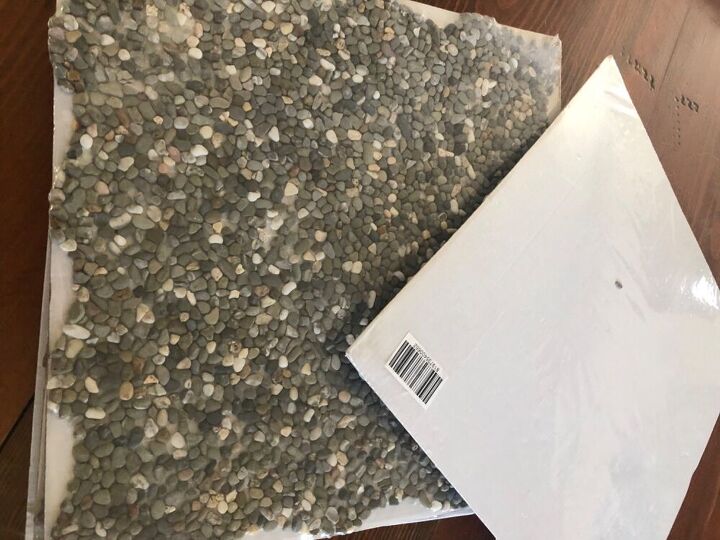
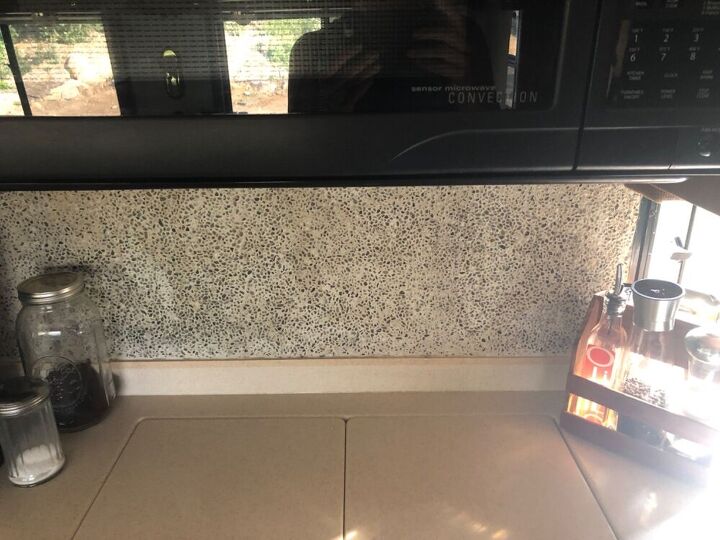
I had picked up these pebble sheets at Habitat for Humanity. It Was only 8 square feet, but I love them knew I wanted to use it for something. Bingo, just the right amount for my project.
Once I got them up I really liked it but I was concerned about whether the grout would cover the adhesive or not. I waited 24 hours to dry.

I’m not sure if it was all the small pebbles are what but it did take quite a bit of grout I had to go back and buy a second small bottle of it.
It started to dry I felt much better about the adhesive that had bled through. Off-white grout did help to hide most of the bled through. I waited 24 hours to dry. Now it’s time to seal it.
I took a sponge and dabbed it all over liberally I wanted to make sure that it would be easy cleanup. It turned out pretty good I don’t think you can see the bleed through and I love it so much more than the mirrors.
It took me a couple of dayS to accomplish the small 8 ft.² but I had to let dry in between coats of grout and Sealing.
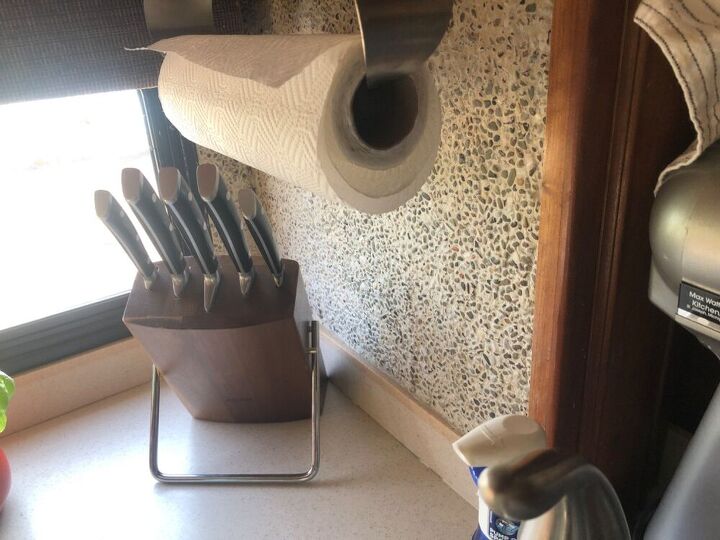
Looks great easy cleanup no more mirrors and updated it tremendously. I hope you enjoyed it let me know your thoughts. Thank you
Resources for this project:
See all materials


Comments
Join the conversation
-
I would love to put those pebbles on the shower floor. Would that work and would they stay glued?
-
nice looking upgrade


Frequently asked questions
Have a question about this project?
How do you clean the pebble surface?
Is this a Foretravel, by chance? We have a 93 Foretravel just loaded with these mirrors! Around the stove, around the dining area, in the bathroom, on the cabinets in the bedroom and an entire WALL over the bed of mirrors! Makes you wonder! I covered up the behind the bed ones first thing (I hate mirrors in any case!) I used a shower rod to span between the upper cabinets alongaide the bed and a linen type mandala shower curtain. (We also use the rods for sectioning off the front cabin driving area so that becomes a bedroom also w a bed we designed).
Next up is covering the around the stove area, I tried a contact type tile design but it was too flimsy. Think I am going to try the peel n stick small tiles for this.
I love our hand crafted solid walnut cabinets and the other details but those mirrors, not so much!
That looks amazing! Love it 😍
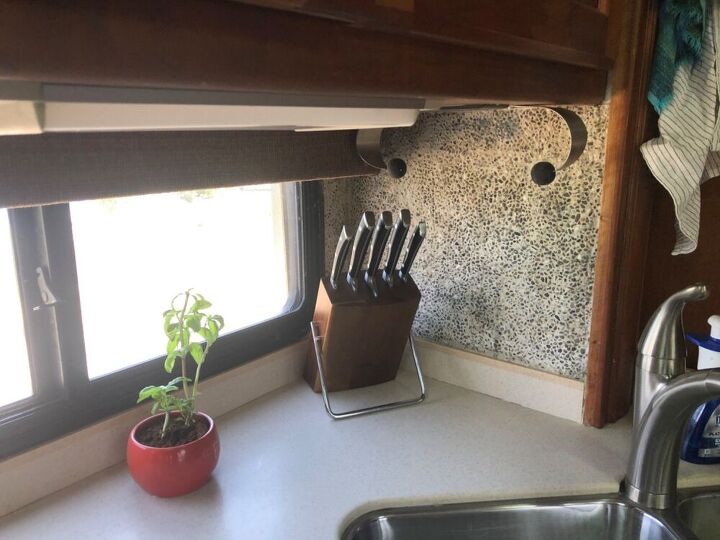
btw, I really like that knife set! Where did you find it, I’d like one for my RV too!