


Copper Gilded Pumpkins

I have really fallen in love with copper this fall and I was thrilled to try my hand at giving my white pumpkins some copper 'touches' this season. I simply added a little 'copper kiss' to each pumpkin using copper foil and gilding adhesive!

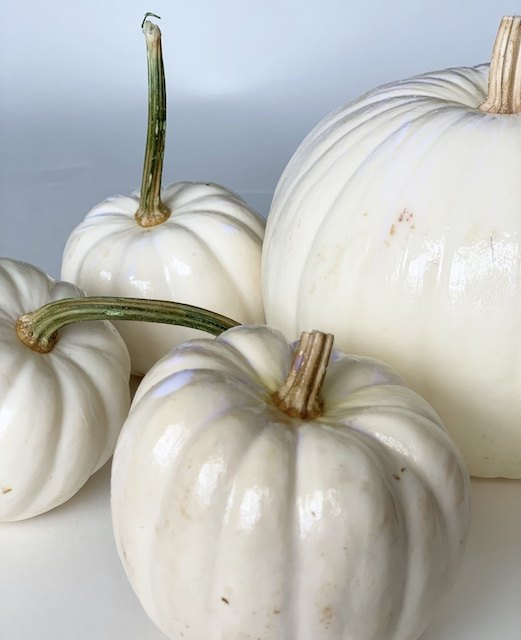
I chose white pumpkins because I felt they would make the copper pop!
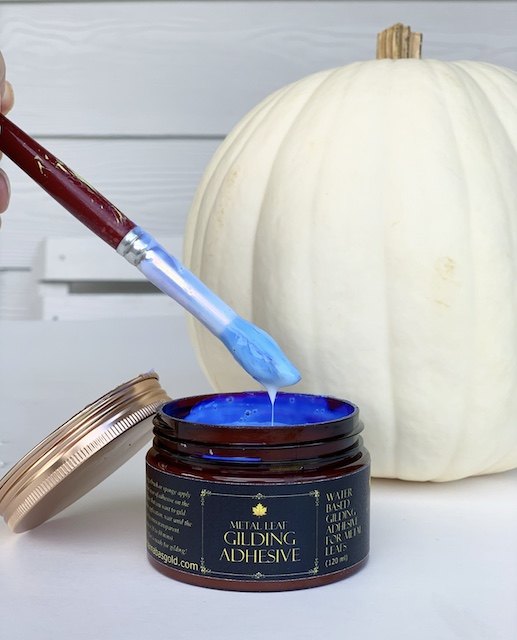
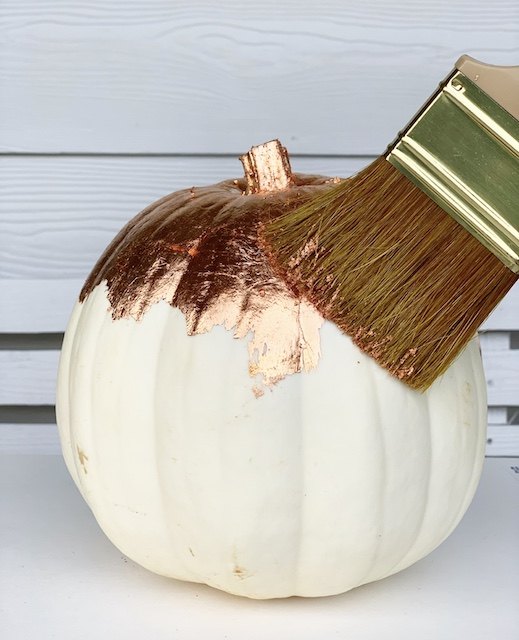
Using and old paint brush, just begin 'painting' on the adhesive. Don't overthink this part! I just chose to go for a very uneven 'kissed' look!
It is important to let this particular adhesive 'dry' for 15-30 minutes before applying the gilding. This will allow the adhesive to move from 'wet' to ' tacky.' In order for you to easily work with the copper foil sheets, the adhesive needs to be tacky and not wet.
This is the easy part! Simply add sections of the copper foil onto your pumpkins. It will be messy!
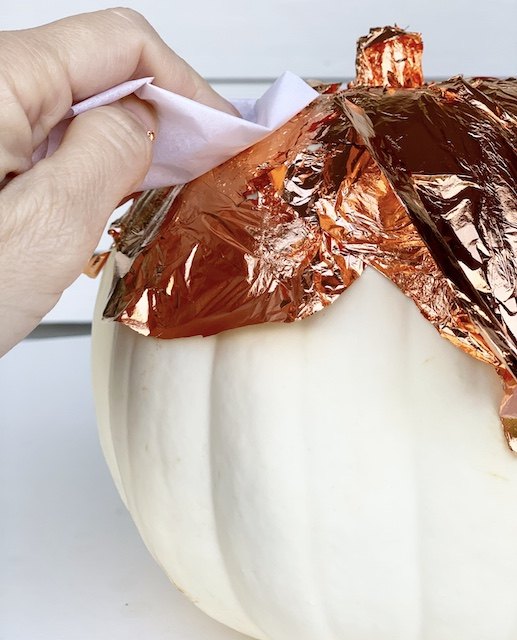
You will need to add a bit of pressure to your copper and you will need to smooth it out. I simply used the tissue that separated the copper foil to do this.
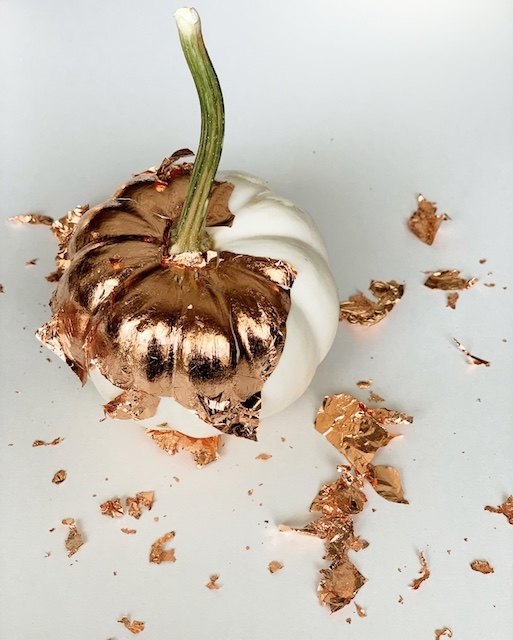
I took an old brush and simply dusted off the extra pieces of gilding foil. I would suggest doing this step outside or over the trashcan! It can be messy.
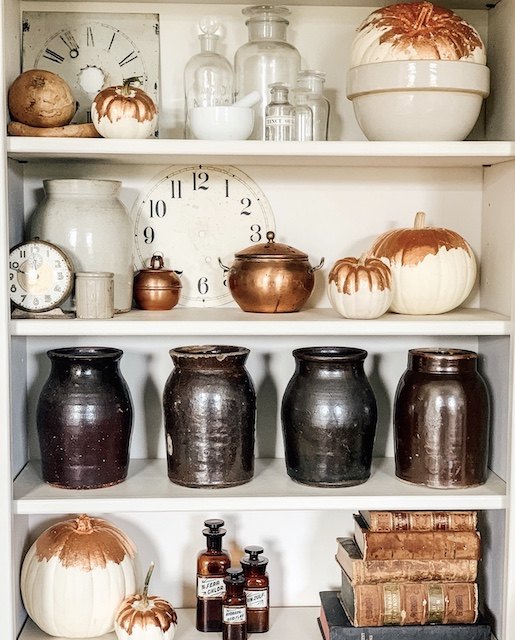
This was the best part! These 'copper kissed' pumpkins were so much fun to make and best of all - they were very easy to style! I simply placed them on our bookshelves with some vintage items in similar colors for fall!


Comments
Join the conversation
-
Very nice! Would be gorgeous for a fall wedding!!!
-
Hi Emily, these are lovely and thank you for sharing the idea. I think to preserve the look I would use fake pumpkins ( if I couldn't find white ones ) paint them then, add the copper, gold or even the mixture of foils I have used to foil to the pumpkin. If you want to change the stem I have seen paper bags or craft or even wrapping paper or newspaper twisted into life like stems.


Frequently asked questions
Have a question about this project?