


How to Install a New Toilet

Do you have a toilet that you need to swap out? We did in our Spring 2020, One Room Challenge. It was so much easier than I expected. There is also something really powerful in knowing you can replace a vital piece of your home quickly and proficiently. Follow along for a VERY simple but thorough guide for how to replace a corner toilet. In seven easy steps, you’ll be able to replace one too.
Get your new brass bolts that came with your toilet and put them in the flange at 9 and 3 o’clock.
(If you are looking for a full tutorial that starts with how to remove your old toilet, check out this tutorial here.)
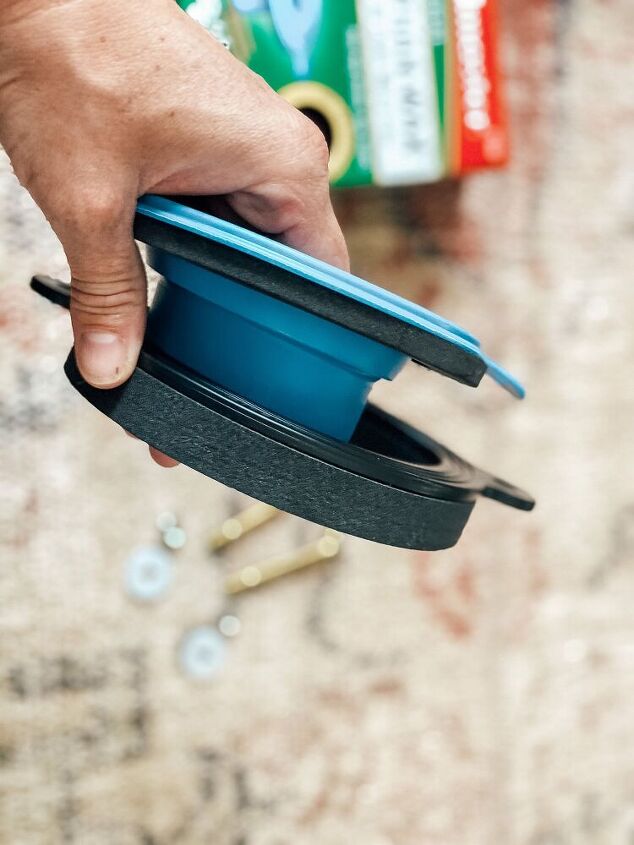
Now it is time for the ring. You can use a new wax ring, setting it carefully into place and then lifting the big massive toilet bowl perfectly centered on top. It must be snug and level. This is a tricky feat because you only get one shot at doing it right with the wax.
For this reason, I prefer the Better Than Wax Toilet Seal.
You lay it down based on the box instructions, and then you can put the toilet right on top. If you aren’t straight, you can remove the big bowl and try again. Plus, the seal seems to be better with this Better Than Wax Toilet Seal. It costs relatively the same, so I’d opt for this from your local Home Depot or Lowes.
Whichever ring product you use, your next step is to put the toilet on top so the bolts can go through the holes on the floor piece.
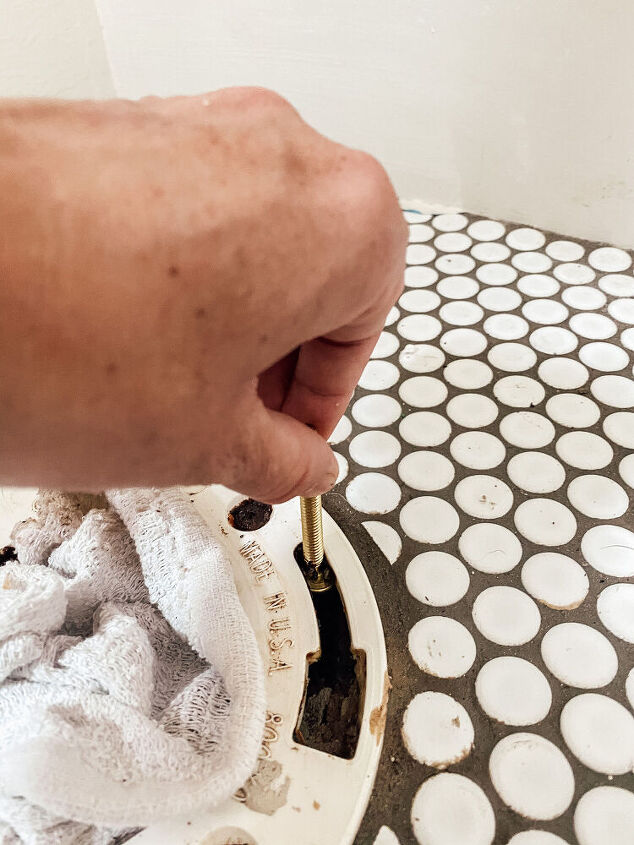
Once the toilet is on, attach the washers and nuts that came with the bolts. Be sure to make a few turns on one side and then the other, and repeat. Don’t tighten them too much, or you risk a crack in the porcelain.
Before you can place the white caps over your blots, you may need to cut them down. This is normal and common. Use a hack saw to cut them down, so they fit under the caps.
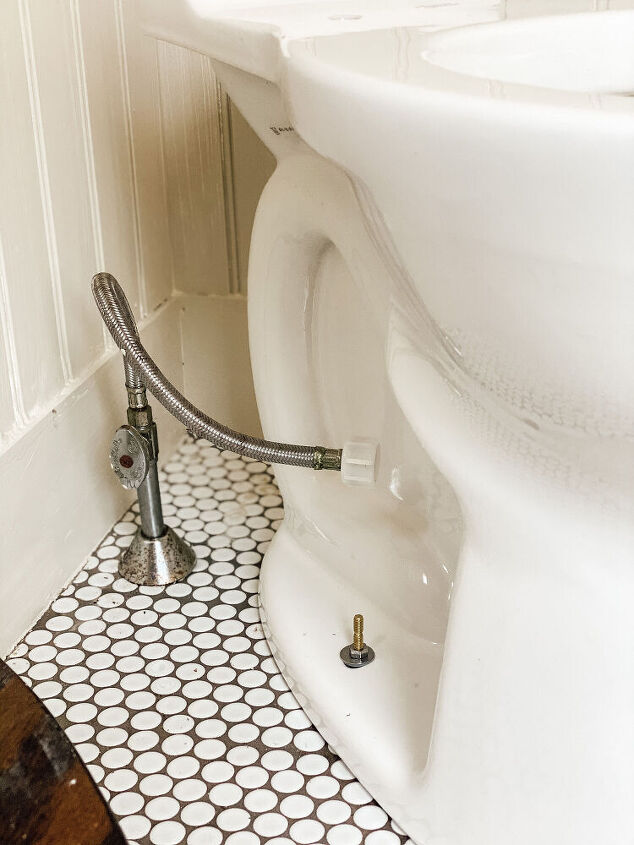
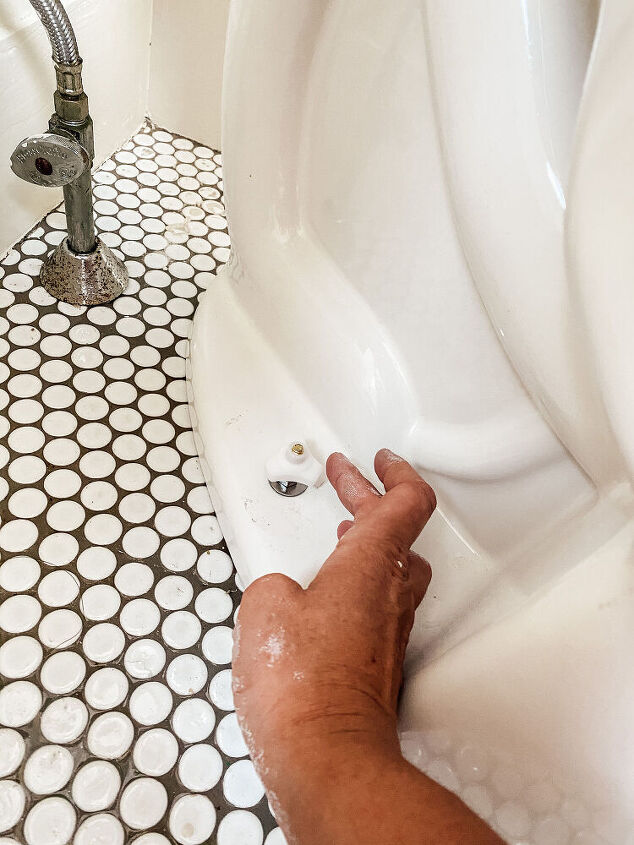
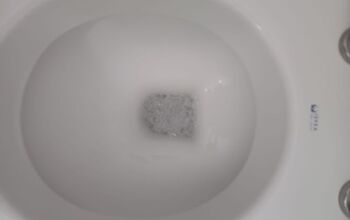
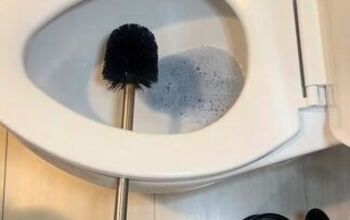
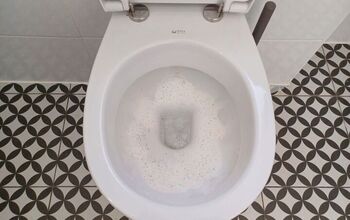
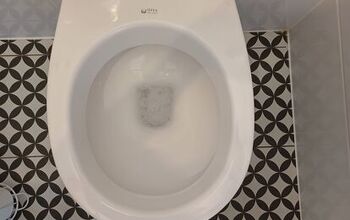
Next, install the new supply line and turn the water on to check for any leaks. It is wise to have a towel nearby, just in case. Flush the toilet and check for any leaks a second time.
If all is working well above, place the tank lid on top. Lastly, add your toilet seat cover with the bolts, washers, and nuts provided. This is pretty simple and, one final time should be done a little bit each one, back and forth, until they are both tight.
You did it!


Frequently asked questions
Have a question about this project?