


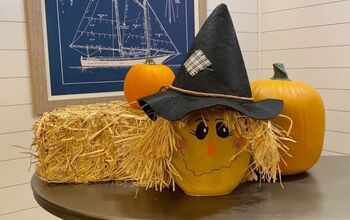
DIY Scarecrows

I love decorating for fall , it's one of my favorite times of year. This year I decided I wanted to make my own scarecrows. I have always purchased them at my local Dollar store but they do not seem to last long, and the ones from Michaels are abit on the expensive side. Browsing a second hand store I came across some baby clothes that I knew would be perfect for creating my own scarecrows.

The supplies needed for this project are two sets of flannel shirts , two pair of jeans, two small hats, Styrofoam board, two styrofoam balls, raffia, and burlap.
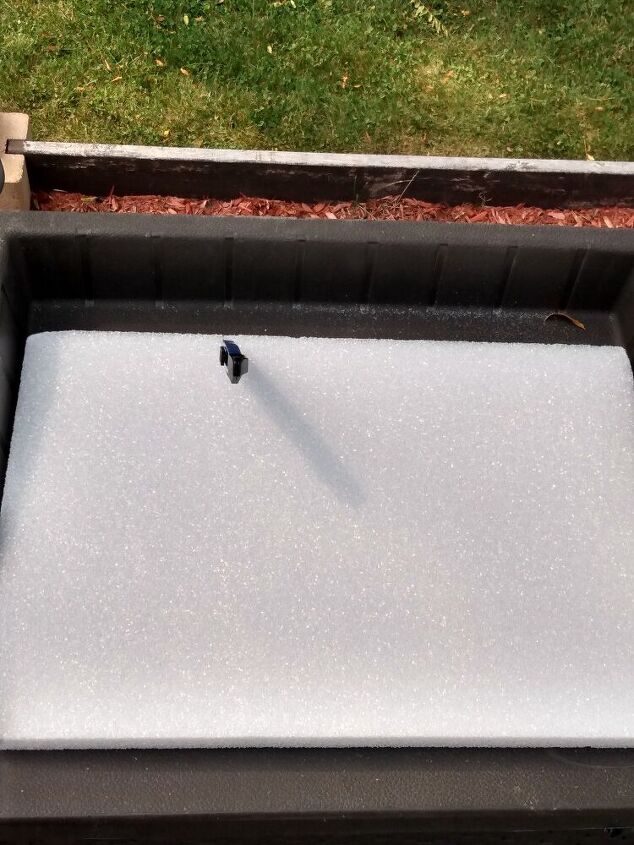
To begin this project using an exacto blade I cut my Styrofoam board. You will need two pieces, this is for the body. I recommend using a board no less than two inches thick.
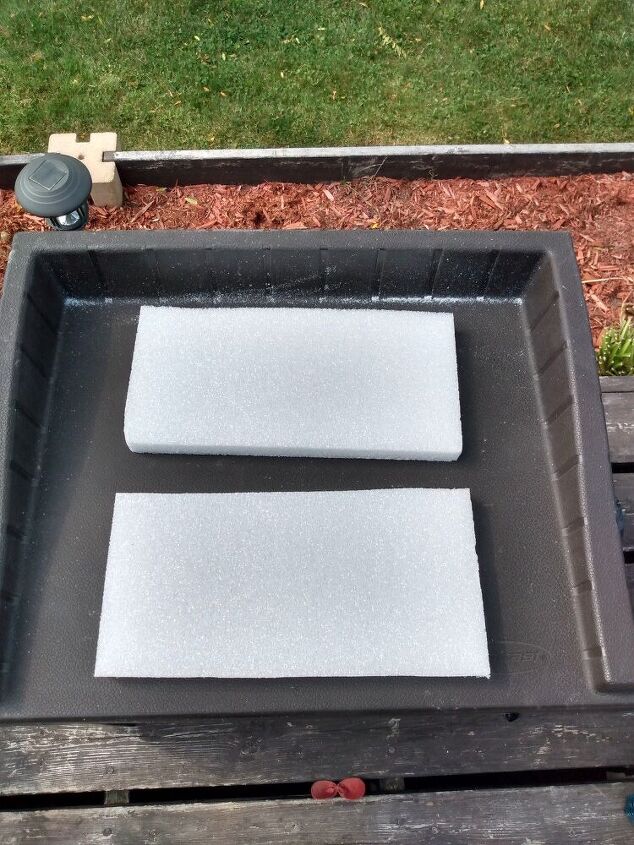
Here is the styrofoam board cut.
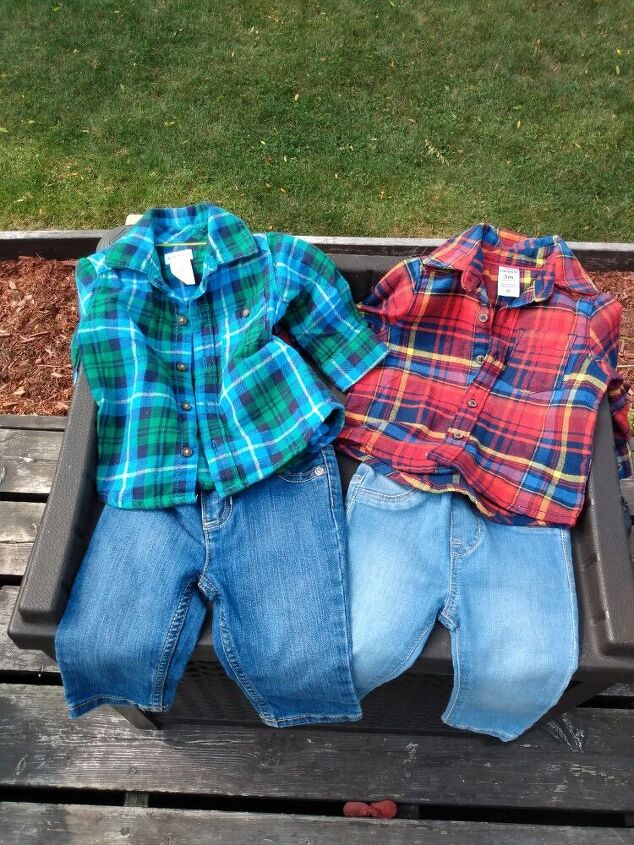
Here are my two sets of baby clothes. They are three months in size, you can also use overalls for this project.

Take one piece of the Styrofoam board and lay it flat, then take one of your flannel shirts and wrap it around the board. Button shirt, then take one pair of your pants and pull up over the Styrofoam board.
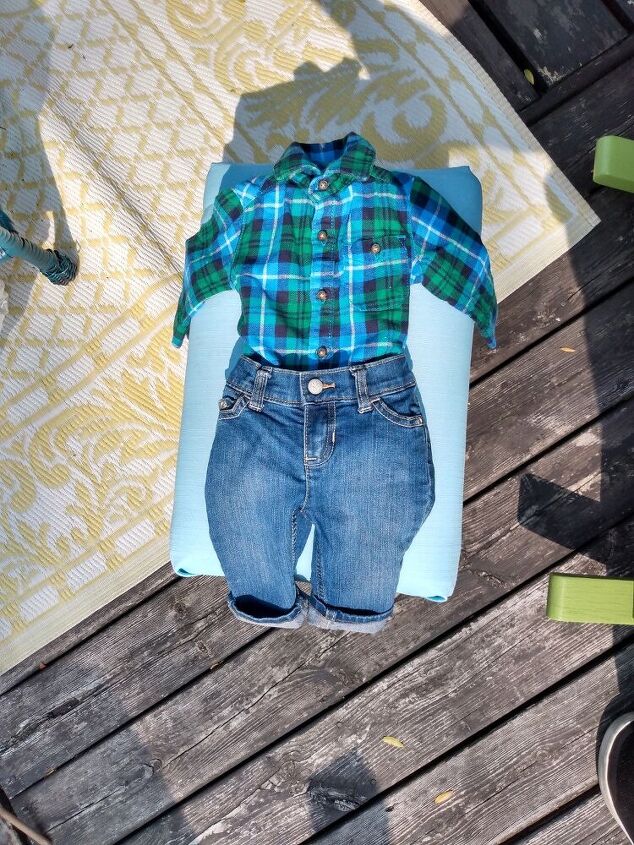
So your styrofoam board should look like this now.

Using a hot glue gun I secured the shirt and pants to the board.
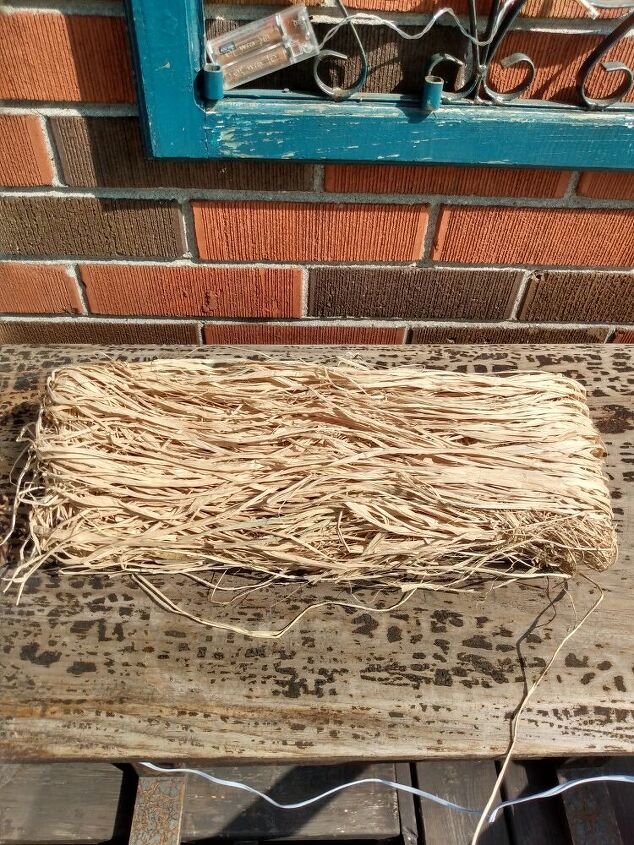
Next I took my raffia and cut bundles about 8 in long and about 1in, in diameter. Using a piece of raffia I tied each end.
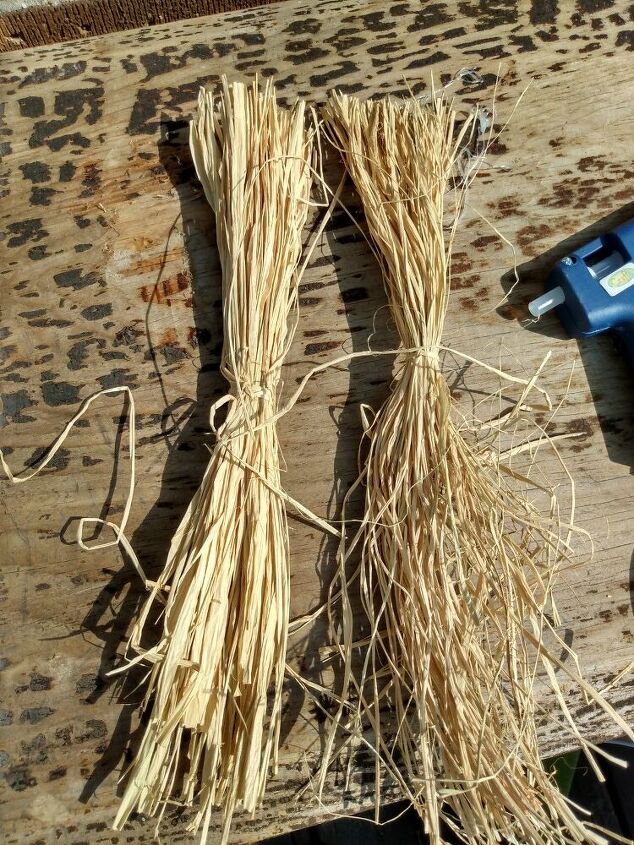
Here is what your raffia should look like.
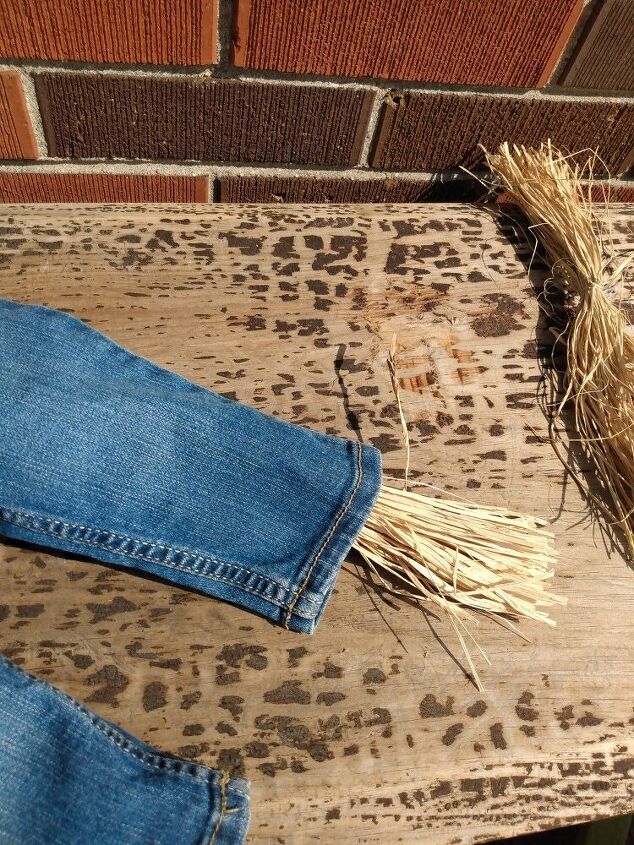
Take your scarecrow body and your raffia and insert it into the leg of the pant leaving about three to four inches sticking out. Take a piece of raffia and tie around the pant leg. Repeat step on other side.
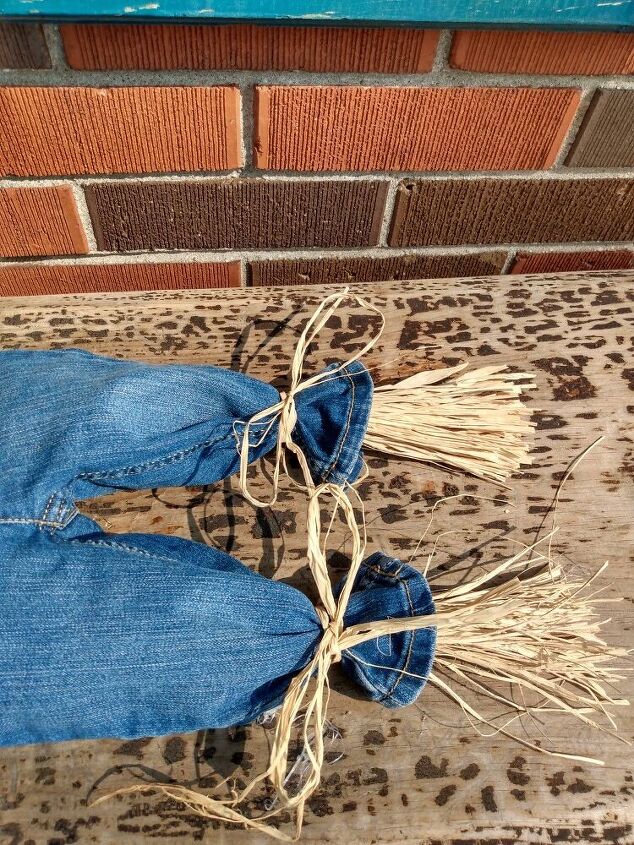
Here are the legs complete. Repeat the entire step to do the arms using about six inche length.
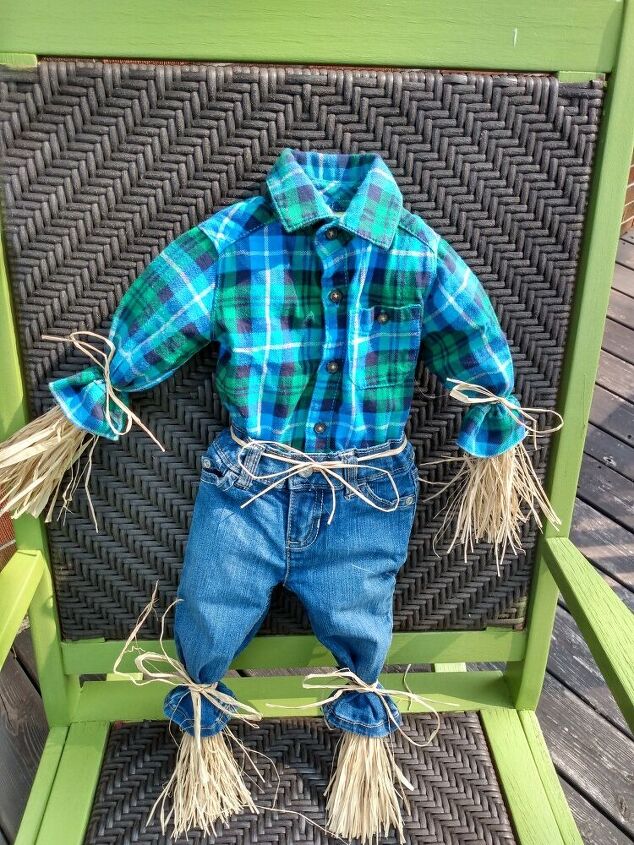
Here is the body of the scarecrow finished. Repeat these steps to make the second body.
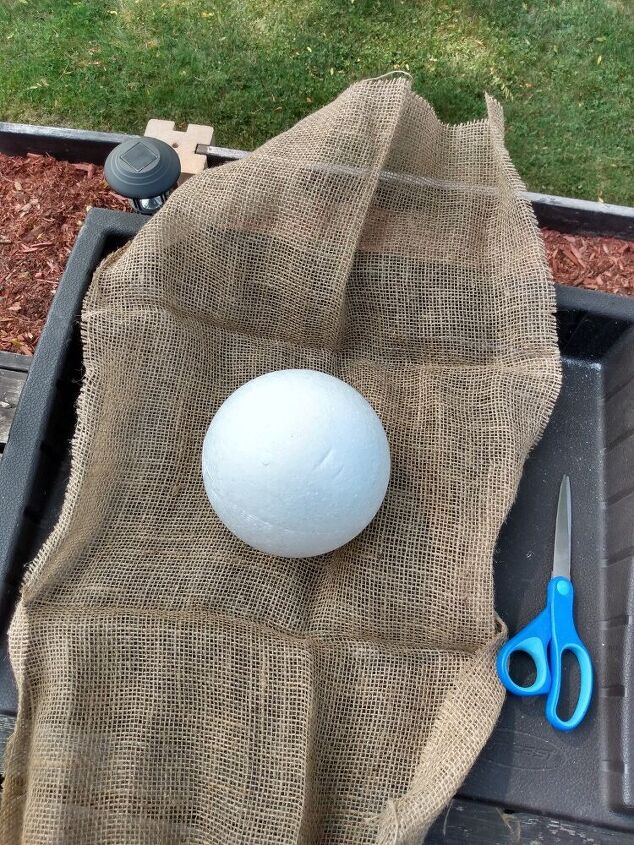
Next take your styrofoam ball and your piece of burlap. The piece was rectangle and I cut it into a square. Bring it around the ball and tie or secure with an elastic at the bottom.
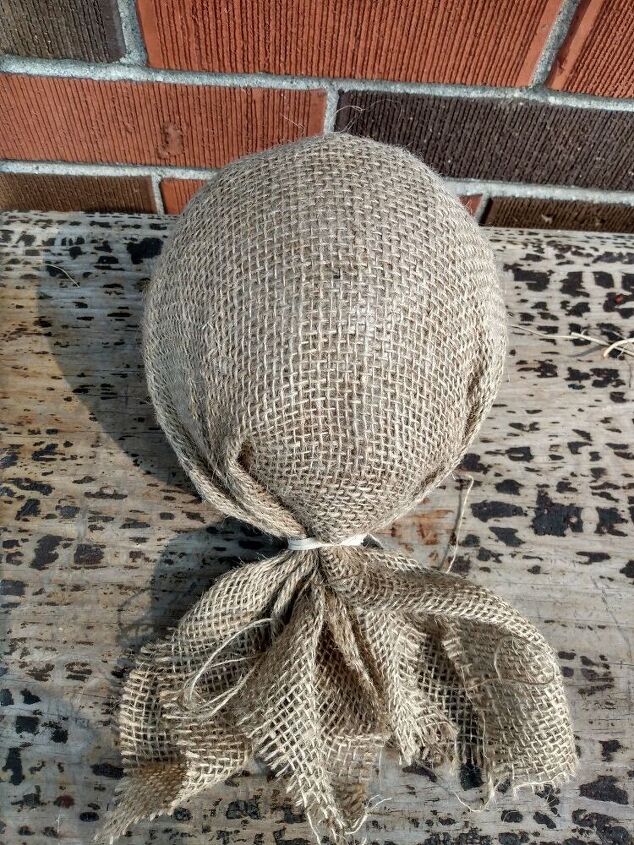
Here is the head. Repeat step to make the second head. Once heads were complete I took some raffia and created hair for my scarecrows. I braided raffia together and made braids for one. Attached using my glue gun.
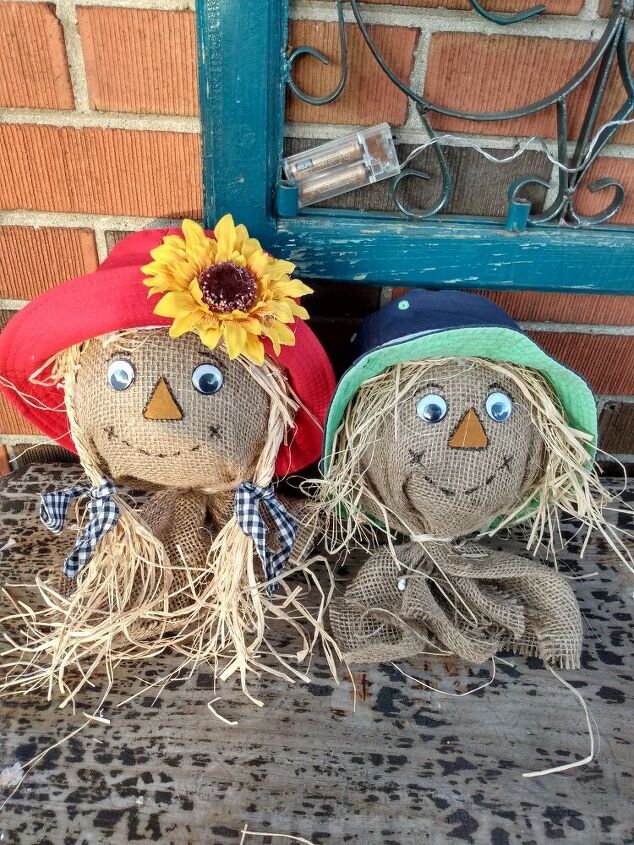
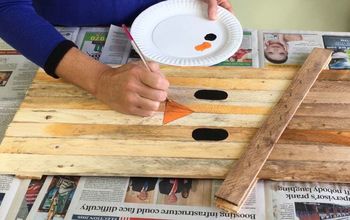
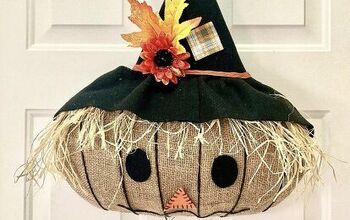
To make the faces I used googly eyes I had on hand, cut two triangles out of felt or any type of material and drew the mouth on with permanent black marker, then outlined everything with the marker. I attached the hats with my glue gun.
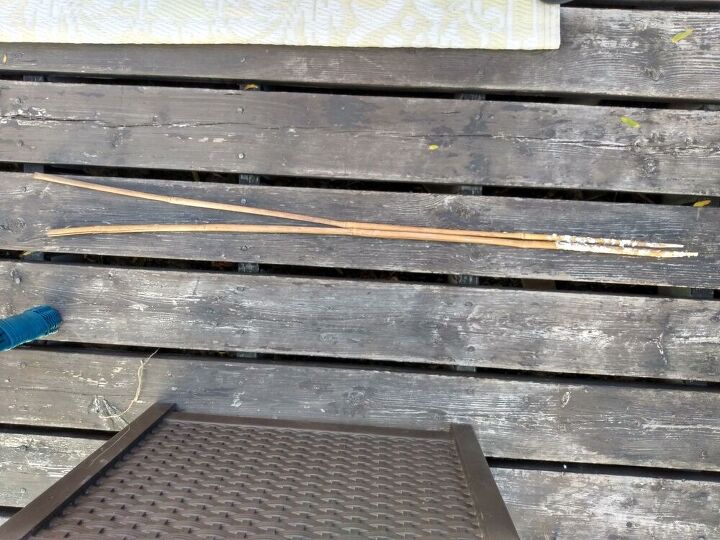
Next you are going to make a small hole in the seat part of the pants then using a small bamboo pole insert all the way through the styrofoam body up through the top of the shirt about 2 inches so you can attach the heads. Cut off excess burlap from bottom of head.
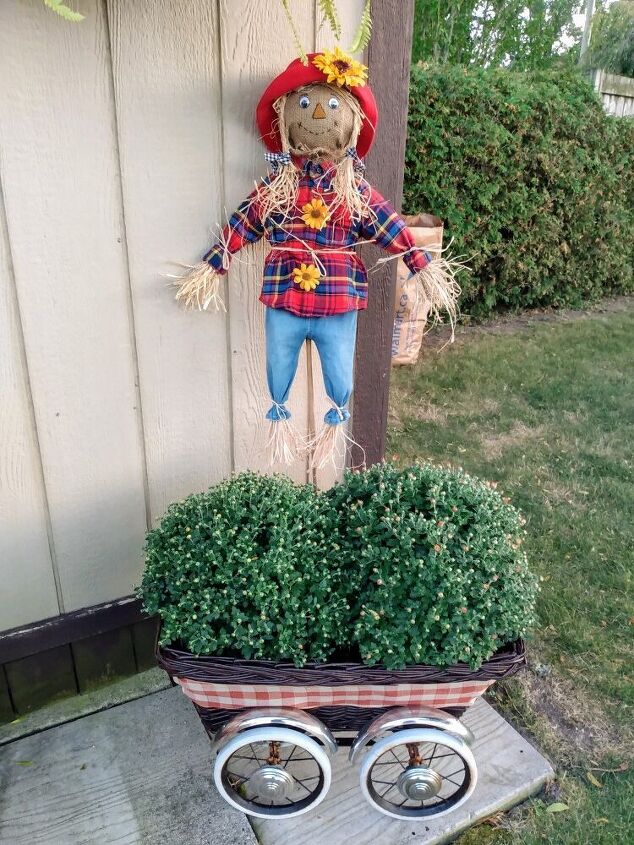
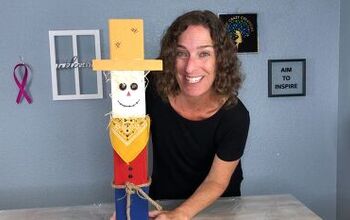
So here are my scarecrows complete. I had some brown eyed susan artificial flowers and used them to accessorize the shirt and hat.,
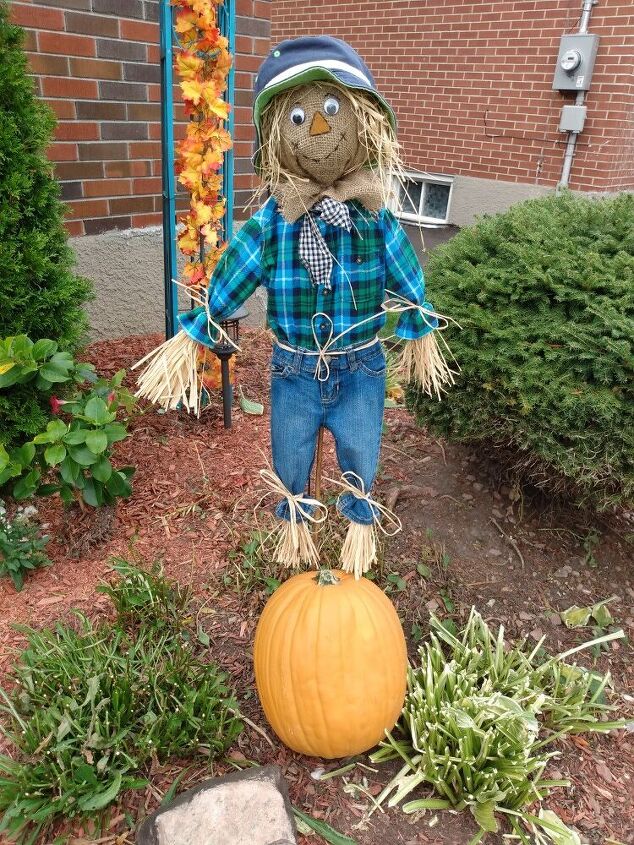
I love how these turned out! They were easy to make, and each unique and adorable.
Resources for this project:
See all materials


Comments
Join the conversation
-
thanks
-
Absolutely adorable!!🧡😍


Frequently asked questions
Have a question about this project?
Fall is also my favorite, love your project ❤️❤️❤️
Julie from Florida
These are so cute! I have two that have become faded over the years. I just might update with some thrift store clothes. Just wondering, how much did yours end up costing?