


How to Make a Cute Tide Pod Scarecrow For Your Fall Decor
Don't overlook the creative potential of your empty Tide Pods container – it could be your next charming fall decor piece!
In this DIY journey, we'll show you how to turn this everyday household item into an adorable scarecrow-themed decoration that's perfect for autumn.
Follow along as we guide you through the steps to create your very own eye-catching Tide Pod scarecrow. Get ready to usher in the fall season with a fun and eco-friendly craft project that will brighten up your home from now through Thanksgiving.
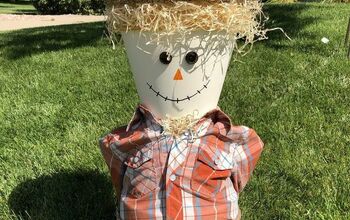
Here are more of Chloe's cute scarecrow diy's for fall!
This post was transcribed by a member of the Hometalk editorial team from the original HometalkTV episode.
Tools and materials:
- Tide Pod container
- White spray paint
- Tan paint
- Paintbrush
- Acrylic paint pens
- Raffia
- Scissors
- Hot glue gun
- Hat
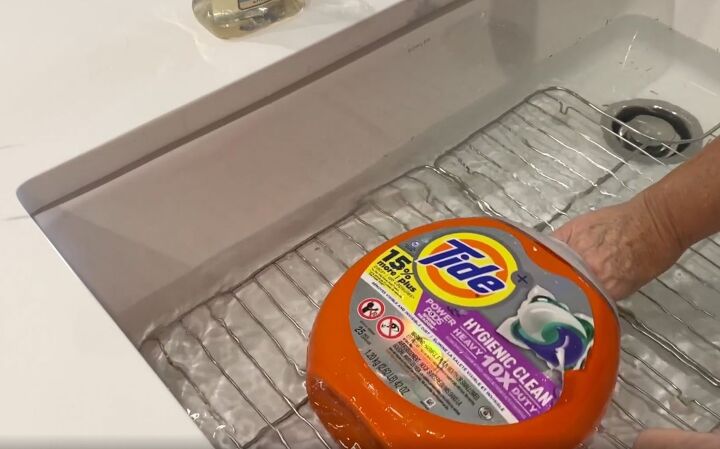
1. Remove the label
I have my Tide Pods container, and before I can use it I need to remove the label. I find that the best way to get the label off is to soak it in some hot water.
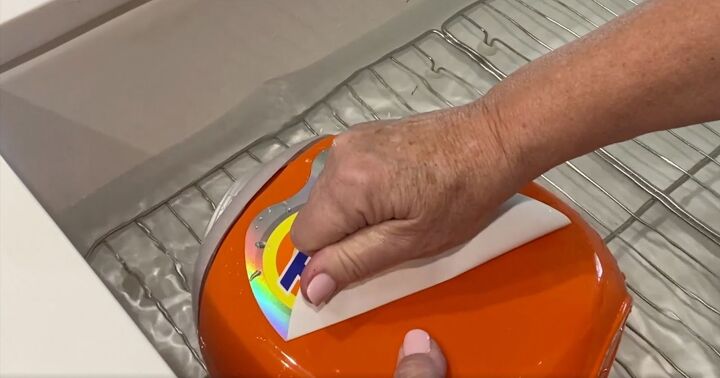
I have soaked this one side down all night, and it is starting to peel off pretty nicely, which is really good because these have not come off very easily in the past. Once I get this side off, I will turn it over and soak the back half to remove it.
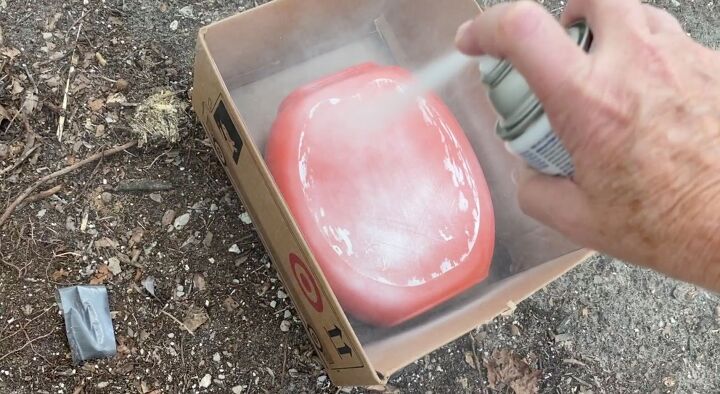
2. Spray paint white
Once the label is off, I am going to use spray paint to turn it white.
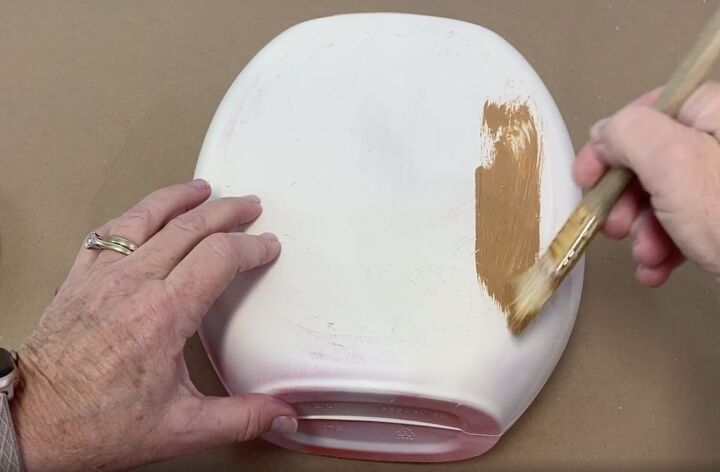
3. Paint tan over the white
Next, I'm going to take a tan-colored paint and just paint that right on over the white. I don't mind if some of the white color shows. I want it to be straw-like.
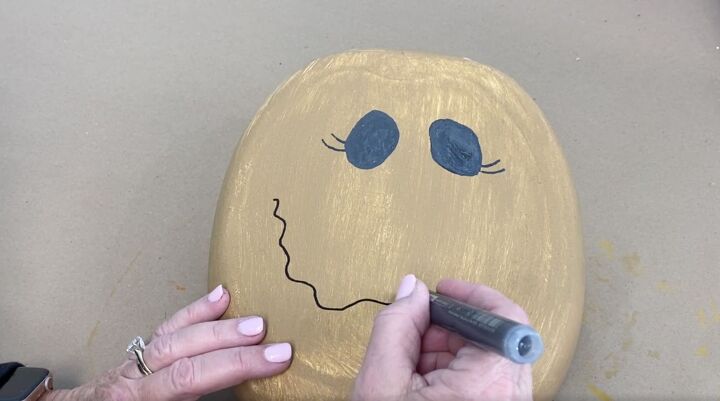
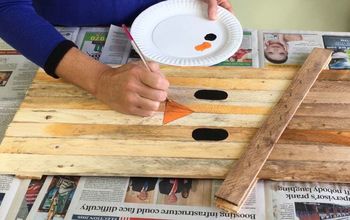
4. Draw the face
To make the face, I am going to use some acrylic paint pens. I am going to give this guy a face including eyes, lashes, a nose, and a crooked mouth.
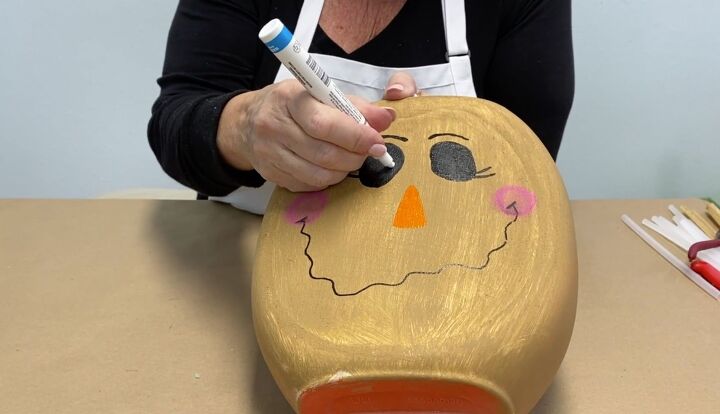
To finish off his face I am going to add some rosy cheeks and pupils.
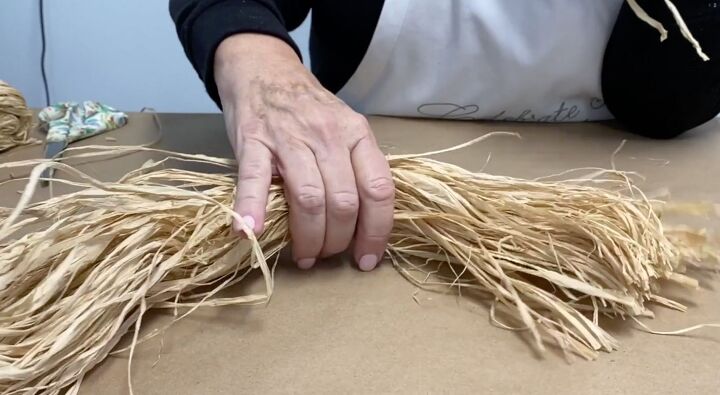
5. Make the hair out of raffia
While the face is drying I’m going to make some hair. I’m going to take some raffia like this, and then pull out one string of it and use it to tie the bundle together.
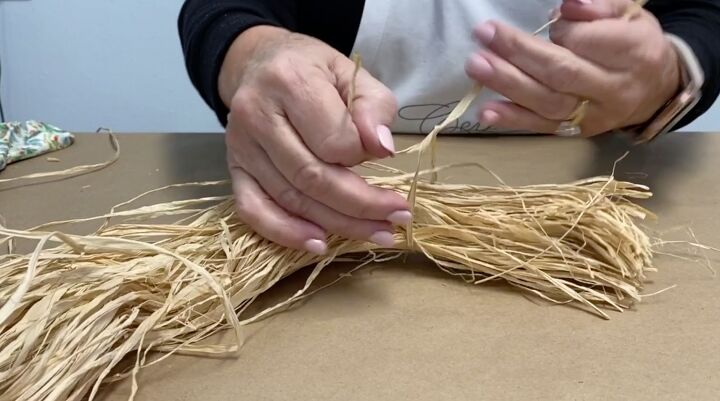
Make sure to tie it really tight and wrap it around twice.
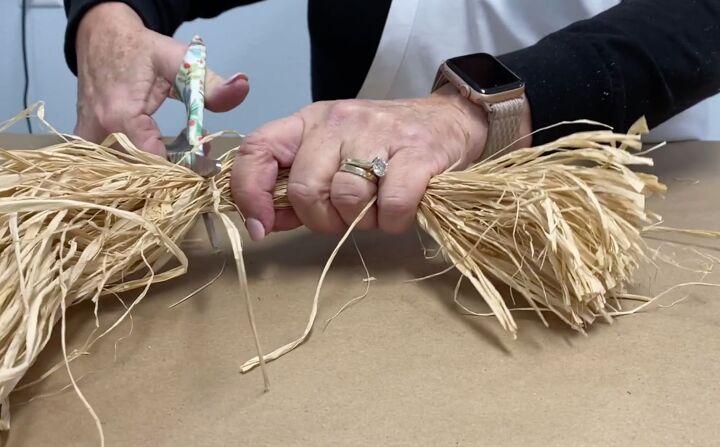
Then you want to trim it off so both sides are the same.
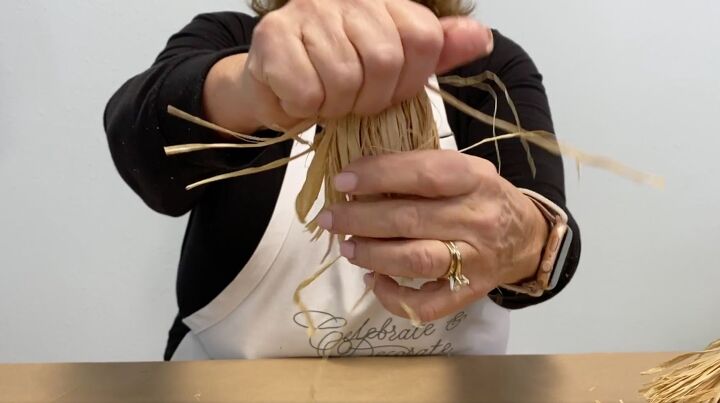
Once it is trimmed, I will bend it in half and fan it out.
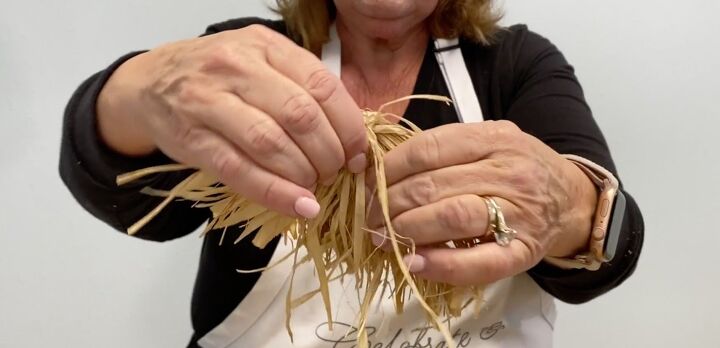
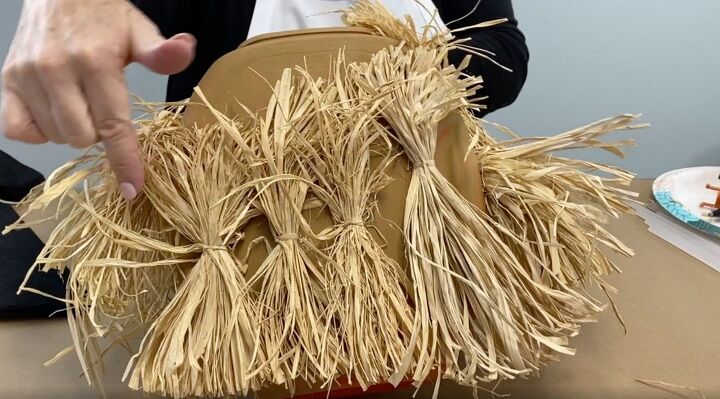
You're going to want to make several of these little bundles like this.
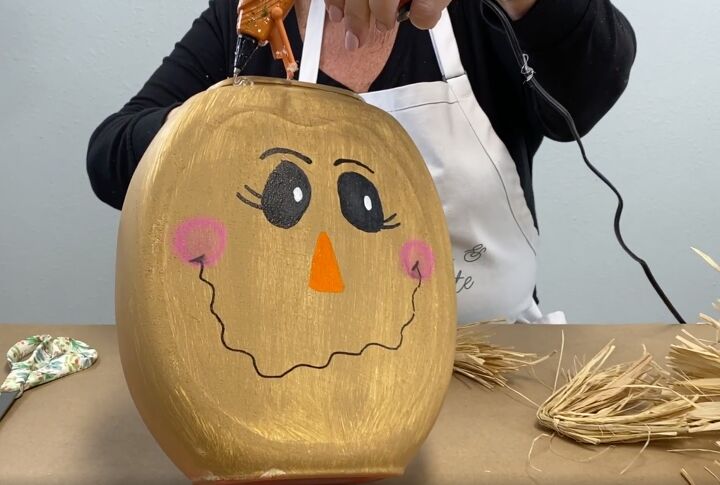
6. Attach the hair
To attach the bundles of hair, I am going to use my glue gun, and I'm going to start right up here at the top.
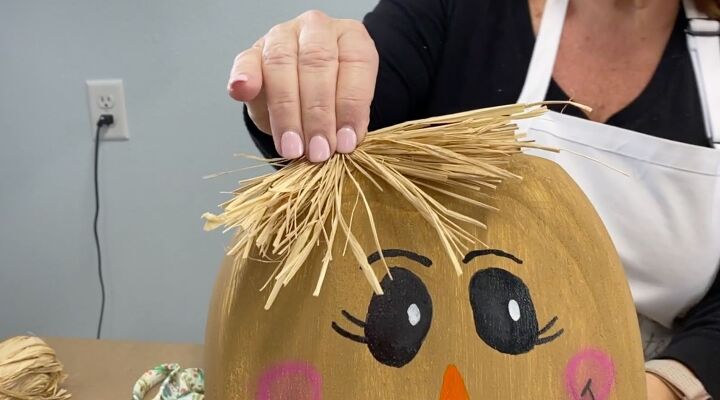
Then I’m going to take one of these bundles, and stick it on. I'm going to have to hold it for a couple of minutes to make sure it is stuck. I really like that.
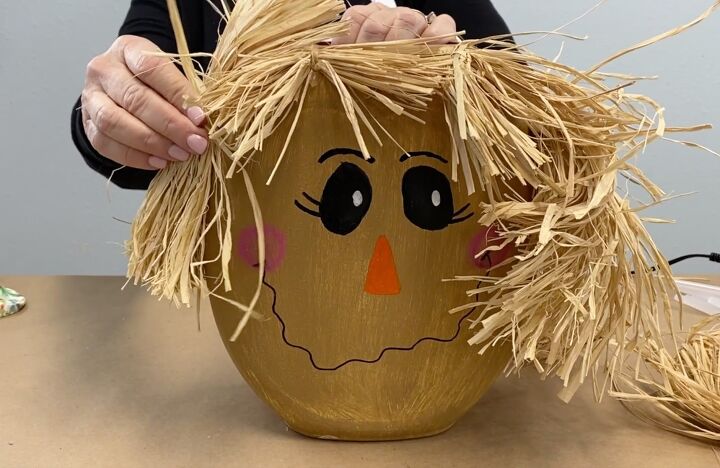
Continue adding the bundles of hair until you have them all the way around the head.
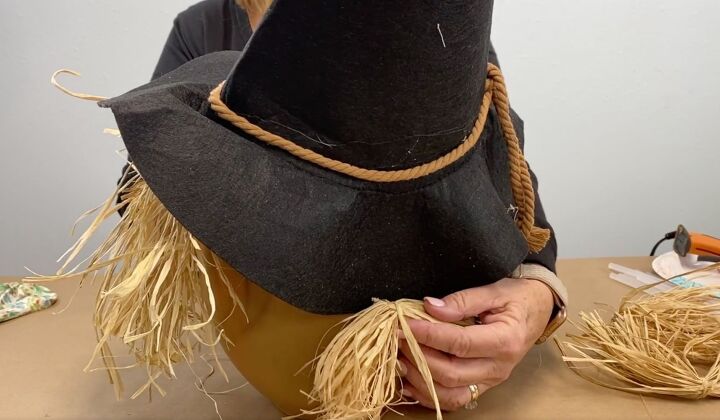
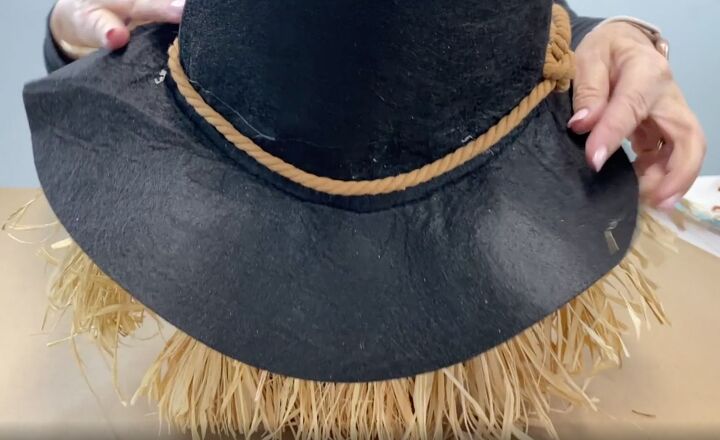
Use the hat as a guide so that you know where to add more raffia bundles. You can find the cute hat right here!
Don’t forget to add some to the back sticking out from under the hat. There is no exact way you have to do this. Get creative and make your scarecrow what you want it to be.
When I'm all finished with all of my raffia, I'm probably going to come along and give her a little haircut to make sure everything looks great.
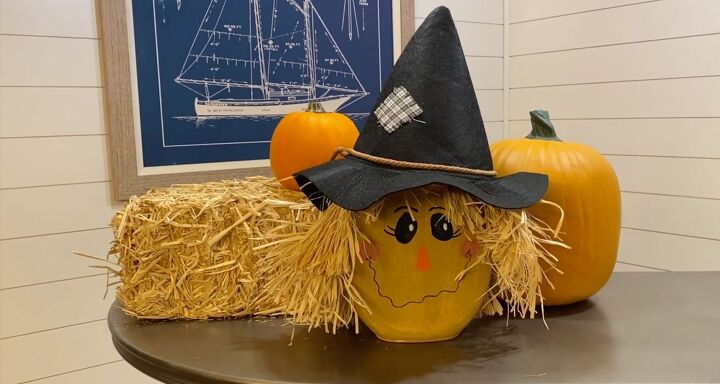
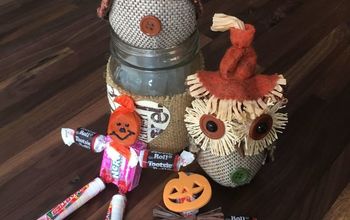
Tide Pod scarecrow
Look how cute this turned out. I'm ready to decorate for fall. How about you? Stage it with some pumpkins and a bale of hay, and he or she is just all ready for Fall.
Here are more of Chloe's cute scarecrow diy's for fall!
I hope you like this project, it’s a great way to recycle those Tide Pods containers and make a fun craft.
Resources for this project:
See all materials


Comments
Join the conversation
-
So creative!!!! 👍🏼
-
So stinking cute!! I've made pumpkin ones and the best way for me to get those stubborn labels off is to use a hairdryer. Slowly pull that label off.


Frequently asked questions
Have a question about this project?