


How to Hang Wall Cabinets (the EASY Way!)

A STEP-BY-STEP TUTORIAL ON HOW TO HANG WALL CABINETS QUICKLY AND EASILY, PLUS HOW TO TROUBLESHOOT POTENTIAL PROBLEMS (& LEARN FROM MY MISTAKES!)
For a full supply list with direct links and more project details- head to EmilyRoneHome.
Before we get to the fun stuff, let's go over some vocab real quick!
Terminology to help understand how to hang wall cabinets
Support rail: a 2×4 nailed into the wall temporarily. This piece of wood should be hung below the bottom of the wall cabinet to ensure a straight hang and allow the cabinet to rest on while installing screws. I’ve also seen it called a “guide board” or “ledger board”.
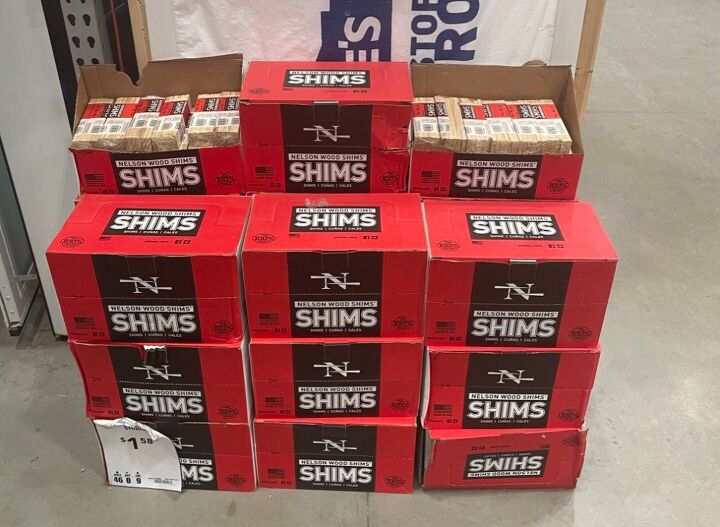
Shim: looks like a paint stir stick. They are used to fill in gaps between the cabinet and the wall. Gaps are common in older homes due to bowed walls.
Stud: I’m not going to lie, I used to not understand what a stud was and it was such a common term I was too afraid to ask. I now know that it is a vertical support inside your wall that the dry wall is attached to. They are typically 2×4 wooden posts, but sometimes are metal. Locating studs inside the wall is important because it ensures you are attaching the cabinet to something more sturdy than the flimsy dry wall.
STEP 1: Remove cabinet doors
This makes it easier for installation so you don’t have to worry about the doors swinging open.
STEP 2: Locate wall studs
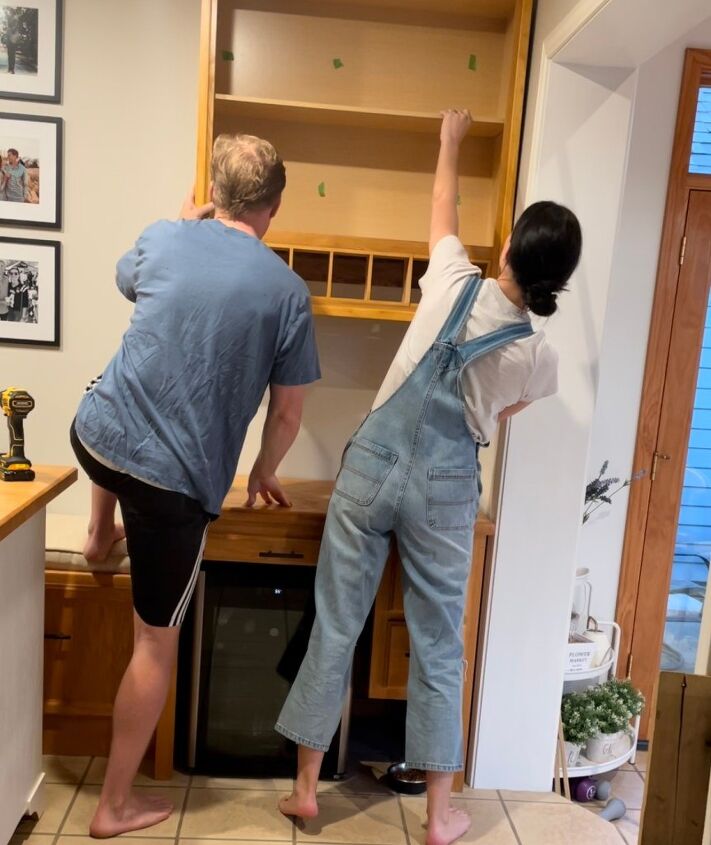
Using a stud finder (or by knocking, or by hammering finishing nails into different parts of the wall), mark the location of the studs on the wall with a pencil. Measure the location of the studs, then mark the location on the studs on back inside of the cabinet where your screws will go with painters tape.
STEP 3: Hang support rail
Measure your cabinet and mark the location on your wall where you will hang the wall cabinet, paying specific attention to the location of the bottom of the cabinet. Place a support rail using a 2”x4” extending the full length of the cabinet and nail into studs. The top of the support rail should be flush with the line drawn to mark the bottom of the cabinet so that the cabinet is sitting on the rail. Remember, the support rail is only temporary! It’s there to give your cabinet something to sit on as you screw it into the wall, then it’s removed. Make sure the support rail is straight on the wall using a bubble level.
STEP 4: Check for wall bows
With the support rail up, you should be able to tell how straight your wall is. If it bows more than 3/8”, you should use shims to fill the gaps and make a flush fit. To fill the gaps, slide a shim up from the bottom until it’s snug, then pin or tape it into place. My wall was remarkably straight. I did not need to use any shims.
STEP 5: Fasten cabinet to wall
Pre-drill screw holes in your cabinet where you marked the location of the studs with painters tape. Ideally, you should have 3 screws in each stud at the top, middle and bottom of your cabinet. Hopefully, you have at least two studs behind the cabinet for a total of 6-9 screws (3 in each stud). Allow the cabinet to rest on the support rail while installing screws. Push the narrow end of shims behind the cabinet to help fill the gaps caused by bowed walls once it is up. Use a craft knife to score excess shim and break off
STEP 6: Remove 2”x4” support rail
Using a pry bar, gently pull the support rail off the wall. Spackle your nail holes, sand after it has dried, and paint over the repaired holes.
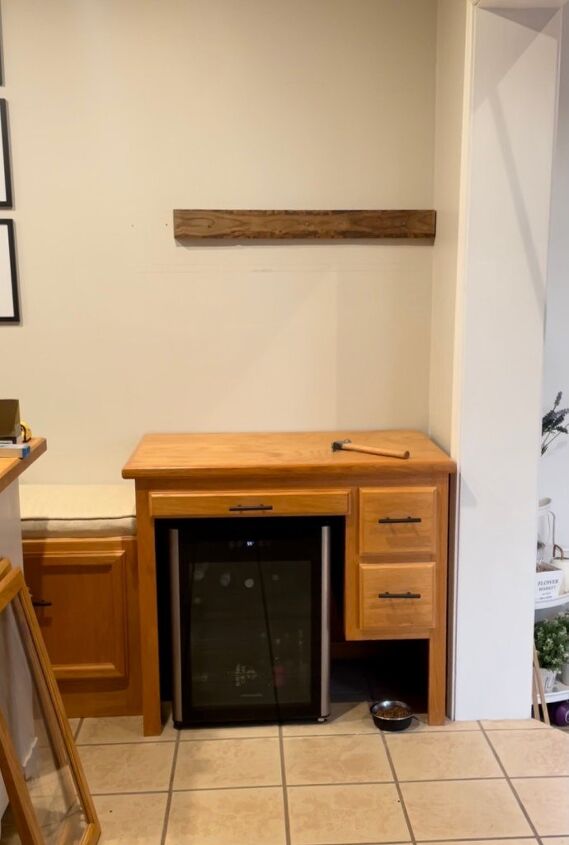
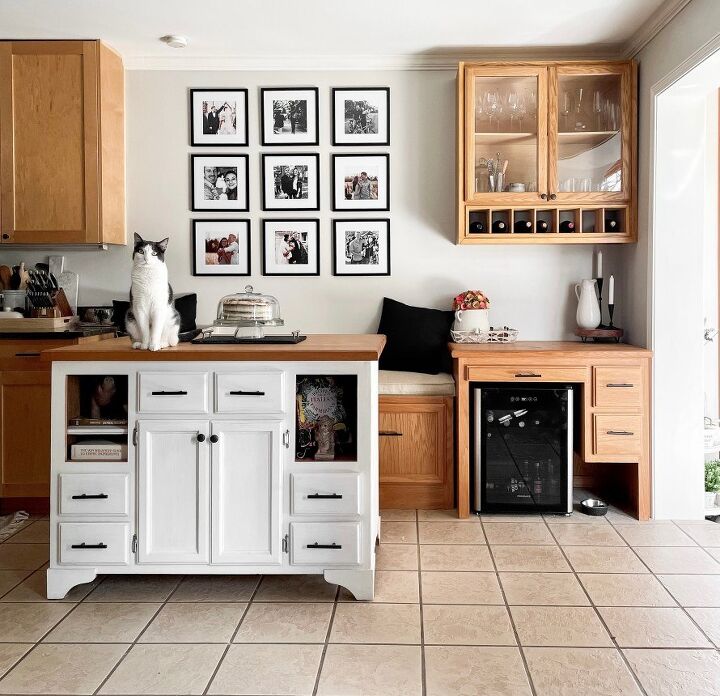
I used these steps to hang my DIY bar cabinet in my kitchen! Hanging the cabinet was honestly the easiest part of this whole project thanks to a seamless tutorial. If you want to read about the whole project, you can find it here.
I share lots of tips on woodworking and staining, including the best way to match unstained wood with something already stained when you don’t know what color it is. Find more on that tip here.
Comments
Join the conversation
-
Very clear and concise instructions. Wish I had them when I remodeled our rental property.


Frequently asked questions
Have a question about this project?