


How to Make a Cute & Simple DIY Scarecrow Wreath For Fall
Looking for a unique wreath idea for fall? Today, I'm going to guide you through the process of designing your very own DIY scarecrow wreath. In this tutorial, we'll transform a simple evergreen wreath into a charming autumn masterpiece. So, roll up your sleeves, gather your supplies, and let's get started!
This post was transcribed by a member of the Hometalk editorial team from the original HometalkTV episode.
Tools and materials
- Mesh
- Rotary cutter
- Self-healing mat
- Evergreen wreath
- Burlap ribbon
- Scissors
- Raffia
- Straw hat
- Wires
- Faux sunflowers
- Hot glue skillet
- Children's jeans
- Plastic bags
- Pipe cleaner
- Faux greenery
Steps
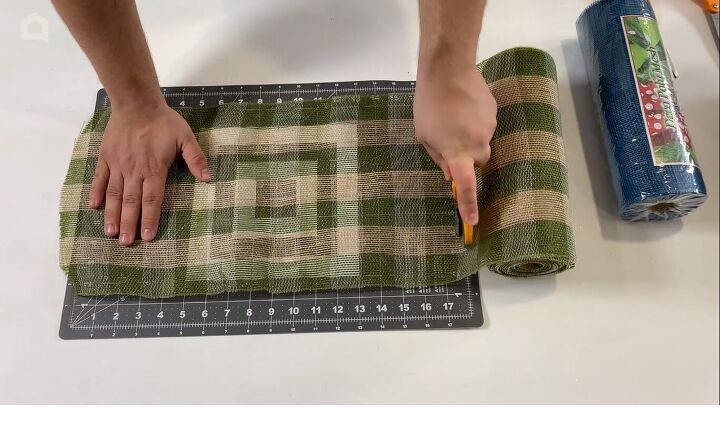
1. Cut the mesh
We're gonna use our self-healing mat and rotary cutter to cut our mesh. Make sure you have a sharp blade, that way you don't serrate the edge of your mesh. We're going to cut approximately 14 pieces of each, 18 inches long, then we're going to arrange it on our form.
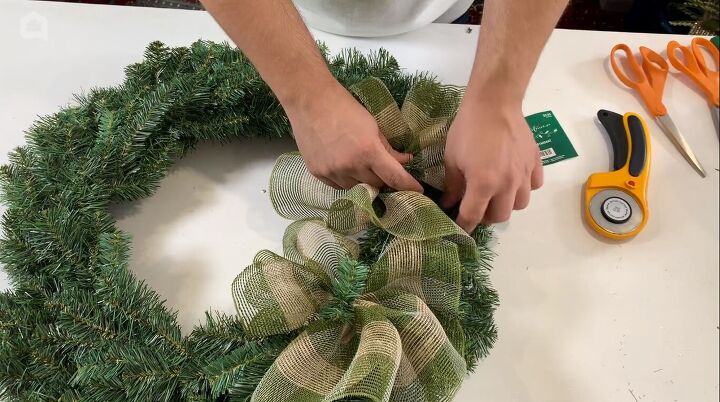
2. Arrange the mesh
Even though this evergreen wreath has a Christmas tag on it, we're gonna be able to easily transform this into the perfect fall wreath that would work from this time of year all the way through Thanksgiving.
Take your mesh, pinch it from the middle towards you, then attach it to the wreath by twisting the branches around the middle.
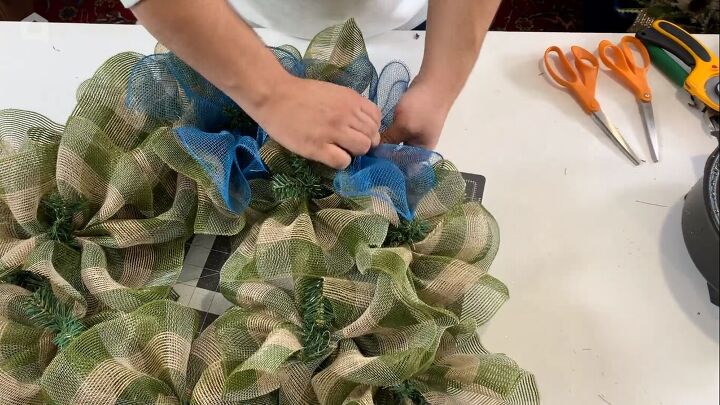
3. Add the blue mesh
Do the same with the blue mesh. We don't have to be super particular with our placement because we are going to just stagger them and it will look well blended together in the end. The blue is going to tie in with the jeans and the ribbon.
These videos are to be used as suggestions, but your designer's choice should definitely play an effect because each design is gonna be unique, and we should all add our own little personal touches when creating our wreaths.
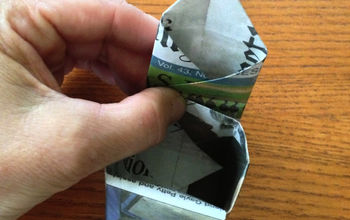
How to dovetail a ribbon edge
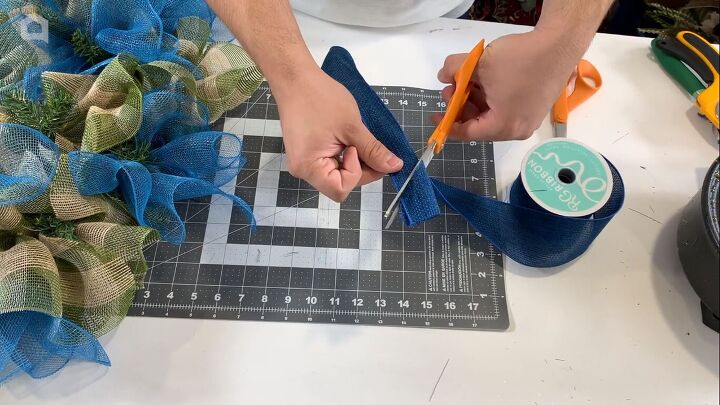

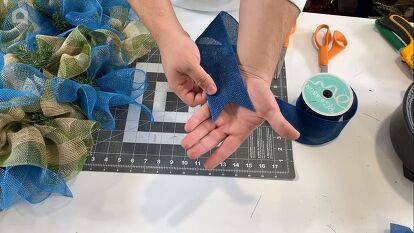
4. Cut the ribbon
We have a 2.5-inch burlap ribbon in denim blue. Cut these pieces 14 inches long and dovetail the ends. To dovetail, just take your ribbon, fold it in half, and cut from the middle out towards the wired edge at an angle. And that reveals a beautiful professional edge.
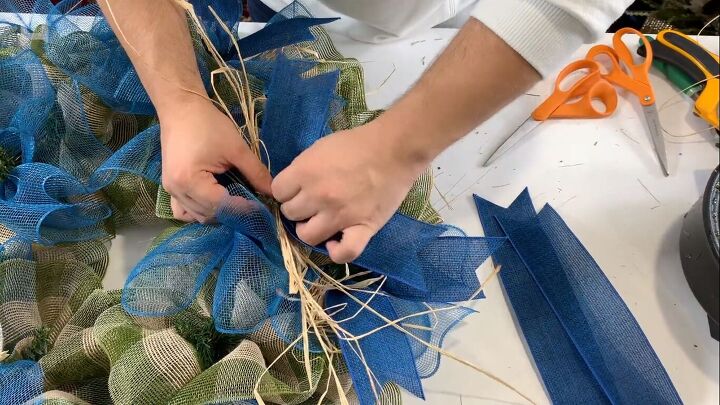
5. Work in the ribbon and raffia
At the last second, I decided to work in some raffia. Take some of this and place it around the ribbon. Find where we have a twist of greenery, and place it in. The most important step when doing this is taking those tails and bringing them back towards the outside. The raffia is going to match the hat really nicely.
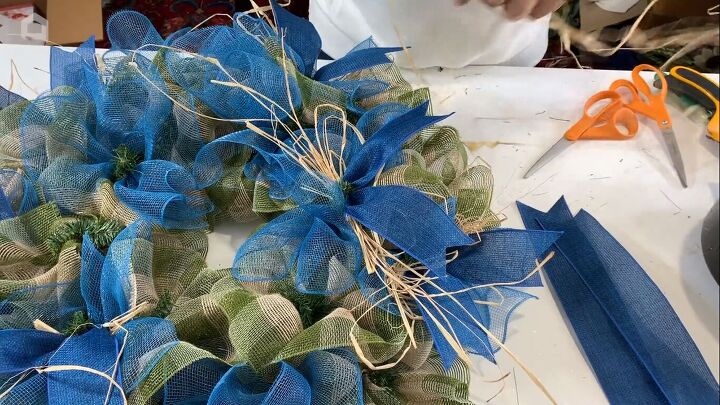
When it's time to work in our final few pieces of ribbon, place them towards the inside. That way we draw from what's outside to the inside.
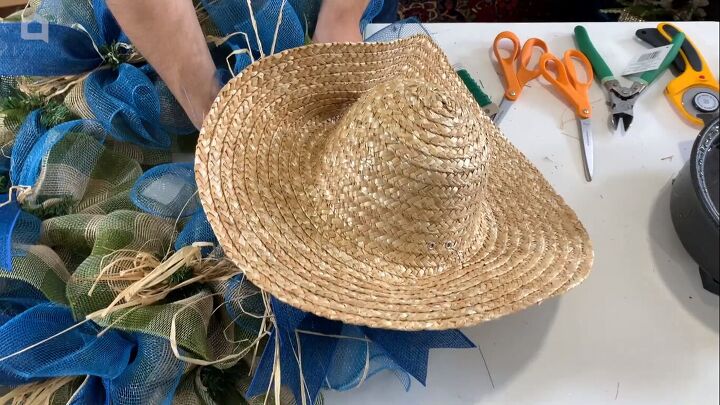
6. Attach the straw hat
Here we have our little straw hat. I just placed two wires on either side, and it very easily just poked right through the straw. Take those two wires, work them through the wreath, and secure them to the frame. If you secure this just to the mesh, it will sag over time and not stay in its position.
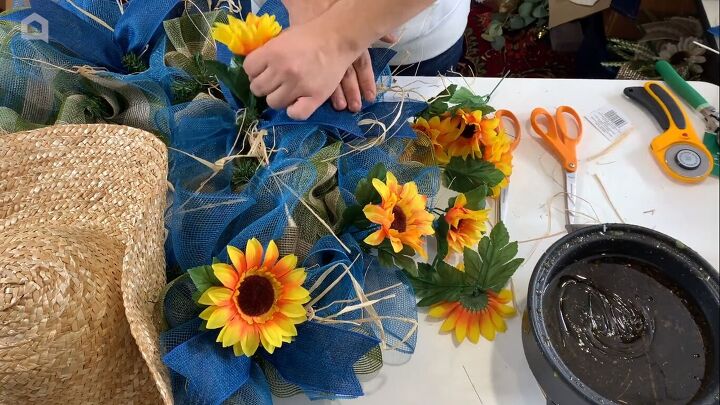
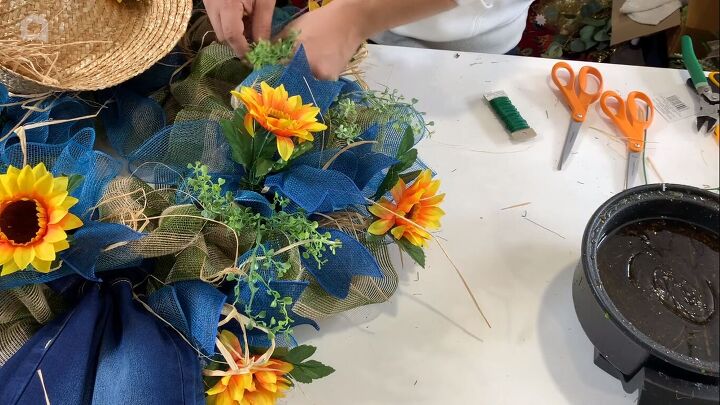
7. Add sunflowers
Now that the hat is fastened, we can start designing a little bit more. I'm using about half a spray of 13 faux sunflowers. Dip them in the glue skillet, and just pepper them in throughout. You could stick one on the hat if you wanted to as well. By using hot glue, it keeps everything exactly where you want it.
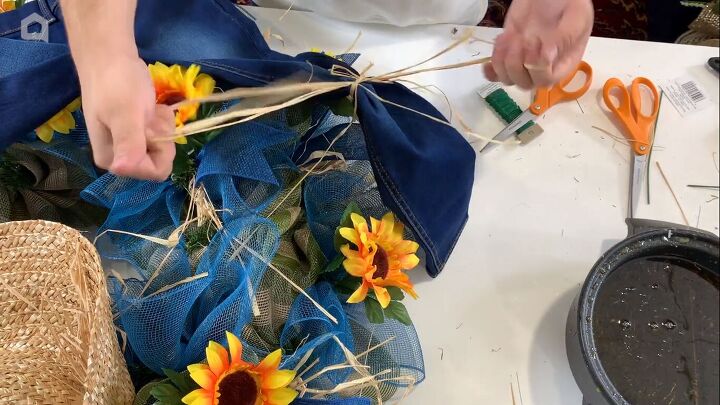
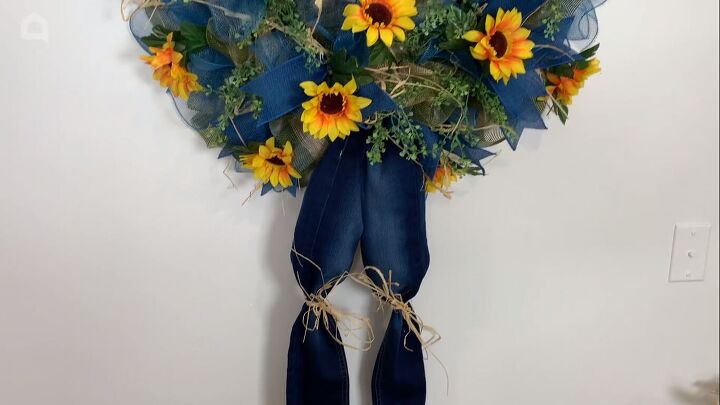
8. Add the jeans
Now we have a pair of these old children's pants, and we're going to take some of that raffia, go up to about the knee, and tie it off. You can do a little bow tie as well. The reason we're doing this is because we're going to stuff the pants with some plastic bags.
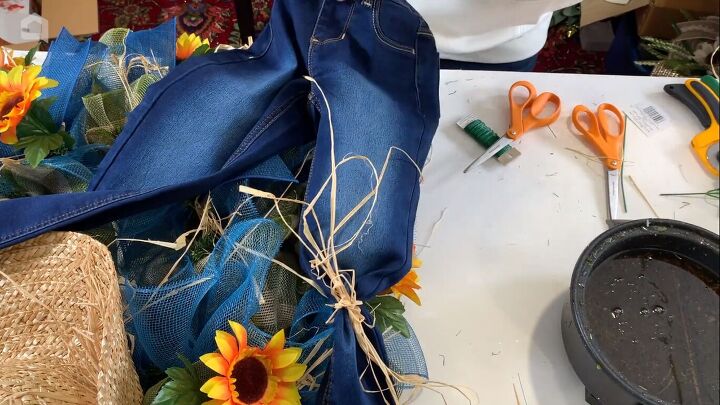
I stuffed the legs with a few plastic bags, then took a black pipe cleaner and twisted it really tight around the top. The plastic bags will also help repel water and help the jeans dry out easier if it rains.
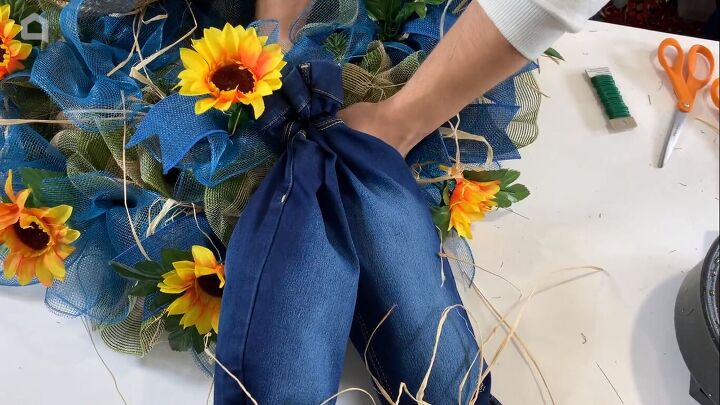
Flip the wreath, then place the legs underneath by taking the pipe cleaner and securing it to the frame. So we can hide that and obscure it once you really tighten it on.
9. Soften the wreath with greenery
Once you have your pants in place, you can just take this to soften the wreath and take away a little bit from the mesh, ribbons, and flowers that we worked in. I know that might sound a little crazy to take away from the stuff that we've already worked in, but trust me, it does pay off when you soften everything.
It really ties everything together, especially with dealing with mesh. Although mesh is really cute, you know, it doesn't give that realistic approach, whereas the greenery and the flowers really take it to the next level.
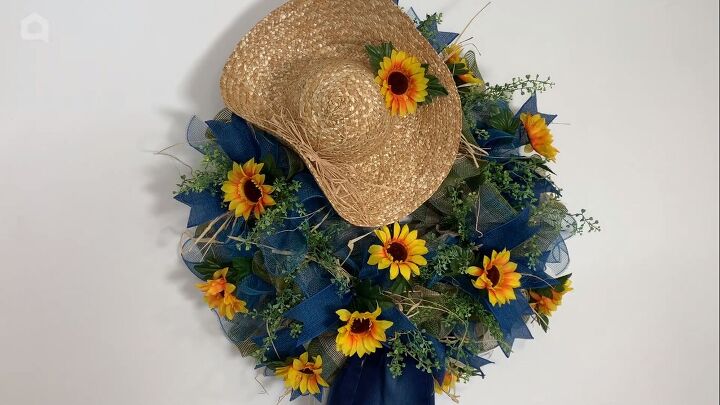
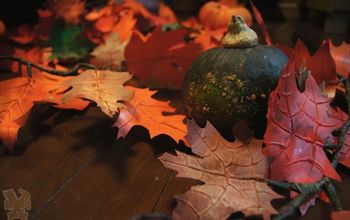
DIY scarecrow wreath
Here's the finished DIY scarecrow wreath. This turned out so stinking cute with the little pants on it. This is the perfect wreath to have displayed now all the way through Thanksgiving.
What do you think of this fall scarecrow wreath? Let me know in the comments below.


Frequently asked questions
Have a question about this project?