


Refinish Your Dining Table With This Easy Tutorial
I have two young kids, and that means that my table has seen all sorts of abuse. From coloring stains to food stains, to who knows what else. So it was really time to do something about it and get a “new” dining room table. Except that to me the word “new” doesn’t mean go out and buy a new table. It means take my existing one and turn it into something completely new and different. So with my trusty sander, and a few different coats of stains, I ended up with a dining room table that you’d never recognize as the same one I’d had before. Follow this tutorial to see how you can refinish your own dining room table.
Tools and Materials:
- Table
- Wood stain
- Sander (and protective gear)
- Paintbrush
- Applicator pad
- Paint sponge
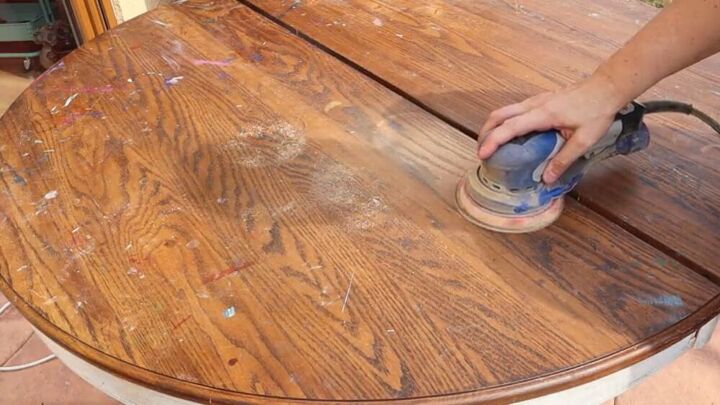
The first thing you have to do is sand down your table. I used my orbital sander with an 80 grit, but you can use any sander you have. It’s super important that you make sure you do the sanding in a well-ventilated area (which is why I brought my table outside for this part) and that you’re wearing the proper protective gear. You’re gonna sand with the grain, and make sure to get into any crevices, like if your table opens up.
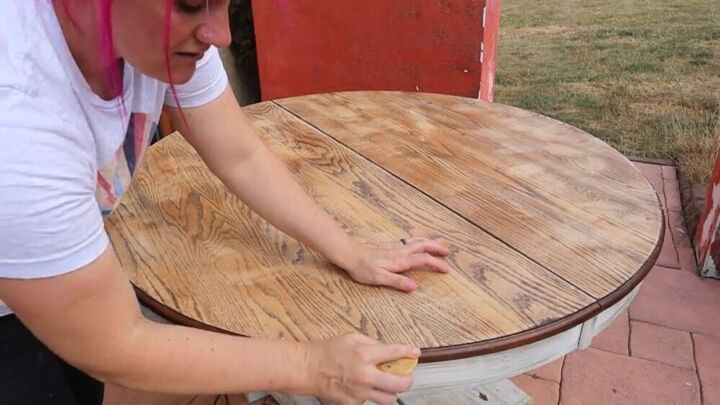
In order to get around the lip and edges of your table, take that same piece of sand paper off of your sander and fold it in half. You can now use that to hand sand around the table so that you can go around the edges and easily fit into the crevices.
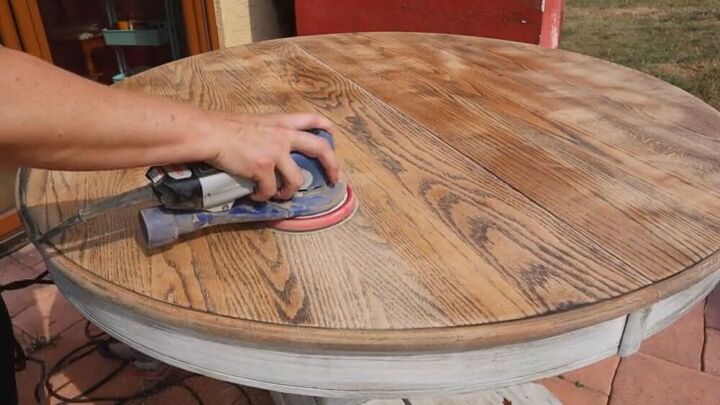
We’re not quite done with the sanding yet. You’re going to want to sand it down a bit further, so this time you’re going to do the same thing, but with a 120 grit sandpaper instead of the 80 grit we used before.
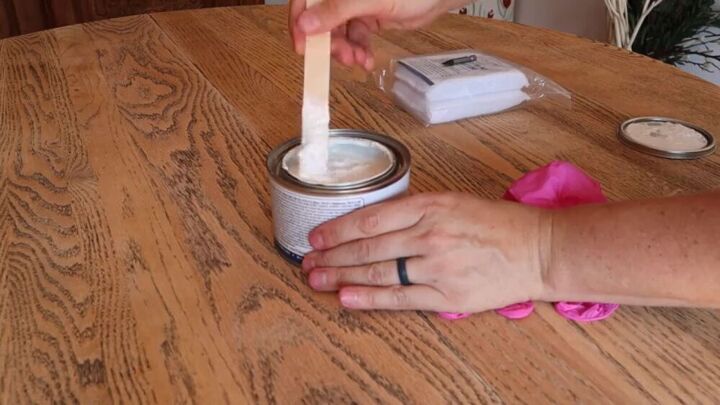
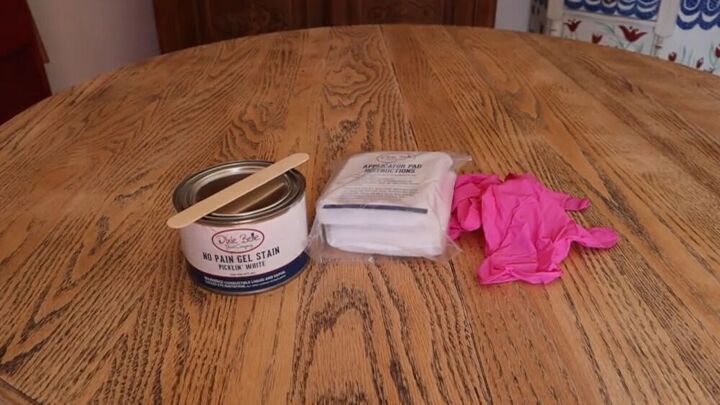
Because it’s not good to stain in direct sunlight, I brought my table back inside. I turned on all my fans to keep the area ventilated. Again, super important to wear the proper equipment, so you’re going to want to put on a mask and gloves whenever you stain. It’s common for stains to separate, so the first thing you want to do when you open it is mix it so that everything blends back together.

Using your applicator pad, start applying the stain, going with the grain. The one I used was Dixie Bell’s No Pain Gel Stain in Picklin’ White. You can leave a thicker layer if you like that look, or you can take the pad back in the opposite direction to remove some of the stain so that you can see the grain underneath and are left more with a pickling effect. Make sure to get your edges and corners as well.
You want to wait a few hours in between coats so that it dries before you apply your next coat. It all depends on how you like it. If you’re happy with the look, leave it and move on to the sealing step. If you want it to be darker, apply another coat first and then let it dry again. I did two coats of the white stain. The paint I used was oil-based, and you can definitely use a water-based sealer on top of it like I did, but you have to let the table thoroughly dry first, and that can take 48 to 72 hours depending on your climate.
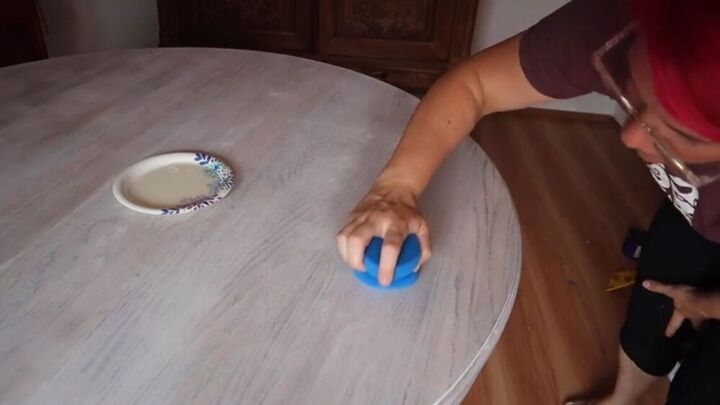
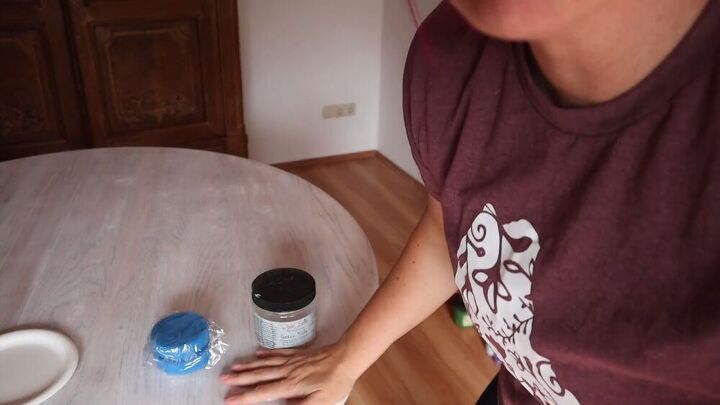
To seal my table I used Dixie Bell’s Gator Hide. Open it up and mix it, and then pour some onto a plate for easy access. Dip in your sponge, wipe the excess off on the lip of the plate, and then start applying it to your table. You want to keep your lines smooth and going in one direction. You can overlap one line next to another, but you don’t want to go back and forth on the same line. So start on one side and make your way across the entire surface, including your corners and edges.
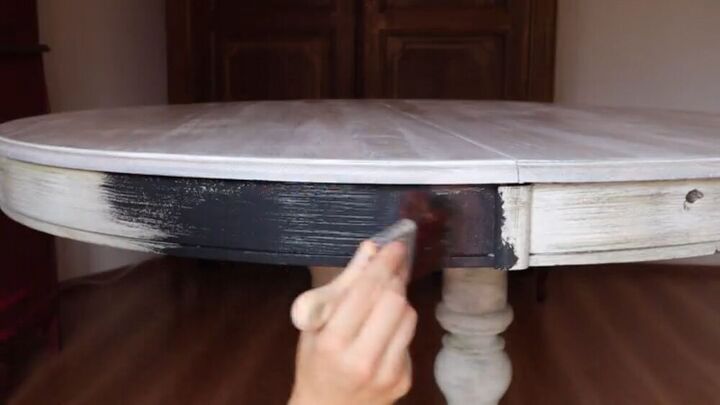
Now that the tabletop is completed, it’s time to paint the bottom of your table. The first thing I did was clean and hand sand it so that I can apply a new coat of paint and make sure there are no adhesion issues. The paint I used for this was Dixie Bell’s Midnight Sky. So just use a paint brush to paint the entire bottom part of your table.
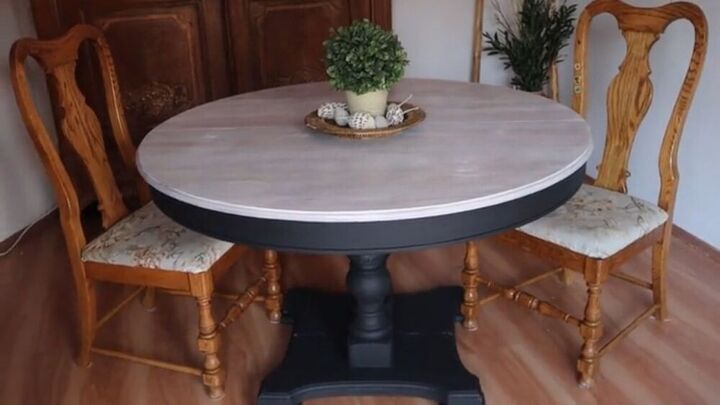
That’s it, you guys! Just like that I have a brand new table for my dining room that I absolutely love. It’s a simple makeover but it feels like a whole new room. Though it takes a few days to do this project because you need to let things dry, the amount of time you’re actually working on it is really not a lot, and it’s such a fun project to do. Of course, you can totally customize it to your tastes and to match your decor, and really make it your own. So show me your new old tables in the comments!


Comments
Join the conversation
-
Really great directions. I liked the detail about sanding with the grain. Great tut!
-
That turned out fantastic. Great job.


Frequently asked questions
Have a question about this project?
Is this a solid wood table or can you do this with a laminated table top?
Did you seal the bottom of the table also.
Will you do something with the chairs