


Bold & Beautiful Buffet Transformation
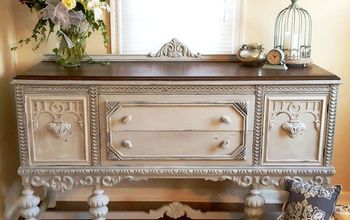
This little buffet was part of a set. Both pieces have great bones with a bit of detail [the details make the piece]. The factory finish on the set was in dire need of an update. To see the transformation in full detail, click here.
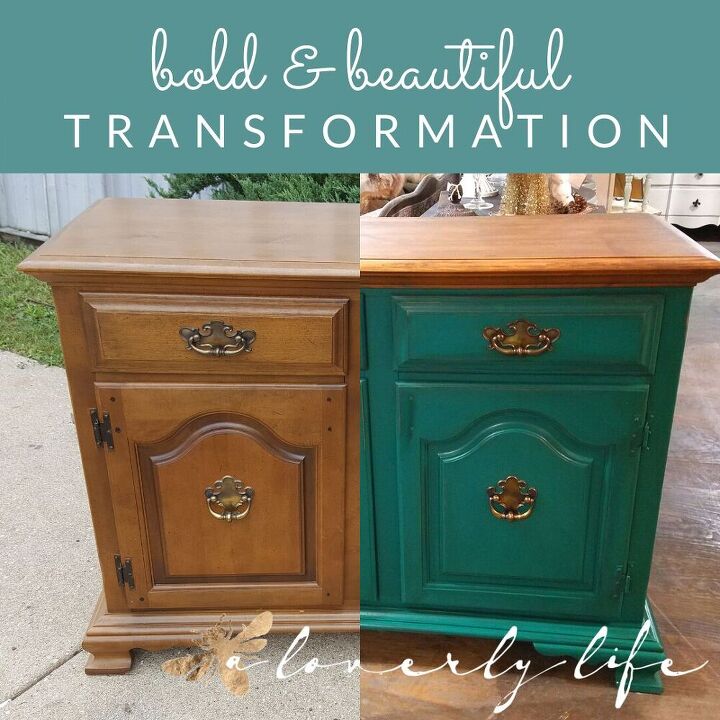
This buffet needed something bold. Yes, I traditionally lean towards neutral colors. I just love soft muted greens and blues, but I was in the mood for something really fun for this piece.
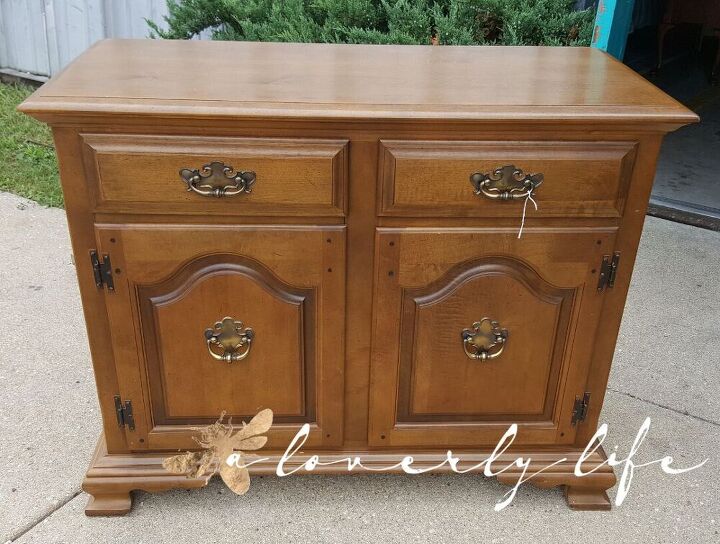
This little buffet was part of a set. Both pieces have great bones with a bit of detail [the details make the piece]. The factory finish on the set was in dire need of an update.
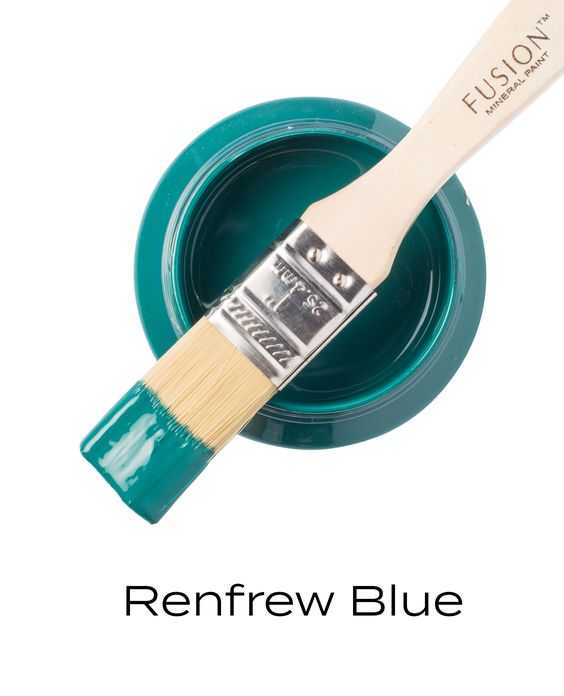
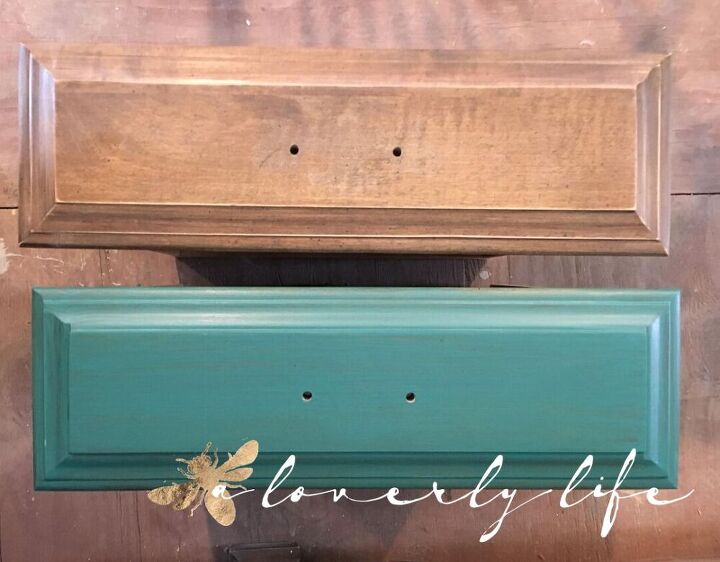
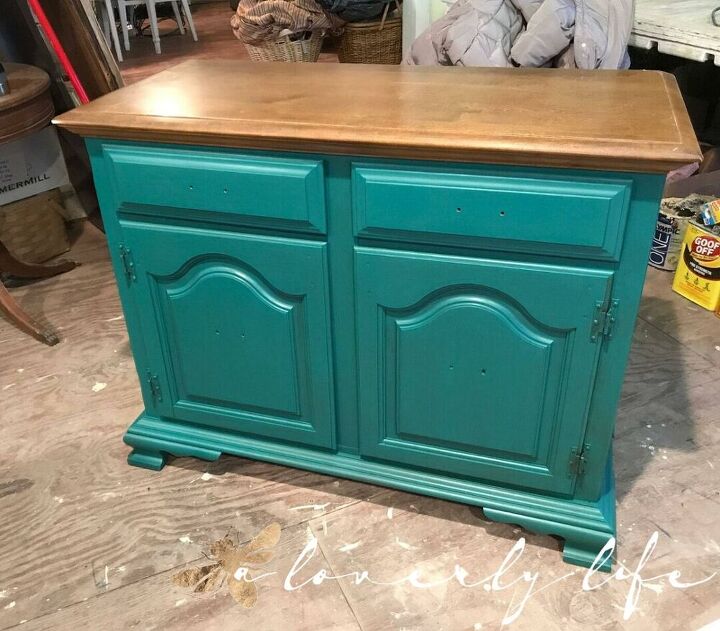
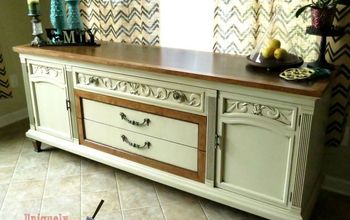
More green than blue, like the ocean in the Bahamas. I knew this was the PERFECT bright bold color for this piece. To give the piece a bit more character, the top will remain wood stained. The warm brown wood will tone down the bold color.
Now that we have a design plan, lets get started!
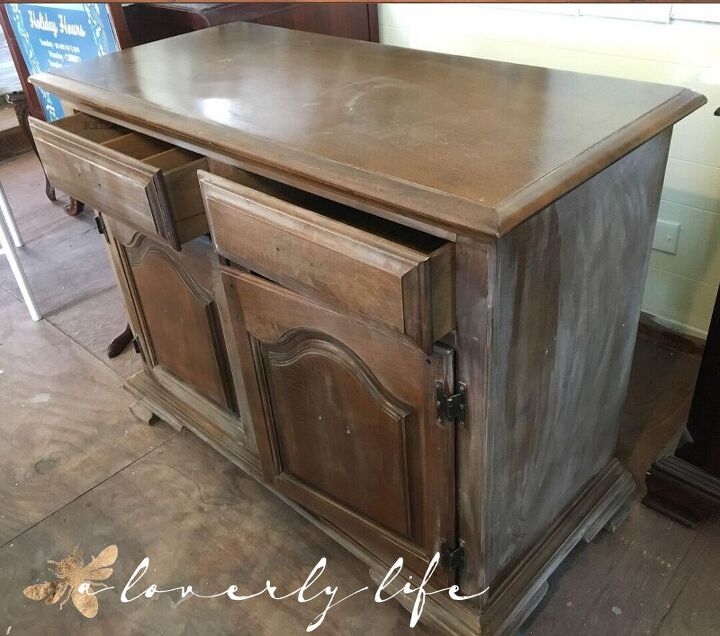
When working on ANY furniture make over, PREP IS KEY. What type of prep depends on the project.
The buffet just needed a bit of sanding with a 120 grit sandpaper to knock down the shine and provide a bit of texture to give the paint something to grab on to.
Check out Sandpaper Basics to help you pick the right sand paper for your project.
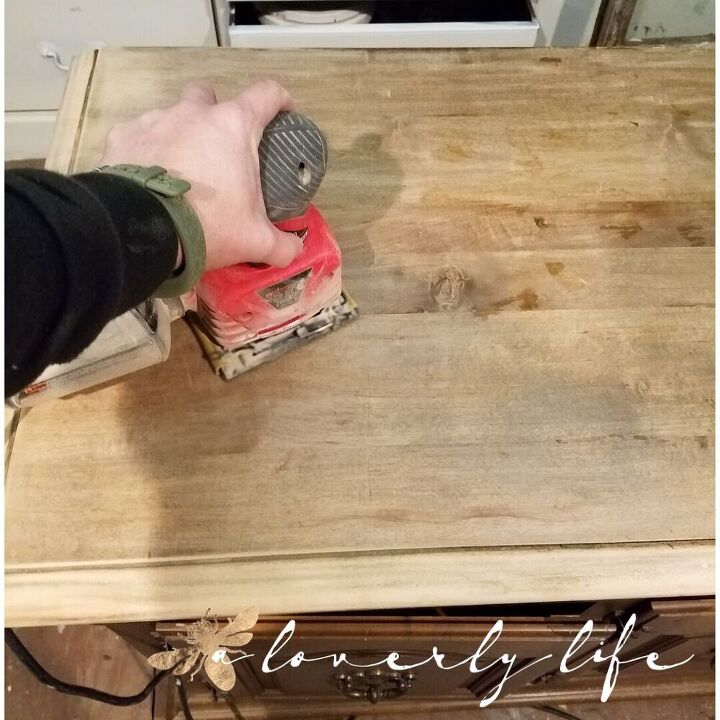
The top was little uneven, it had some scratches and chipped finish. Since I wanted it to be smooth, it needed a bit more sanding. Time to break out my trusty palm sander to make easy work of it.
SAFETY NOTE: Please wear a mask when sanding. The dust particles can really mess with your sinuses [she says from experience – AHHHCHOOO]. Seriously though, stay safe, loverlies!
Once the top is smooth, clean up all that dust. I recommend cleaning with TSP or a vinegar and water solution.
It is finally time to paint.
Fusion Mineral Paint can be a bit fussy to work with. To get a smooth finish, keep a water mister and lightly spray your brush to keep it slightly damp. It will help keep brush strokes at bay.
Another tip for working with Fusion Mineral Paint is to not work the paint to much. Use light strokes and let the paint dry for a few hours before applying another coat.
Renfrew Blue is a transparent color. I recommend using it over a darker base. If the item you are painting is a light color, give it a base coat of a dark brown, grey or black. Otherwise, you will require 4 or more coats of Renfrew Blue to get solid coverage.
Since I painted over dark brown, it only needed 2 full coats with a couple spots needing a touch up.
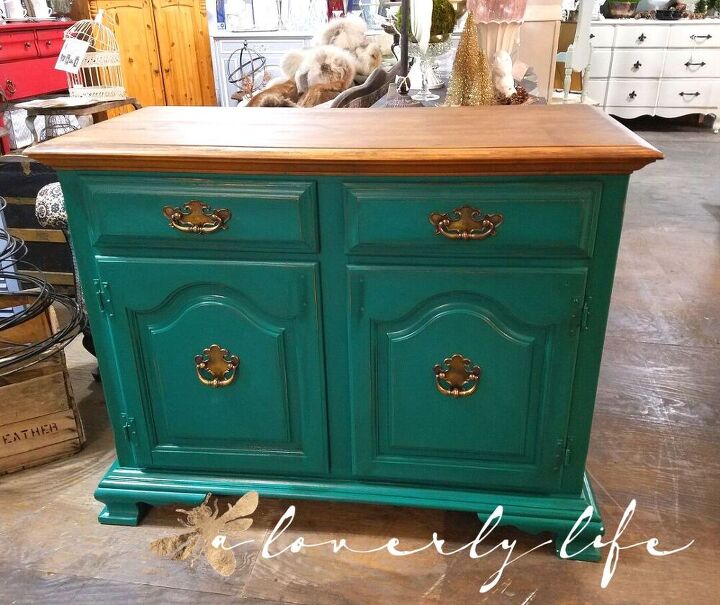
I loved the contrast of the warm wood top, so I brought it back to life with a good rubdown with hemp oil.
The brass hardware looked beautiful against the paint, so I decided to keep the original hardware.
For a more detailed tutorial and other fun DIY projects, head over to my blog at www.aloverlylife.com
Resources for this project:
See all materials


Comments
Join the conversation
-
I think this is amazing looking! I’m looking forward to refinishing a couple of bedroom dressers.
-
Beautiful job!


Frequently asked questions
Have a question about this project?
This is a question for the poster and anyone else who cares to respond. How do you decide whether or not to paint the hinges? I realize it is more work to remove the hinges and then put them back, but when you have doors on your furniture or kitchen cabinets that you want to paint, how do you decide whether to paint or not? I am struggling with this and need your thoughts. I don't think there is a right or wrong answer here, I'm just picking your brain. Thanks to all who share their thoughts.