


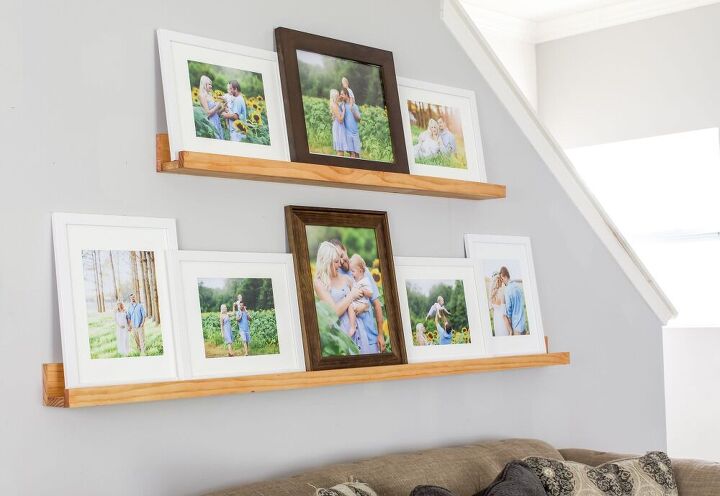
Make A DIY Picture Ledge & How To Style It
Is it wrong to sprinkle adorable photos of your kids or gorgeous printables all around your house? If it is I don’t want to be right!
Family photos & beautiful prints really make a home feel cozy, the trick is to display them without it looking cluttered.
I really was a huge fan of the eclectic gallery walls with huge letters & all different frames, but since having Eli I find myself leaning more towards simple.
Let me show you how
Picture Shelf Supplies:
- 1×4 Select Pine Board
- 1×3 Select Pine Board
- 1×2 Select Pine Board
- Stain
- Pre-Stain (optional)
- 2″ Screws
- Wood Glue
- Small Finishing Nails (optional)
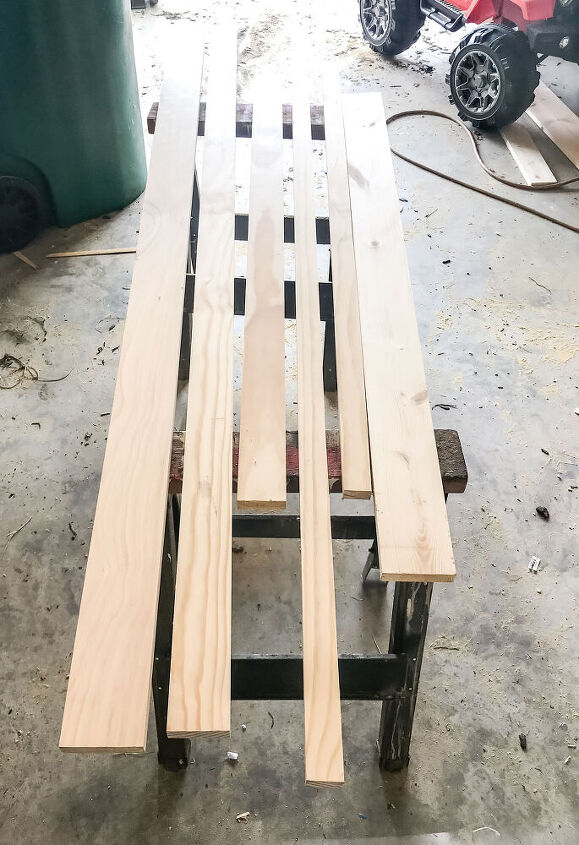
For my shelves I wanted one longer one (6′) & one shorter (4′)
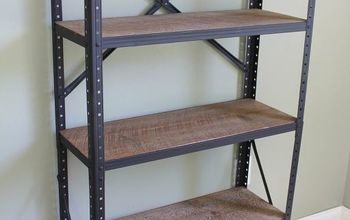
- First, pick out nice straight pieces of wood, I used select pine & really looked them over for imperfections. It takes 3 boards per shelf so for my two shelves I bought six boards.
2. Next, I measured my boards & made sure each set was the same length. I only had to cut a 1/4″ off of two of the boards to make them match.
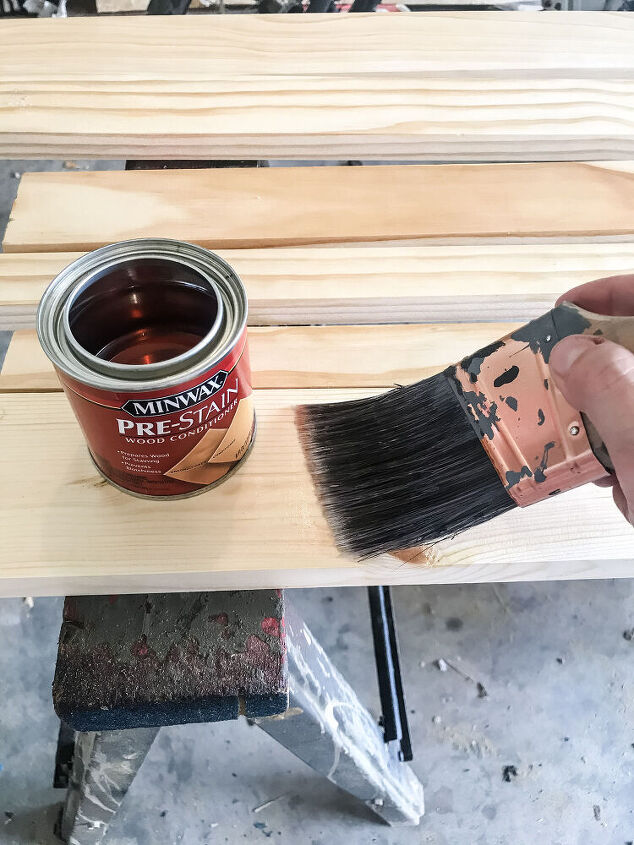
3. Now that the boards are cut it’s time to apply the pre-stain to the wood. I don’t always use pre-stain when I am staining but this picture ledge is going to be a focal point for the room so I want it to be right!
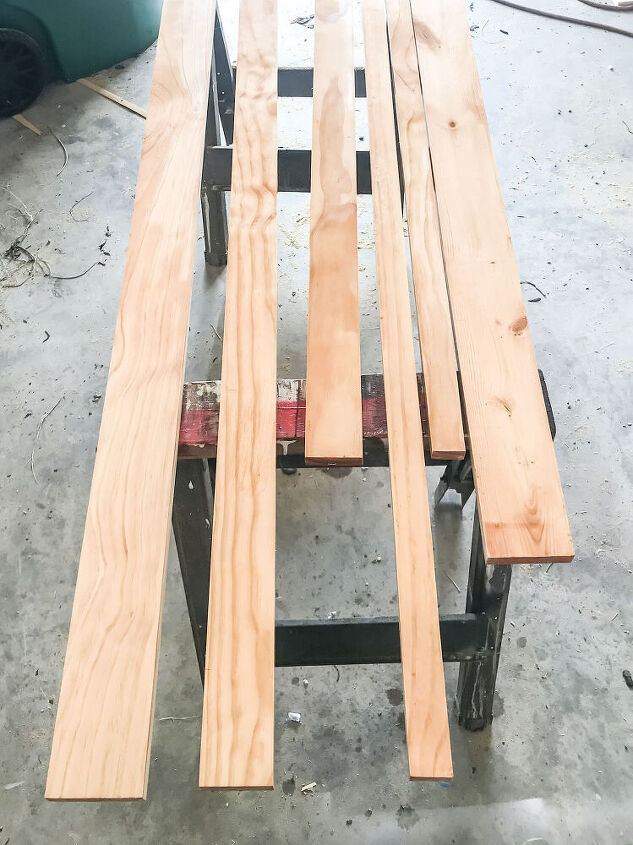
4. After applying a layer of pre-stain you can immediately apply the regular stain. I went with Minwax Golden Pecan, after using it on our DIY outdoor table I have become a fan!
After the stain dries you can start assembling! One shelf took me a total of 10 minutes to assemble, I told y’all fastest DIY ever!
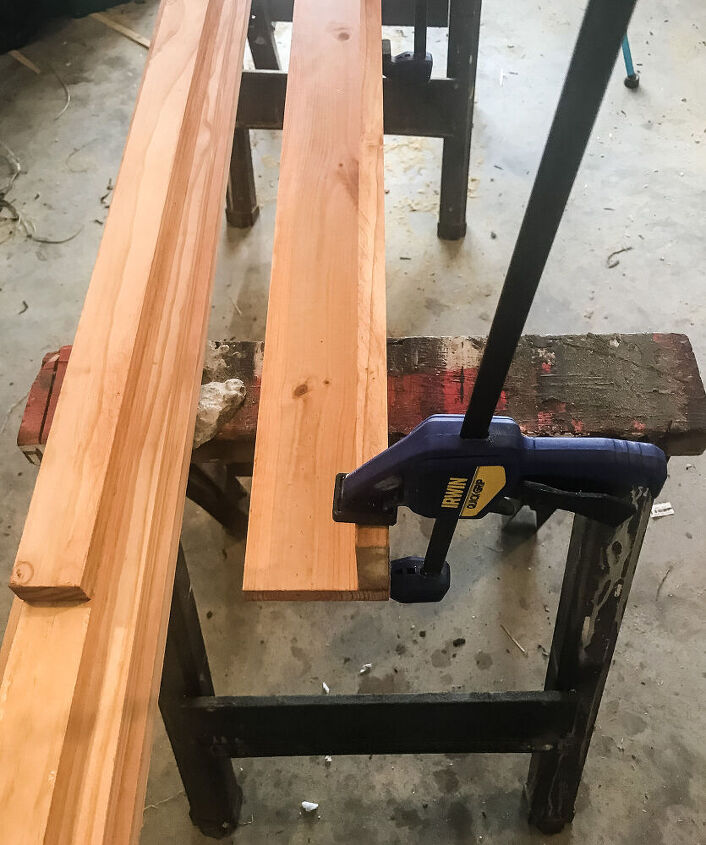
5. Start with attaching the 1×3 middle piece to the 1×4 back piece. Use wood glue & clamps to hold the two pieces together.
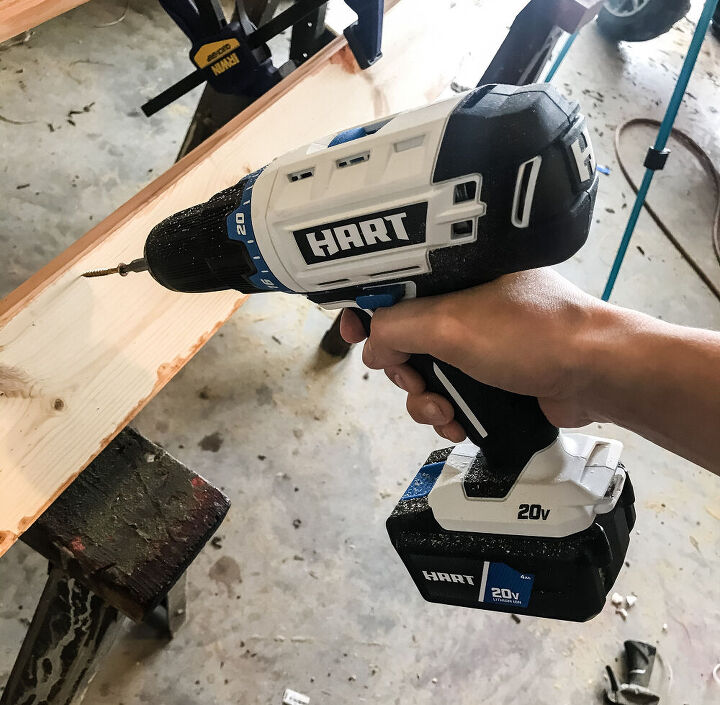
6. From the back of the 1×4 piece, secure the two pieces together using 2″ wood screws.
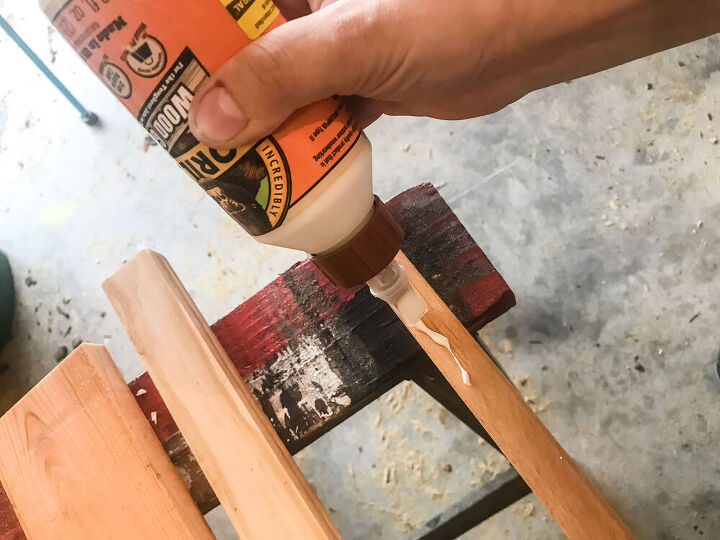
7. Now that the middle & back pieces are attached it’s time to attach the 1×2 to the front. Use a layer of wood glue & clamp them together.
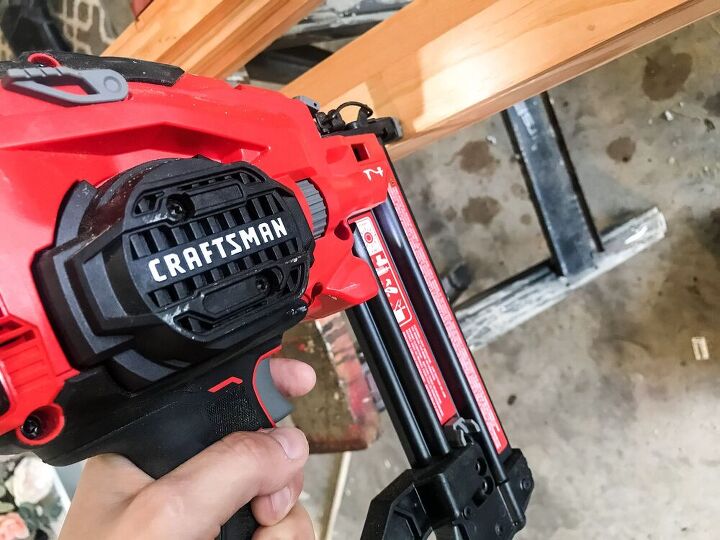
The wood glue is probably enough to hold the front & middle piece together because there won’t be any weight on that piece, but I have a toddler so I also nailed in small finishing nails along the front.
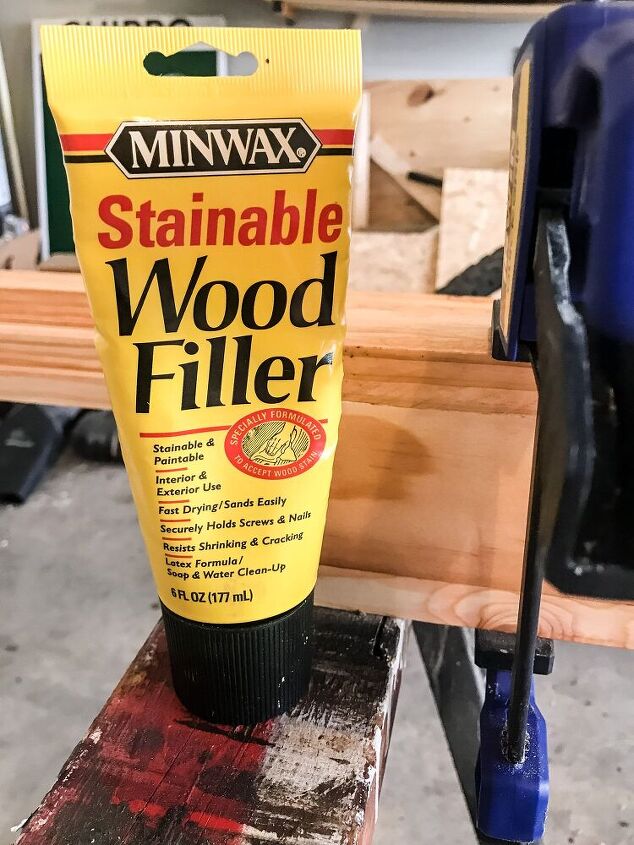
If you do use nails, Minwax makes a stainable wood filler. Apply it to the holes & then do a little touch-up stain along the front.
This part took me the most time… hanging the frames. As a general rule any picture frame shelf or artwork should be hung at eye level. My first DIY picture ledge is 50″ from the ground & the smaller picture shelf in 17″ from the long one.
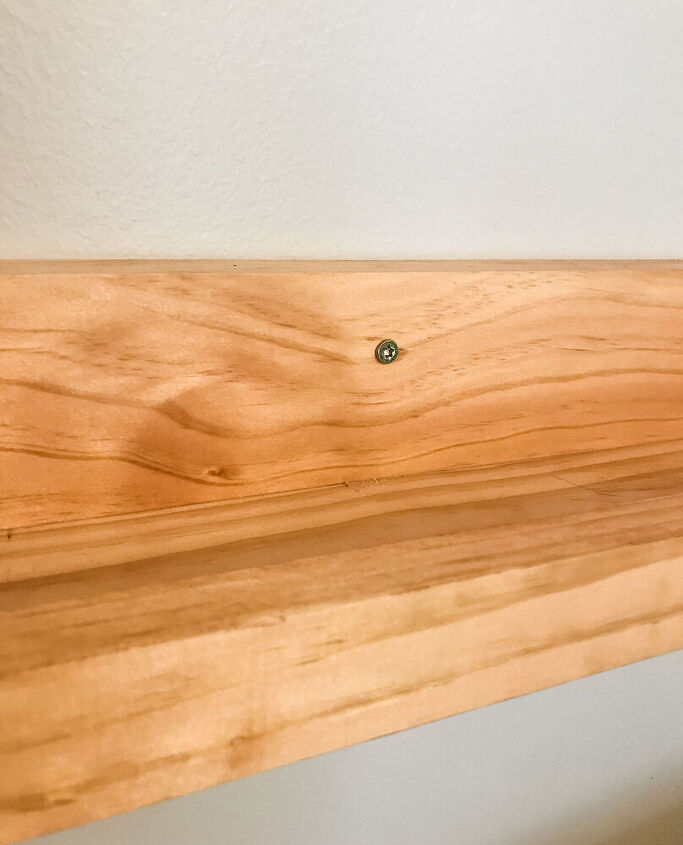
I attached the picture wall shelf with a few 2″ screws, making sure to hit studs. Don’t worry about the screws because the picture frames will hide those.

Not bad for a 1 hour DIY picture ledge project!
Check out our easy gallery wall & more DIY wood projects here!
Resources for this project:
See all materials


Frequently asked questions
Have a question about this project?
So, for eye level - whose eye are we using? lol I'm 5 ft nothing and my son is 6'1" - big difference there lol