


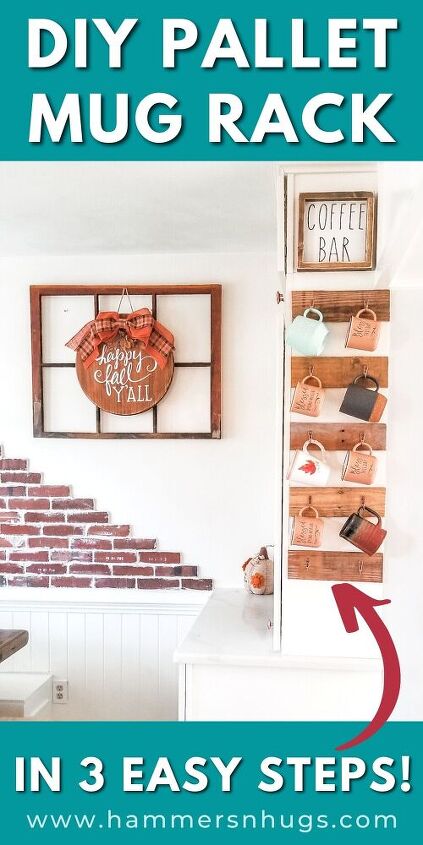
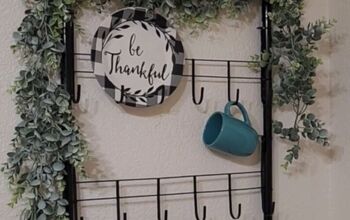
How to Make a Pallet Mug Rack in 3 Easy Steps

Learn how to make a pallet mug rack in 3 easy steps with this DIY tutorial and add farmhouse charm to any kitchen!
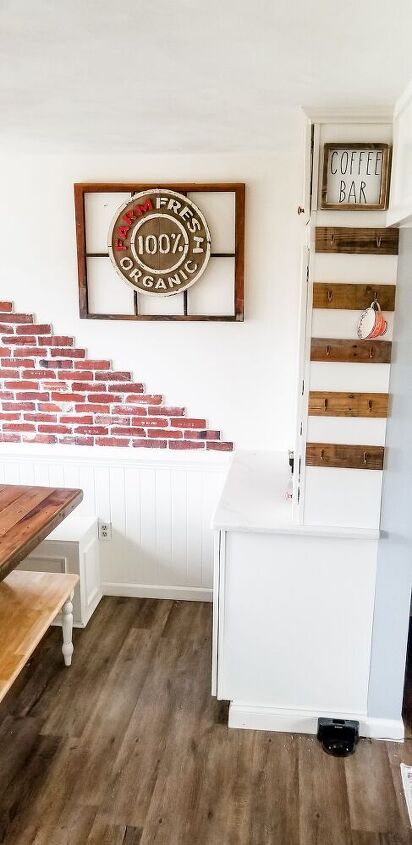
This pallet mug rack can be added to any upper kitchen cabinet, and listen, it is EASY.
If you have just one upper kitchen cabinet with an exposed side, want to add some farmhouse charm, and happen to love coffee then this project is for you!
For more DIYS and family fun be sure to visit Hammers N Hugs!
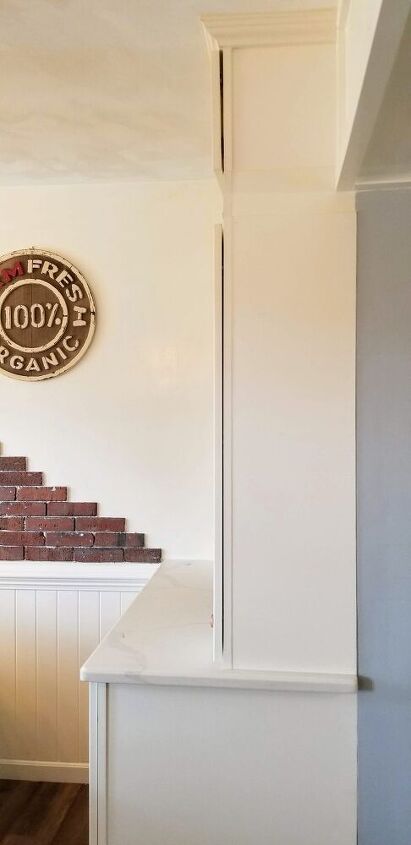
This was our cabinet before the rack was added!
The upper cabinet resting on the counter top is 42″ high.
This project will work for ANY kitchen cabinet. 30″, 36″, 42″ doesn’t matter.
I was so excited to add a pallet mug rack here, but didn’t want the bulky ones that I saw all over pinterest.
Let’s get started!
This will allow it to fit perfectly on the side of a standard upper cabinet.
You can use a hand saw even to make this cut.
The beauty of pallet wood is that it is perfect in its imperfection. Cut away.
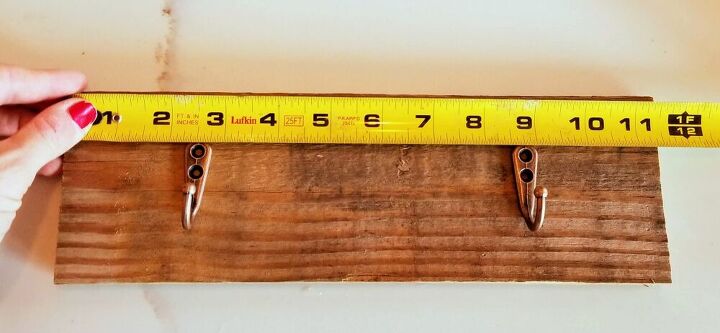
To determine how many you need, measure the height of your cabinet and divide by 8.
For mine 42 inches divided by 8 is 5 plus change = 5 boards!
Lay the measuring tape across and set the hooks at 2 1/2 inches and 8 3/4 inches.
This allows for the perfect amount of space between each mug.
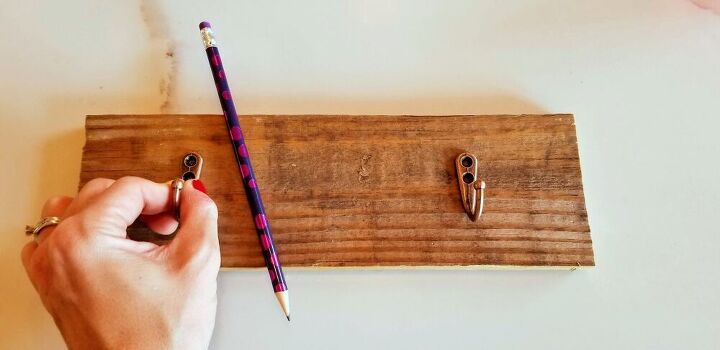
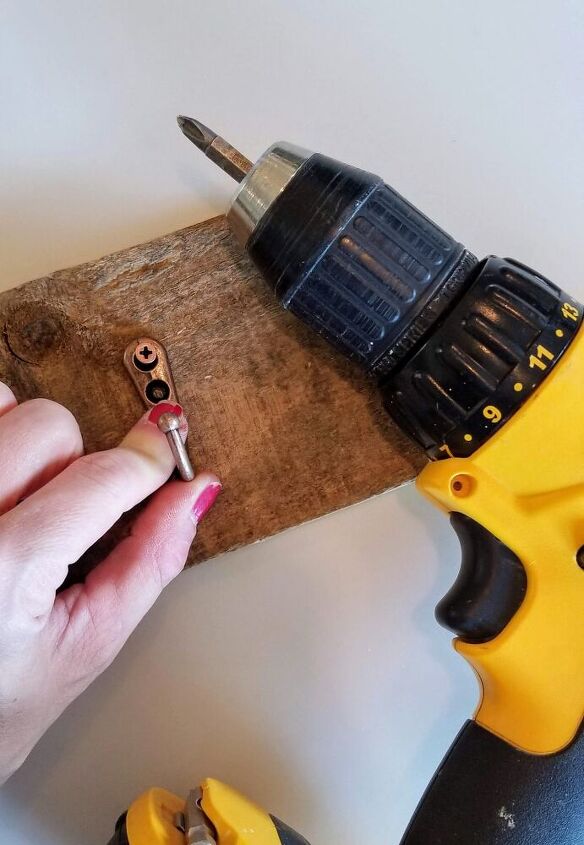
Mark the holes with a pencil so you can line them back up easily.
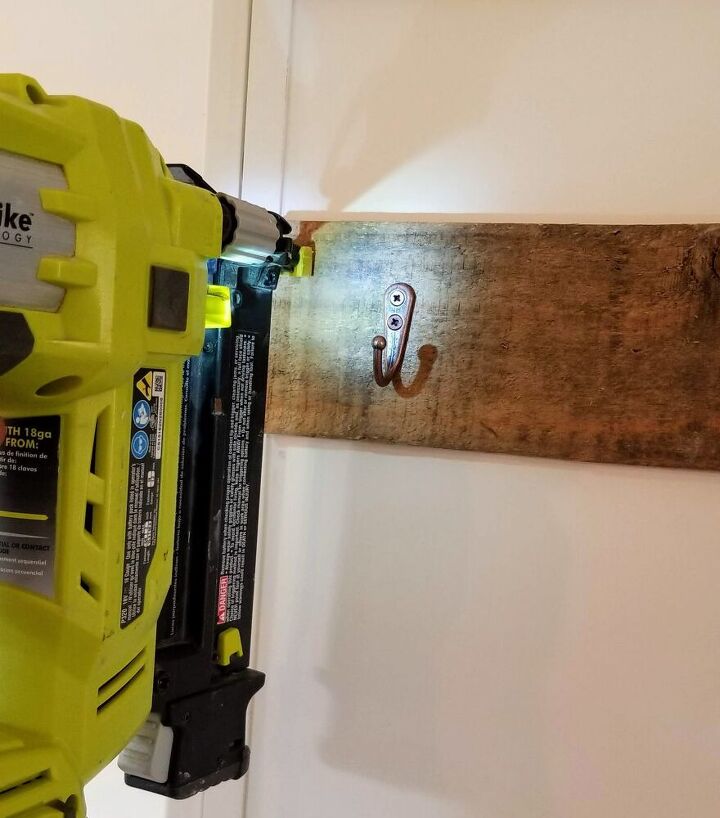
Place the first board near the top of your cabinet, but obviously not so high you cannot reach it.
I used our amazing Ryobi battery-powered brad nailer to anchor the boards.
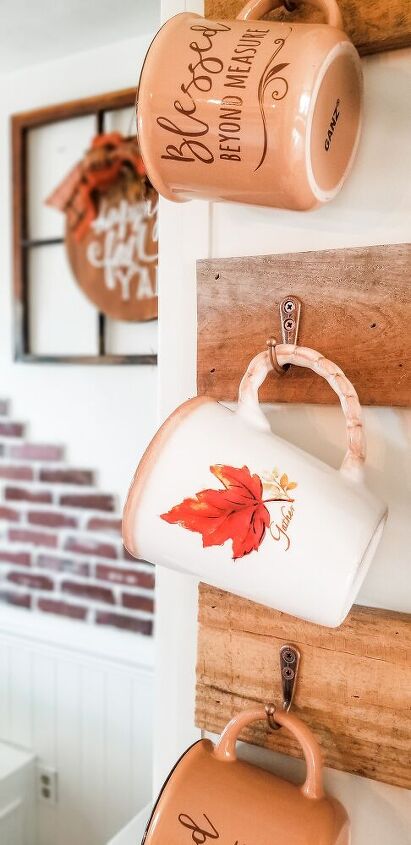
The boards only hold 2 mugs each so it is not a significant amount of weight.
I nailed each board 6 times. All 4 corners and then 2 in the center.
You can also use 1″ antique brass or bronze flat screws and use your drill.
If doing that I would only put two in the middle.
A note – if you are adding a sign make sure you account for that space when figuring out how many boards you want!

Voila!
Resources for this project:
See all materials


Comments
Join the conversation
-
That is so cute, what a great idea!
-
Great use of that space and such an adorable idea!


Frequently asked questions
Have a question about this project?