


MakeOver Steps With Chalk Paint and a Sponge
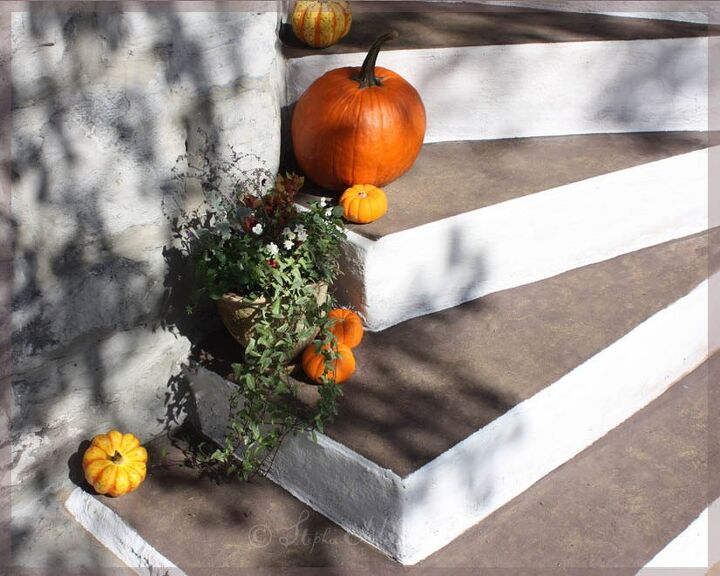
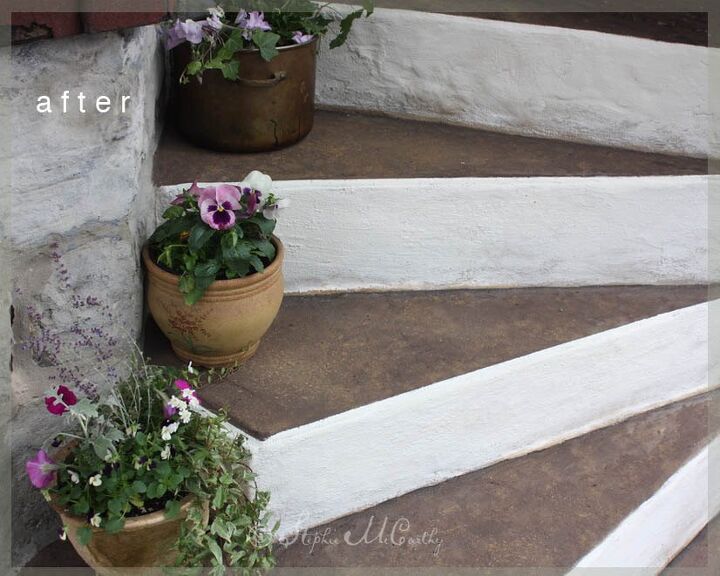
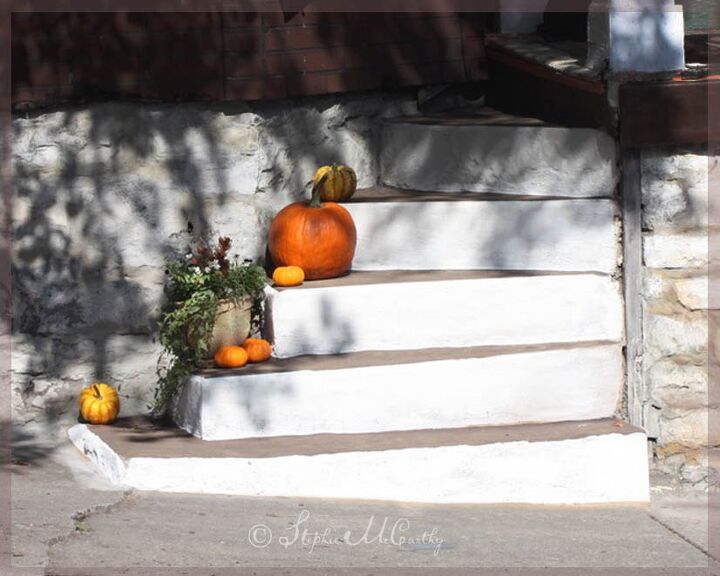
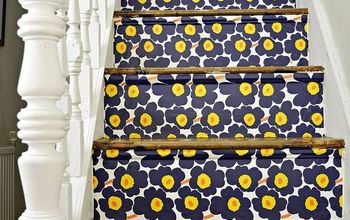
Transform steps with a texture that hides dirt and adds a bit of traction. We used two shades of brown for the steps, and off-white for the risers. Watch our longer video for the full tutorial at this link.
Chalk paint has many advantages. It covers in one coat for the most part. It comes in natural colors that work well for neutral décor. Chalk paint bonds very well to concrete, unlike latex that forms a film that can be peeled off.
However, a flat surface of chalk paint will still show dirt and stains. That's how sponge painting came to the rescue of these old steps. This texture truly hides dirt and leaves that tend to accumulate here. Low maintenance always looks good to us!
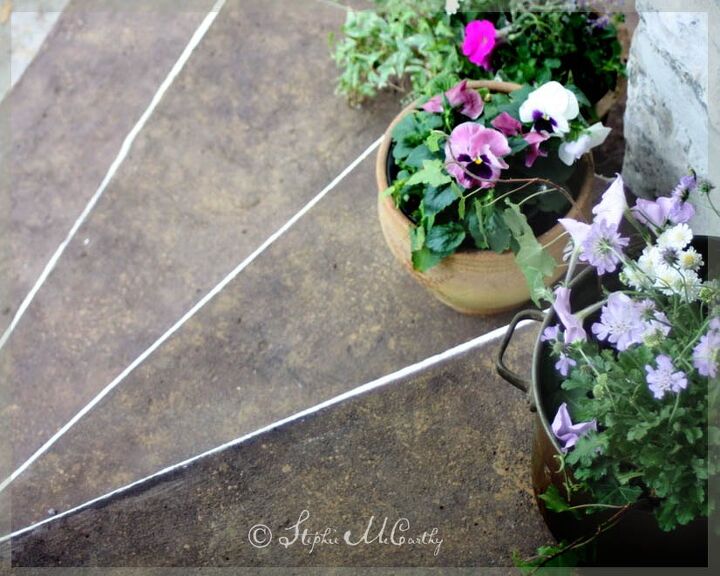
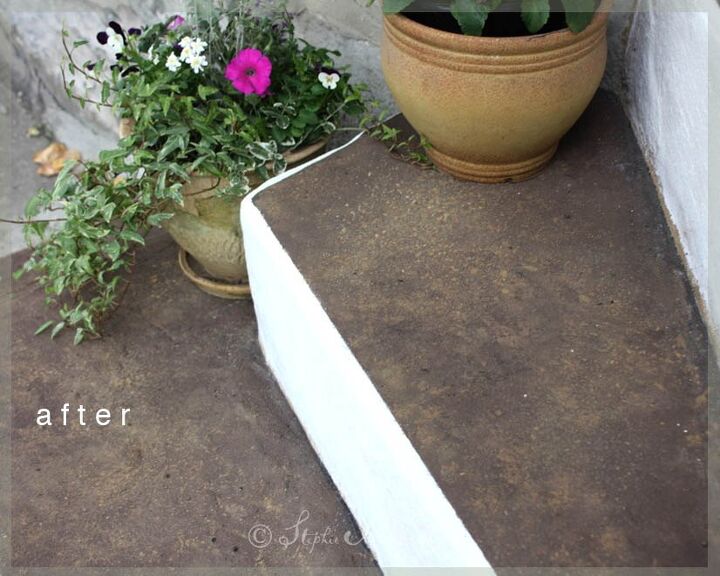
Also, the slight texture created by the sponge painting adds a bit of traction for more safety. The white risers add height, making a short flight of steps look taller.
The white risers help show the edges of the steps, making them much safer at night.
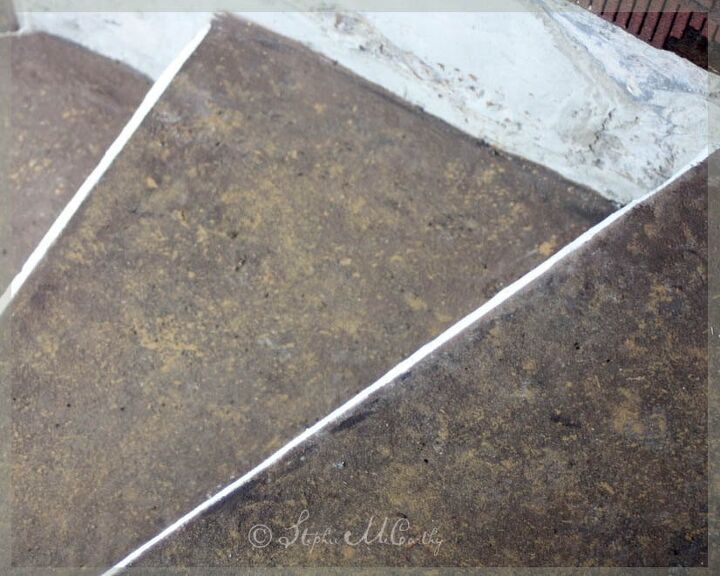
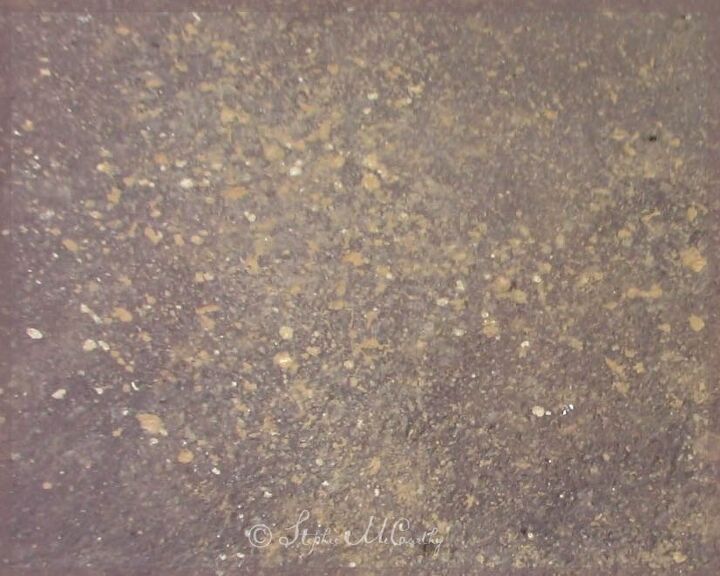
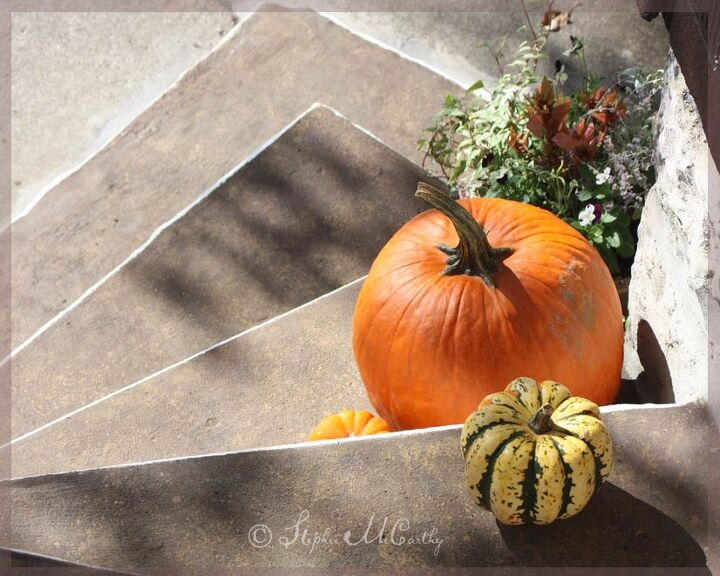
Here's a closeup view of the texture. We love the look and believe it will wear well. A sealer can be used on top, but these steps don't get heavy traffic and we'd like to see how the chalk paint weathers. If you use a sealer, do a test first to make sure it doesn't make your steps slippery.
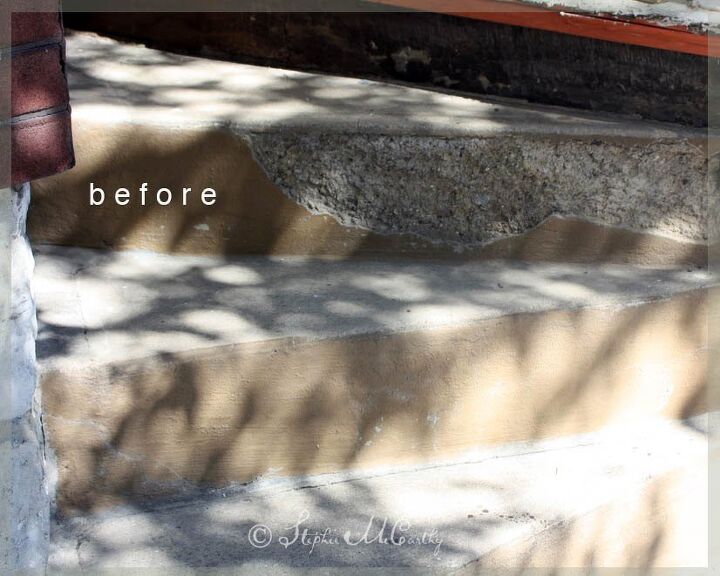
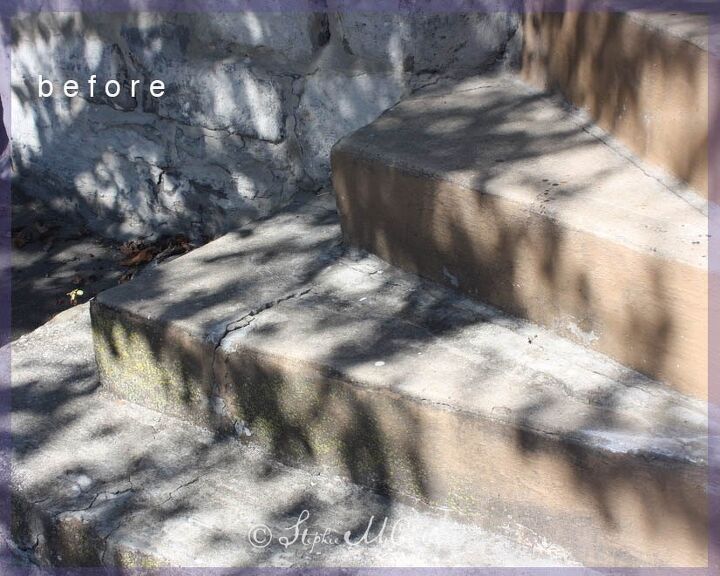
Look how awful the steps were when we began this project. We had major chipping and lots of cracks too.
We repaired our steps with Quikrete™ Vinyl Patcher which had lots of great reviews on the HomeDepot™ website. It comes in manageable buckets so you can mix small batches. Let any patches dry for a week before painting.
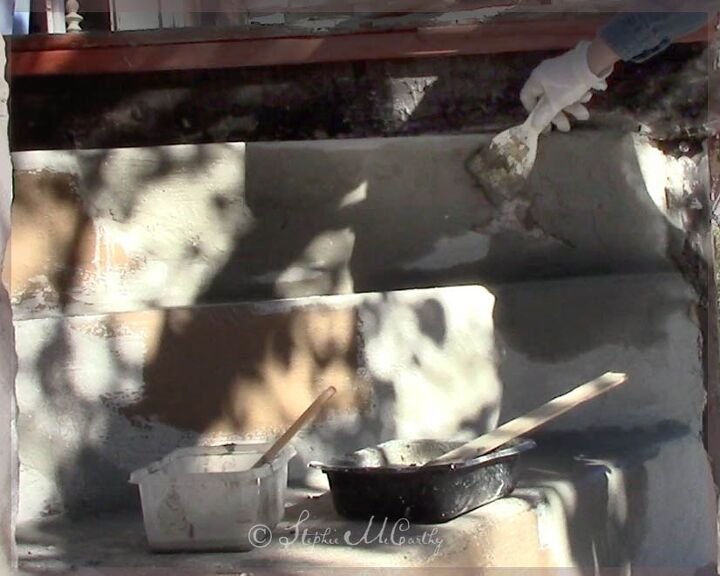
We mixed 'peanut butter' consistency to repair the vertical surfaces. We used 'milkshake' consistency to repair the horizontal. We like to keep concrete work easy. Our longer video at the link above will give you many tips and tricks we used for using Quikrete™.
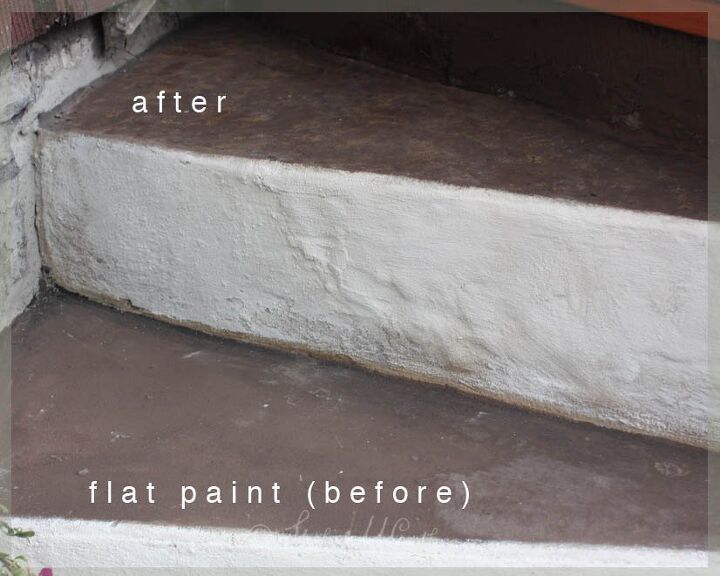
We started with a flat coat of Waverly™ Chalk Paint 'Truffle' and let that dry overnight. We began the sponge and spatter painting the next day starting at the top step. We sat on the steps as we worked our way down.
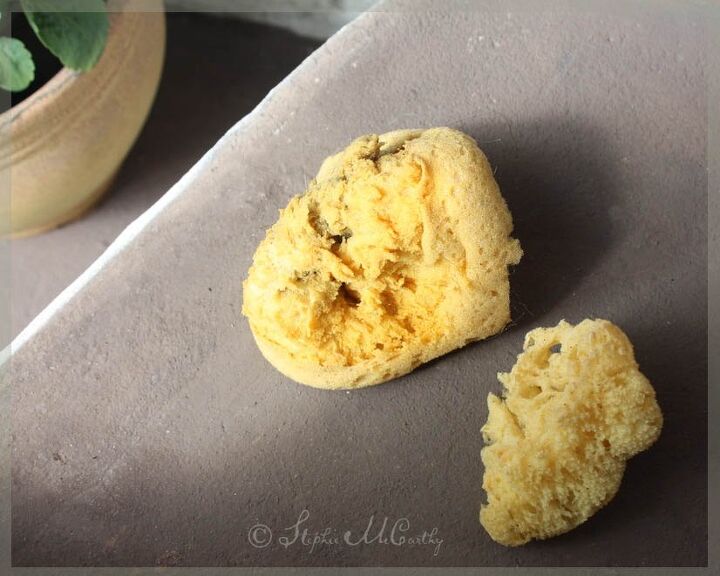
We used ordinary synthetic sponges. We saw natural sponges at HobbyLobby™ for just $4.99, however the concrete will ruin any sponge used for this project because we scrubbed and streaked paint into the surface. We used a synthetic sponge we had on hand for washing cars.
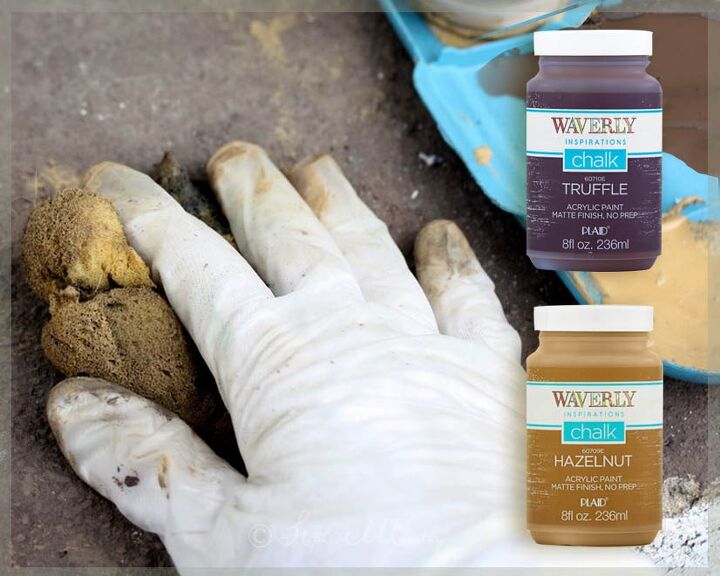
You can use lots of different colors for sponge painting. We used two shades of brown for a neutral finish. We used Waverly™ Chalk Paint 'Truffle' for the background and blending; and Waverly 'Hazelnut' for the second layer of the texture and spattering painting as the final touch. Bright colors of chalk paint will fade outdoors so you may want to top those with a UV sealer like ModPodge™ Outdoor formula. Apply the clear finish with a sponge so that it has a slight texture and is not slippery.

We sponged 'Hazelnut' on top of the flat 'Truffle.' Next, we added a third layer of sponged 'Truffle' to blend and mix the 'Hazelnut' into the surface.
Adding spatters of 'Hazelnut' was the finishing touch. The sharp edges of the spatters contrast well with the blurry sponge painting. We let this dry a bit, and blended some of it back with the 'Truffle'. Leave as many of the sharp spatters as you can. They look great and hide dirt.
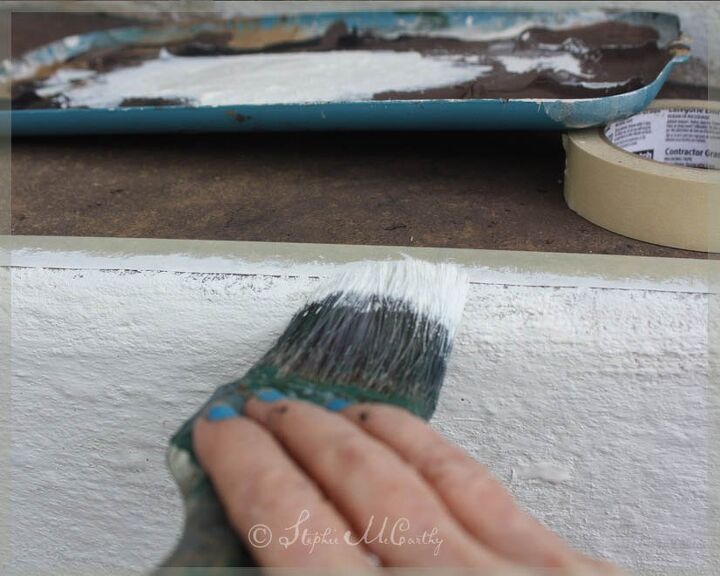
We used Waverly™ Chalk Paint 'Plaster,' off-white on the risers and were able to create crisp edges using ordinary masking tape.
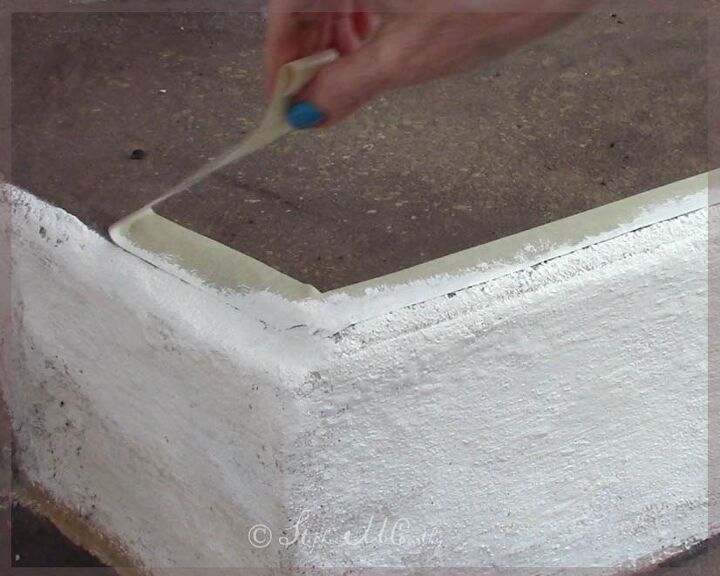
It's fun peeling the tape after the paint as 30 minutes to set to reveal the clean edge. We used a small paint brush and 'Truffle' to clean up a few rough spots.
If you should get a stain or see a wear spot, this finish will be easy to touch up with matching paint because it is deliberately patchy instead of one flat color.
Sponge painting may sound like child's play, but it takes practice to do it well. Practice on scrap wood if you are a beginner. We used a number of motions like 'zig-zag' and 'scrub' to blend our two colors, you may want to try.
If your stairs get a lot of traffic, you may want to use a clear sealer on top. Test it on a small spot first to make sure it will not be slippery when wet. It may also darken your colors a bit. A matte finish may be the least slippery, but a semi-gloss finish will create the look of polished stone. We left ours unsealed to weather naturally.
Use a lot of care when working with steps. Take your time and be safe, wear non-slip shoes. Work on steps at your own risk.
If you enjoyed this tutorial, we have more photos and tips on our website here, or click the "GO" button below. Remember, the link to the longer video is at the top!
Resources for this project:
See all materials


Comments
Join the conversation
-
Wow! You did a fantastic job. It looks great!
-
Very nice, I’ve done the same to old cement stairs over the years. With it without a lot of foot traffic, I definitely would suggest using an exterior sealer made for cement.


Frequently asked questions
Have a question about this project?
Is any chalk paint ok to use outdoors? Anddid you use cement patch and fix it then paint ?
Very nice makeover! Could you mix sand into the paint or sealer to give the treads a light texture that won’t get slippery?
Did you clean the steps first?