


Simple DIY Christmas Sign
Hello, I'm Cindy and blog at Cloches & Lavender where I share painting furniture, DIY crafts, decorating ideas and the occasional recipe Christmas is coming and this is a great time to begin crafts for the Christmas season. This is an easy craft to add to your home. I hope this easy DIY using an old cutting board or round wood board that you can purchase at your local home improvement or craft store inspires you to create your own.
This also gives you a fun and simple way to use an item that you may already have in your home.
Items Needed:
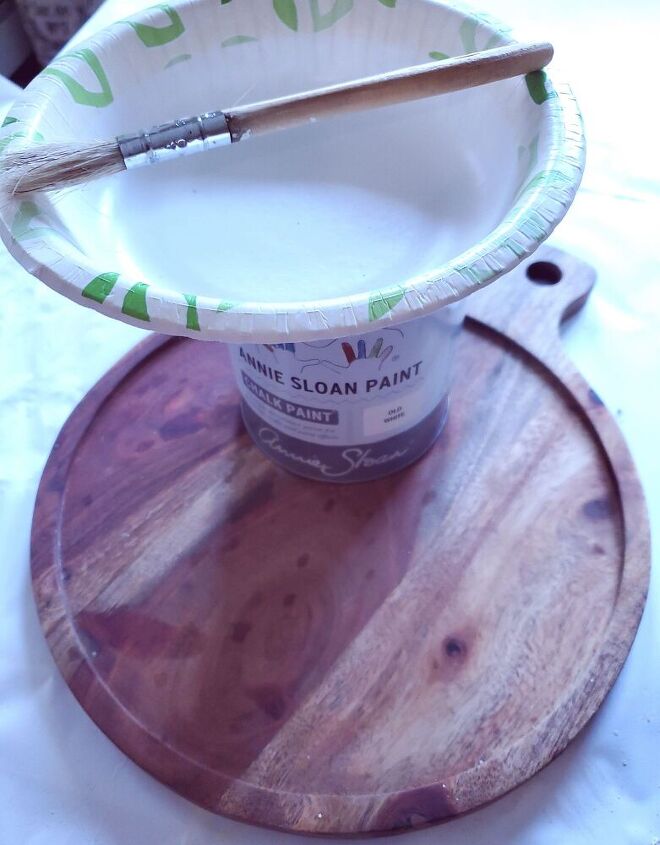
- Round cutting board or round board purchased from local craft store
- Chip brush and stencil brush
- Stencils
- ASCP Old white chalk paint or craft paint
- Green paint or paint color of your choice
- black craft paint and moss green paint if you have to mix your own
- wooden stick
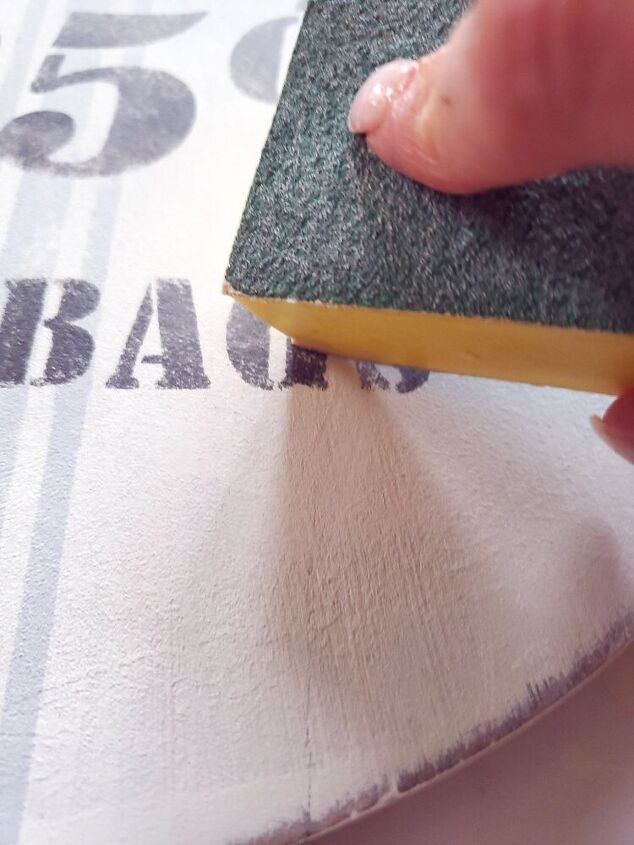
- Sanding sponge
- Clear and light brown wax
- Rag
Let's Begin Creating Your Simple DIY Christmas Sign
Clean your wood with warm soap and water and dry well. It's best to let the wood sit for a bit to be sure it's completely dry.
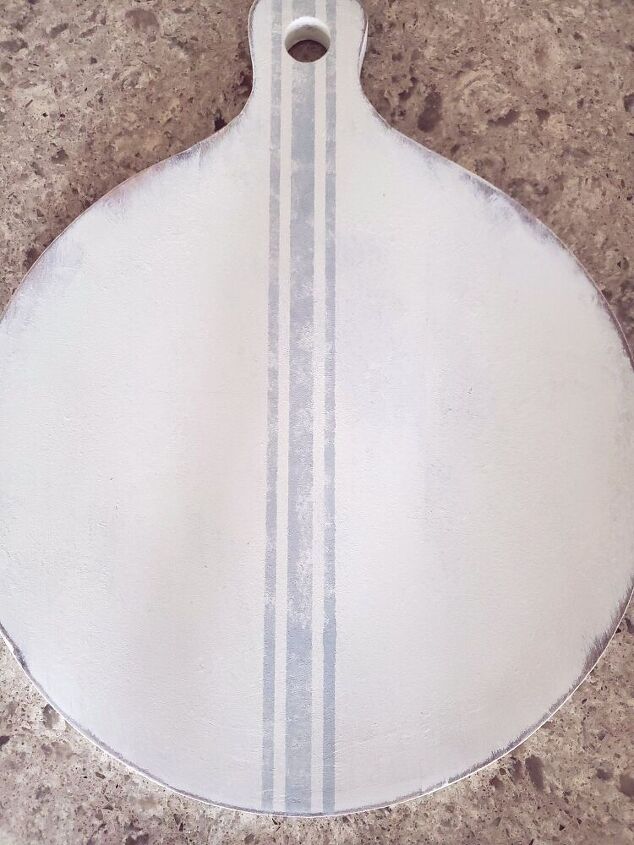
I used the back side of my cutting board to have a cleaner and a wider work surface.
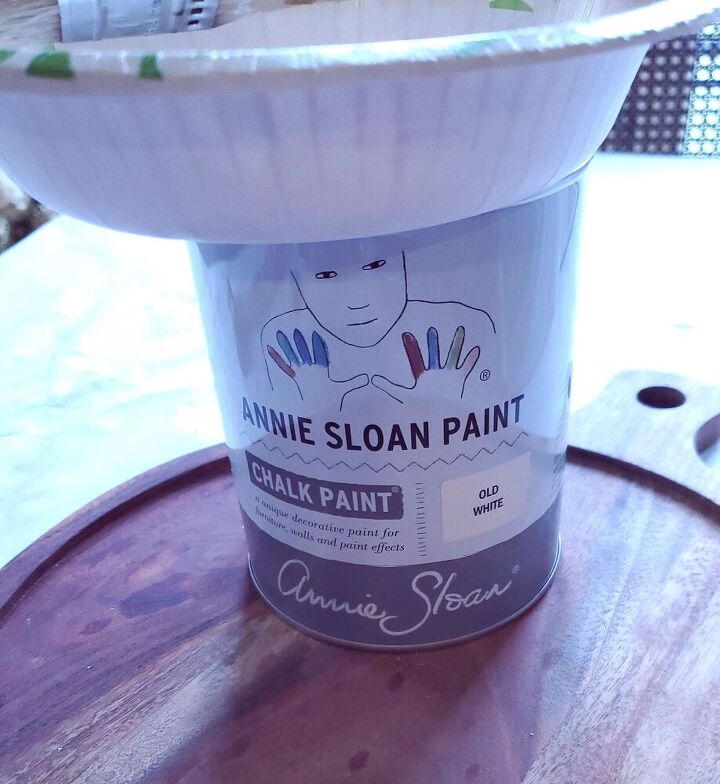
Using your chip brush paint the board two coats ASCP Old white, let dry in between coats.
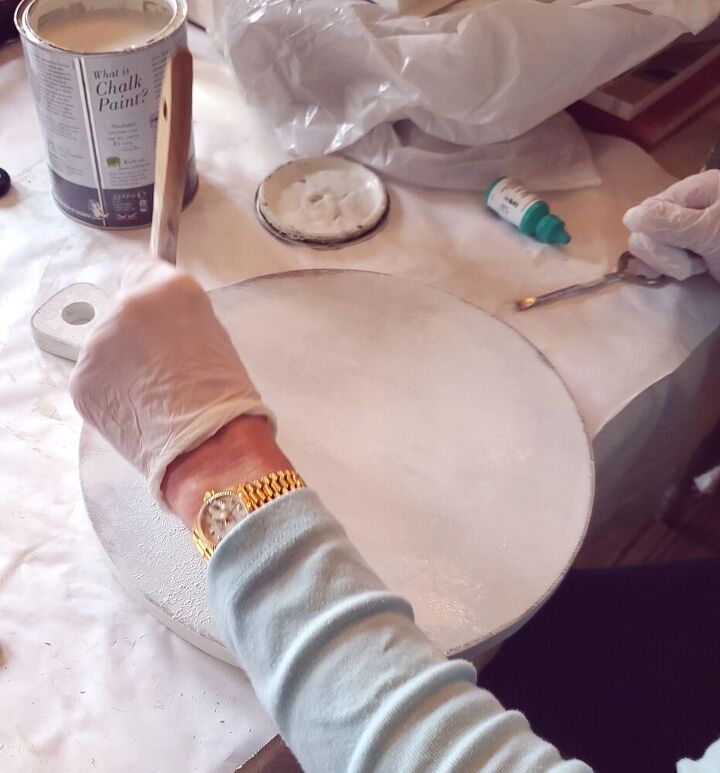
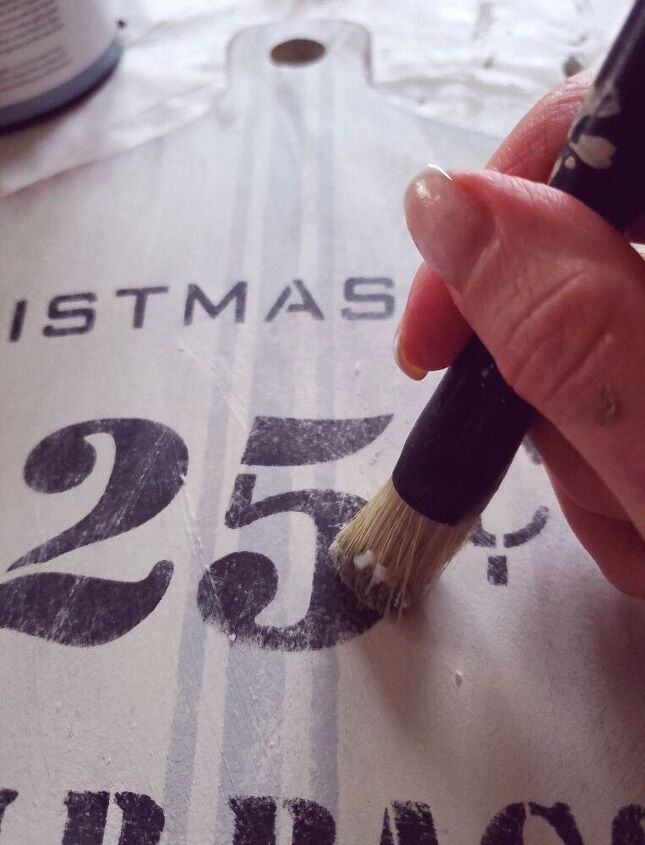
Use a light stippling motion with the white paint stipple to add a slight texture this adds more character. Using the sanding sponge lightly sand the edges, this adds more character.
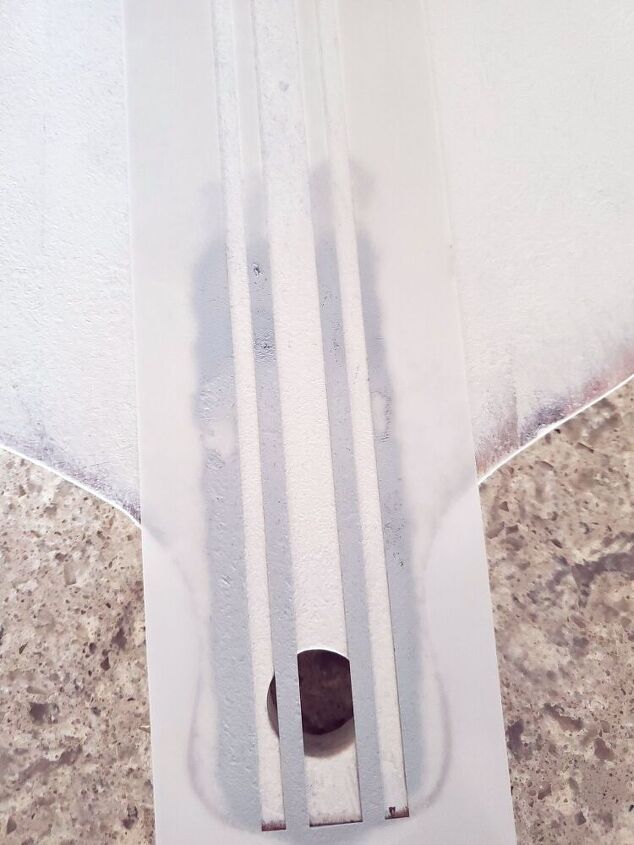
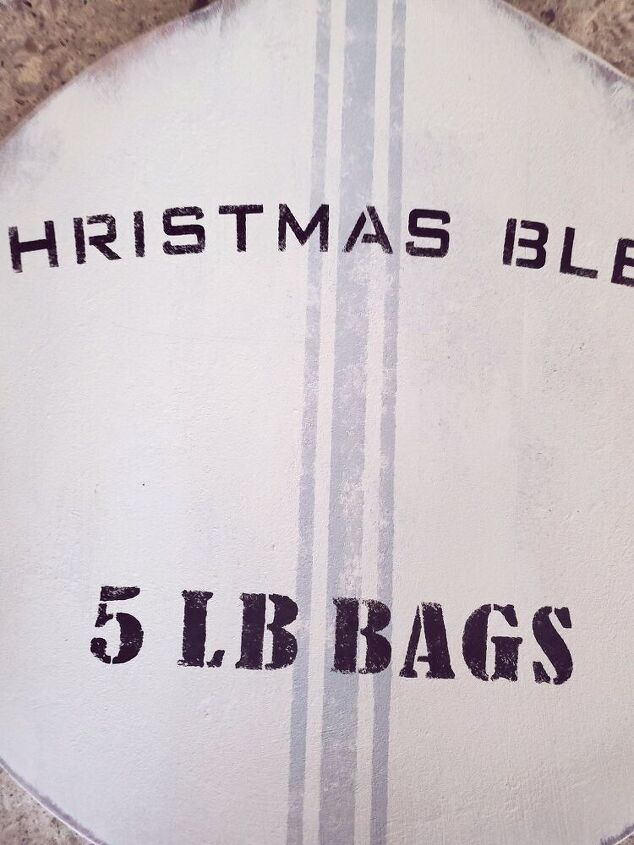
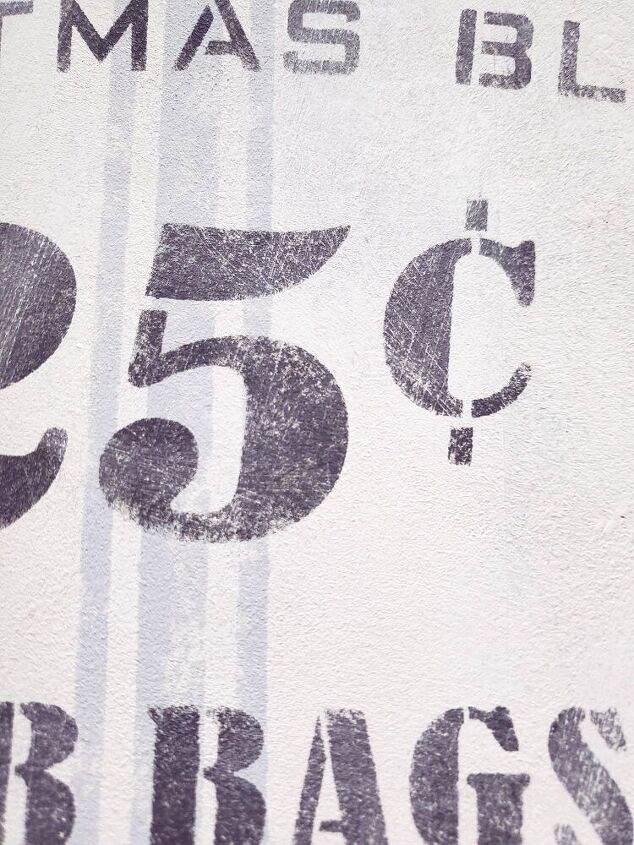
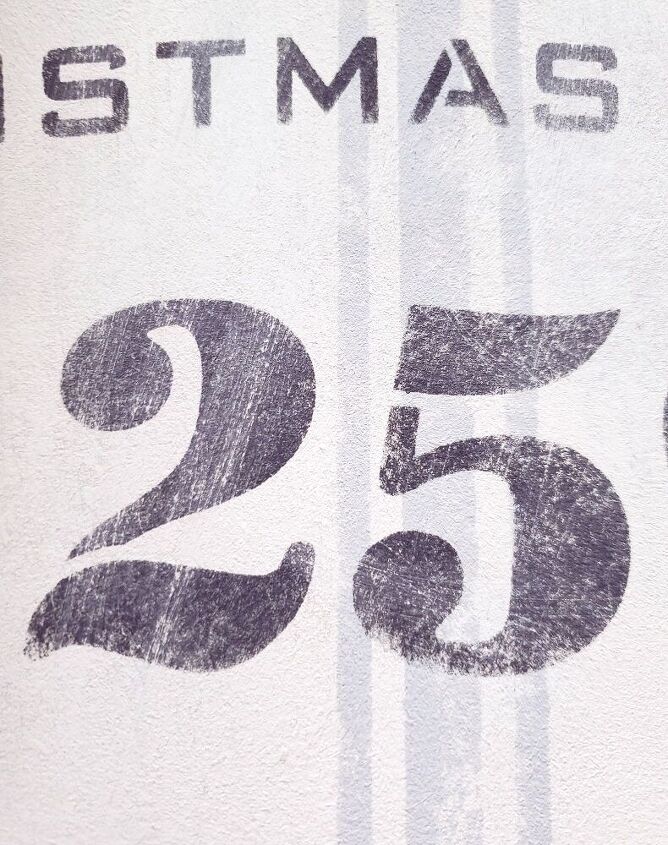
After sanding, use your grain sack stencil from Funky Junk Old Sign Stencils in the color of your choice. When loading your stencil brush it's very important to off load before you begin to pounce your brush. Otherwise you may get bleeding when stenciling. Let the stencil dry for a minute to be safe.

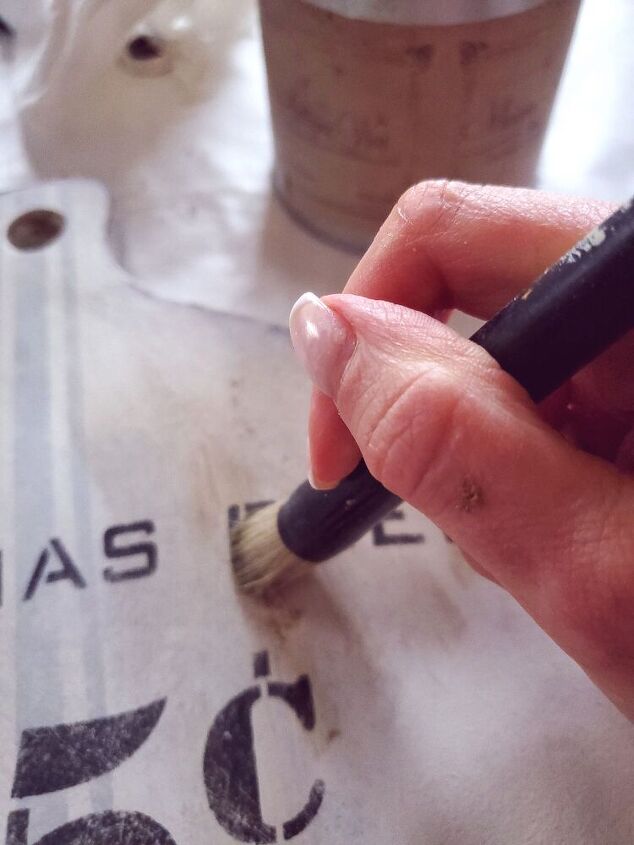
Because I didn't have any green paint I mixed my own. Using moss green and black paint mixed together for instance gave me my own custom color, greenish black.
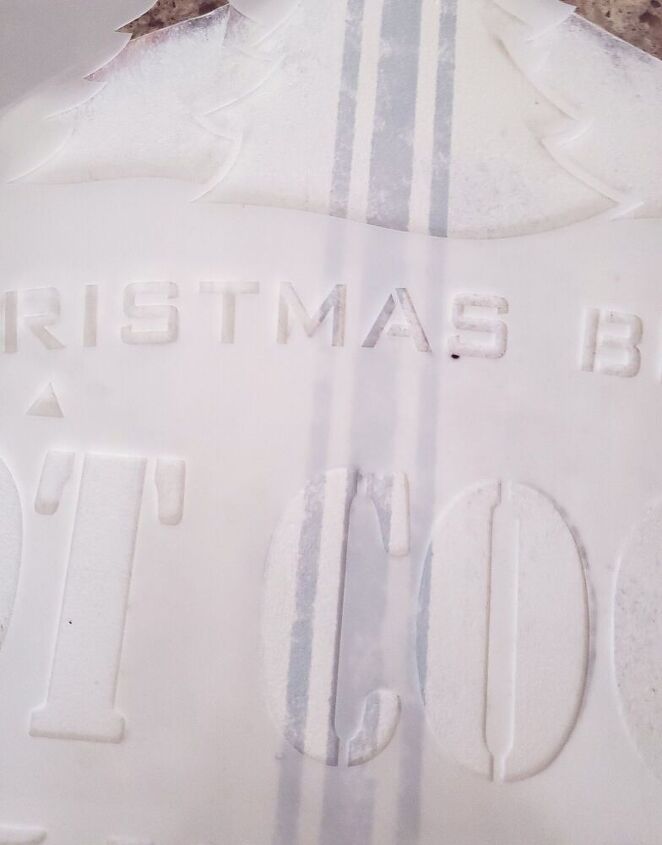
Meanwhile, grab your Funky Junk Old Sign Stencils or stencil of your choice. By the way, take a look around this great site at the variety of stencils you won't be disappointed.
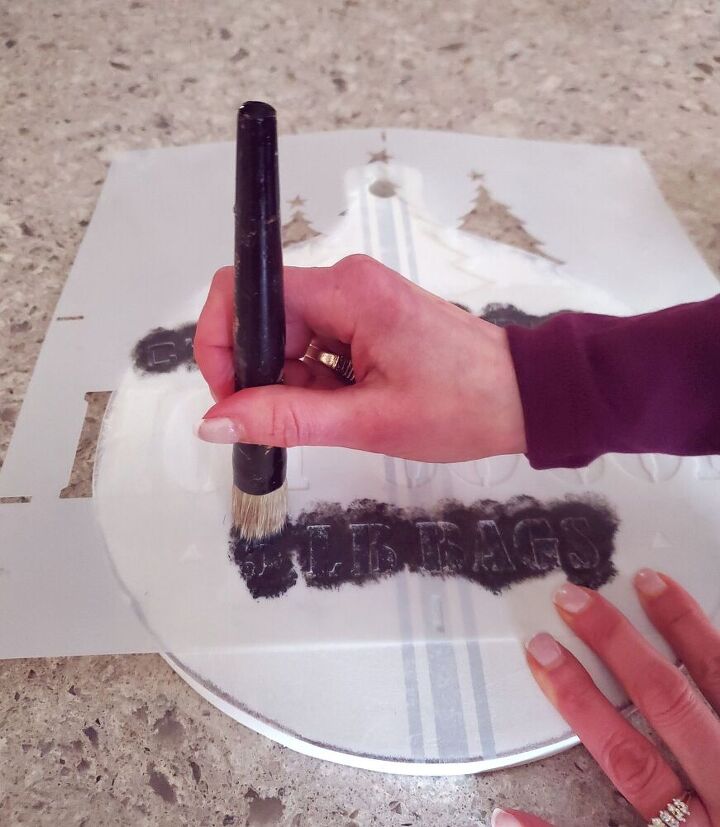
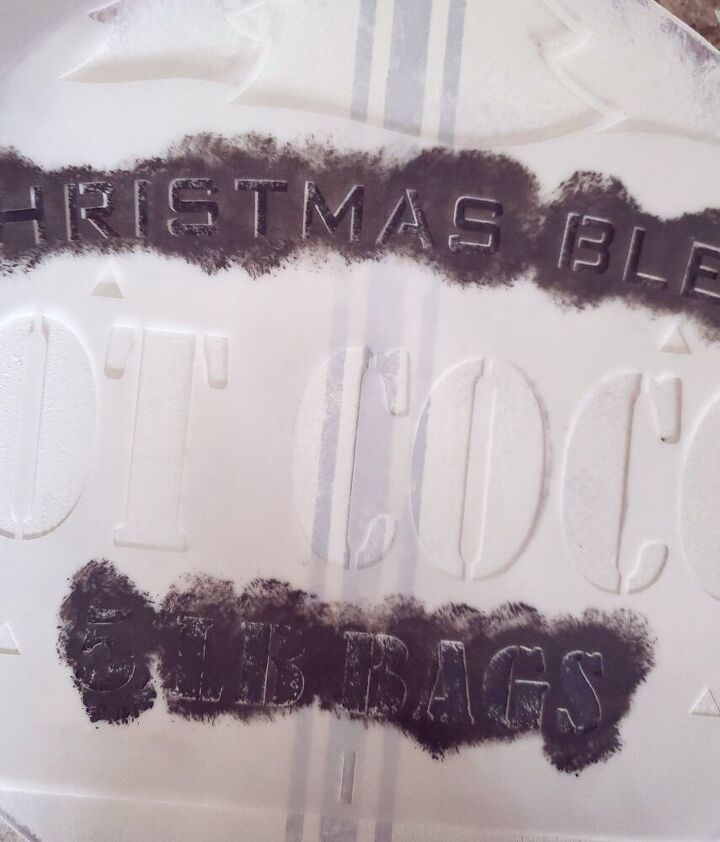
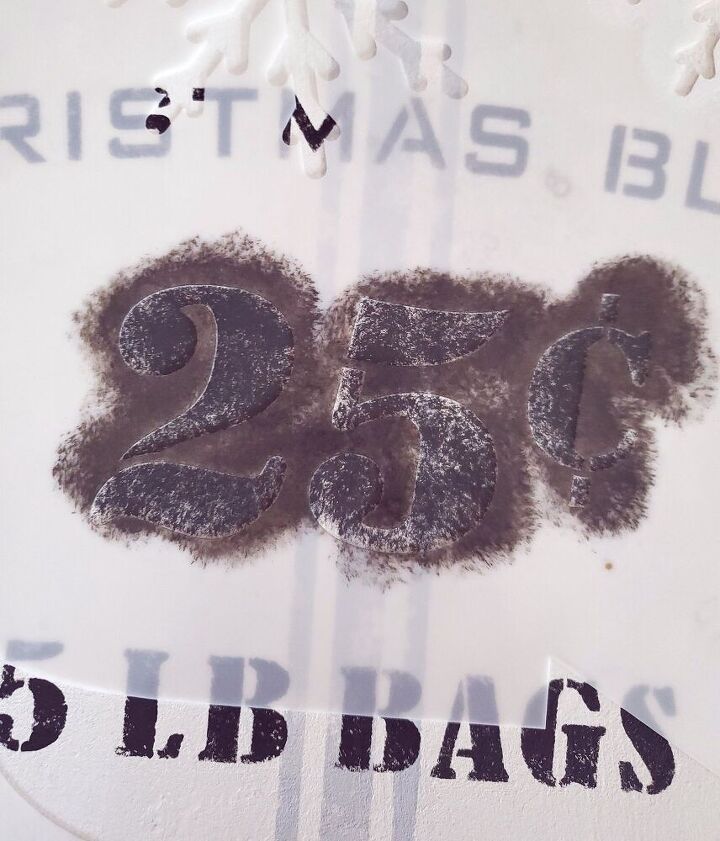
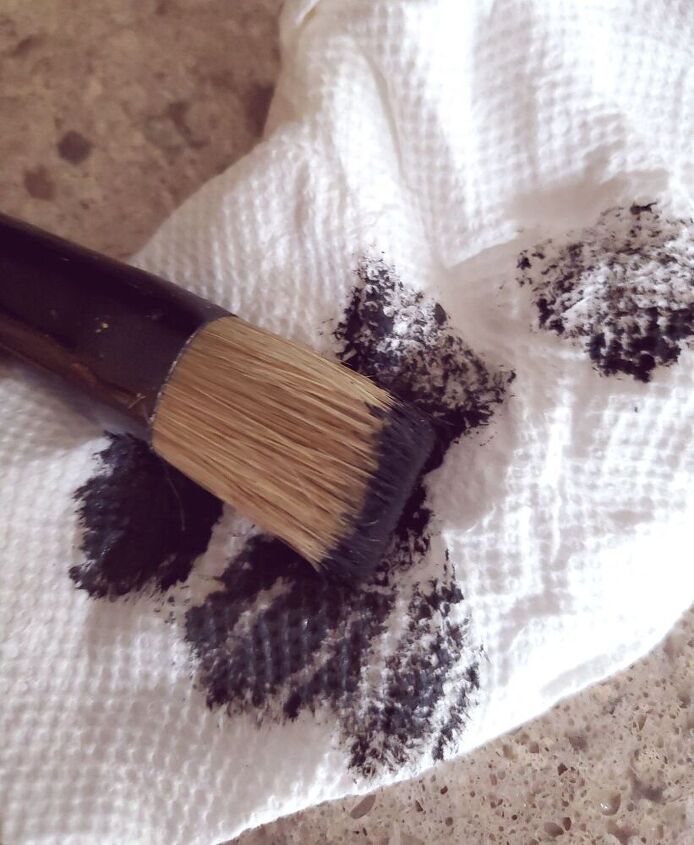
Following the steps above for loading your stencil brush and off loading your paint. Once again, let dry for a minute.
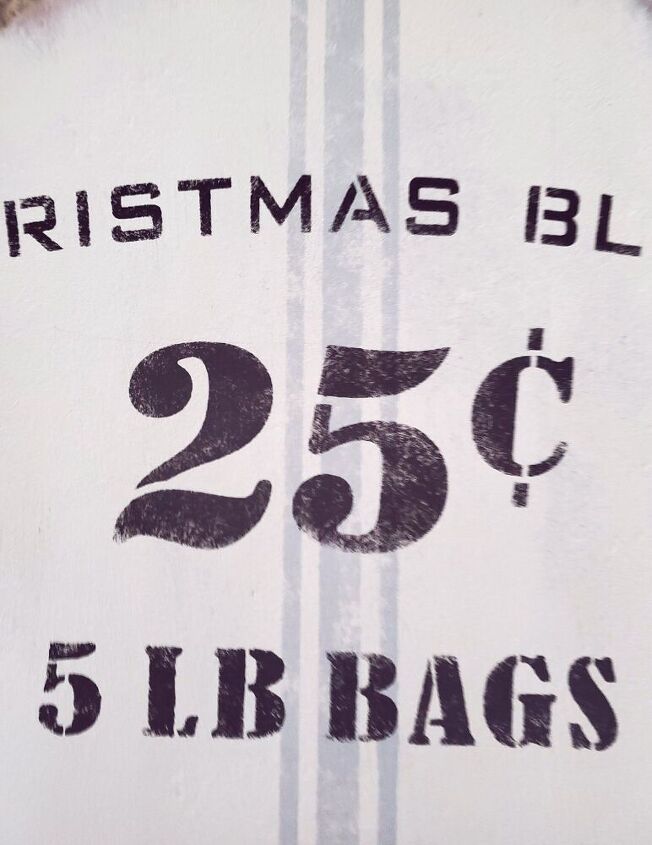
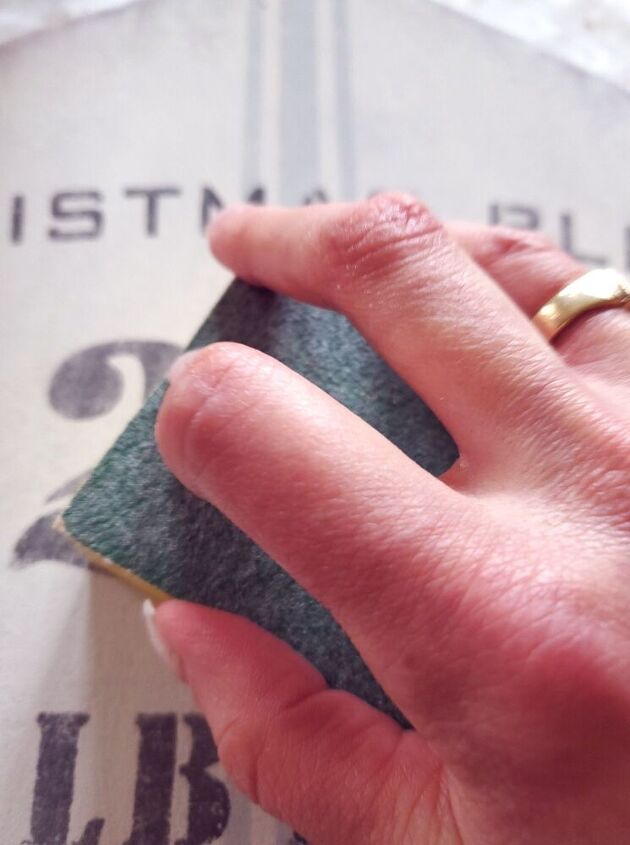
Next, using your sanding sponge lightly sand your project to give the words a slightly worn appearance.
Lastly, apply clear wax and light brown wax and hang your simple DIY Christmas sign.

After applying your wax sparingly use your rag to rub well.

Depending on where you purchase your paint and waxes the prices may be lower for your budget.

I hope you give this easy project a try and enjoy!
Resources for this project:
See all materials


Comments
Join the conversation
-
Very cute and easy!
-
It is everything I love!!!!!


Frequently asked questions
Have a question about this project?