


Thanksgiving Pie Banner
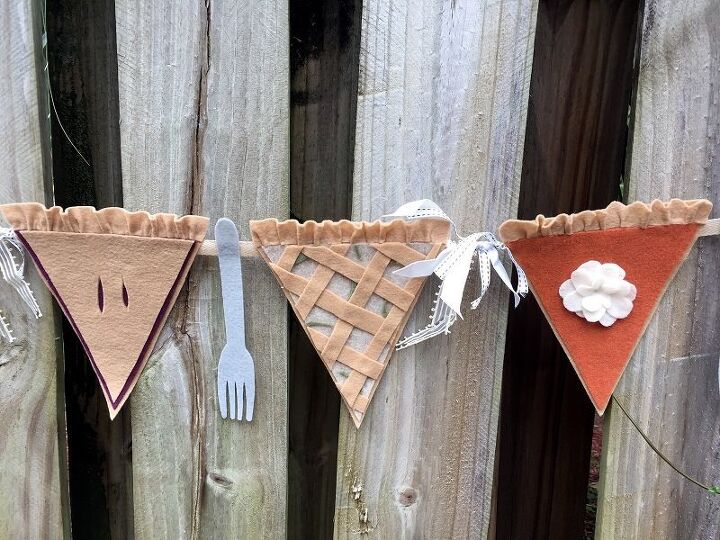
Thanksgiving is all about traditions, family and pie, especially PIE! Because I can’t ever choose just one type of pie to be my favorite, for this DIY Thanksgiving Pie Banner, I “baked” Pumpkin Pie, Apple Pie, and Blueberry Pie! Whip up a batch of these yummy “to look at” pies in just a few hours and keep the kitchen CLEAN!
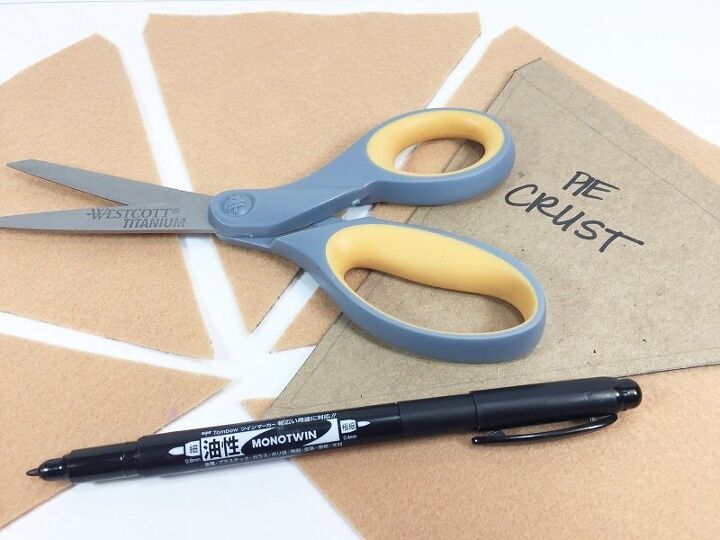
Download and print DIY THANKSGIVING PIE BANNER PATTERNS here. Cut out patterns with scissors. For durability, trace and cut paper patterns onto the chipboard and then cut out again. Trace and cut six Pie Crusts onto Cashmere Tan. Trace and cut two Pie Fillings onto Pumpkin Spice (Pumpkin Pie), Sandstone (Apple Pie), and Prickly Pear (Blueberry Pie). Onto Silver Felt, trace, and cut three Forks. Attach the pie fillings to the pie crusts with the glue gun. TIP: Remember to cut INSIDE the lines for a neat and clean finished project.
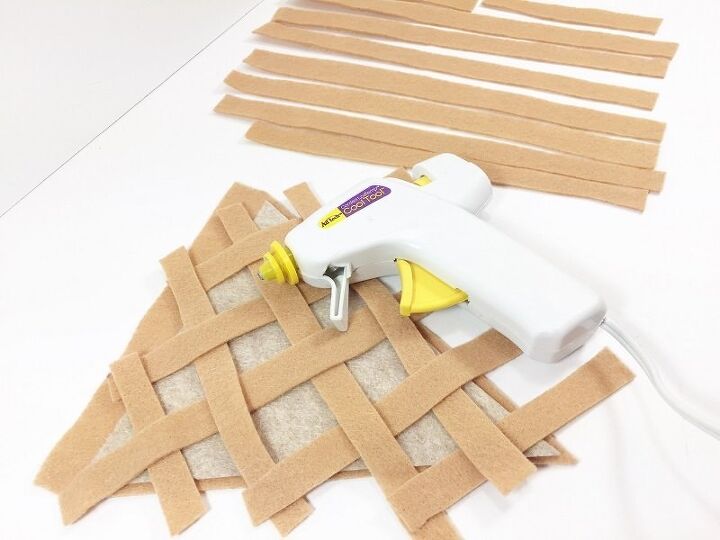
Measure and cut 18-20 strips of Cashmere Tan ½” wide by 9” long and set 6 aside to use later. Layout over the Sandstone (Apple Pie) and arrange in a woven pattern to mimic the lattice top on a pie. Attach strips of felt with a glue gun at each intersection. Repeat with the second lattice. Liftoff and set aside. Cut skinny crescents from Olive Felt to mimic apple sections and glue to Sandstone Felt. Attach the lattice to pie, flip over and trim off the excess. For the decorative edge of the pie crust, attach one of the reserved ½” strips to the top edge of each of the Apple Pie pieces with a glue gun, creating a ruffled effect by folding the strip as it is being glued.
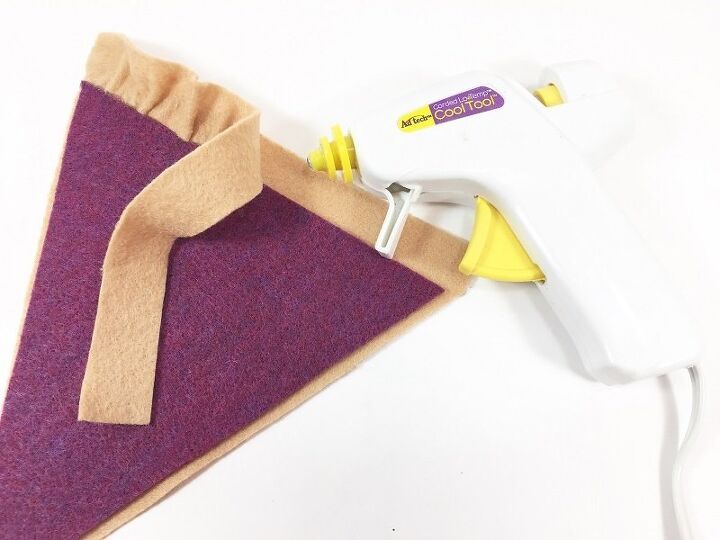
Attach one of the reserved ½” strips to the top edge of each of the Blueberry Pie pieces with the glue gun, creating a ruffled effect by folding the strip as it is being glued. Trace two pie crusts from Cashmere Tan and cut approximately 1/8” inside the lines to create a top pie crust. Fold pie crust vertically and cut a slit with scissors. Repeat with a second slit. Glue top pie crusts to Prickly Purple (Blueberry Pie) slices.
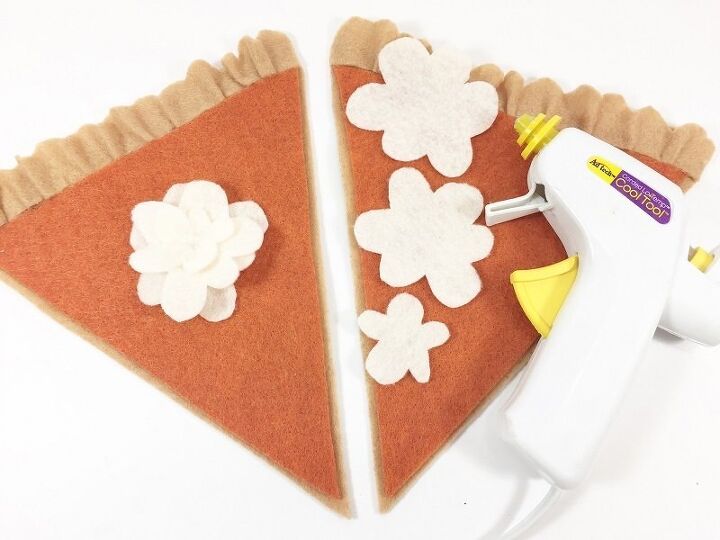
Glue Pumpkin Spice pie filling to pie crust with a glue gun. Attach one of reserved ½” strips to the top edge of each of the Pumpkin Pie pieces with hot glue, creating a ruffled effect by folding the strip as it is being glued. Cut six random scalloped cloud shapes – two large, two medium and 2 small. Make two stacks, largest to smallest, attaching each layer with a glue gun. Scrunch as the glue cools to create dimension. Attach Whipped Cream to the center of Pumpkin Pie slices.
To finish the DIY Thanksgiving Pie Banner, adhere each slice of pie to the twill tape with a glue gun, leaving 2” in between and 12” at each end. Attach three forks. Tie ribbon scraps in between the slices of pie.
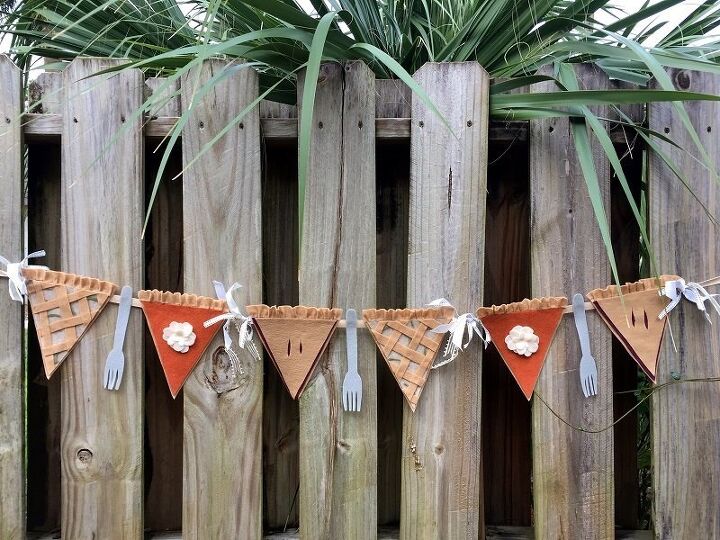
I hope you will use my DIY Thanksgiving Pie Banner as a jumping-off point to showcase your Kunin Creativity to create a fun holiday decoration! The possibilities are endless – Cherry Pie, Key Lime Pie, Pecan Pie – and YUMMY! Felt is an easy, versatile and forgiving medium that allows you to create affordable but trendy projects whether you are a beginner or an expert crafter!
Resources for this project:
See all materials


Comments
Join the conversation
-
Oh my gosh so CUTE so CLEVER!!! Love it nice job thanks for sharing
-
This is cute and I love the idea of all different pies. You can actually use it for different holidays if you come from a family like mine that loves to bake pies, cakes and cookies. Thank you for sharing.


Frequently asked questions
Have a question about this project?