


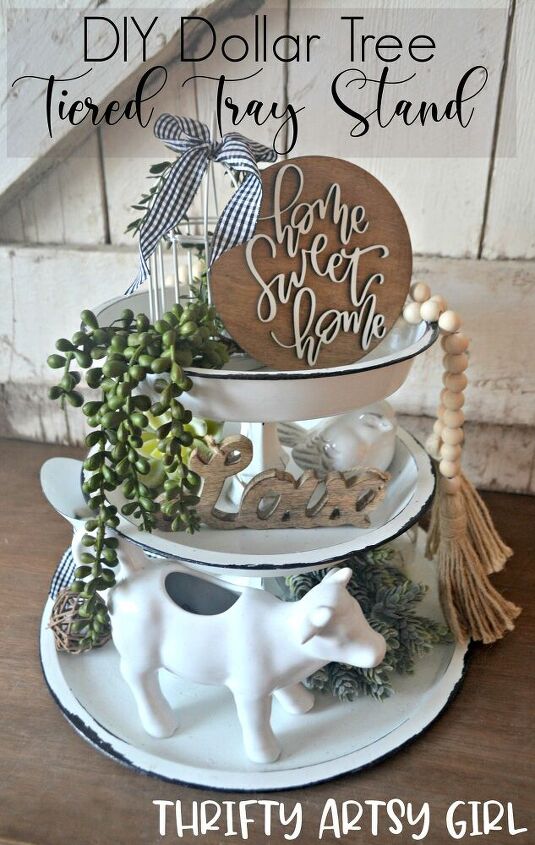
DIY Faux Enamelware Tiered Tray Stands for Less Than $6 Each
Who doesn't love a beautiful tiered tray mixed in with their decor? I know I love them! They add a great aesthetic to any room in your house and you can change them with the seasons and holidays or simply just to suit your decor.If you've ever looked into buying one, you know they can be a bit pricey. Of course being the thrifty crafter that I am I want to spend the least amount as possible. Well, I think this DIY craft is about as cheap as they come at $5 for a large tiered tray and $2 for a small one.
Recently I have become obsessed with making crafts with items from Dollar Tree. They're not only affordable but it's really fun to make something that looks expensive from items that cost $1 each (so I'll be bringing more of these easy crafts to the blog!). Each tiered tray that I made comes from items purchased at Dollar Tree.
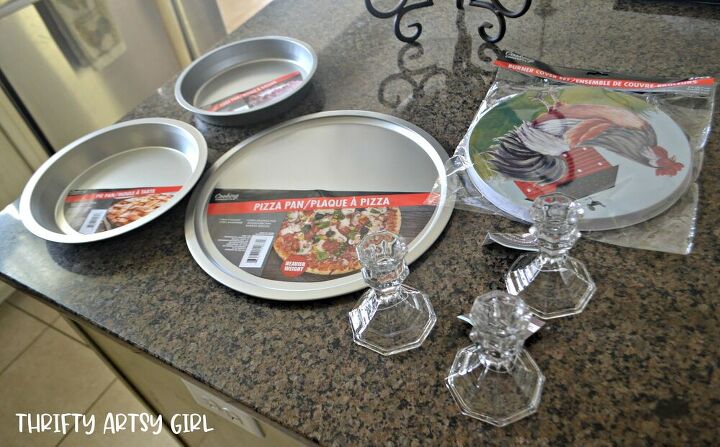
Here's the supply list for both trays complete with links:Large Tiered Tray Supplies- Pizza Pan- Pie Pan- Cake Pan- 2 Candleholders- White Paint- E6000 glue- Sharpie or Black Paint- Clear Gloss Spray PaintSmall Tiered Tray Supplies- Burner Covers- Candleholder- White Paint- E6000 glue- Sharpie or Black Paint- Clear Gloss Spray Paint
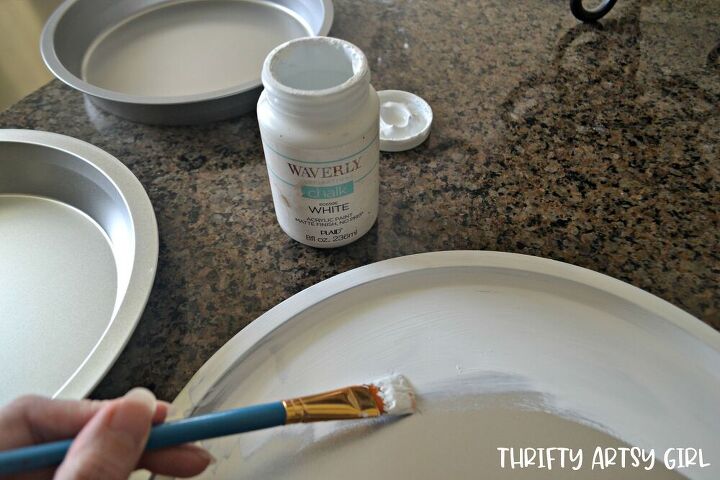
I gathered all my supplies and painted everything white with my favorite affordable chalk paint, Waverly chalk paint from Walmart. Spray paint would also work well, but I already had the chalk paint on hand since it's my fave.
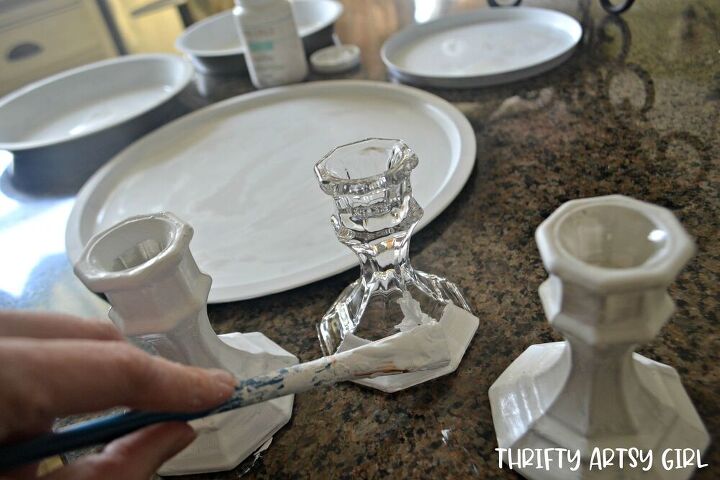
I painted two coats on the trays while the candle holders required three. When I was painting I decided I wanted my tray stands to look like enamelware to give them more of a farmhouse vibe.
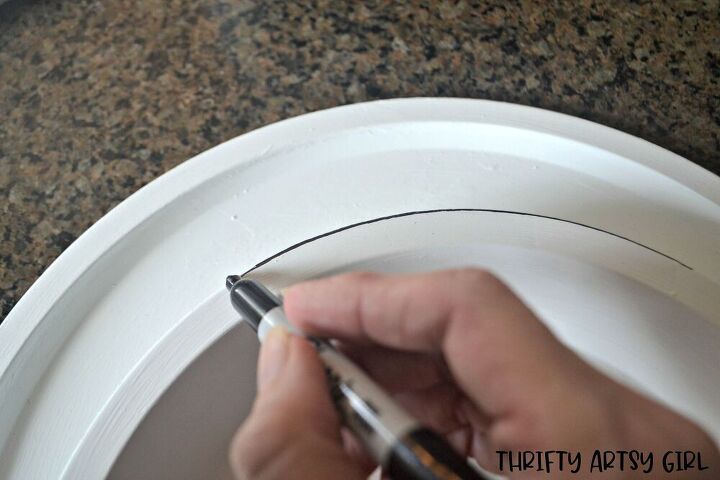
I started drawing my lines of "metal" with a black permanent marker. I wasn't sure if I wanted the sleek look of new enamelware or the worn look of a well loved piece. I decided I wanted the vintage, chipped look when I finished the edge of my first tray.
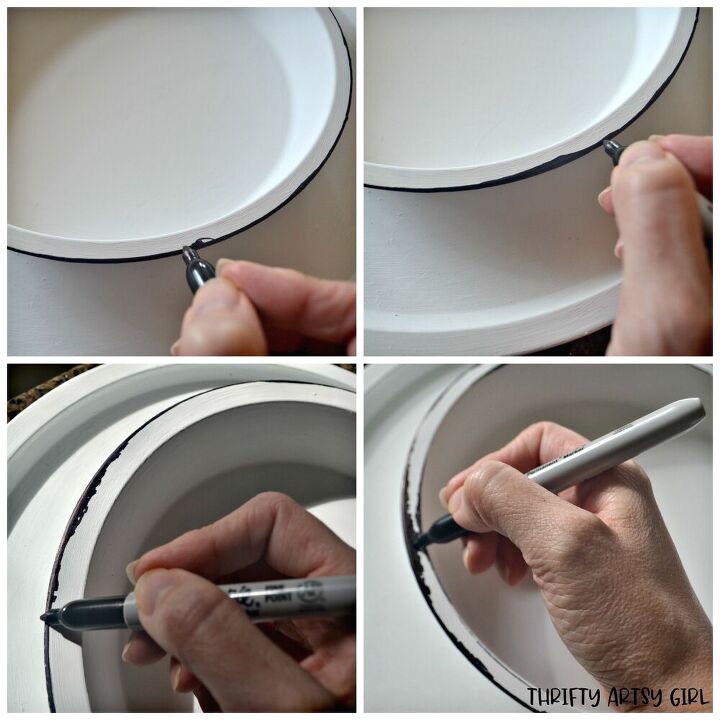
I messed up on one of the lines so that helped make my decision easier to go with the more antique, worn enamelware. To achieve this look I simply scribbled jagged lines to make it look like the enamel naturally chipped off over time.
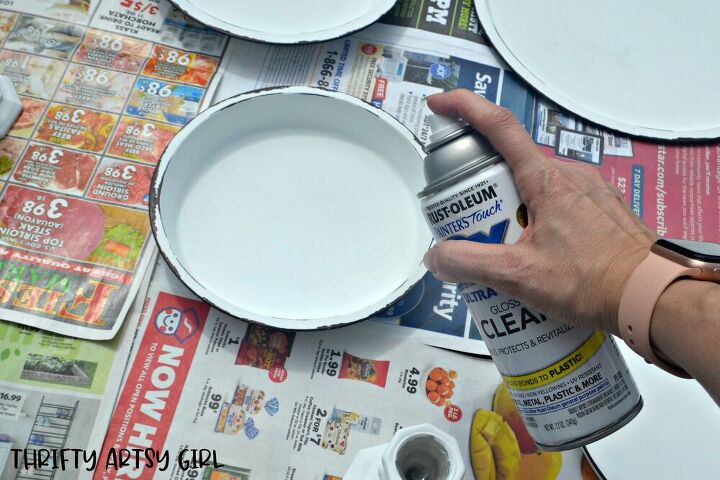
After I was finished with my black sharpie chipped enamelware look I spray painted them with clear gloss spray paint to give them a shiny appearance like real porcelain enamel.
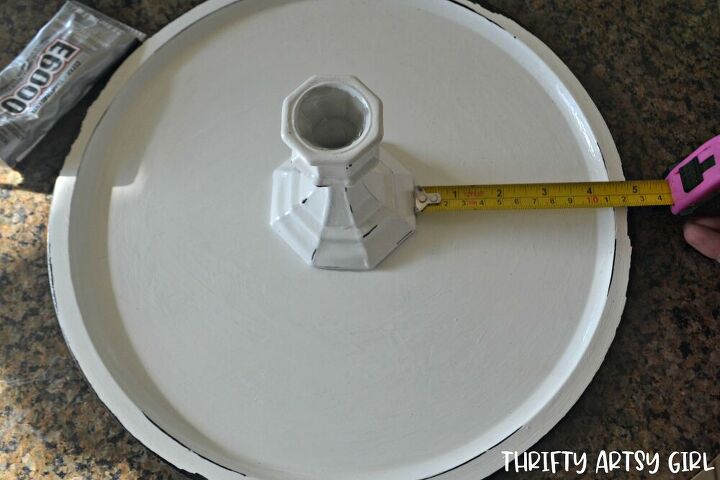
When the gloss coat was dry I glued the candleholders to the pans with E6000 glue. I used a tape measure to make sure the candleholders were in the exact center of the pans by making sure the measurement was the same on all sides.
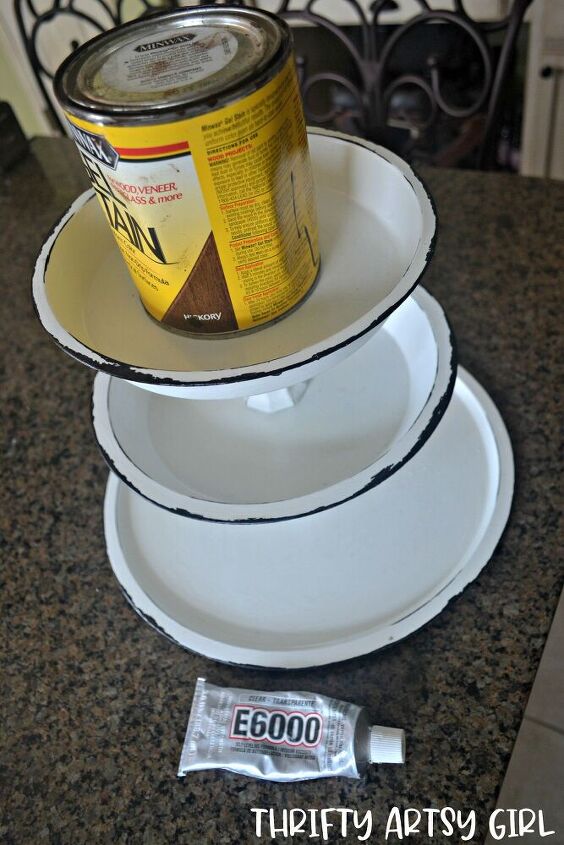
E6000 takes a while to dry (24-72 hours) so I glued each section separately to make sure nothing slipped and I put weight on each section to make sure it really held.
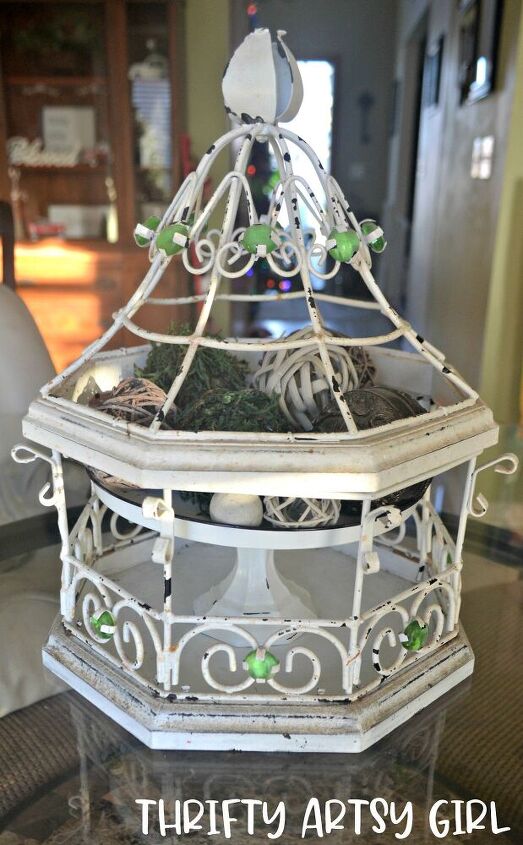
After the glue was dry I decorated them to match my decor. I put the smaller tray on my kitchen table inside of a metal gazebo that I found at a flea market. I've been struggling for years to find something to put inside of it that would look nice all year round. The smaller one tier tray fits perfect and looks great with decorative balls and moss balls that I made myself for less than $1. This one tiered tray cost me $2 to make and by using decor I already had and inexpensive moss balls I made myself I now have a decor piece for my kitchen table (along with my fancy gazebo) that cost less than $3 and looks much more expensive!

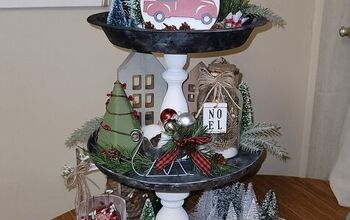
I put my larger three tiered tray in my dining room on a buffet. Since I'm finishing up this post right at the end of fall decor and the beginning of Christmas decor I can show you how I easily swapped out the anytime decor to make my tray change with the seasons.Here's my tiered tray decorated for anytime. I went on Etsy and found a few decor pieces for my tray including a wood Home Sweet Home sign. I also purchased a wood bead garland, a mini pitcher and a mini birdcage all from Keepin It Cogdon on Etsy. I got some inexpensive artificial succulents on Amazon for filler and for the rest I just used decor pieces I had around the house.
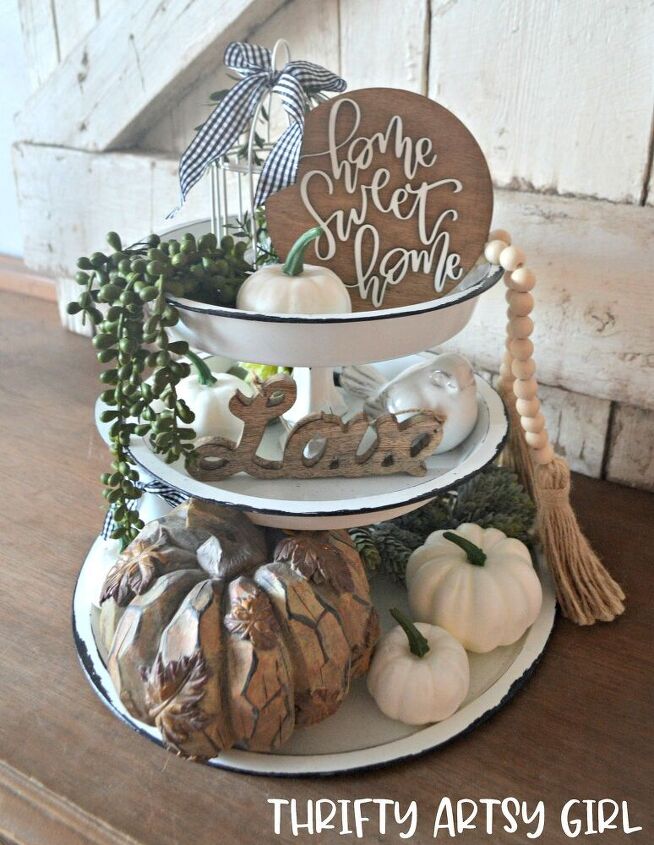
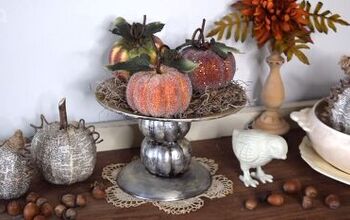
Here's my tiered tray decorated for fall. I just switched out a few pieces with a big wood pumpkin I had and some mini white pumpkins to give it more of a fall look.
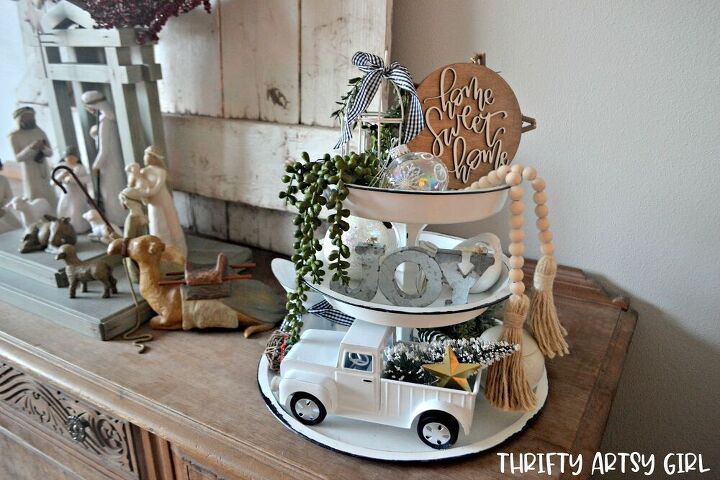
Finally, here's my tiered tray decorated for Christmas. Again, I swapped out some pieces for Christmas decor including some grapevine stars from Amazon, a white truck from Target and some ornaments that I already had. I love how my enamelware tiered trays turned out! I definitely got some bang for my buck with these trays at $2 and $5 a piece. They were easy to make and they blend perfectly with my decor. Hopefully I've inspired you to make a tiered tray (or two) of your own! To see more pics or details check out my blog post https://www.thriftyartsygirl.com/2020/07/diy-faux-enamelware-tiered-tray-stands.html


Comments
Join the conversation
-
I added a turn tablet to mine with E6000glue
-
Awesome! You gave me an idea to make for my sister.


Frequently asked questions
Have a question about this project?