


DIY Tree Collar
I won’t be celebrating Christmas at home this year, so there won’t be any gifts beneath our tree. An empty tree skirt just didn’t do the trick, so this was the year to add a tree collar. Keeping with my plan to not spend money on my holiday decorations this year, I came up with this idea that cost me less than $10! I would love to have you stop by my blog , Celebrate & Decorate for more details as well as sign up for my latest creations, posts, recipes, exclusives, and more...

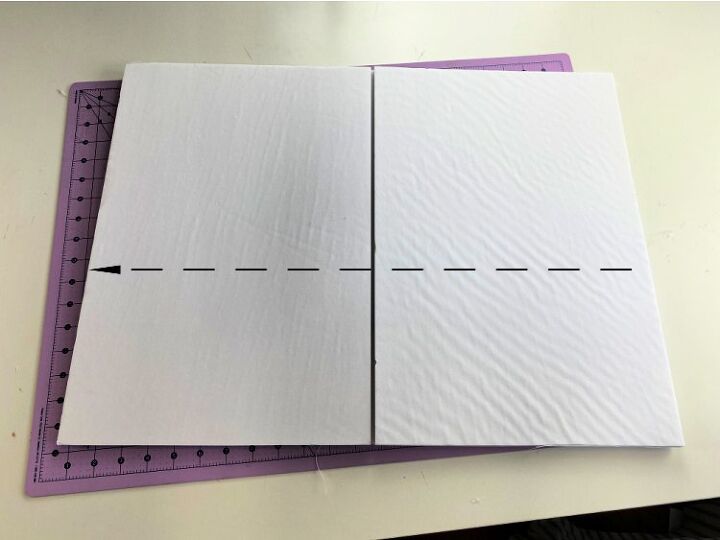
Begin with a trifold foam core presentation board. Measure the space from the floor to where your tree branches start. Find the height you want your board to be. If you aren’t familiar with these, I opened one up to show you what they are like.

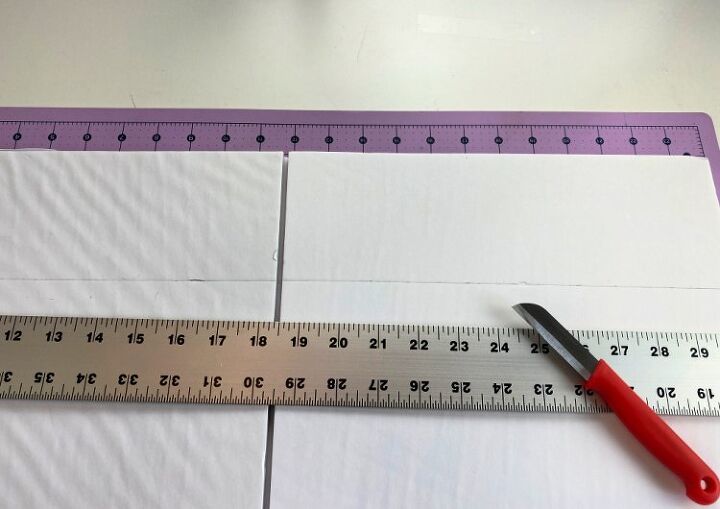
Cut your presentation board into two pieces that are the height you need. Use a straightedge to get your cut correct. I used one of my favorite knives, but an exacto knife or box cutter would work, too. Make sure you have a cutting mat beneath to keep your surface protected!
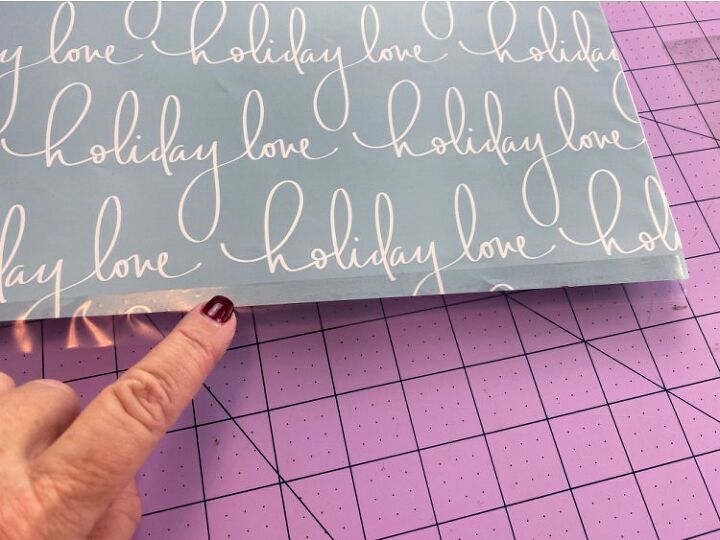
Pick out some wrapping paper that coordinates with your tree and go to work cutting a piece to cover each flat section of your two boards. Leave enough to wrap around the ends of your end pieces and the top and bottom of all of the pieces. Using a rotary cutter and a straightedge will give you a cleaner cut to your paper.

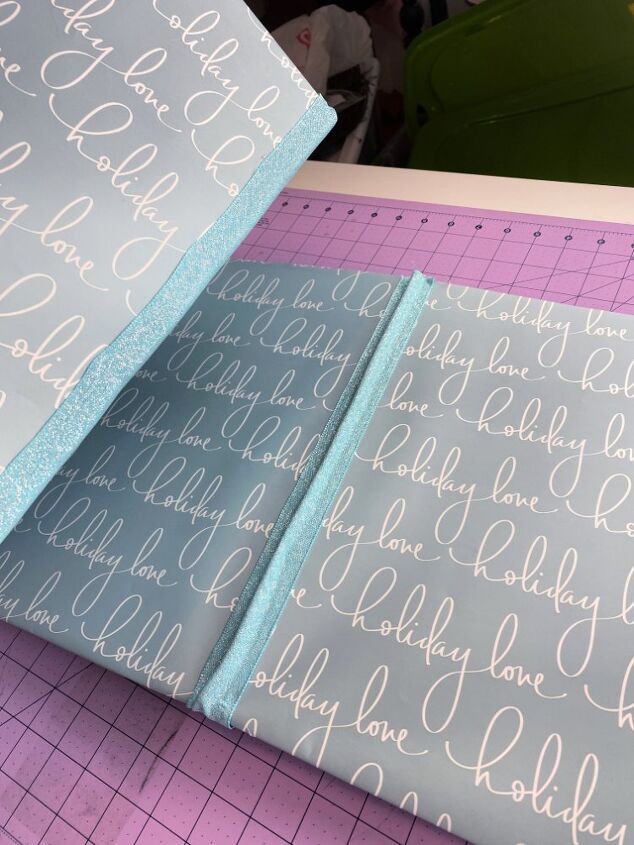
Lay a section of the wrapping paper down over one of the six sections you will need to be covering.
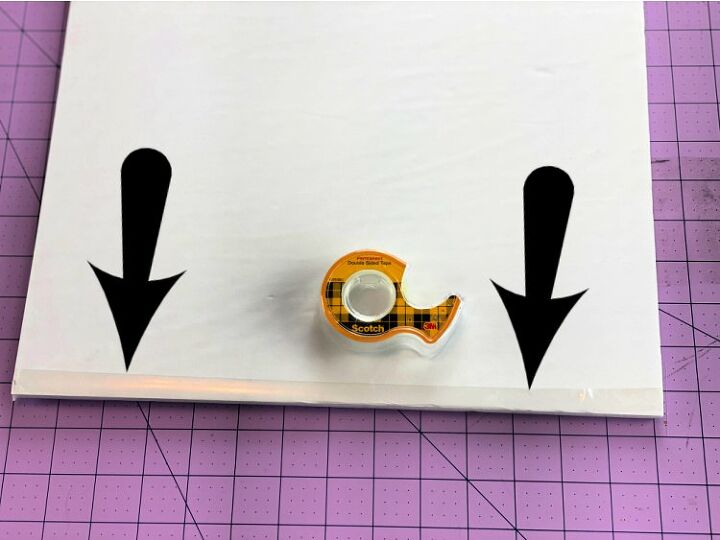
Use double sided tape along the edge of the foam board to attach the wrapping paper to it cleanly.
Use regular tape to secure the edges to the top and bottom edges around your foam core.
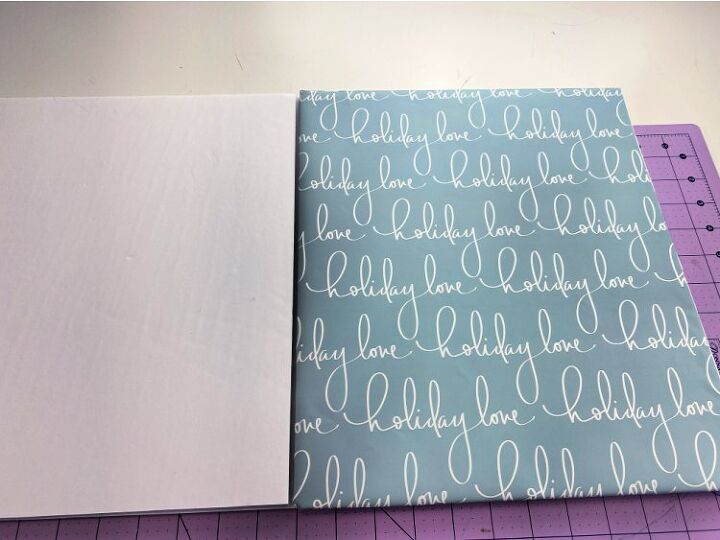
When you have one section of your 3-sided board covered, it should look like this one above.
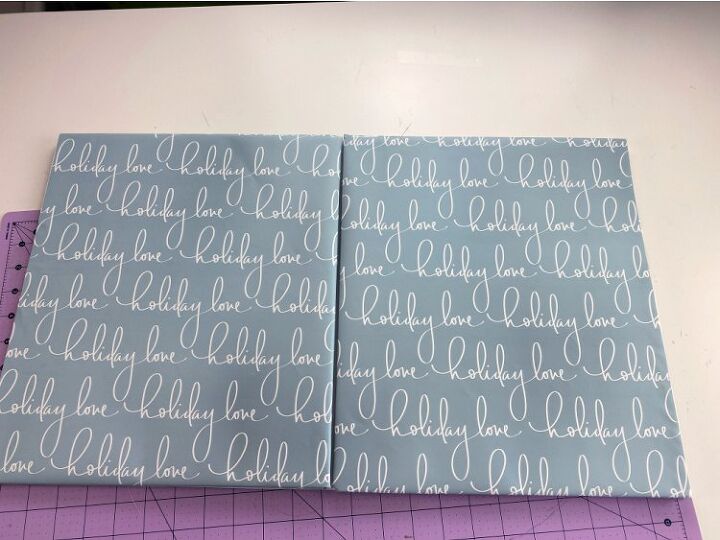
When you have all three sides covered, your board will look like this at when closed. Repeat the same steps for the second board.

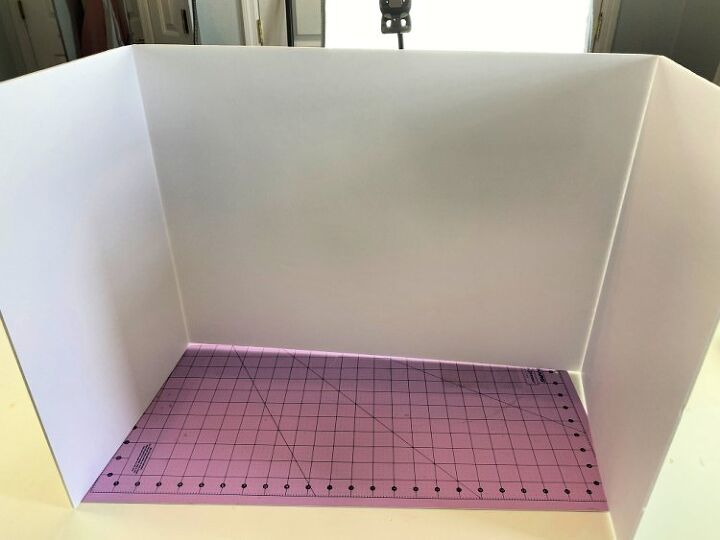
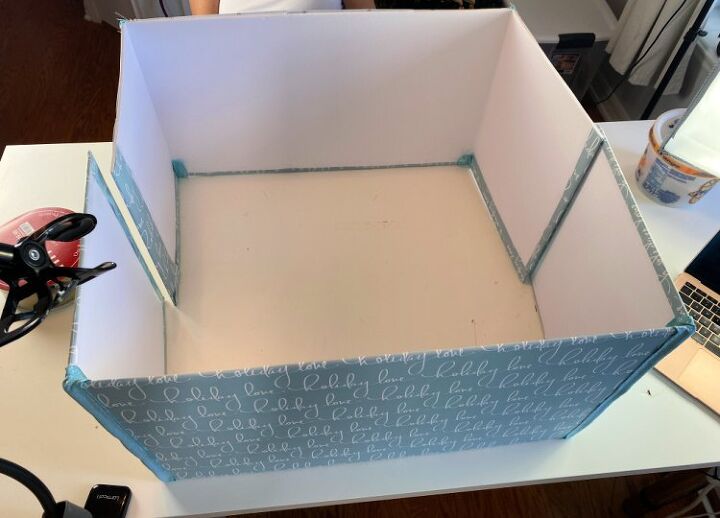
Here is how it will look in the inside when stood up and opened up.
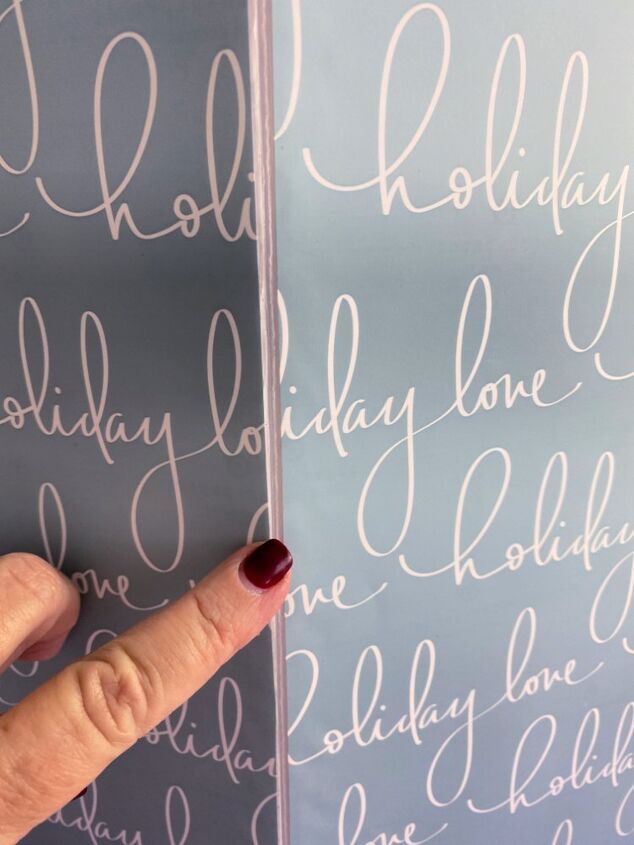
When you open up your board your corners will look like this.
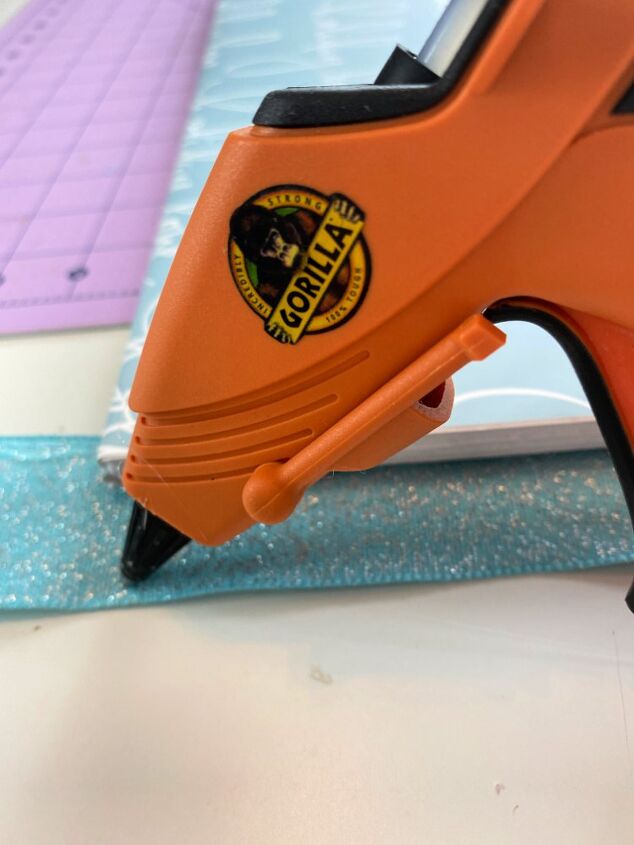
Find some ribbon that will coordinate with your paper. Cut a length about two inches longer than the height of your tree collar. Use a fine bead of hot glue down the edge of the ribbon and glue it to the edges to cover the fold. Make sure you keep the board folded while you do this, do not do it with the board open flat.
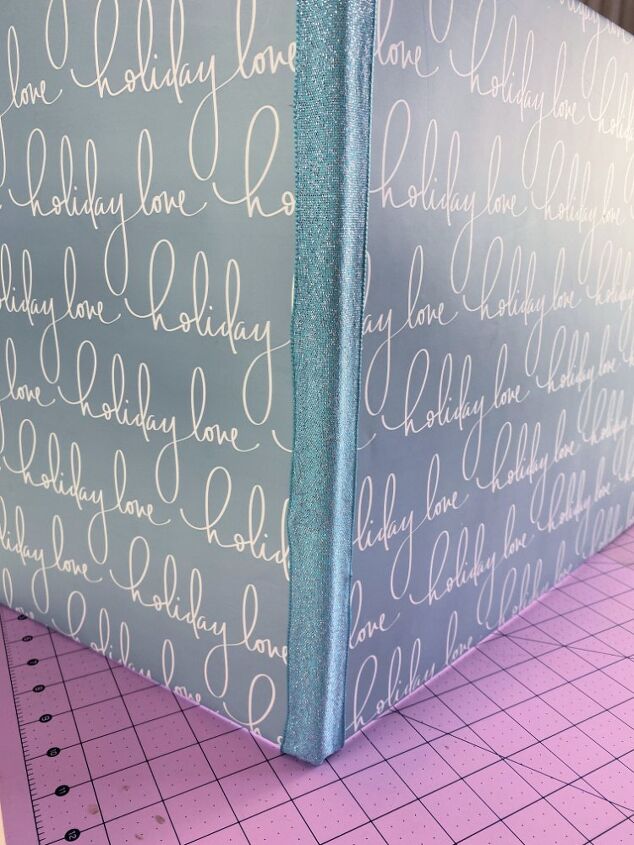
When you set up your tree collar, it will look something like this.
This is another image of how the ribbon edges will look.
Your tree collar will look something like this now! You have completed your DIY tree collar!
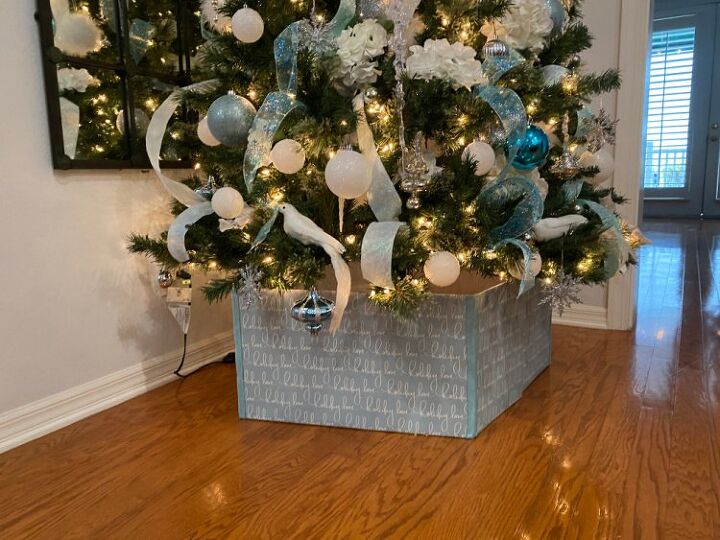
Slide your two sections together and secure them with a clip at the top and you have a pretty tree collar! After Christmas, fold it up flat and save it for next year! If you change your decorations you can simply re-cover it with new wrapping paper! For more of my crafty seasonal decor projects stop by Celebrate & Decorate.
Resources for this project:
See all materials


Comments
Join the conversation
-
Nice idea!
-
Your instructions are so very easy to follow and precise! Thanks!


Frequently asked questions
Have a question about this project?