


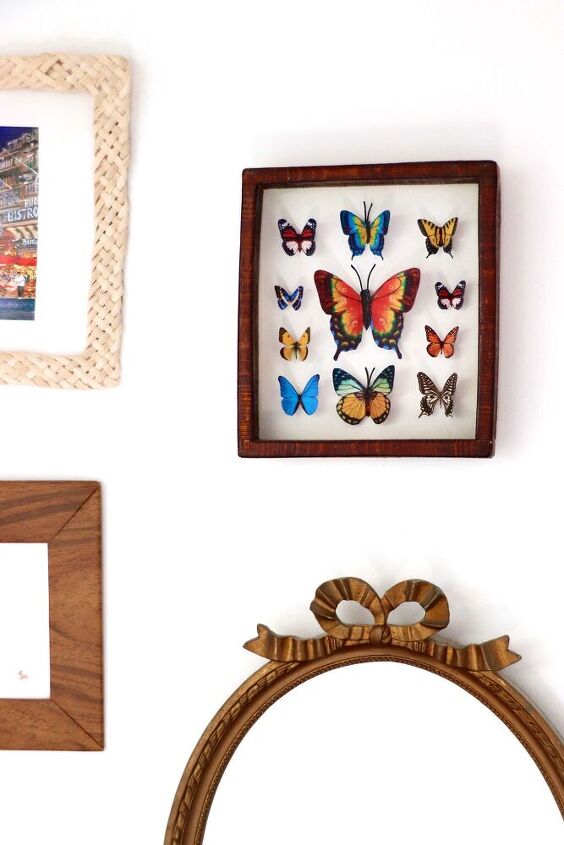
Faux Butterfly Shadow Box

There is something so charming and timeless about framed butterflies but I prefer my butterflies where they belong: dancing around the lavender bush! 
Put down your butterfly net and warm up your printer to make this faux butterfly shadow box.
Check out my blog post if you need a detailed step-by-step!
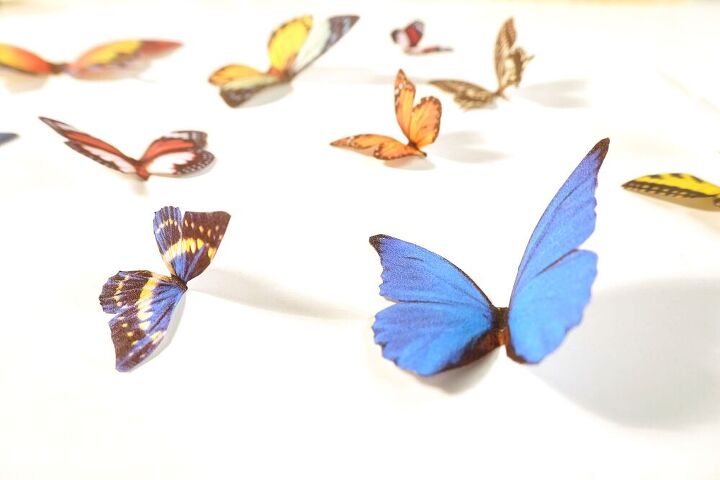
You don’t need a top of the range printer, even a fairly average one will do. The trick is cutting out and bending the paper butterflies to provide the play of light and shadow around their 3D shape.
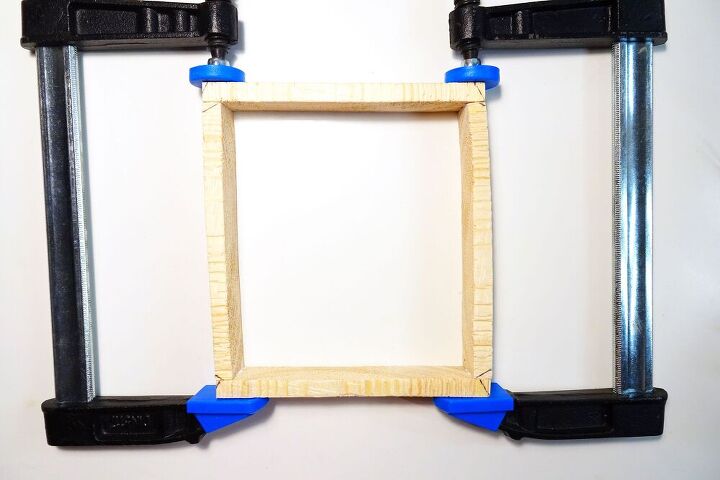
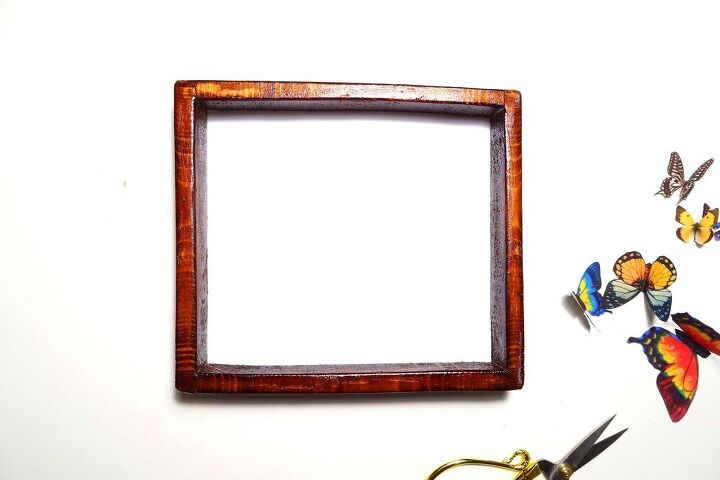
To start, you will have to cut out pieces from the wood. There is no particular size here. Mine were 15cm (6″) as I needed a tiny frame for my bedroom gallery wall, but you can make the shadow box frame any size you want.
Next, you will apply wood glue to the ends of two of the pieces and assemble the whole lot into a frame. Clamp the shadow box as it dries.
Once the wood glue has dried, you can stain the shadow box. I used a very dark warm chocolate natural stain and applied a coat of glossy varnish which I rubbed off in some place, in keeping with the rustic look I was after.
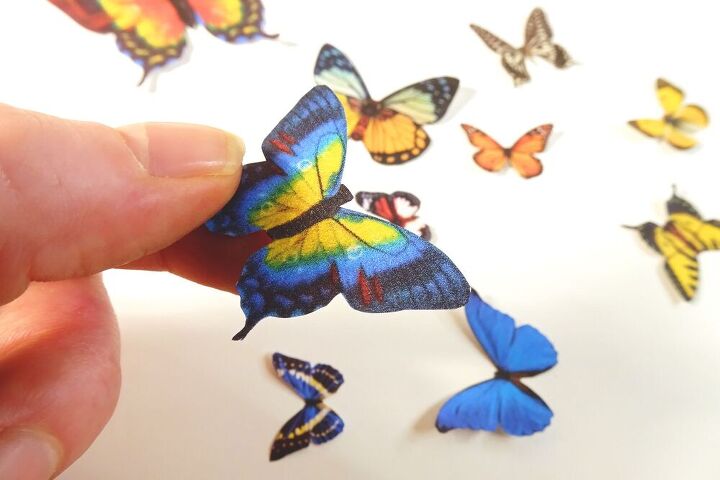
For the faux butterflies, you will have to print a sheet of paper with butterfly pictures or drawings. Start by measuring the inside of the frame you built so you have an idea of the canvas size. Once printed, grab a small pair of scissors (I actually used embroidery shears) and cut out the pictures.
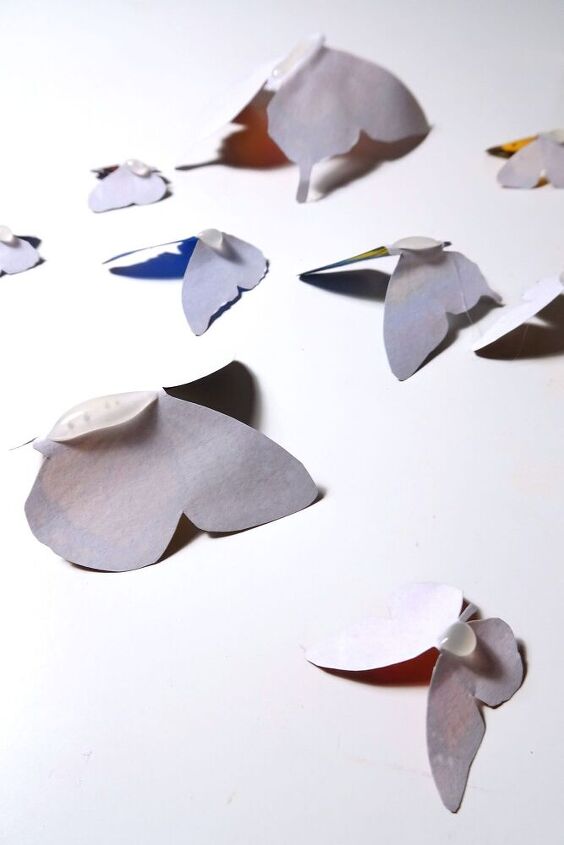
Once you’re done, bend the faux butterflies in the middle to give them a natural shape. To add some height, turn your butterflies over and apply a line of hot glue.
For the largest butterflies, I added antennas. To do so, cut inch long pieces of metal wire and bend them in the middle in a pair of pliers. Next, apply a small drop of hot glue near the “head” and press in the V-shaped wire.
When your frame stain has dried thoroughly and your faux butterflies are ready, you can start assembling the shadow box! Cut out the white cardboard piece to fit your frame and staple it to the back of the shadow box. Next, add a small drop of hot glue to the back of the butterflies and press them onto the cardboard.
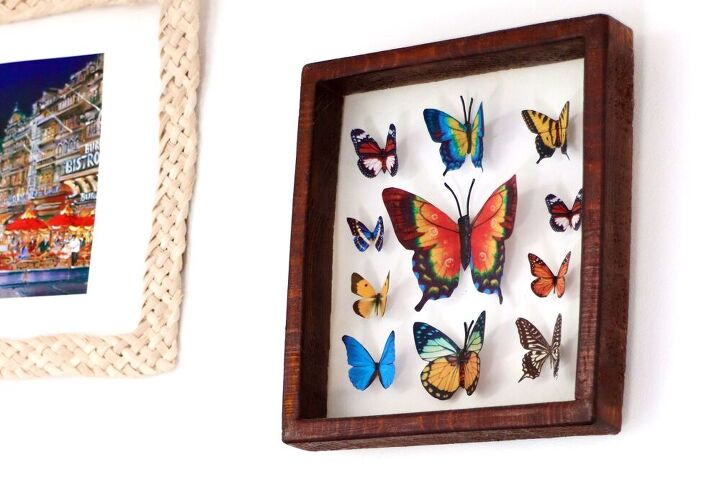
Now all you need is to attach a picture hanger at the back and find the perfect spot on your gallery wall
Resources for this project:
See all materials


Comments
Join the conversation
-
You can create this by taking a small or medium canvas apart.
This way you have no need for wood glue.
-
I already have picture frames with glass out of them I could use, no use of building of a frame. Cute idea 💡.


Frequently asked questions
Have a question about this project?