


Dresser Makeover

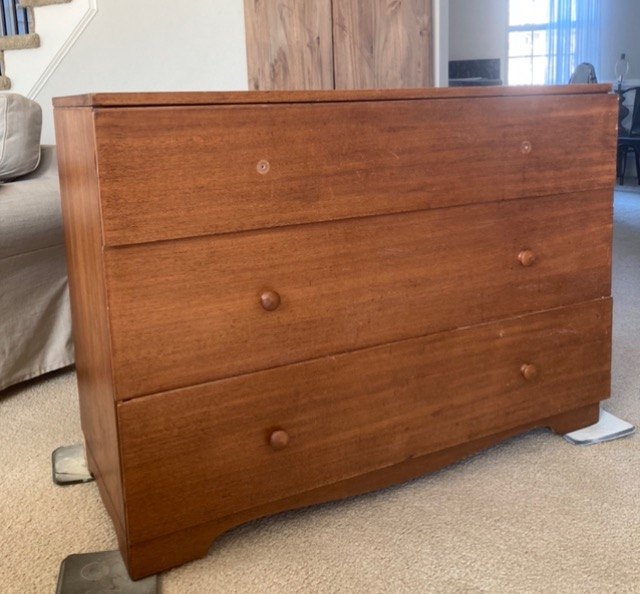
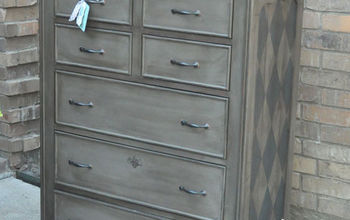
I found this piece in our local thrift store. It’s an absolute beauty. Solid wood, perfect condition and lots of potential.
First, I gave it a light sanding, then cleaned the whole piece with krud kutter, a Fantastic cleaner From Home Depot.
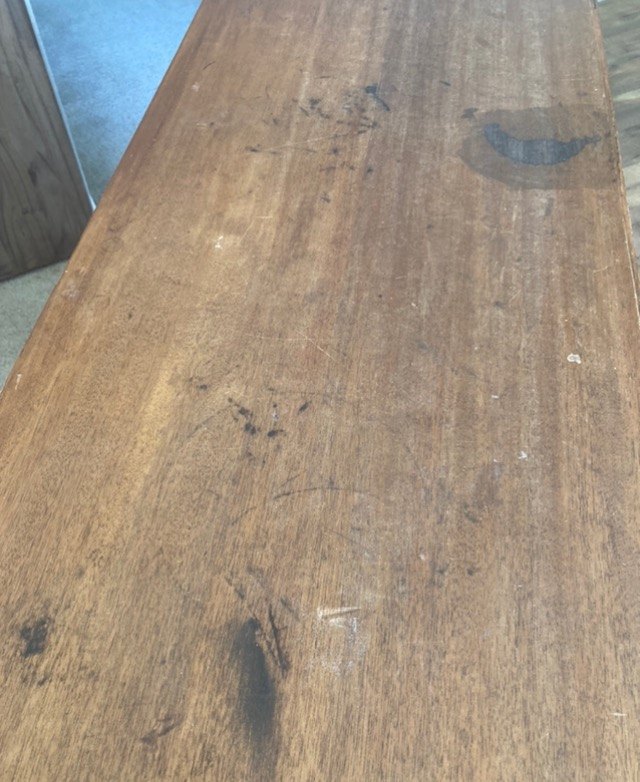
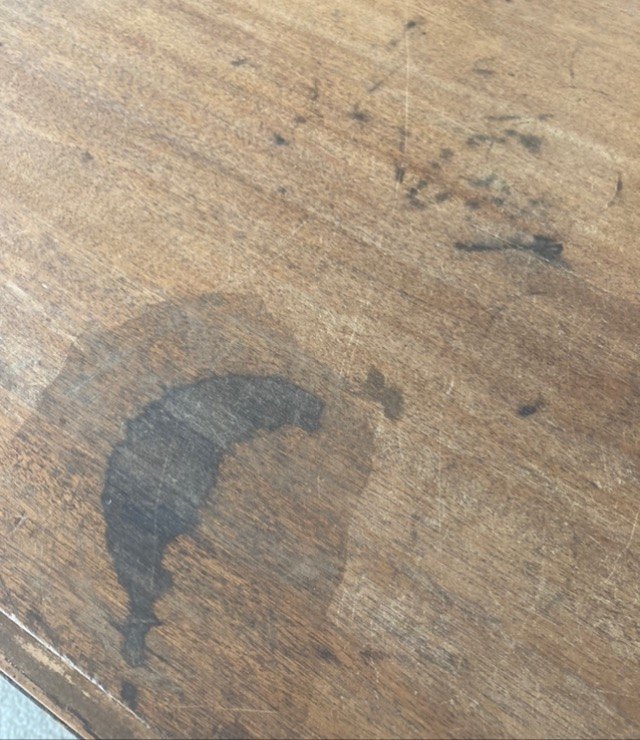
The top had a few dark stains, but I knew they’d be covered with paint.
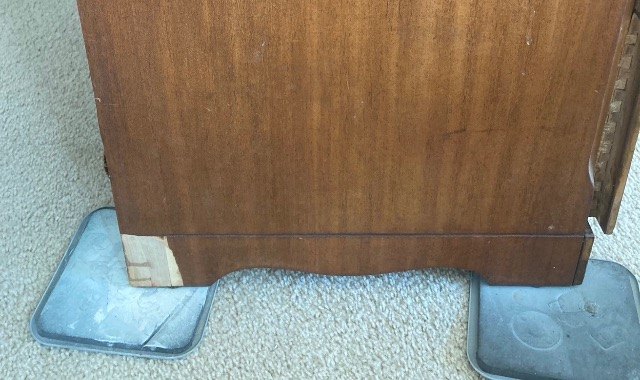
The bottom had some veneer peeling off, but my vision for this piece was to remove the bottom and add some very cool up to date legs.
It took about three coats of paint. I just use regular latex paint in a pretty cream color.

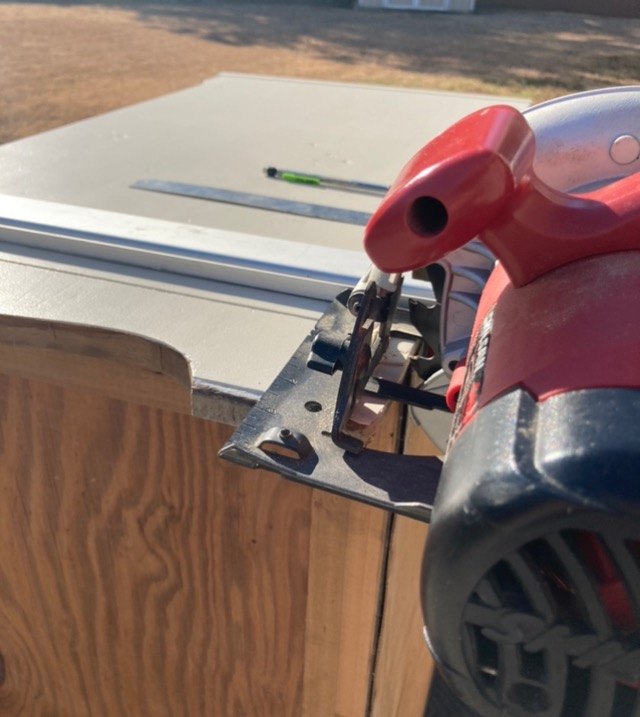
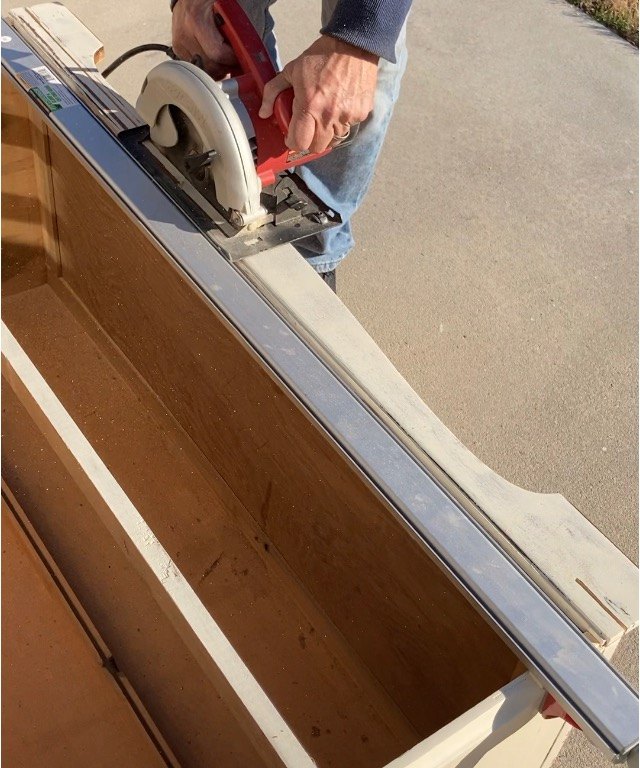
Below are pictures of the process we used to remove the bottom part of the dresser.
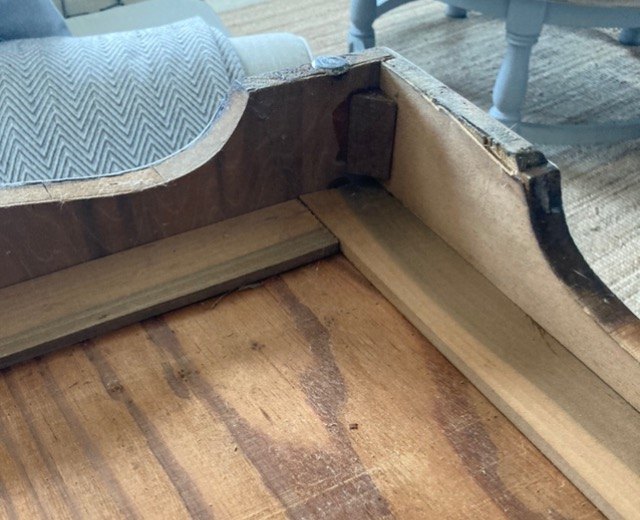
I wanted it to be lined up and flush so we just removed the whole apron and sides.
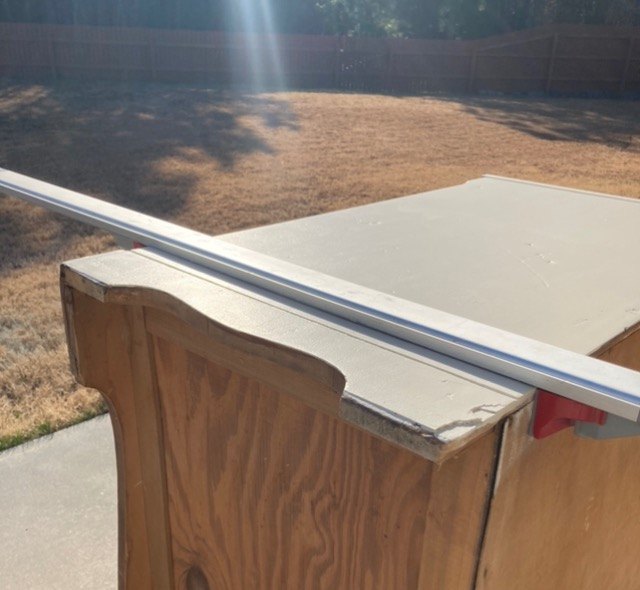
We used this clamp for a guide, then Continued with a circular saw to remove it.
It came out perfect!
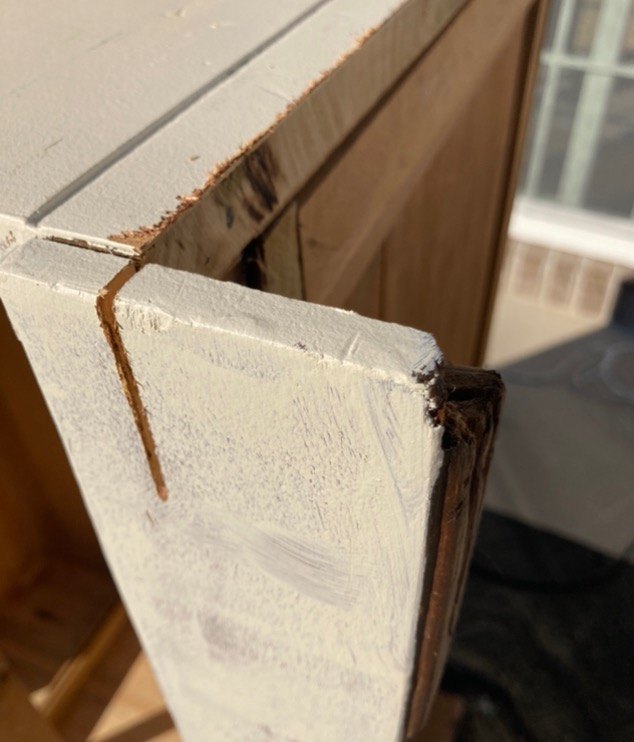
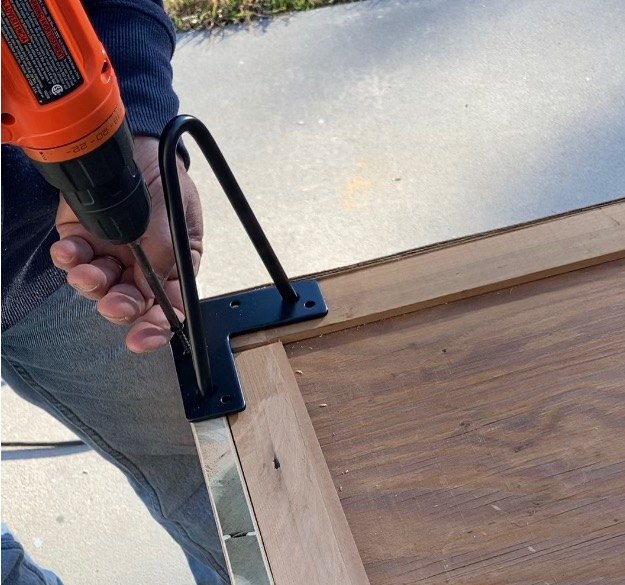
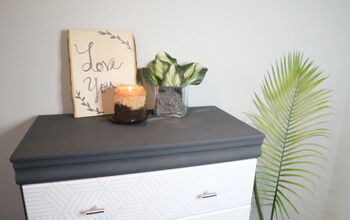
No we have given it an up-to-date modern feel!
After sanding down the sides a little, we placed the legs on each corner and screw them in to the bottom.
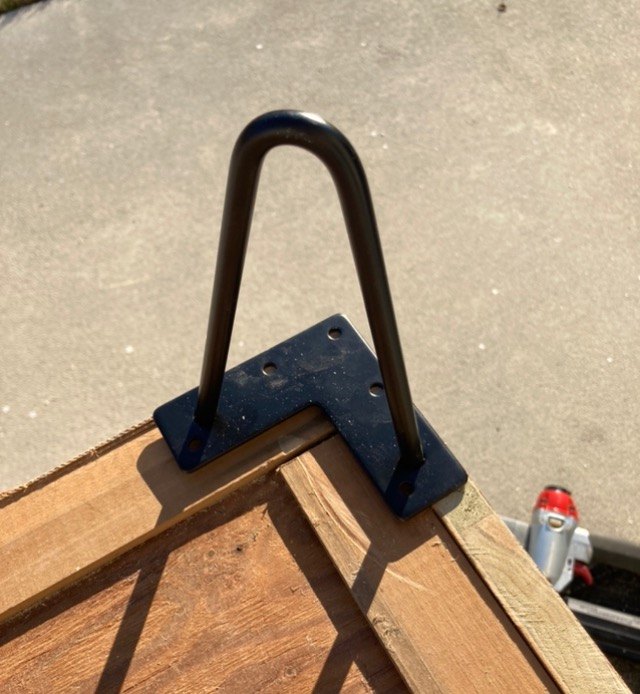
These legs are called hairpin legs and can be found on Amazon at a very affordable price!
https://www.amazon.com/dp/B08HQT1WZW/ref=cm_sw_r_cp_awdb_imm_t1_KIBdGbY6GRMJ3?_encoding=UTF8&psc=1
I really wanted it to have an industrial look so I used the palm sander to shabby it up and give it a chippy look.
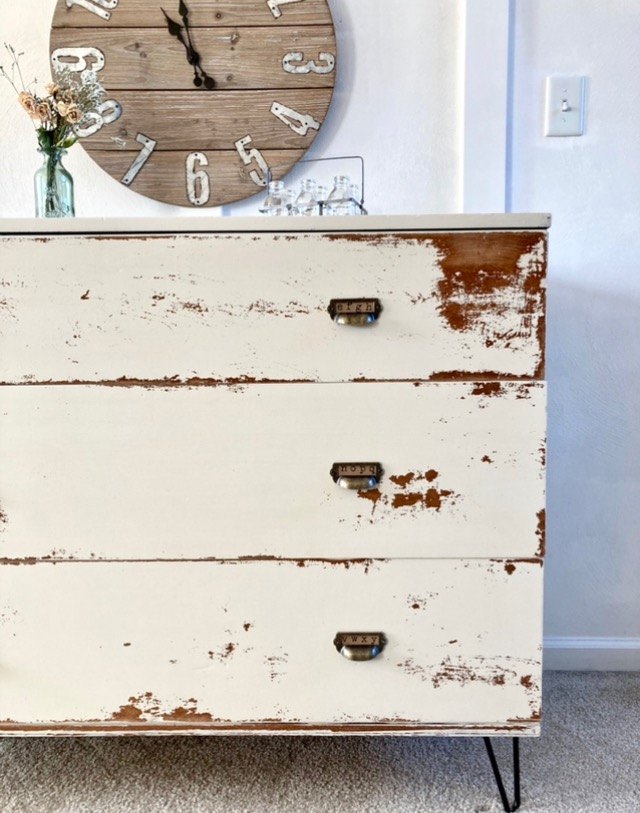
I also changed out the hardware and added these very cool pulls from Amazon. I then added some vintage looking typewriter font to give an industrial feel.

Now it has a whole new look.

A fresh new look for any space!
paint: Green Sheen
color: cream
wax: Johnson’s
pulls: Amazon

Thanks for stopping by! We hope this inspires you to create your own cool piece!


Comments
Join the conversation
-
very cool!
-
Beautiful!


Frequently asked questions
Have a question about this project?
Where are the antique looking typewriters fonts? What am I missing? Lovely piece