


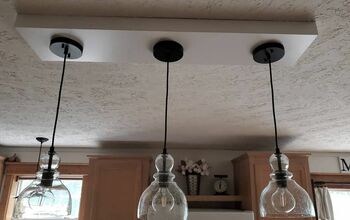
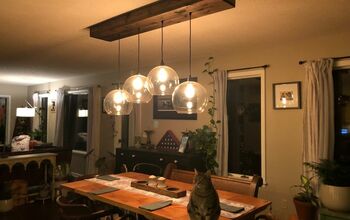
On-trend Pendant Light

Flying saucers, broken cymbals - call them what you like, this fashionable designer lamp trend is easy to copy.
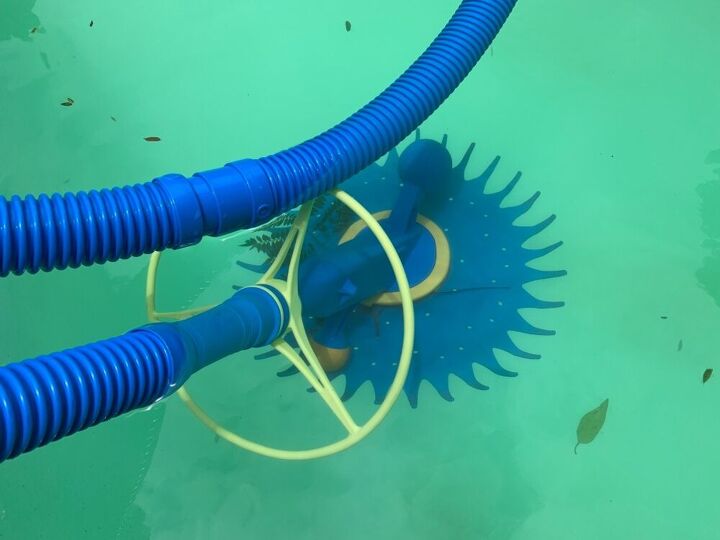
Do you know what this is? In South-Africa it’s known as a Kreepy Krauly, technically its a swimming pool cleaner. Adults love them and children secretly fear them.
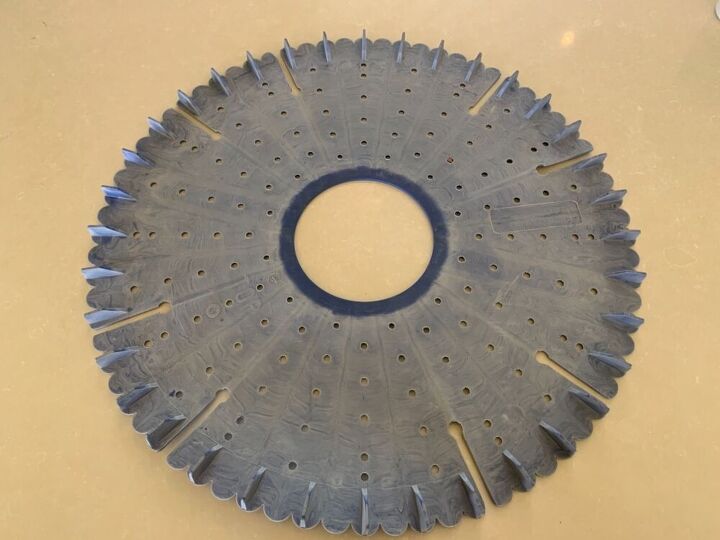
And do you know what this is? This is a very vrot (SA speak for ‘seriously past it’s prime’) Kreepy Krauly suction seal. It is one of a couple that I swapped from the pool guys for a used satellite dish. It's such a classic shape I have been itching to make something with it.
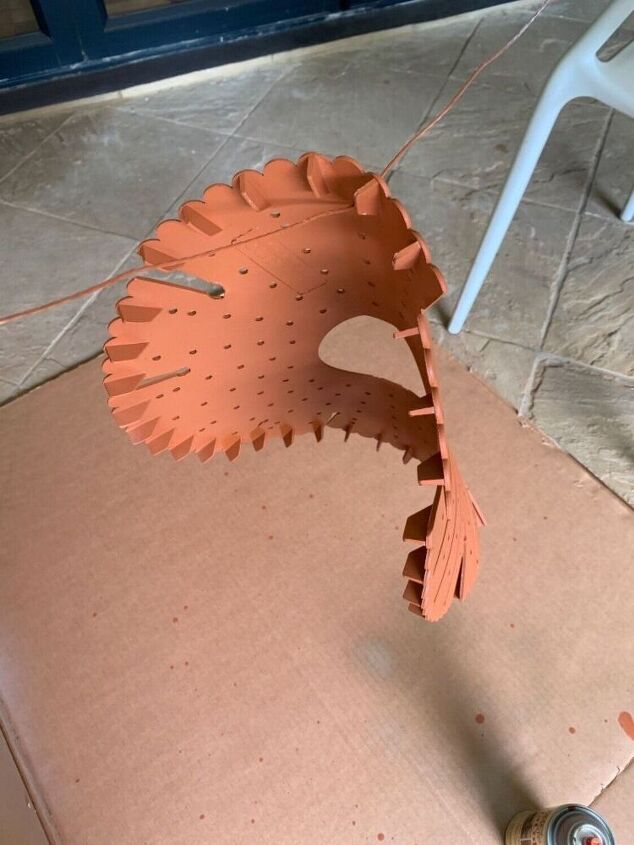
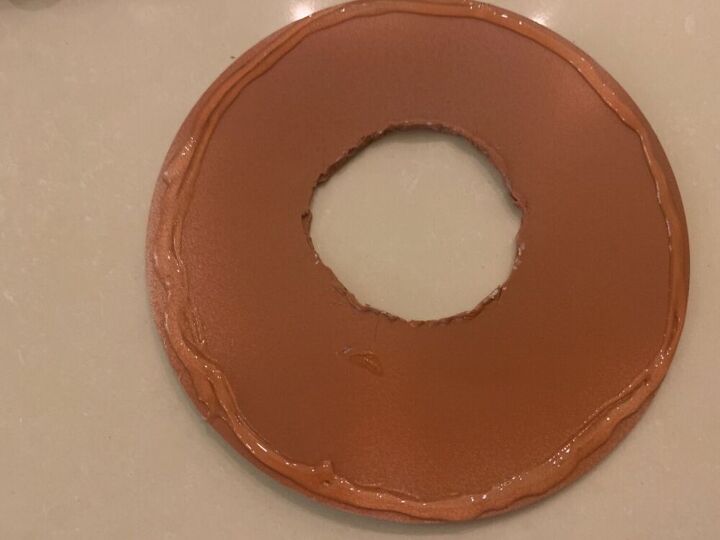
So I washed it and gave it a coat of plastic primer, followed by Rust-Oleum American Accents Terra Cotta. For once I left my paintwork to cure overnight and I couldn't believe how much hardier it became.
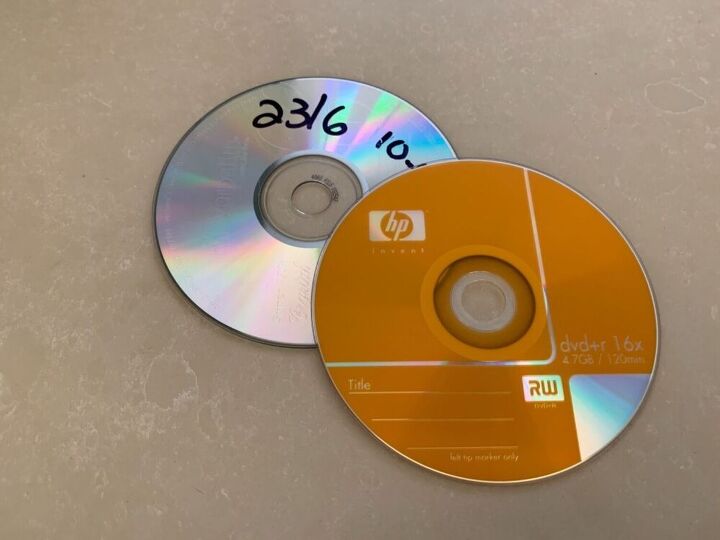
A critical part of this project was finding something with which to cover and alter the central hole of the suction seal. This particular one could just-just be covered with a CD but I know most others in my collection have bigger holes for which a CD won't work. You could use wooden disks, large plastic lids or saucers, anything that is strong but light-weight and in which you can make some holes. You need two.
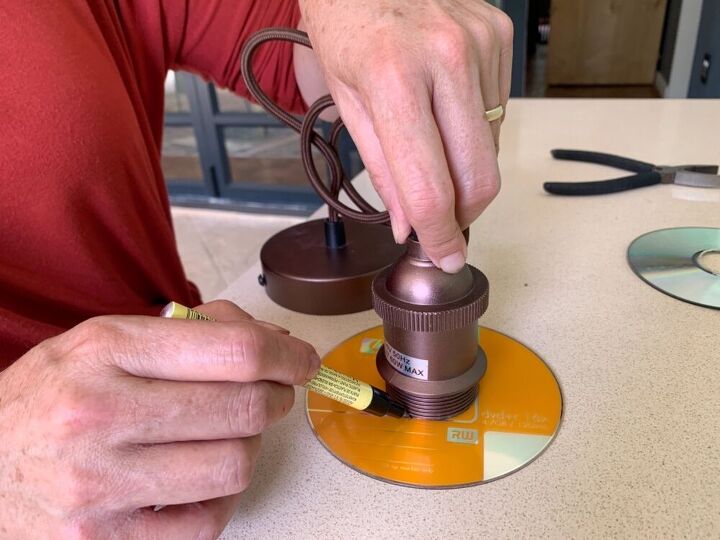
I traced the thread of my light kit's socket onto the disk.
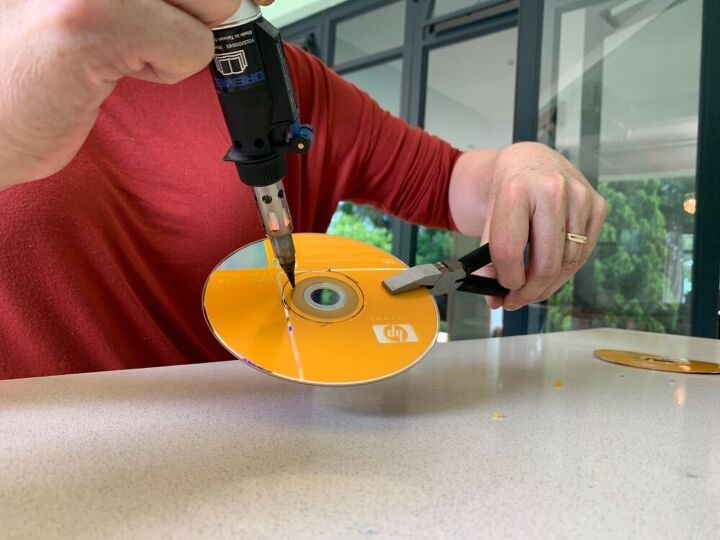
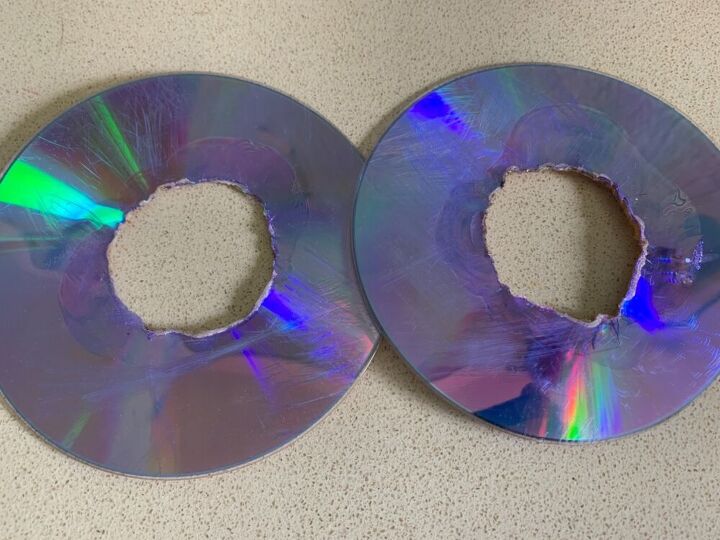
Then melted the hole bigger with my Dremel Versatip. This is not the most obvious or tidiest way of making a hole but I had to find a way around my lack of woodworking tools and skills. It took a couple of tries and destroyed CD's.
If you are using this method, bear in mind that the plastic takes a while to heat up and you can easily overdo it and end up melting away too much or warping the CD. I found that starting with a series of small holes on the circumference of the circle and then adding a 2nd and 3rd set of holes inbetween worked best (see below). I held the CD with pliers but having said that, if the rest of the CD heats up to the point that it can burn you, it means that it is too hot and will probably warp. Don't work to intensely in one spot and wave it around to cool down from time to time.
Remember to work in a well-ventilated area as there are some fumes and on a non-flammable surface. Also, I can't comment on how safe it would be to drill into a CD instead because the plastic is very brittle.
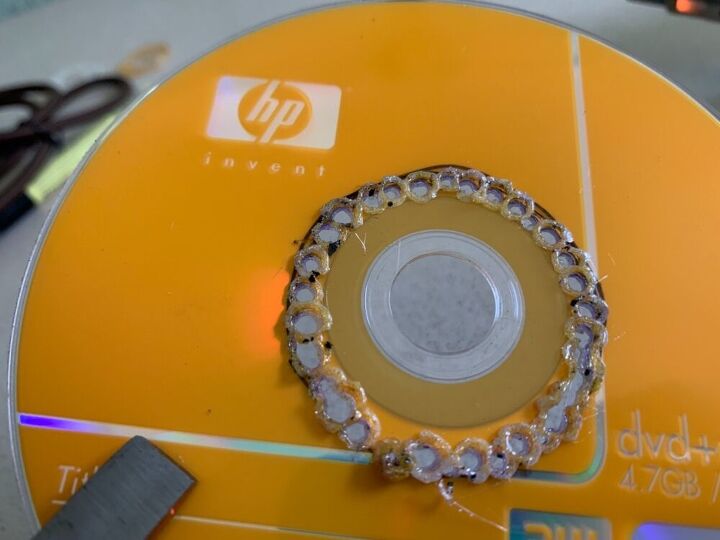
Once you have the set of holes it is easy to loosen the middle part with the soldering iron.
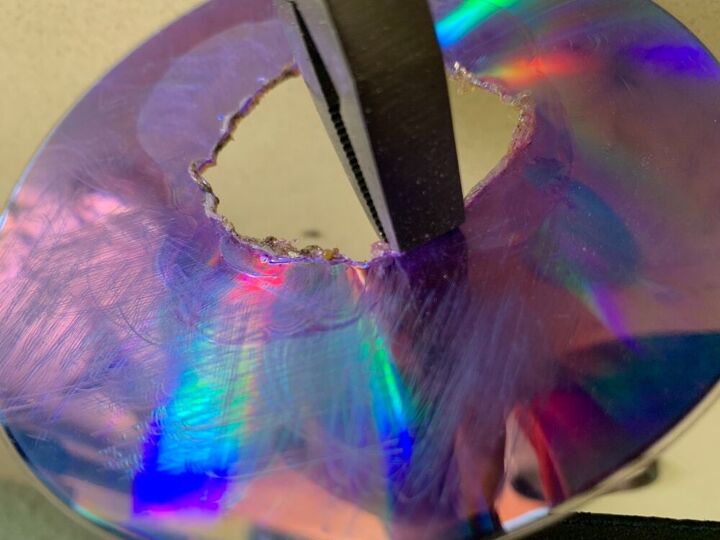
Once cooled the extra melted bits can be snapped off with pliers. Work gently and patiently though, otherwise the CD can shatter.
Zero marks for neatness but as long as both discs fit snugly over the thread the horrible edge will remain hidden. Sanding with sandpaper wrapped around a cylindrical wooden block may help a bit. Test the CD's around the kit's threaded shaft to ensure that you don't have to take away a bit more here and there.
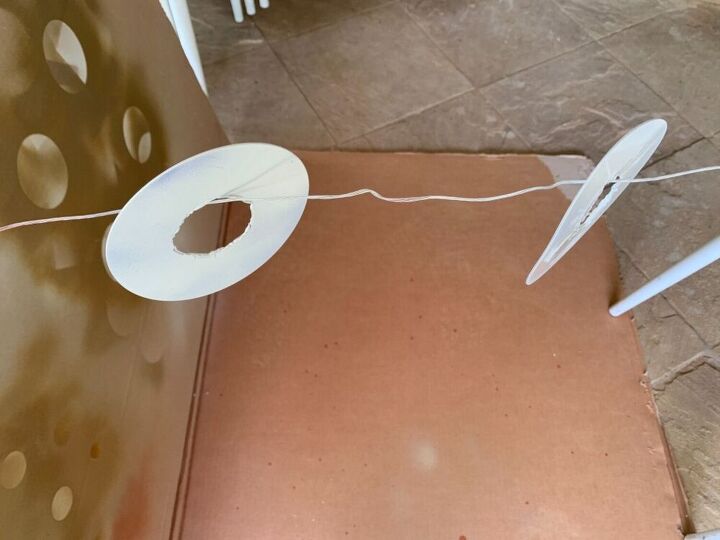
I primed and painted the disks in the same colour as the seal.
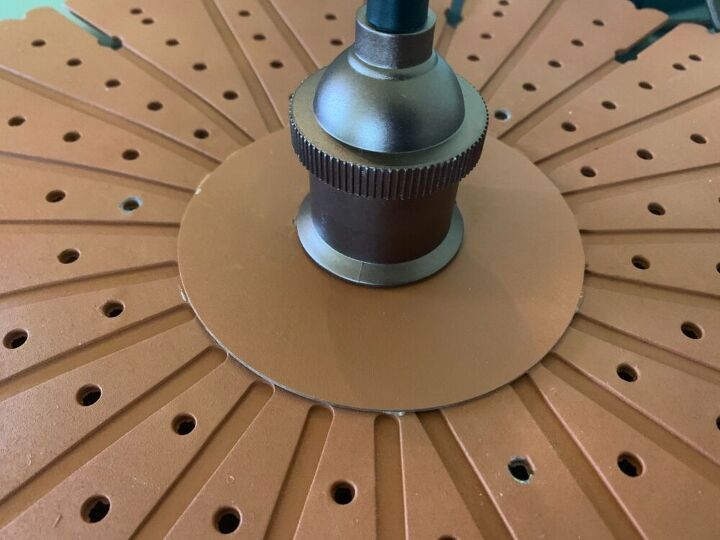
Now came the moment of truth: to fit the 1st CD perfectly over the hole of the seal. There was no margin for error. Once dry, I flipped the disk over and stuck the 2nd CD on the other side, perfectly aligned with the the 1st. At least this time I could use a lot more glue to stick the two CD's against each other as well but sticking the rims where they meet the seal is important.
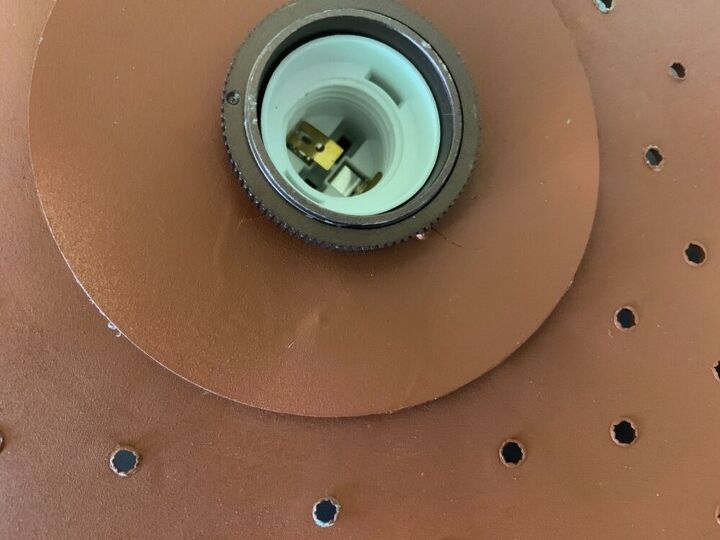
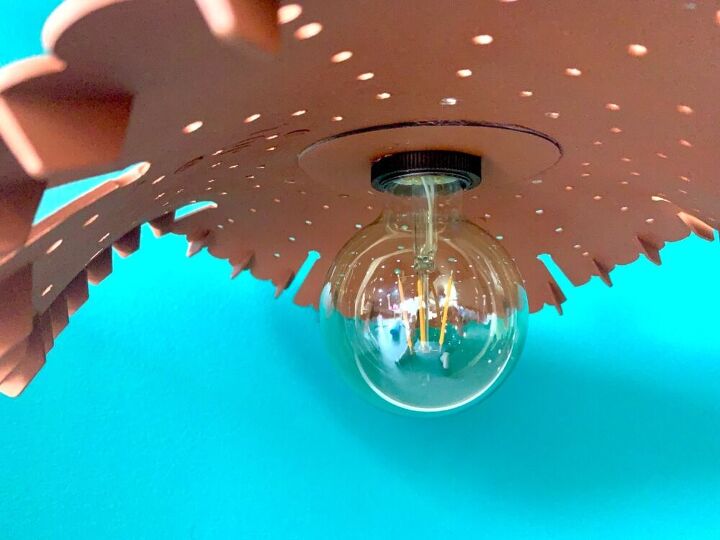
I stuck the threaded shaft of the light kit through and tightened the ring that hides the ugly rims. Then I added a beautiful big LED light bulb.
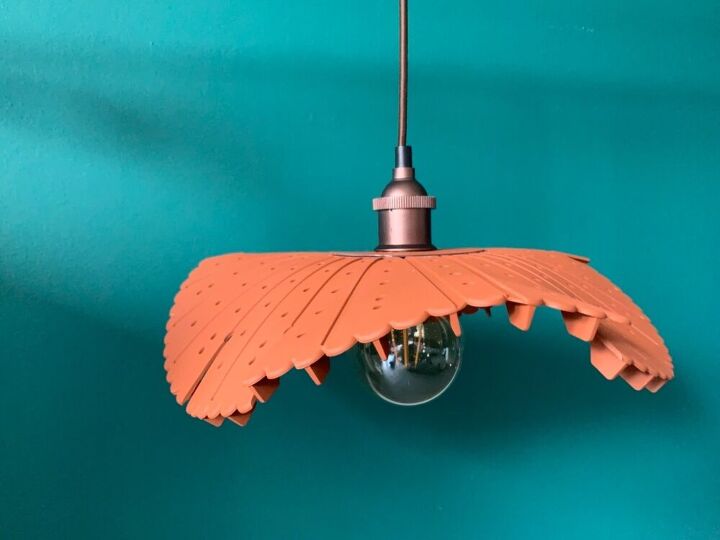
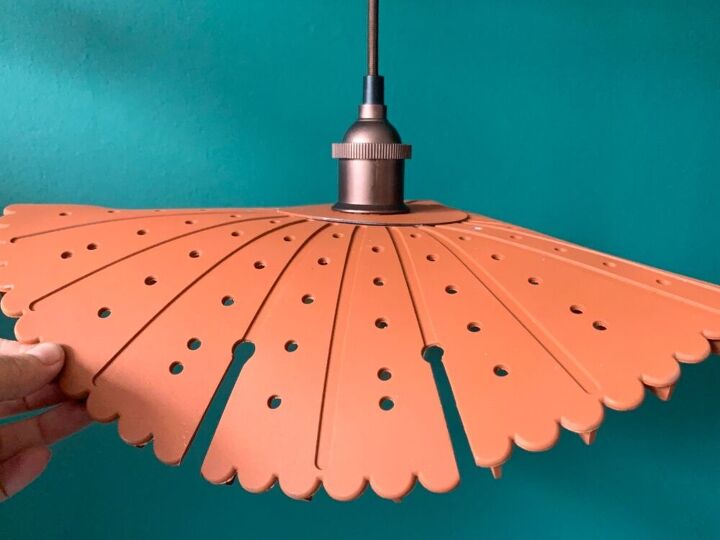
As easy at that! Once connected and hanging, the lampshade flops gently downwards.
Resources for this project:
See all materials


Comments
Join the conversation
-
Very creative. I would want it a bit stiffer.
-
It is a more advanced DYI and as much as I like the industrial modern look...I could not do it ..not the tools but a handyman could.


Frequently asked questions
Have a question about this project?