


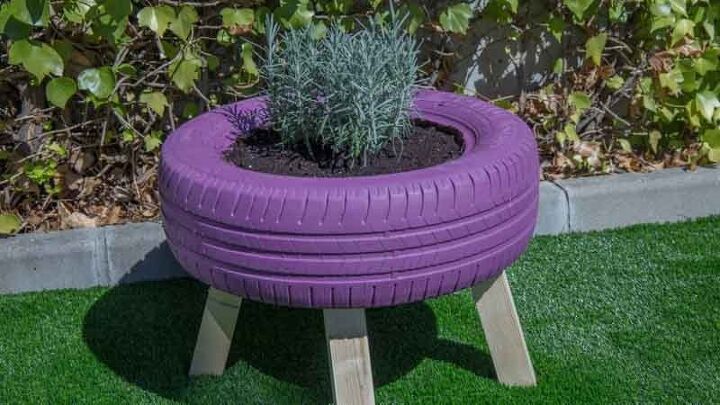
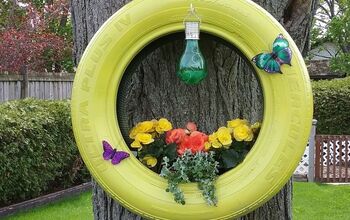
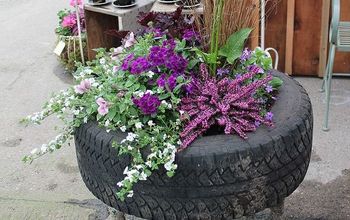
Legged Planter Made From a Tire
Do you like to give things a second use? And the plants? Then watch this tutorial: transform a used tire into a planter with wooden legs and decorated with spray paint.
WHAT DO YOU NEED?
Tools
- Brush
- Flexometer
- Manual stapler
- Pencil
- Torque wrench
- Shovel
- Watering can
- Marker pen
- Keyhole saw
- Drill
- Scissors
Materials
- Washers
- Spray primer for plastics
- Square slat
- Tire
- Spray paint
- Plants
- Substratum
- Wooden board
- Geotextile fabric
- Metric screws
- Wood screws
- Nuts
INSTRUCTIONS
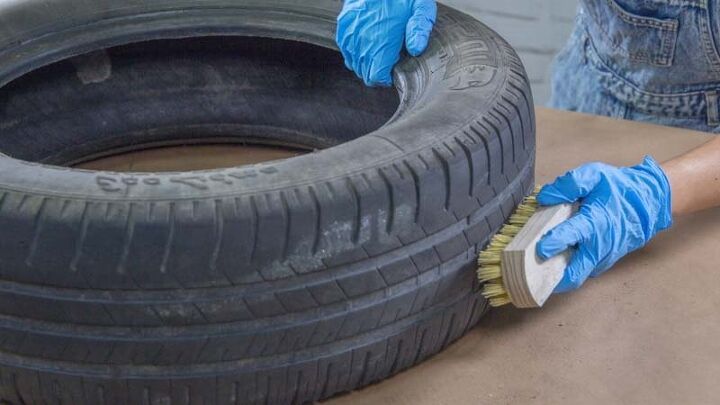
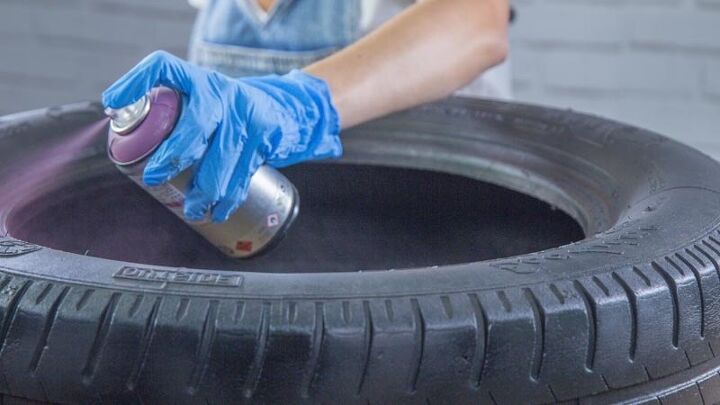
1. Paint the tire
The first step in creating your planter with legs is to paint the recycled tire. Use a brush to remove any dirt from its surface and apply a coat of spray primer. Let dry and paint with the color you want. Give it several layers, leaving a few minutes between them.
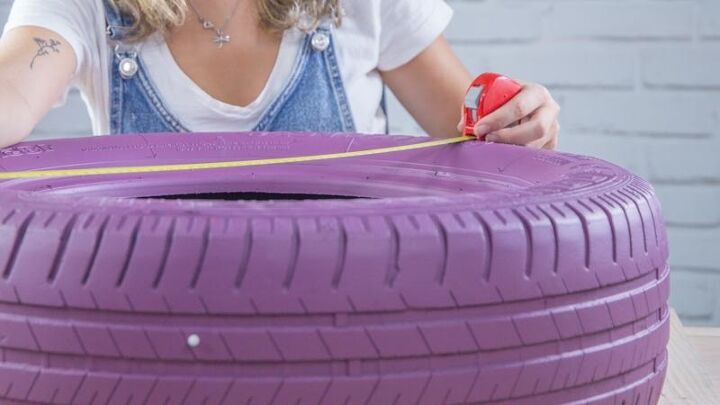
2. Cut the pieces of wood
Once the surface of the tire is dry, make the legs of the planter from a square strip of wood. Use a thick one, capable of supporting the weight of the tire and the pot. Cut four equal parts, with the ends cut at 15º: this way the legs will be inclined towards the outside, something that will make the structure more resistant. Use a jigsaw capable of cutting at an angle to cut the wood.
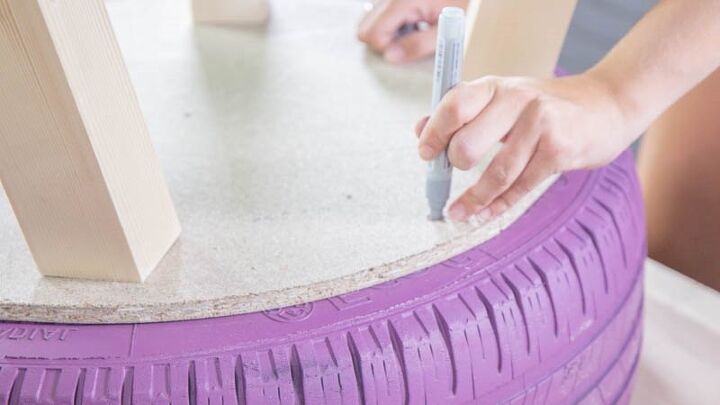
Also cut a circular wooden base for the planter, to which the legs will be screwed. To do it, measure the diameter of the tire – taking the measurement from the middle of the rubber – and transfer that measurement to a wooden board.

3. Attach the legs to the wooden base
Use wood screws to screw the legs to the wooden base, a few inches from the edge. If the wooden circumference were a clock, place the legs at 12, 3, 6 and 9 o’clock.
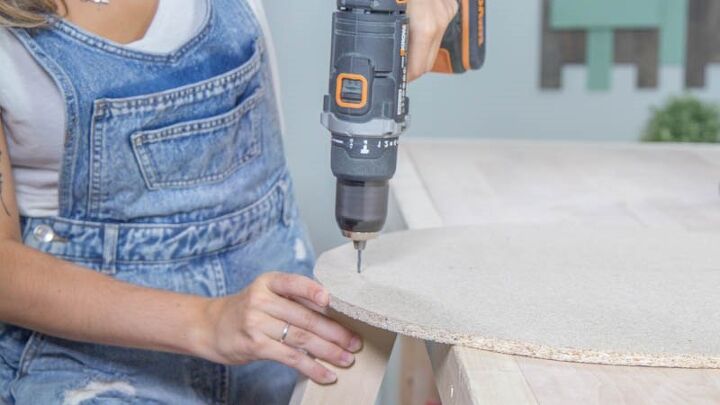
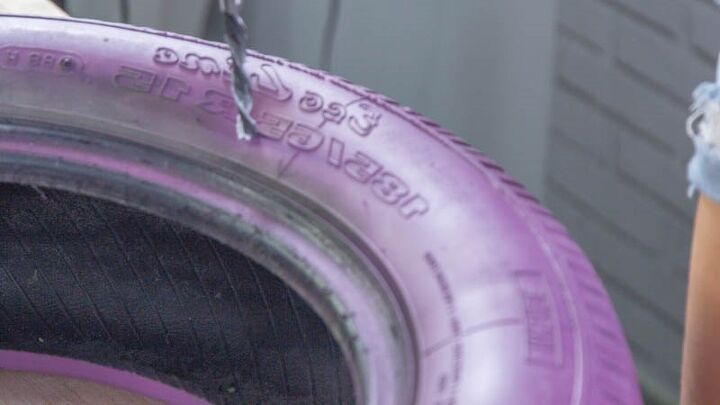
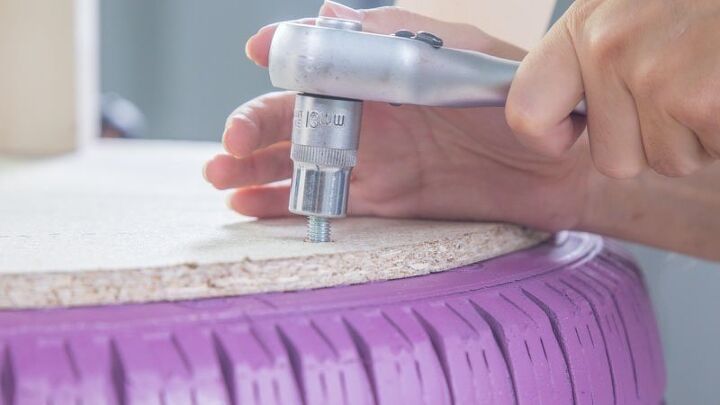
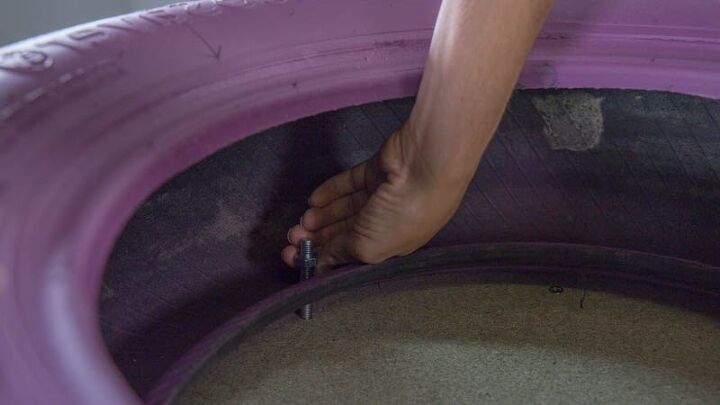
4. Attach the wooden base to the tire
Drill four equidistant holes in the wooden base to attach it to the tire. Mark those same holes in the tire and repeat the process, creating another four holes. Join the tire and the wooden base with metric screws, tightening them with a spanner. Structure ready!
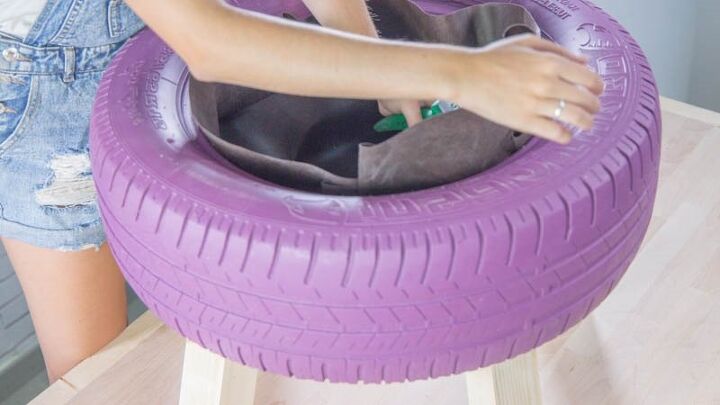
5. Lay the geotextile fabric
It is time to prepare the structure to be able to plant the plant. Cut a piece of geotextile fabric and staple it to the inside of the tire. Cut a piece large enough to fit the plant and substrate: when you grapes, it should look like a bag inside the tire.
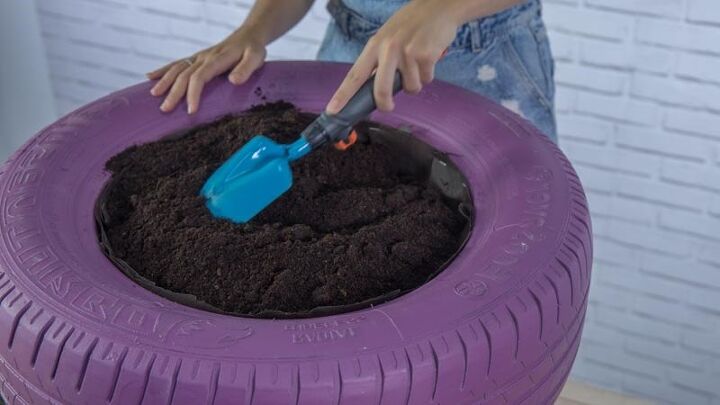
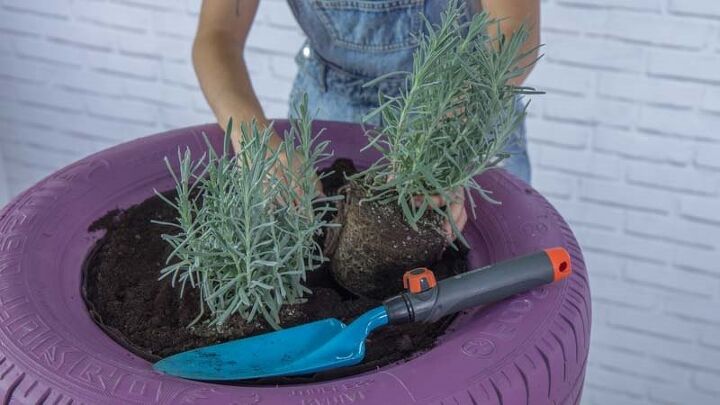
6. Transplant the plant
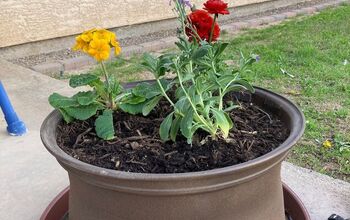
Finally, it remains to place the plant in your new pot. Pour the substrate with the help of a shovel and plant whatever you want 😉 Done!
What do you think of the result? Does this convince you to recycle tires? Leave us your comments!


Comments
Join the conversation
-
Hubby is insisting on "farming"; "homesteading" or whatever ya wanna call it. I think this will do better than well for our landscaping. Believe I too would leave tire on ground for simplicity for the most part.
Thank you much for sharing this idea.
-
If planting edibles in a tire, ehh not really safe considering the chemicals used to make the tire. I tried to make planters with our old tires. Your fabric idea makes sense. It cost us a lot of soil to fill the inner tire spaces with soil so I decided not to do it again. BUT the fabric stapled in...that's a good idea!


Frequently asked questions
Have a question about this project?
Very pretty color. I am not familiar with the term “grapes” used in your instructions when inserting the geotextile fabric. What does it mean? A car tire filled with dirt/potting soil has to be extremely heavy. Having it raised from the ground presents a potentially dangerous, if not fatal hazard for children or small animals playing around or under the planter lest one of the legs break or the rubber of the tire fails. Could you please share your reasons for not leaving the tire on the ground? Thank you