


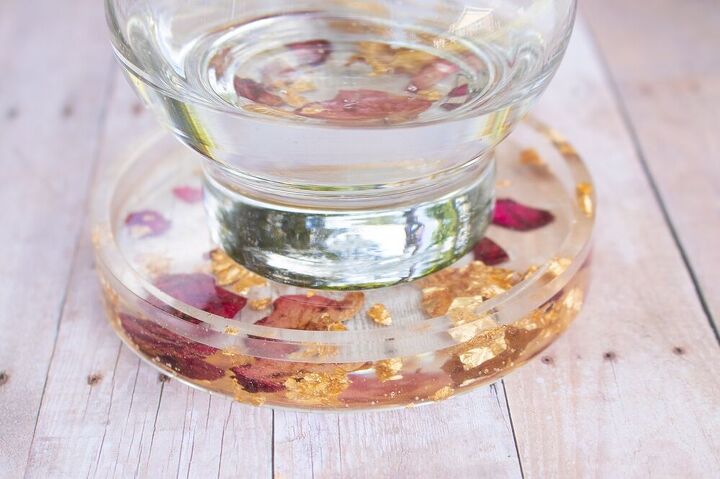
How to Make a Rose Gold Epoxy Resin Coaster
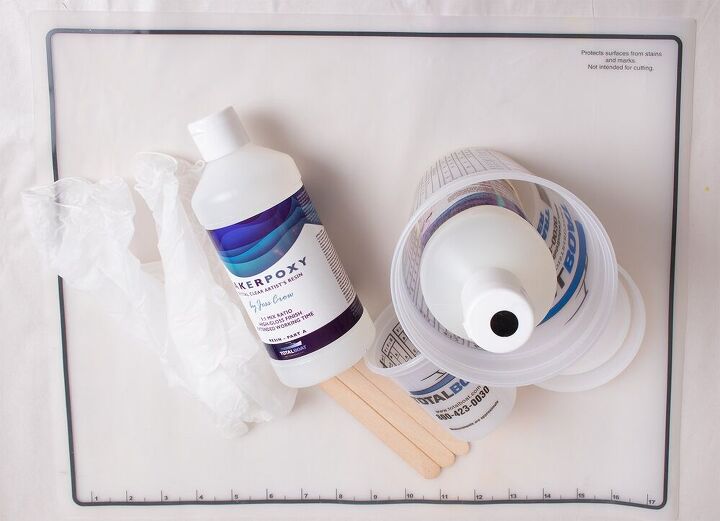

- Silicone Mold – Circle Coaster
- Gold Foil Flakes
- Dried Flower Petals – Rose
- MakerPoxy Crystal Clear Resin
- Disposable Gloves
- Mixing Cups
- Popsicle Sticks
- Heat Gun – Wagner Furno 300
Make sure to read through the instructions of the product you are using before starting a project.
Whenever working with resin it is important to be in a well-ventilated area that is between 70-80 degrees with little to no humidity.
Use Personal Protection Equipment (PPE) mainly, gloves. Though, depending on the size of your project and the products you are using, safety glasses and a respirator are also a good idea.
Make sure your silicone mold is free of debris and moisture before casting.

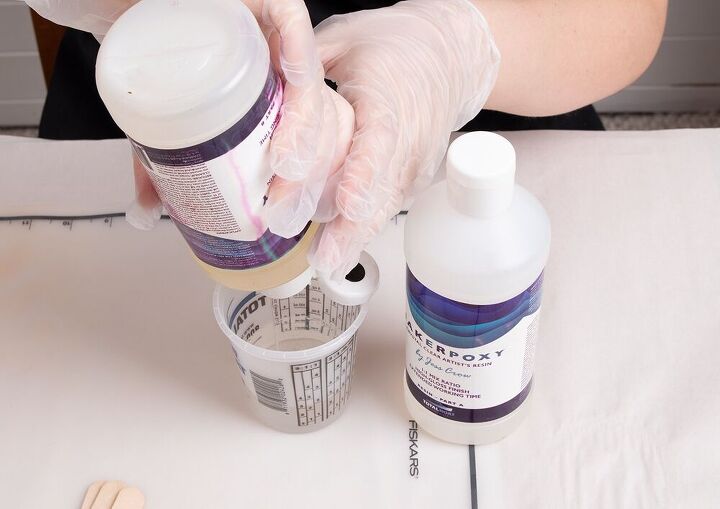
For this particular project each coaster takes about 4 oz of resin.
A lot of epoxy resins will come in two parts, and depending on the one you use, the ratios may be different. For MakerPoxy it is a simple 1:1 ratio, which means if you want 4 oz to work with, you should pour 2 oz of each part. You’ll always want to pour the resin before the hardener (or activator etc) with this particular resin the bottles are marked with “A” and “B”.
Using a stirring cup is really handy because it will have the liquid measurements printed on it which makes measuring way easier!
If you are planning on making several items, you may want to pour the resin in smaller batches, rather than all at once, if you’re using a time-consuming technique.
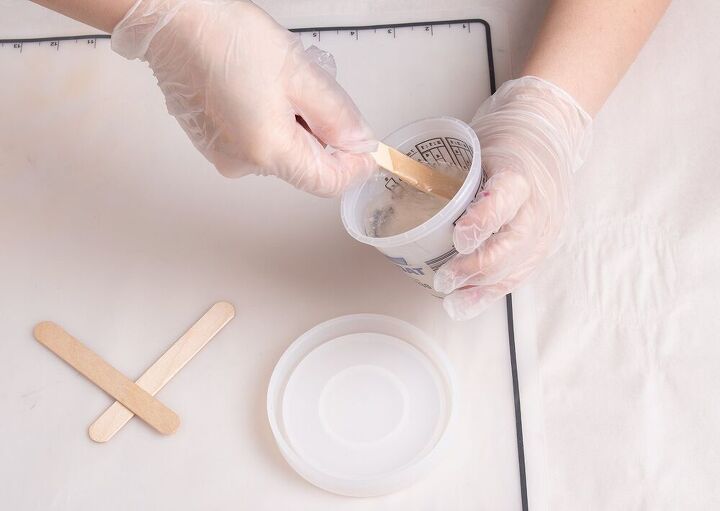
With a popsicle stick, stir at a slow-medium pace until the two parts are thoroughly mixed together, about a full minute. Make sure to circle around to scrape the sides and then push the stick down into the middle and pull some of the bottom up. This is crucial! If it is not stirred enough you may end up with areas that don’t cure! If you stir too fast then lots of air is whipped up into the resin, causing it to become full of bubbles.
Once the stirring is finished, the next 30 minutes are going to be the workable time. I wasn’t too worried since I wasn’t doing anything too crazy (for once).
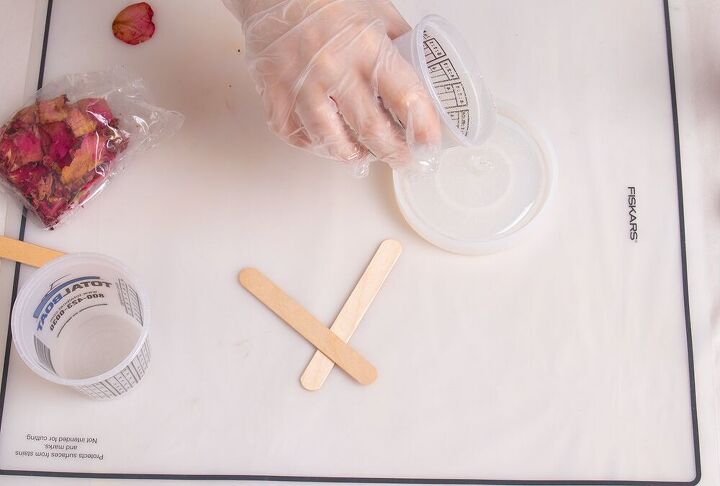
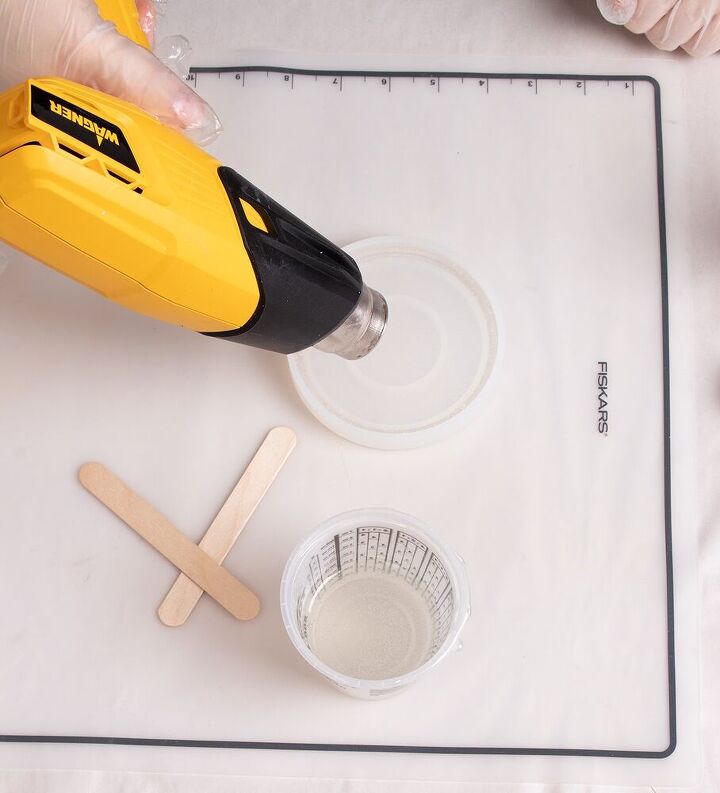
Pour the resin into the mold, make sure the ridges are filled up and there is a layer on the main surface. Do not fill it to the top yet, you’ll need some room for the pretty stuff.
Pass a heat gun, lighter or torch over the resin in the mold to help pop some of the bubbles. I like to do this before I start adding the inclusions.
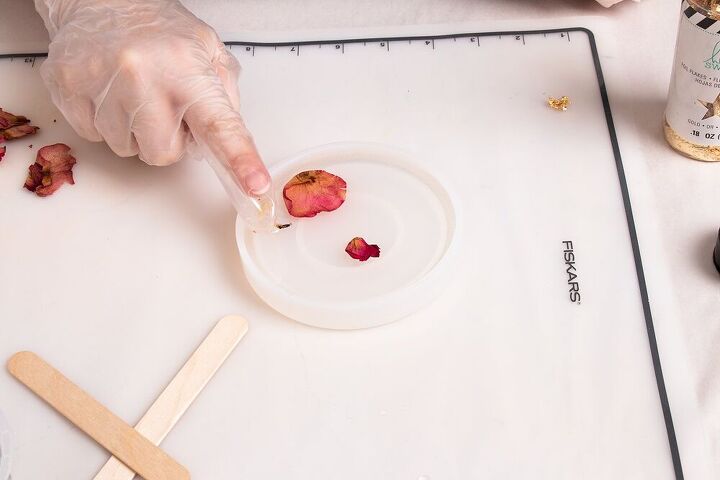
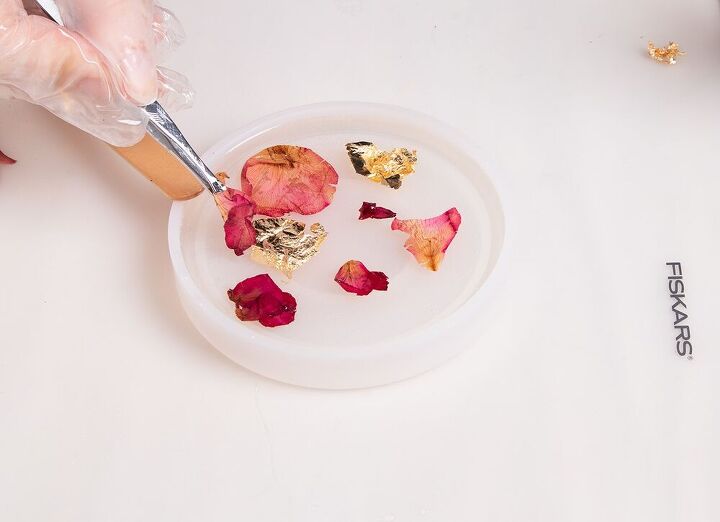
An important thing to keep in mind when casting resin in this shape of mold, is that what you are looking at is the bottom. So you have to think backwards, putting the top pieces in face down and working up to the back.
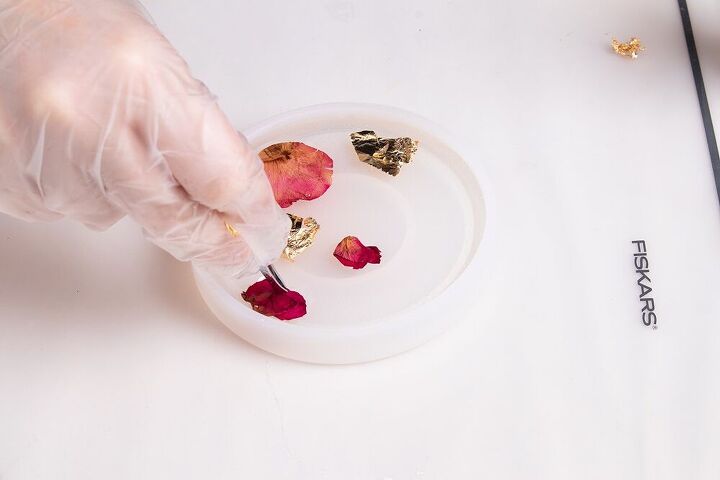
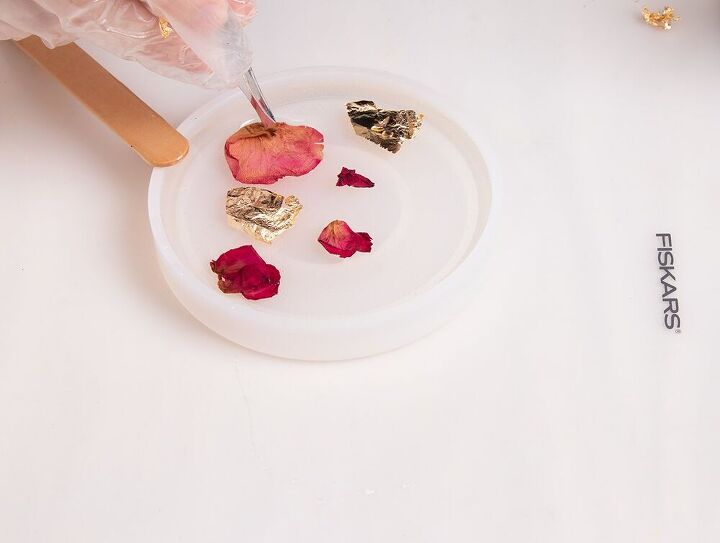
I like to put my biggest pieces of rose petals and gold foil flakes down first and then add in the smaller pieces as I go. Using tweezers is a great way to put your pieces down and then use a toothpick to submerge them into the resin.
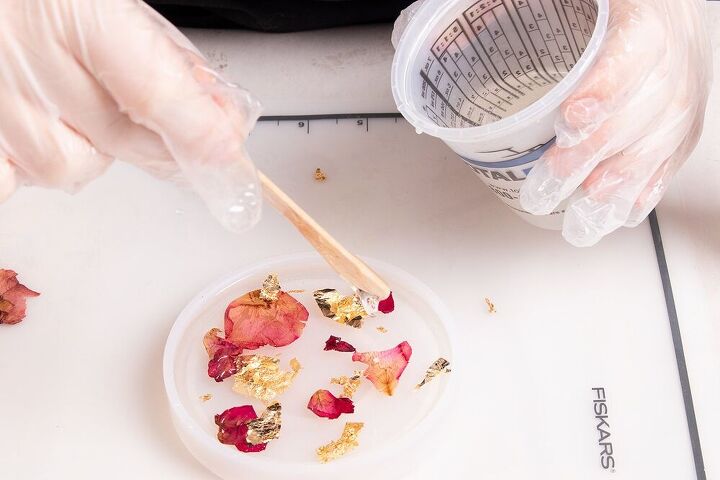
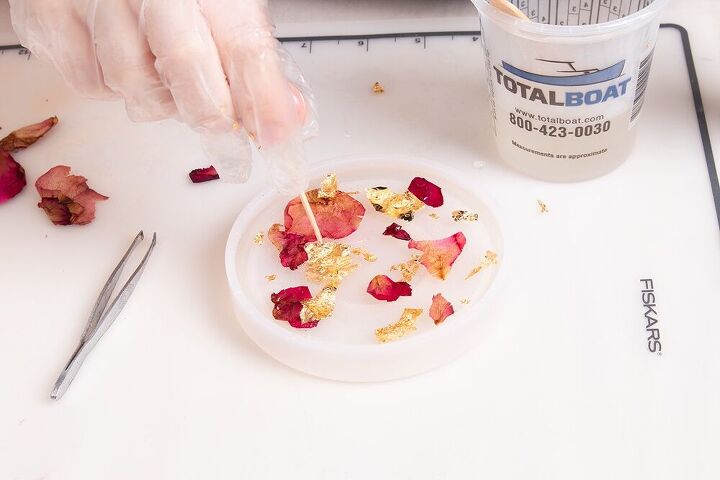
I tried to distribute the petals and gold evenly throughout the coaster, working on creating a greater sense of depth by pushing some things down into the resin further than others.
Once I had the design how I liked it, I gently added more resin to the top with a popsicle stick to keep things from moving around too much. Filling it all the way to the top.
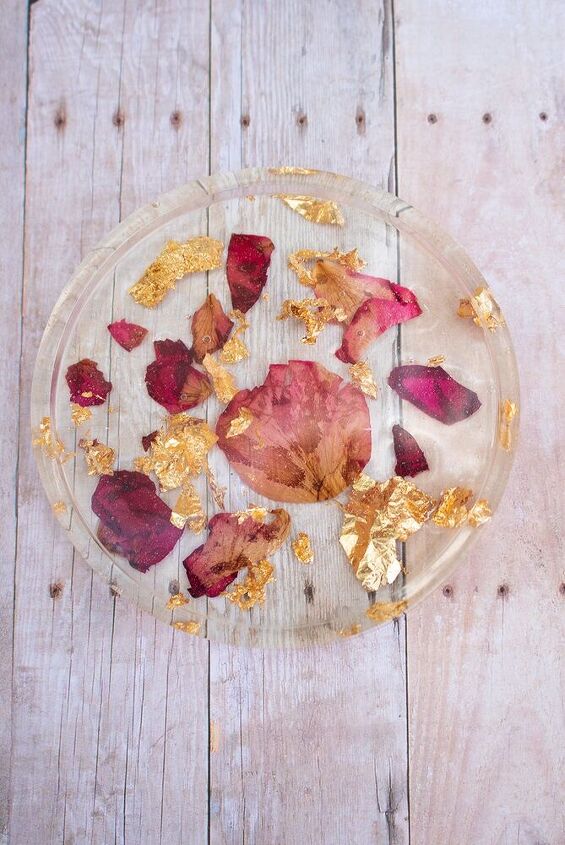
Then it’s a waiting game…put something over your project to protect from any debris while it cures. After 24 hours it should be ready to take out of the mold!
First work your way around it by pulling the edges away to make sure nothing is stuck. Then pull the silicone mold away from the resin coaster you just cast!
From here you can sand the bottom if it has rough edges with wet 220 and up sandpaper. Then touch it up with a little clear nail polish.
Resources for this project:
See all materials


Comments
Join the conversation
-
You made it look easy and gave lots of tips/directions, too! I’ve been a little intimidated by resin but I think I’ll give it a try! Thanks for posting!
-
Beautiful! I agree with Sally!


Frequently asked questions
Have a question about this project?
I want to do a project too so what need too do order these things need
Can you put a drawing or picture down into the resin?
Thank you for these directions. I am no longer intimidated of resin and will try it.