


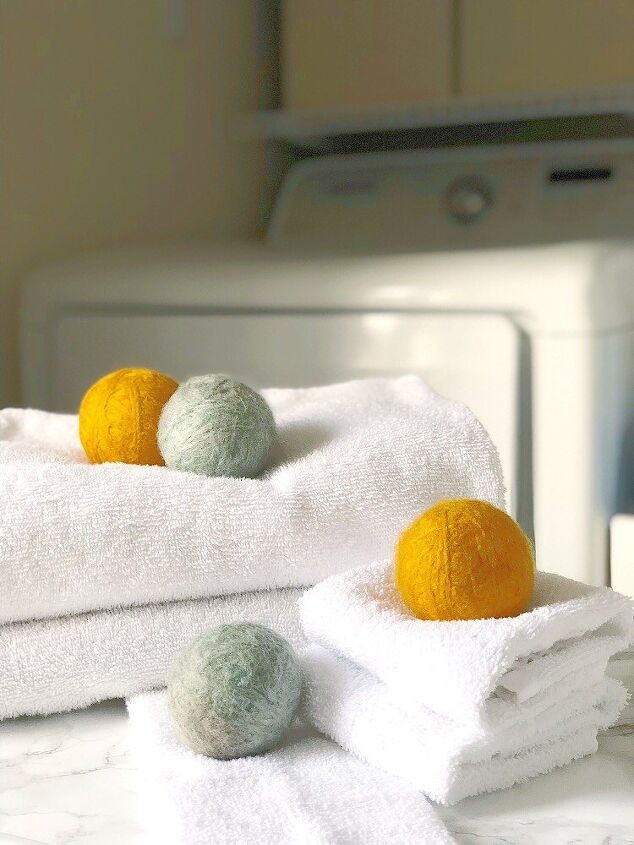
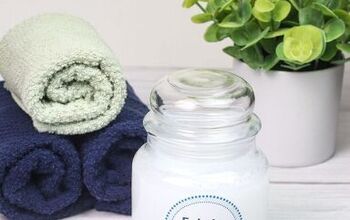
DIY Wool Dryer Balls

Lately I’ve been getting into a cleaner and greener lifestyle. The crazy amount of chemicals I had been using in my home was starting to get out of hand. I realized I’d been relying products with words I can’t even pronounce to keep my home clean. Bad idea, I know, but honestly, I just got lazy. This year I’m vowing to decrease the amount of chemicals I use and replace them with natural and safe alternatives.
One area I’m focusing on first is my laundry room. There are so many products I have in my laundry closet, and I doubt any of them are good for my skin. Today I want to share a quick and easy DIY Wool Dryer Ball tutorial in an effort to ditch dryer sheets once and for all.
Here’s What You Need
- 100% Wool Roving Yarn, I used Paton’s brand (1 roll makes two dryer balls, with a little leftover) *Make sure the label doesn’t say “Washable” and use light colors. Avoid shades of red.
- Crochet Hook
- Thin Nude Pantyhose (you can use an old pair or a cheap pair from the dollar store) *I used black and they gave the teal yarn a hint of gray hue, so I’d suggest using nude so no color transfers.
- Scissors
- Essential Oils (optional)
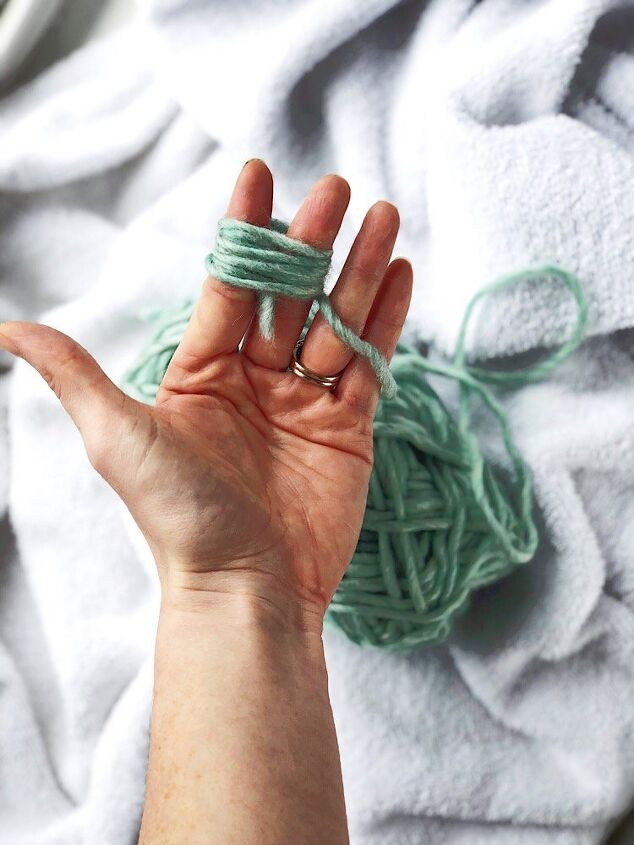
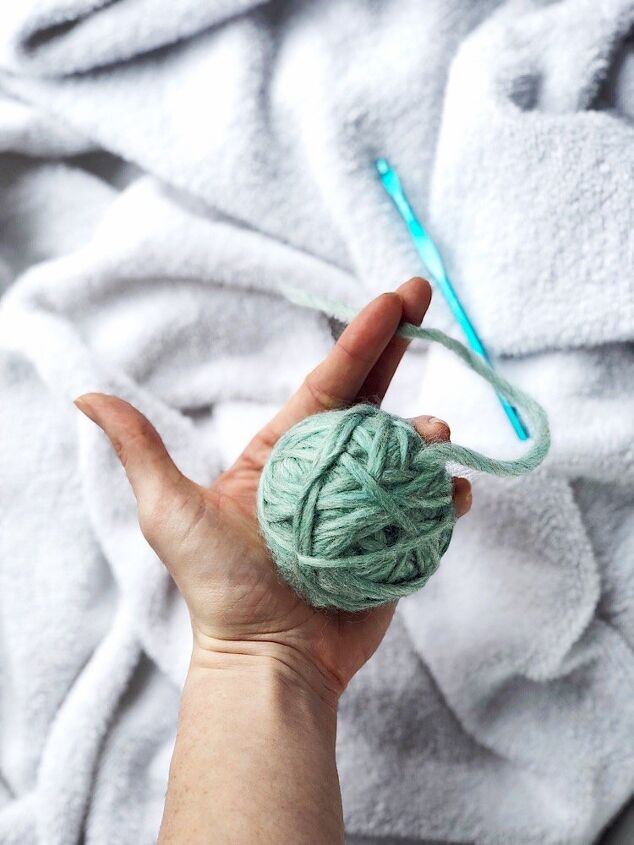
Wrap Yarn Around Your Fingers
Start by wrapping the yarn around two fingers, spread apart slightly, about 10 to 12 times.
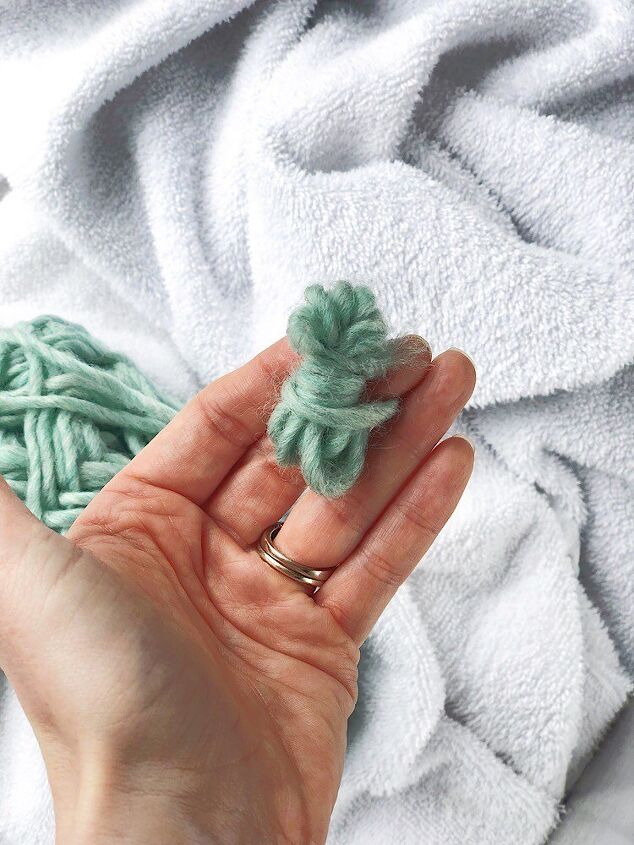
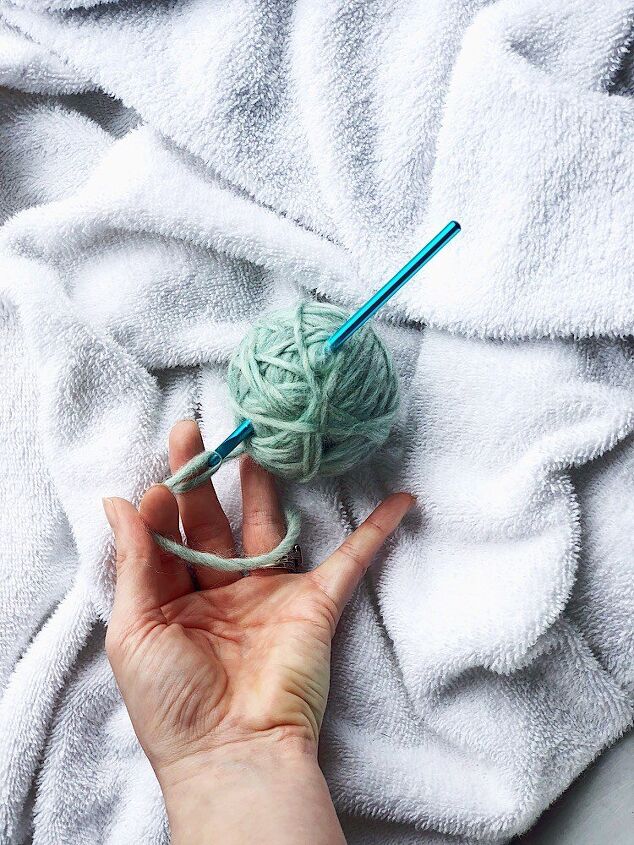
Wrap Yarn Into A Bundle
Remove your fingers from the yarn, then wrap the yarn around the middle, like you’re creating a bow. Wrap this way about 10 to 12 times also.
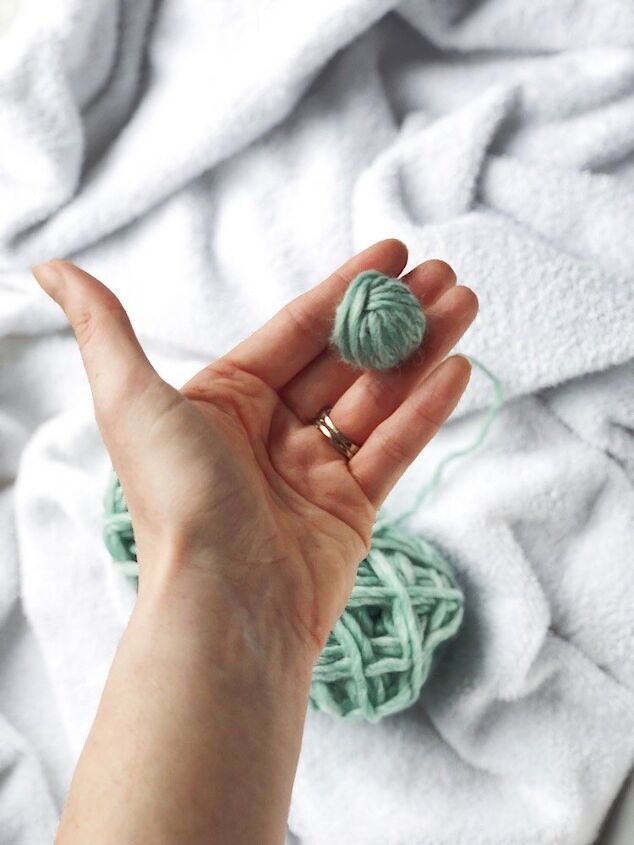
Wrap Tightly In All Directions
Here’s the part you’ll want to get comfy for. You’ll basically just keep wrapping in all directions, very tightly, until you’ve formed a ball.
Continue To Tennis Ball Size
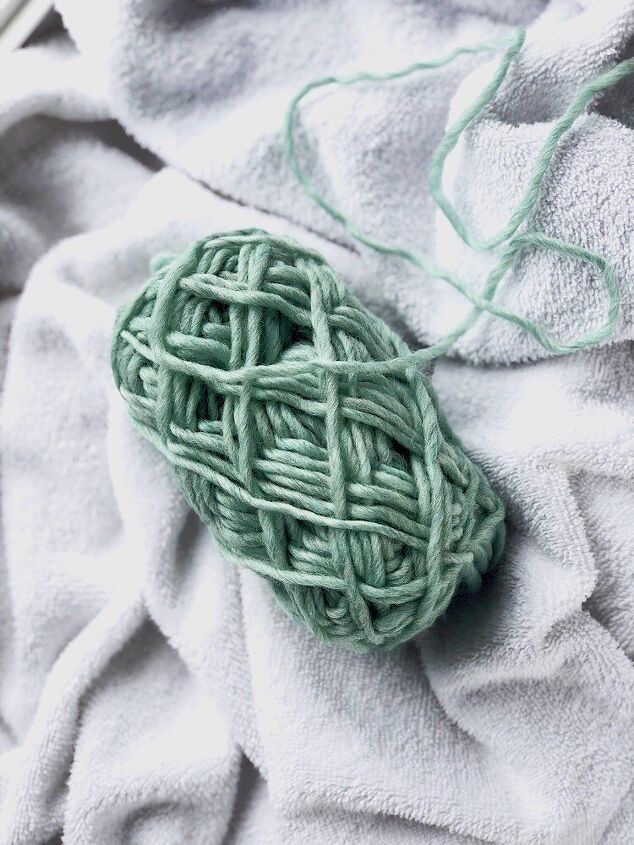
Keep on wrapping, around and around, in all directions until you’ve reached the size of a tennis ball.
Leave A Ten Inch Tail
Once you’ve reached tennis ball size, cut the yarn from the roll leaving around 10 to 12 inches of “tail”.
Thread The Tail
Using the crochet hook, thread the tail through the ball in multiple places until the tail is completely inside the ball. Threading is pretty tough because the ball is super tight and the hook gets stuck sometimes.
To help the process, I pushed the hook handle through a a third of the ball (instead of straight through the middle) and twisted it as I pulled the yarn through. It still gets stuck sometimes, but when you pull tight enough, you can remove the hook and pull the tail through.
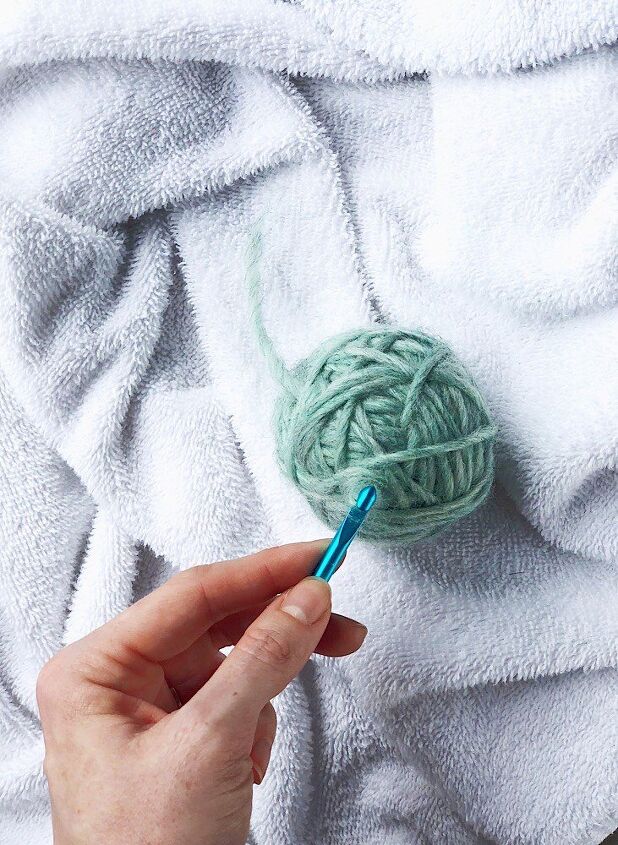
Every time I threaded the tail, I’d pull it to another place of the ball and repeat.
Eventually the tail will be completely inside the ball. No need to tie it off, just keep threading until you have no more tail left.
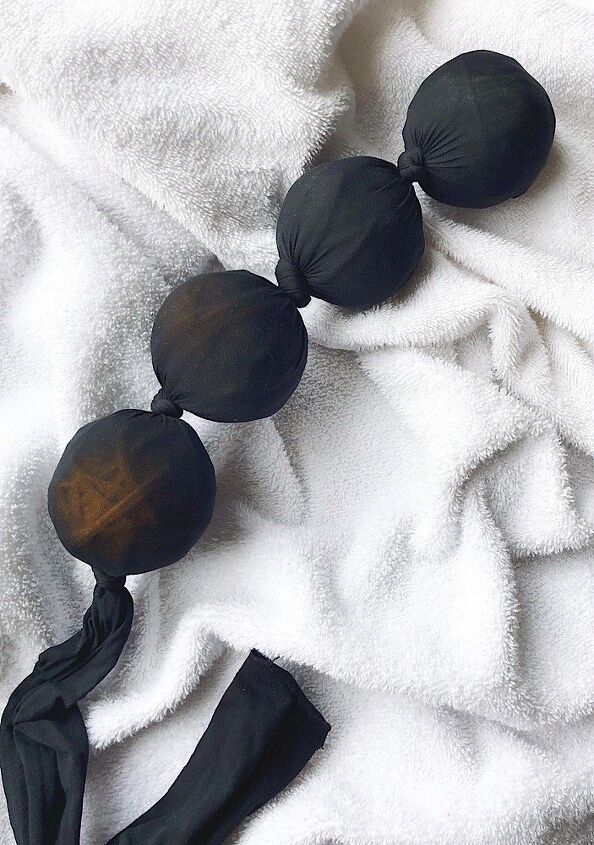
Bundle Wool Balls Into Pantyhose
Remember the Diaper Genie? If you ever had one of these for your kiddos, you’ll know exactly what I’m talking about. Basically, you put a wool ball in the foot part of the pantyhose.
Then you’ll tie a knot to keep it secure. Then add the next dryer ball, tie a knot, and continue until all the dryer balls are cased up like sausages. Tie off the final one and cut off any excess pantyhose.
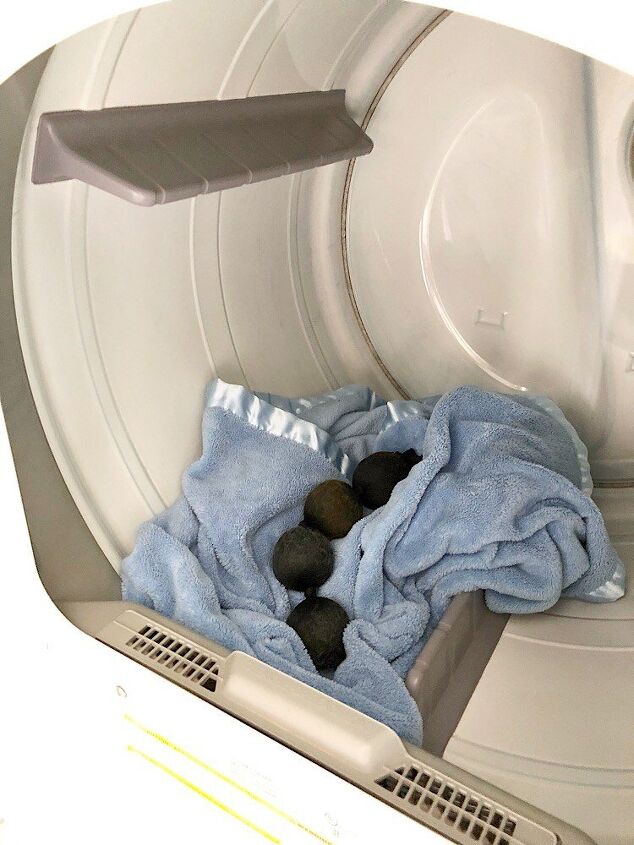
Wash And Dry To Set
Here’s where they really come to life. Wash the diaper genie/sausage cased/stuffed pantyhose on the hottest cycle your washing machine has. I usually throw in some towels so I can knock out a load of laundry while DIY crafting.
After the cycle, dry the wool balls (still in the pantyhose) on the hottest cycle of your dryer. It’s totally fine for the towels to dry with them.
After they’ve dried, you’ll repeat this process a few more times. I usually wash and dry them with our bed sheets this time. (Look at you knocking out your cleaning duties and not even realizing it!)
Cut The Pantyhose To Remove The Balls
As they go through a few wash and dry cycles, the yarn bonds together, which is called felting. It took mine four cycles to felt, but it may take yours less or more depending on your appliances.
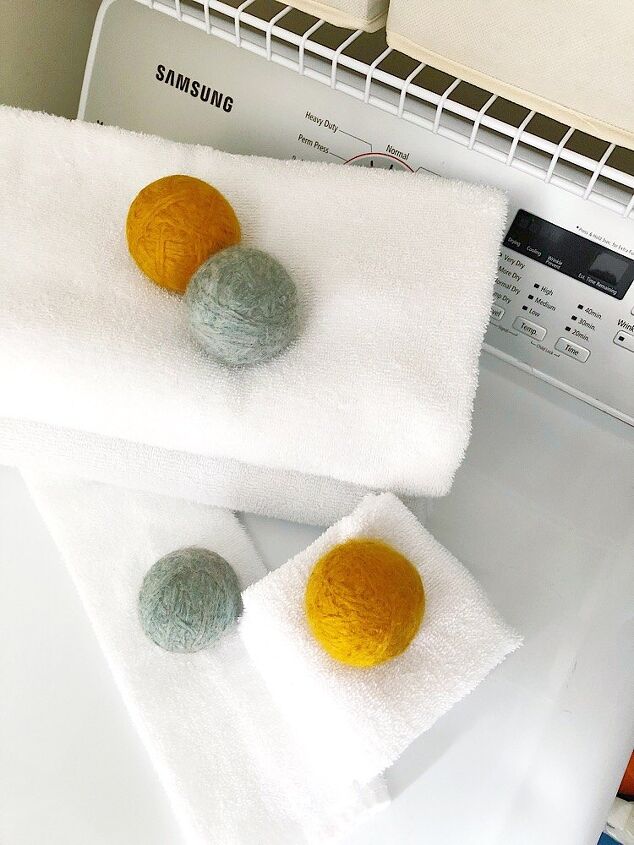
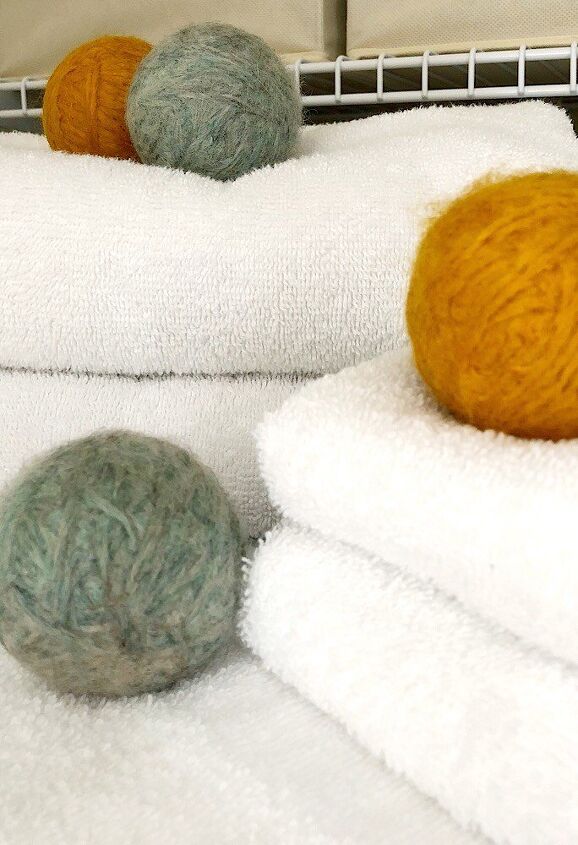
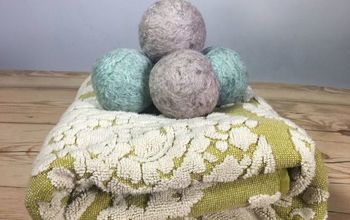
You’ll notice when you take them out that they look a lot different than they did when you made them. The yarn binds together and turns into a solid ball, just like the store-bought ones.
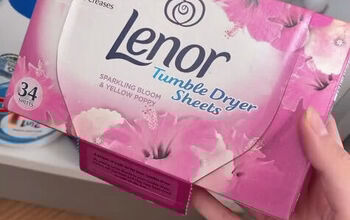
Ditch Your Dryer Sheets
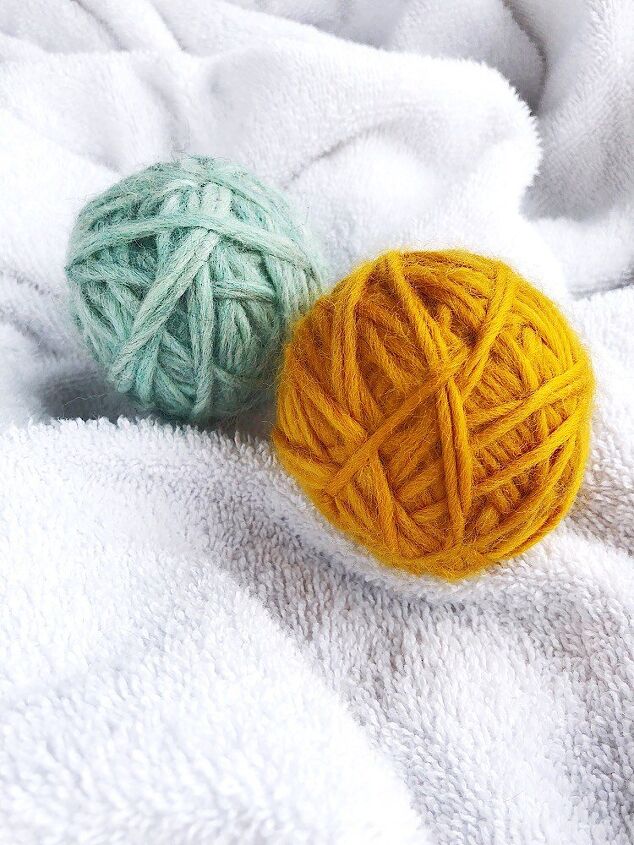
The wool balls are all ready to go now! They can go in the dryer with anything other than delicates. If you’re missing the scent of your old dryer sheets, you can drop a few dabs of essential oils on the balls before drying to give your clothes whatever smell you prefer. These balls should last around 1000 uses, so don’t worry about holding out on them. They’re also fantastic gifts to give!
Have leftover dryer sheets?
Don’t trash them! You can stash these guys in the bottom of trash cans, under couch cushions, under seats in your car, inside bathroom cabinets, and anywhere else that needs a scented boost. Just be sure you don’t put them anywhere that will come in contact with clothing or skin.
Ready To Give It A Try?
Head over to my blog post to ready why ditching dryer sheets is a good idea and how these dryer balls can prolong the life of your clothes. I'm spilling all the beans over there.


Comments
Join the conversation
-
WOW what a great idea! Thanks for your share!
-
I wonder if you could take new, smaller tennis type balls (used as dog toys) and wrap them with the wool yarn as a shortcut... Might try it. I use clean tennis balls when I dry blankets or comforters to keep them fluffy.


Frequently asked questions
Have a question about this project?
I love the smell of downy etc., so I wonder at what point you add the essential oils to the making of these, or do you just put a few drops directly on the dry balls before each use? Thanks
I seem to miss the point. What is the use of these balls?
How many dryer balls will one skein of yarn make?