


DIY Fabric Drawer Dividers

If you’ve been here before, you know how much I love organization. And if you haven’t been here before, you’ll notice my obsession for tidiness real quick. One place in my house that I absolutely positively have to have neat and organized is my dresser drawers. Maybe I’m borderline ocd, but my clothes need to be put away correctly and I need to be able to see them all. One way I keep my drawers in tip-top shape is by using dividers.
Make Your Own Drawer Dividers
Sure, you can buy manufactured dividers, but more than likely you’ll have to do some cutting to make them fit. Dressers don’t really have a generic drawer size, so it’s highly unlikely you’ll be able to just buy some and pop them in without doing any work.
Not to mention, the ones for sale are…well…ugly. They’re plastic and plain and really cheap looking.
I guess you could splurge and buy those expandable wooden ones that cost $30 a piece, but if you’ve got that kind of money to spend on at least twenty of those puppies, you’re at the wrong blog.
I’m all about doing pretty stuff on the cheap.
And this project is more than cheap. It’s free.
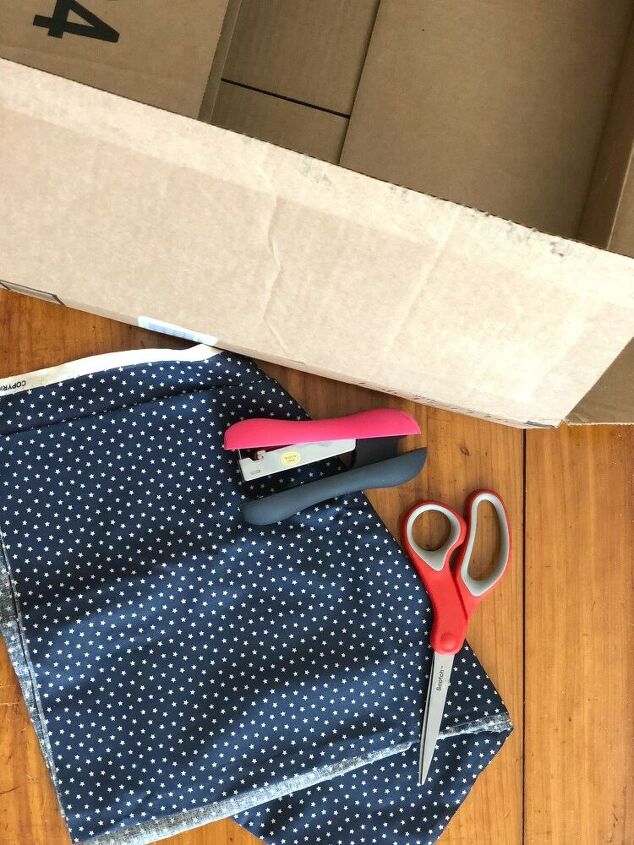
Here’s What You Need
- Cardboard From Leftover Boxes
- Leftover Fabric From Previous Projects (or you can buy some from the clearance section)
- Scissors
- Stapler
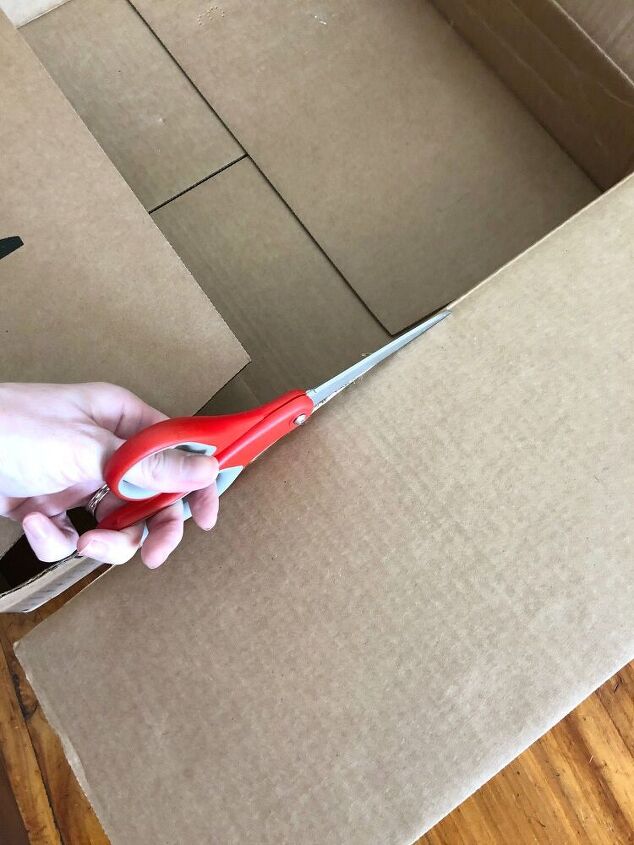
Cut Off The Long Flaps Of An Old Cardboard Box
You’ll want the flaps to be somewhat the same length as you need for the drawer, with a few extra inches on each end to hold it in place.
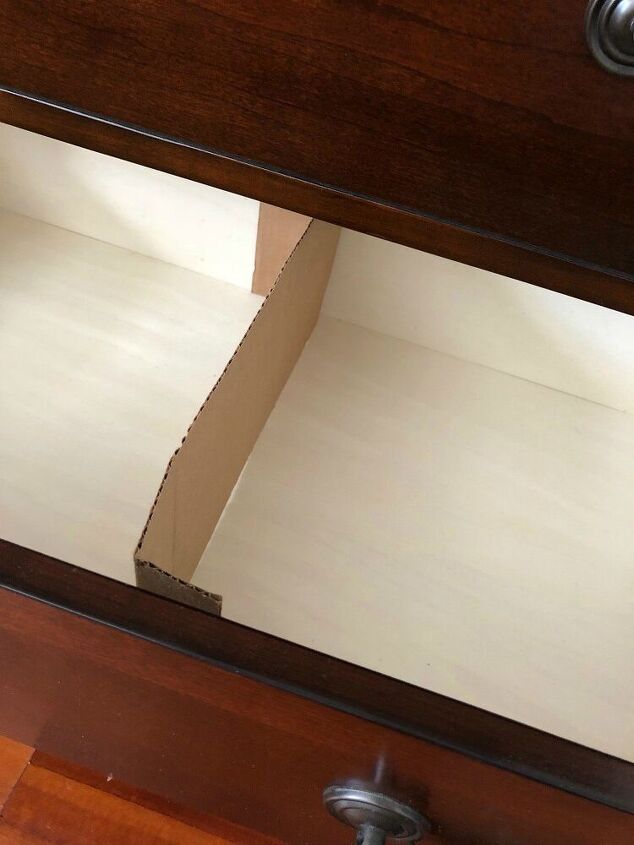
Shape The Divider
Fold one end of the cardboard flap to the right and the other end to the left, making sure it fits snuggly in the drawer.
Make sure you fold really good creases in the cardboard so you can find your creases again when it’s covered in fabric.
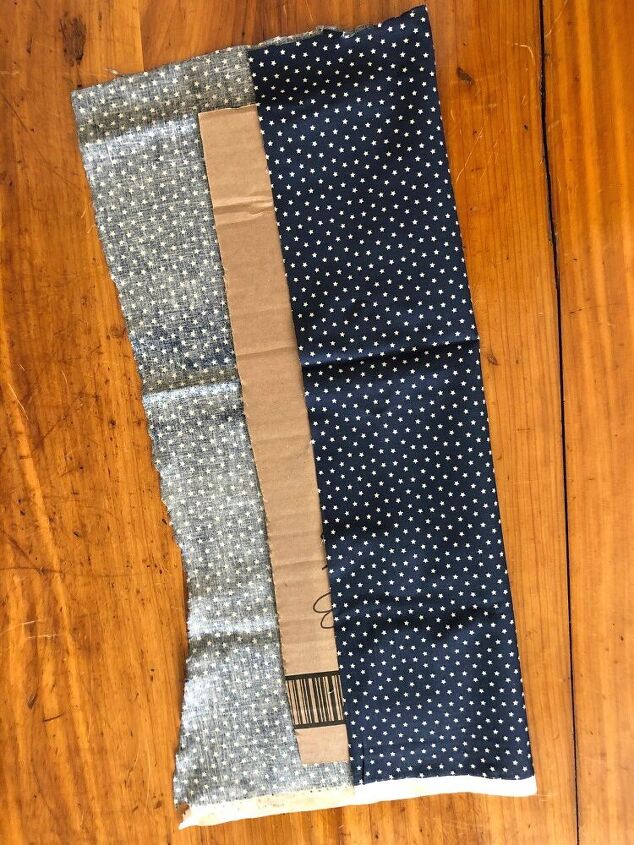
Cut Fabric To Size
Flatten the cardboard back out on top of the fabric and cut to size. Make sure to leave about an inch on the sides and a couple of inches at the bottom.
Clearly I need some new fabric scissors…it’s on my shopping list, I promise!
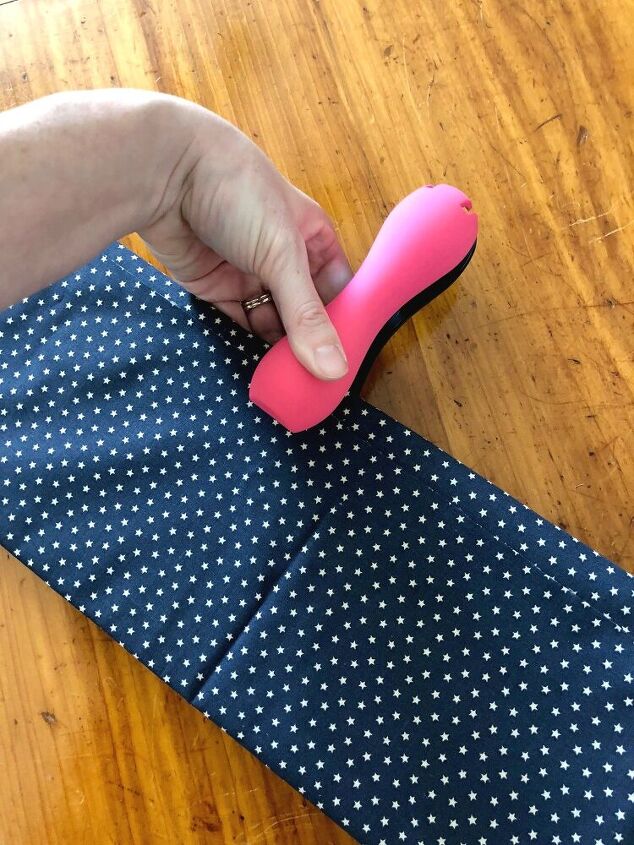
Secure Bottom Edges
Staple the bottom edges to secure the fabric nice and tight around the cardboard, but not so tight that it causes it bow inward.
Make sure you don’t staple where the fold creases are.
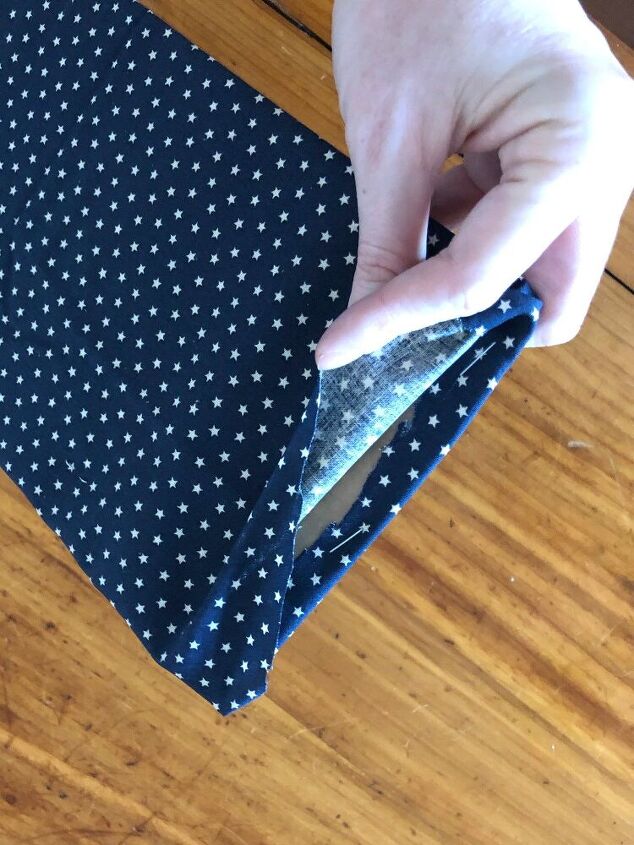
Secure Sides
Start by stapling one side of the fabric as shown above. This will leave the other side of the fabric open.
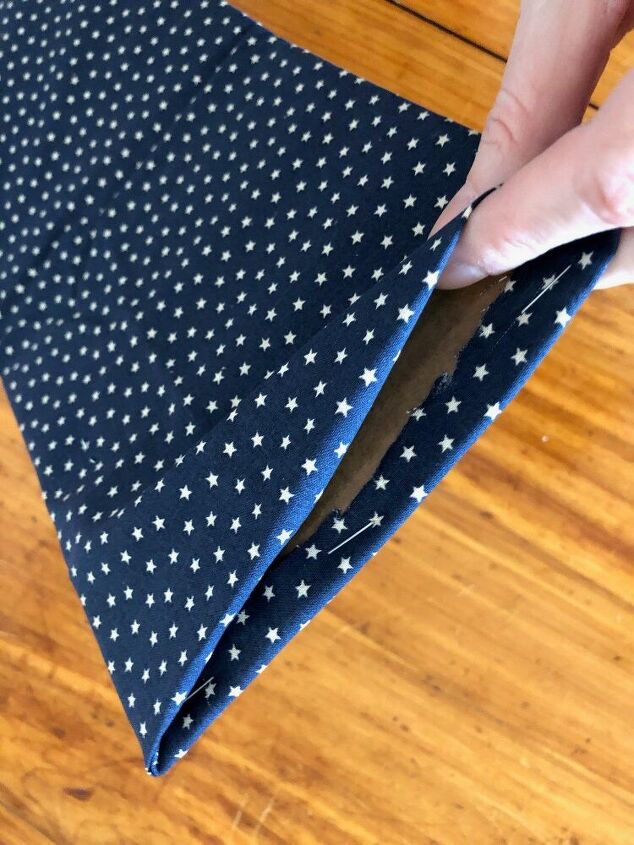
Fold Other Flap Of Fabric
Fold the other side (the open flap) under to create a nice clean line along the edge of the cardboard.
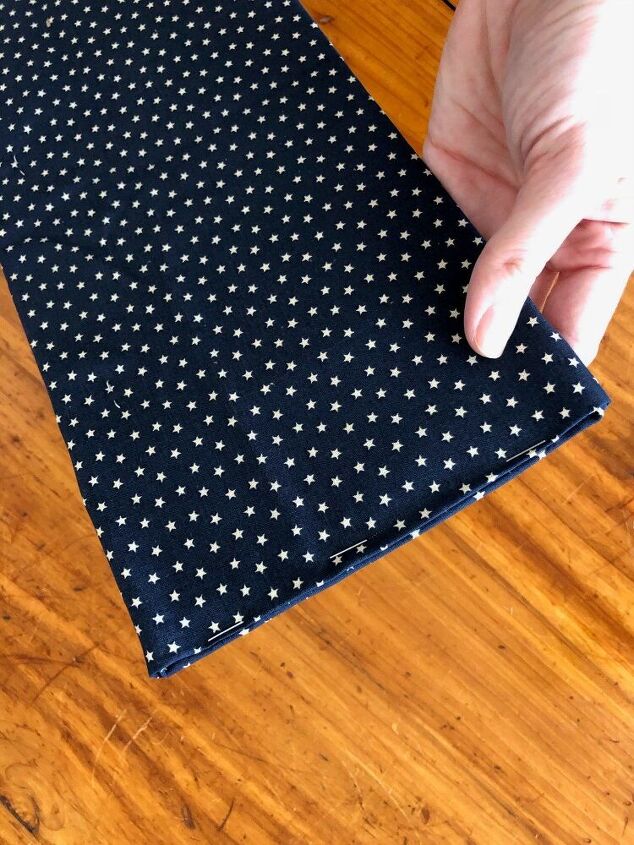
Secure Open Edge
Staple the folded edge closed. Then repeat the process on the other end of the cardboard.
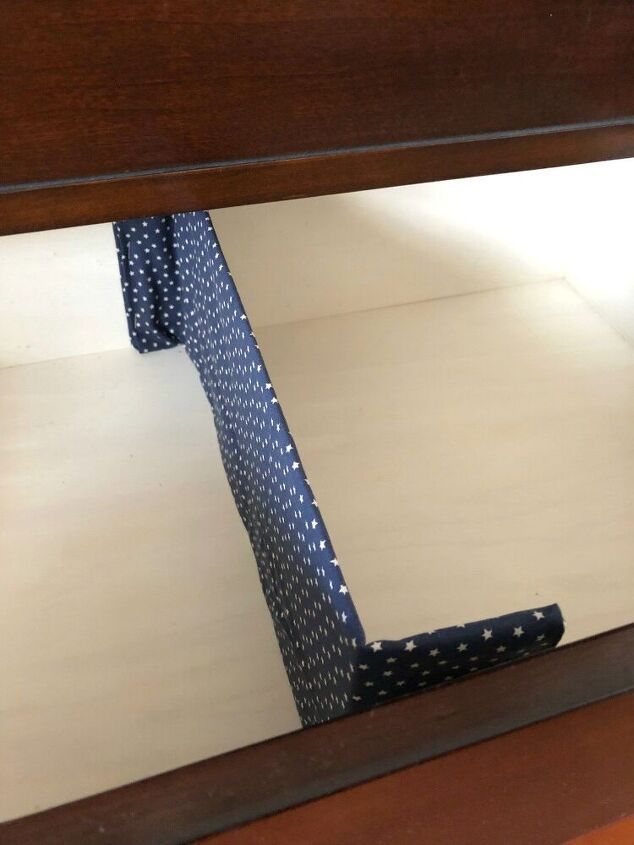
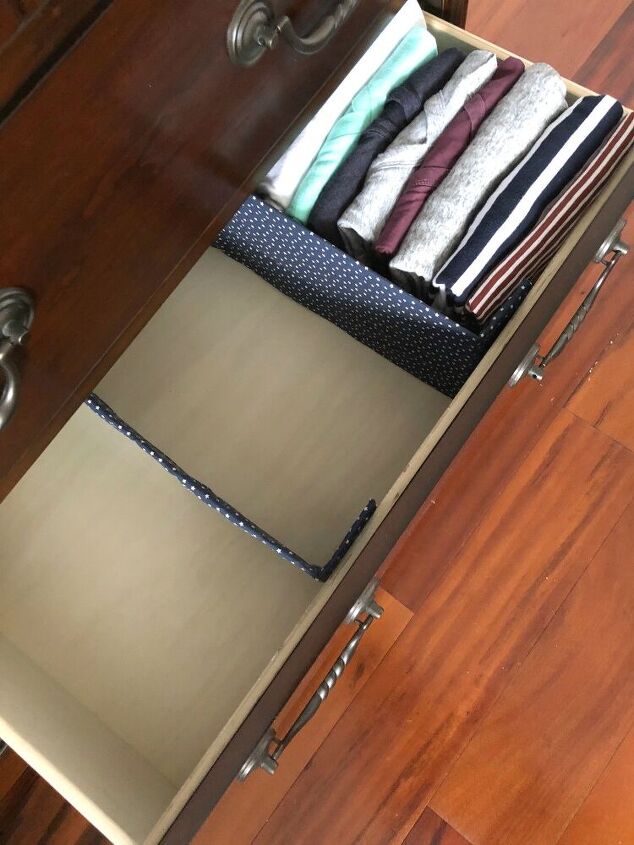
Check Fit And Make More As Needed
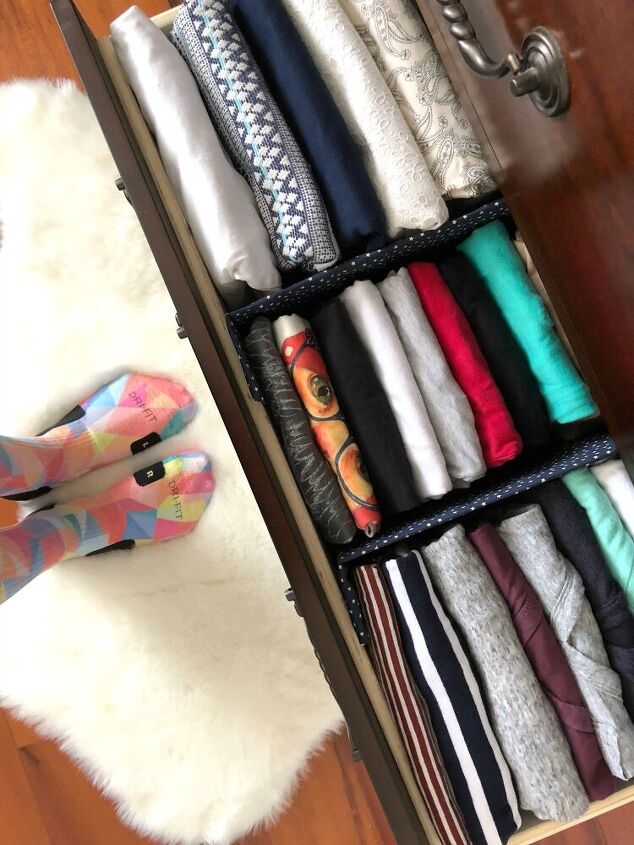
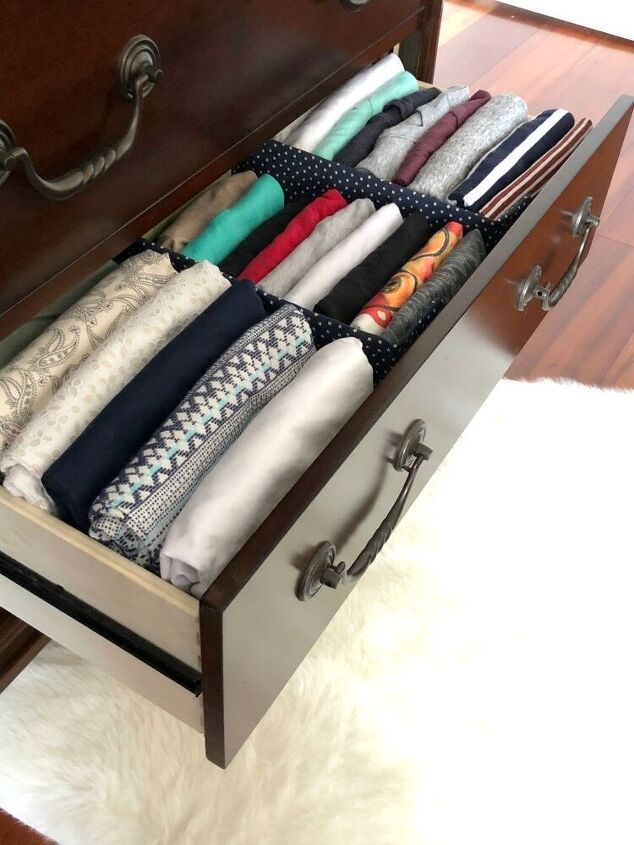
Make sure the folds are correct and put the divider in place. You can put your clothes in as you go so you can be sure the dividers are spaced right.
File Fold Shirts and Shorts
To maximize space and save time looking for the right piece of clothing, you should use the file folding method. It’s so much easier to see what you have and your drawers will be so much neater. (If you need help with this, I have three different tutorials for folding on my blog)
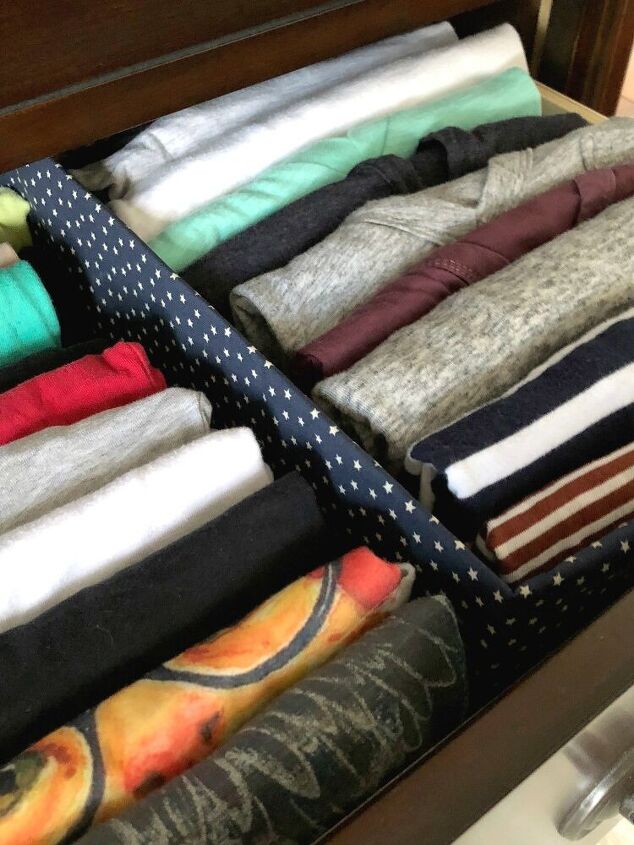
The dividers work wonders, and they really do look awesome. Not a bad way to spend a rainy afternoon if you ask me. You can also customize the fabric for each drawer or family member. Kids love picking out a fun pattern and it may make them more inclined to keep their drawers neat. (Hey, I said it “may”)
Not Sure What To Fold?
I’ve got you covered. I made a handy downloadable list of all the things that should be folded and everything you should be hanging. You can get the PDF list for free in your inbox by heading over to my blog post and entering your info into the box at the bottom of the post.
Resources for this project:
See all materials


Comments
Join the conversation
-
I am going to give this a try .what a great idea
-
How do I get to your blog?


Frequently asked questions
Have a question about this project?
How do these dividers stay in place in the drawer? It looks like they could easily shift when you are taking items from the drawer.
Good idea. Why didn’t you use spray adhesive instead of staples? I don’t like snags in clothes.
Great concept. if you have access to a sewing machine why not make pockets or sleeves for the cardboard to eliminate the staples? That would avoid scratches inside the drawers and snagging clothes as commented above.