


Bunny Button Basics?!
I made these cute DIY bunny buttons to decorate a plain throw pillow. Instead of buying new ones, I decided to garnish one I had. It's an easy project that you could even have your kids help with.
Materials:
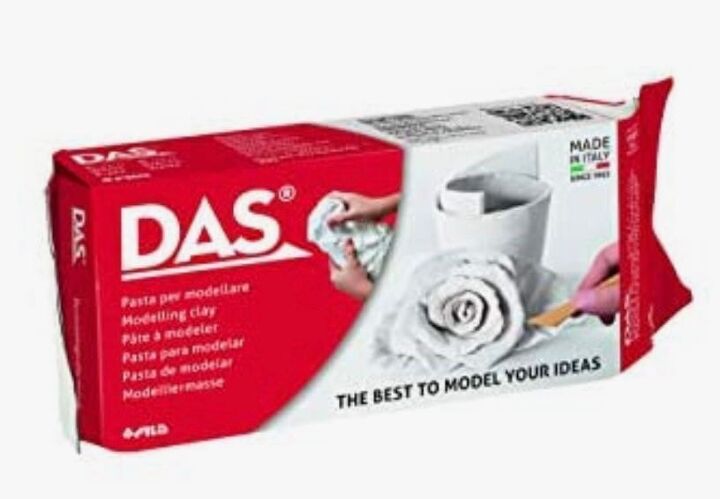
Air Dry Clay
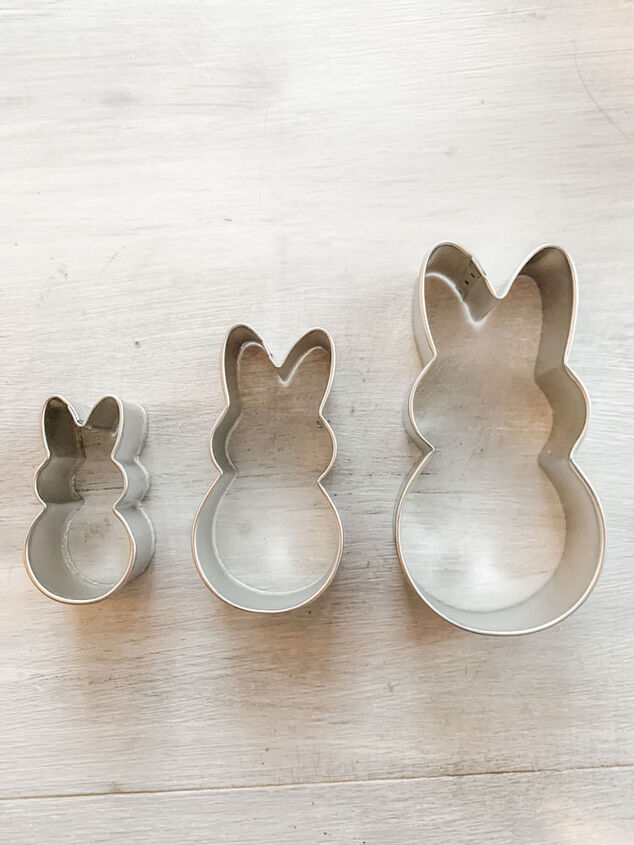
Cookie Cutters
Needle and Thread
Mod Podge
Pillow

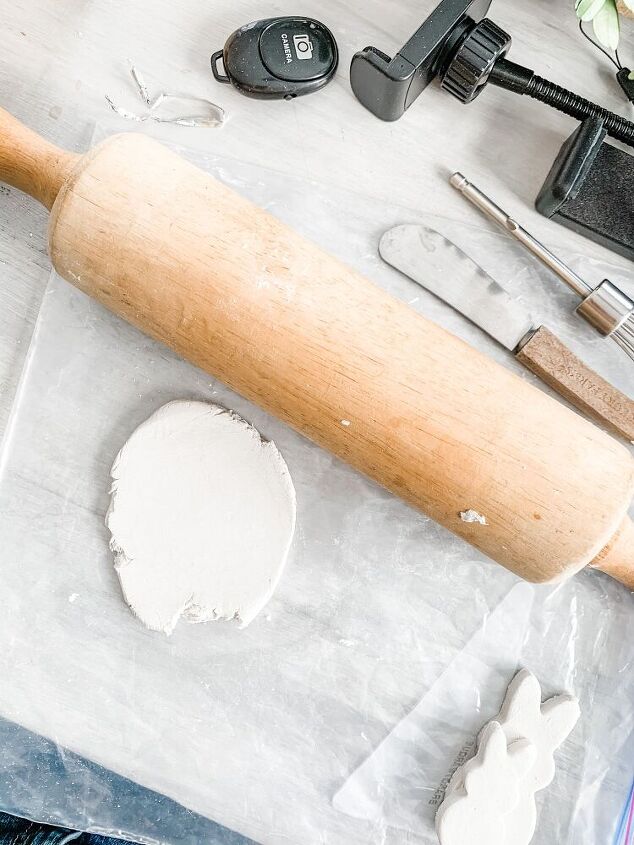
Step 1. Roll the clay out, roll them to about 1/4 inch thick, like you would a sugar cookie.
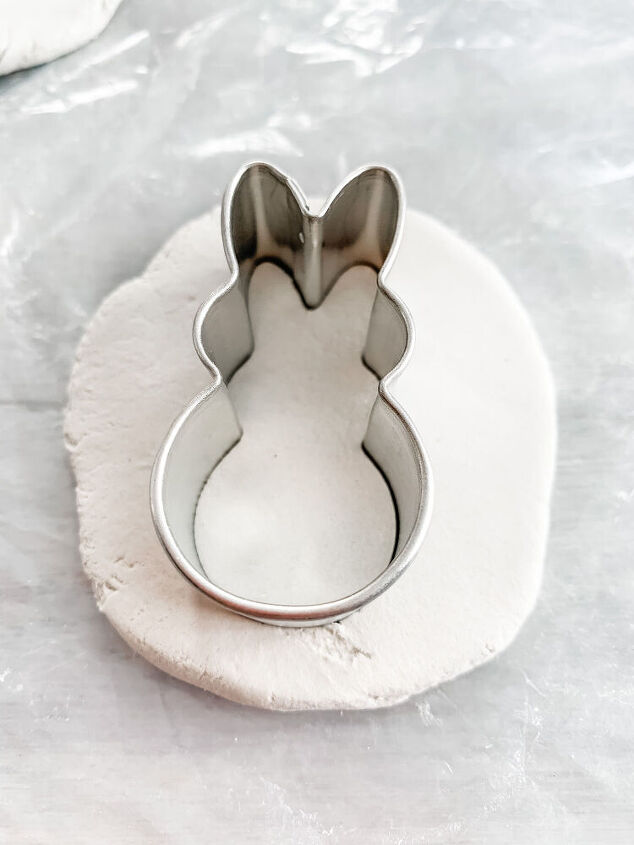
Step 2.
Using the cookie cutter, cut your shape.
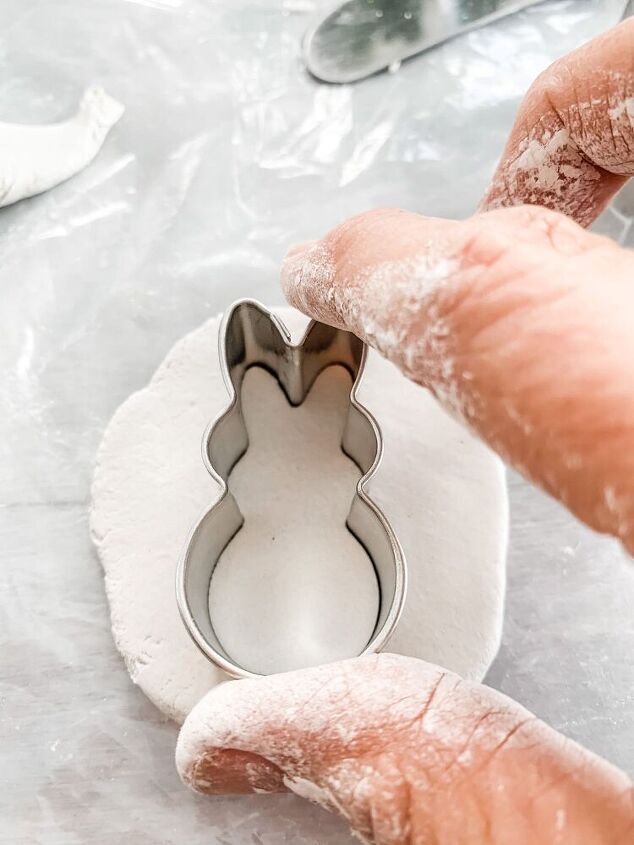
Please down firmly to get the complete shape of your cookie cutter.
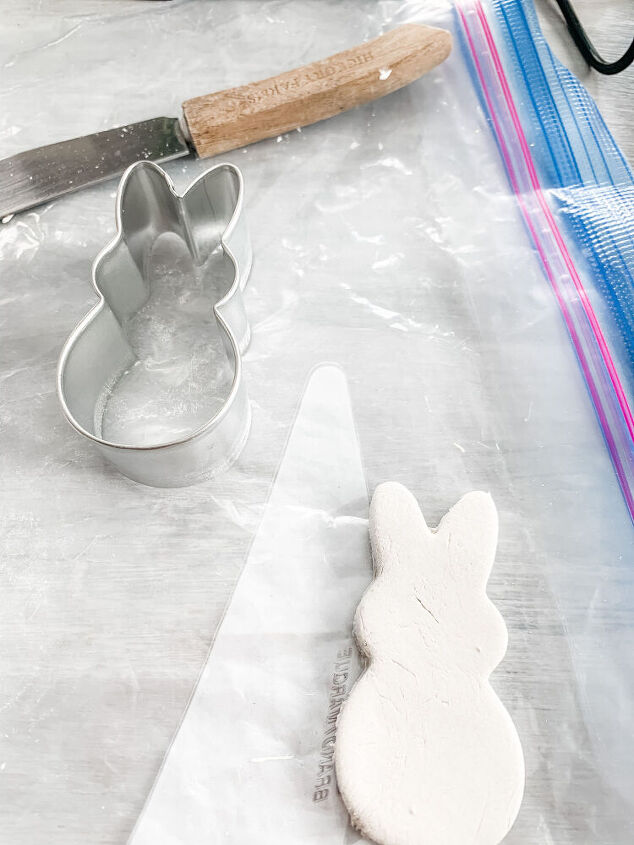
Step 3.
Using the end of utensil, or skewer, put 2 holes in, one on top of the other. Then let them dry - may take about 2 hours.
Step 4.
Paint with a layer of Mod Podge, either matte or gloss. Let dry.
When dry and coated, they are very durable.
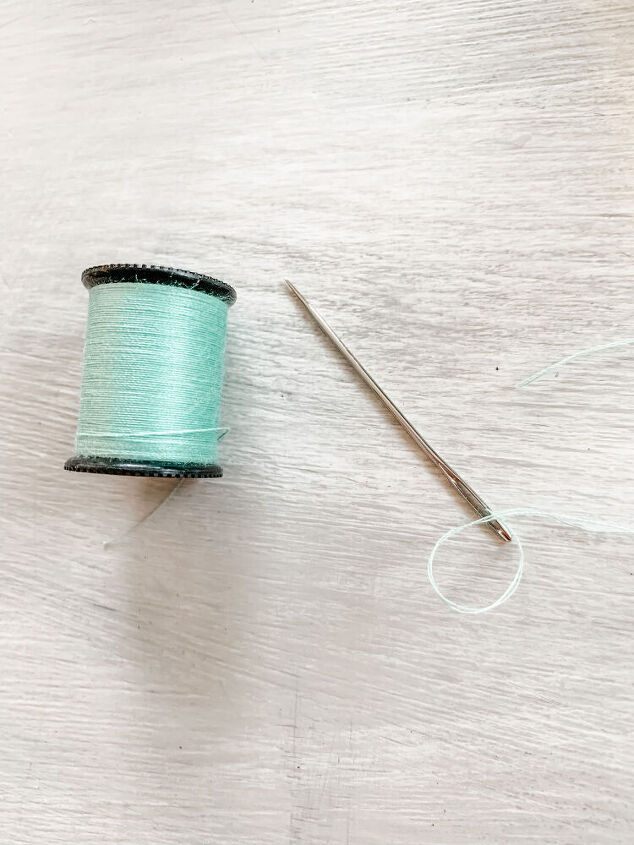
Step 5.
Sew the buttons onto your pillow is any design you like. I made 3 buttons and spread them out along the top of the pillow. I used a matching thread but a pink or yellow would look great too.
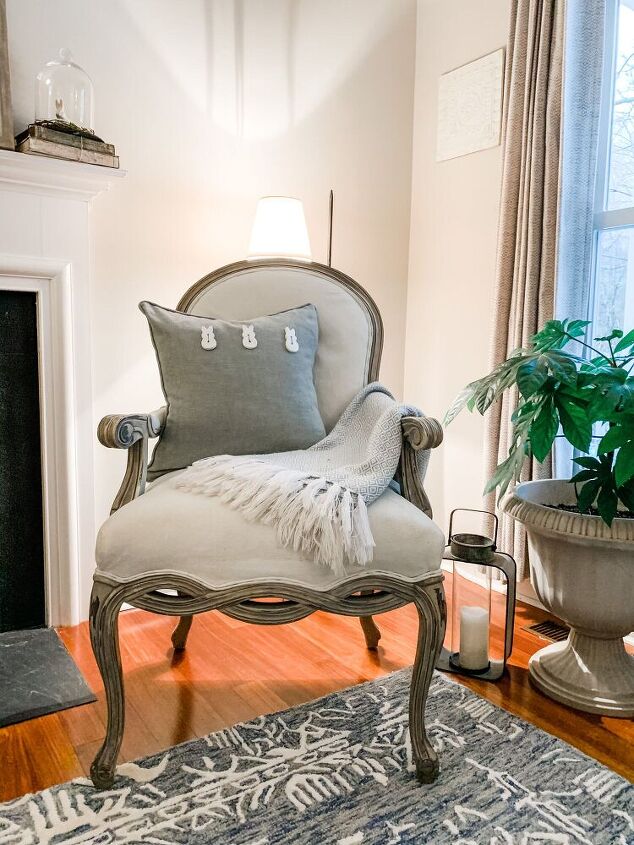
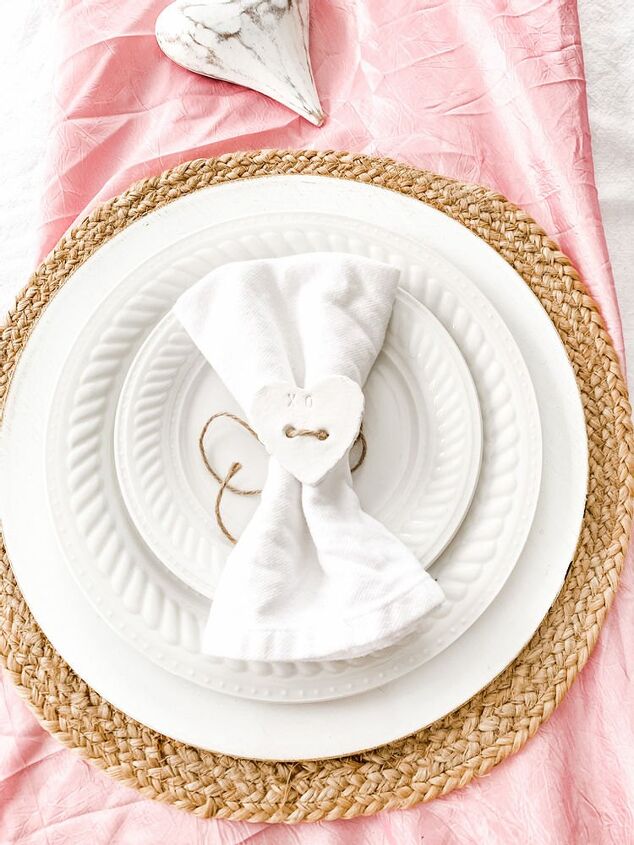
Here is the finished product.
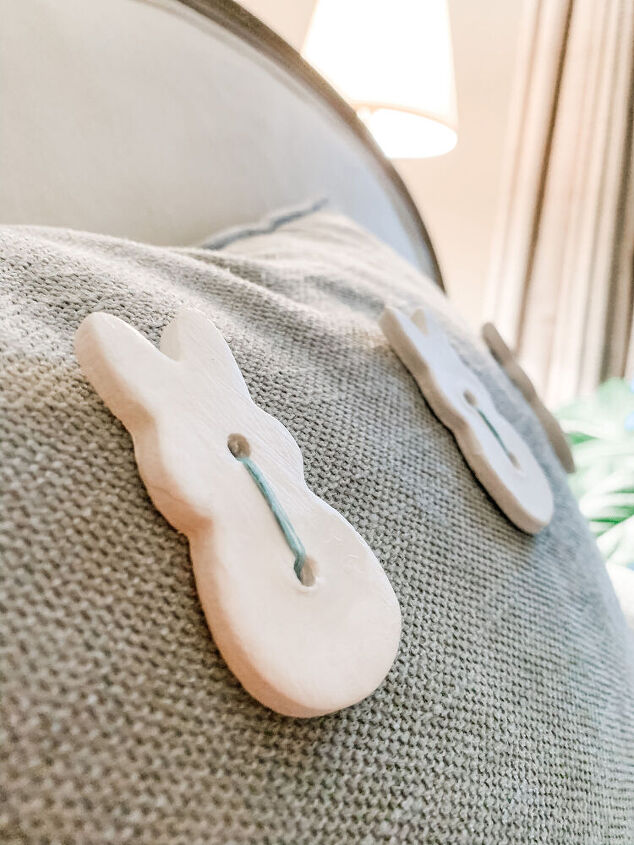
A close up of the buttons. It’s cute and unique!
Resources for this project:
See all materials


Comments
Join the conversation
-
Thank you!
-
What a cute, and simple idea!


Frequently asked questions
Have a question about this project?