


DIY Sideboard

My first cabinet build! Building a cabinet seemed way more intimidating that it actually was. Breaking it down into simple steps and tackling them one at a time, this project is totally doable.
Supplies:
3/4 in birch plywood
1/8 in hardboard
2x2 poplar
1 x 2
Surface mount hinges
Push to open latches
Edge banding
Wood glue
Stain and polyurethane
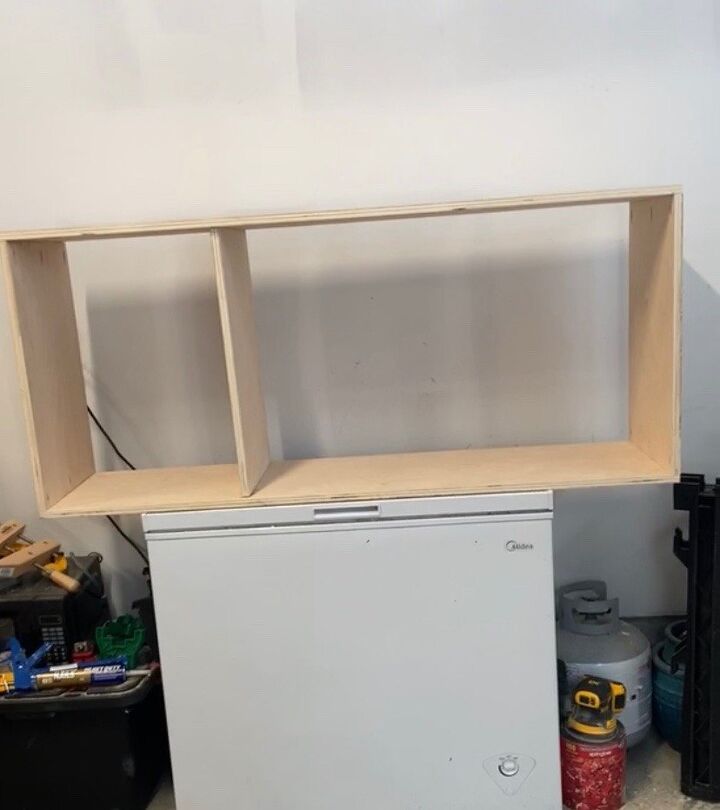
Step 1: Assemble cabinet
First I cut my plywood and assembled the outer cabinet (with one center divider). I attached them together with wood glue and pocket hole screws.
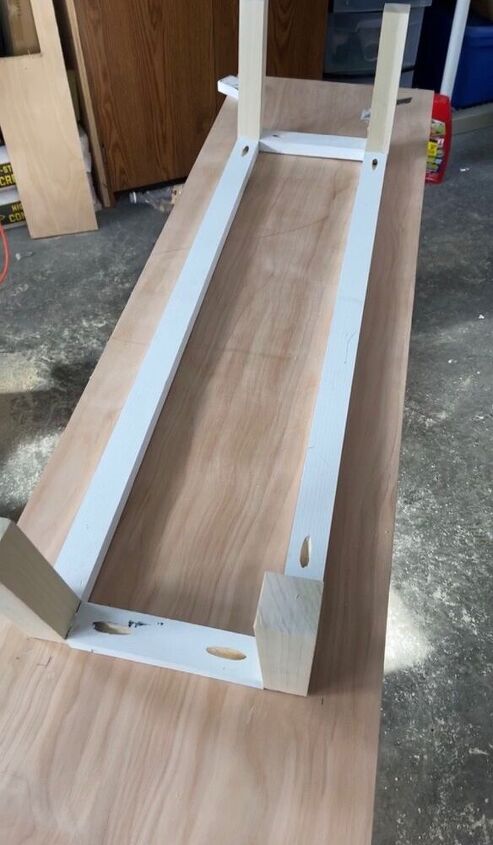
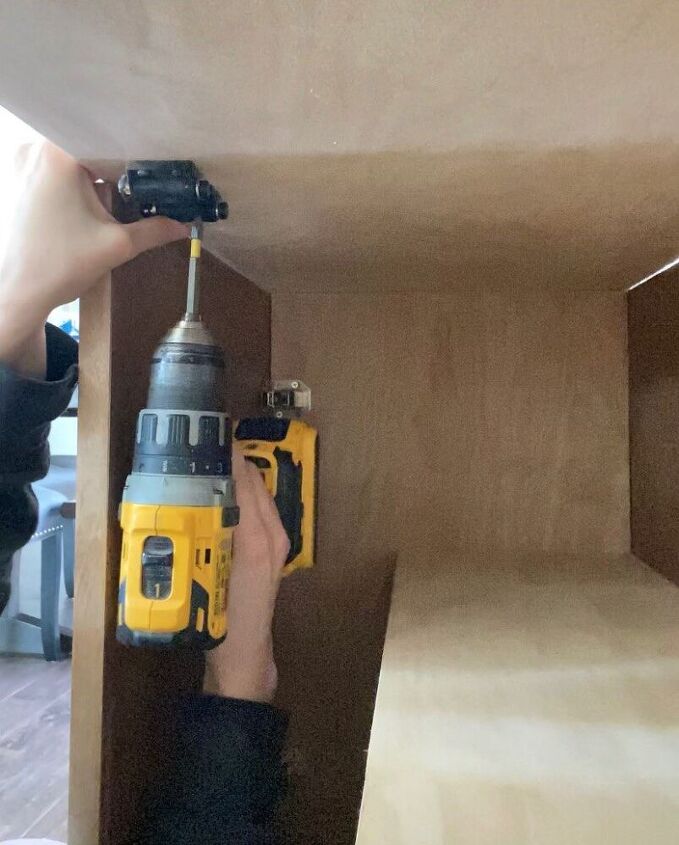
Step 2: Add legs
I cut my poplar pieces at 10° angles, and attached them to each other using pocket holes and scrap 1x2s for extra support. Then, I drilled through the bottom of the cabinet and into each leg with 2.5 in screws. I countersunk these screws and used woodfiller to hide the screw head. You can also add some wood glue here, but I forgot to do that!
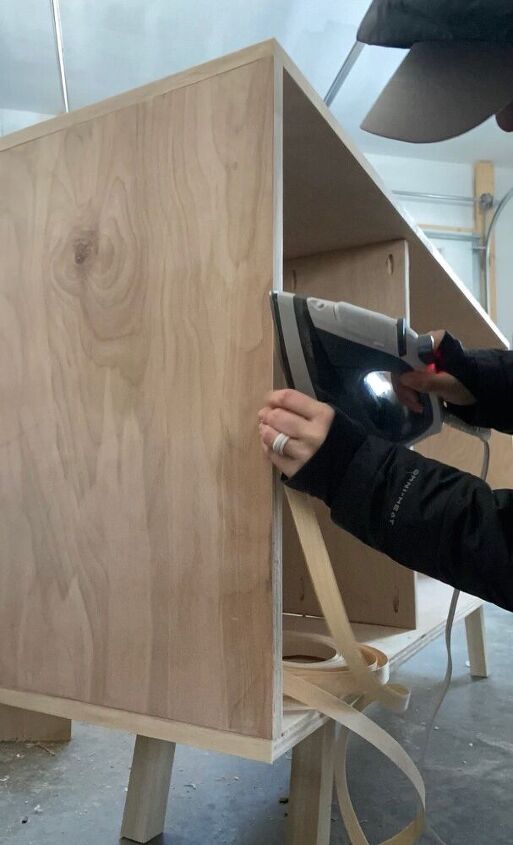
Step 3: Add edge banding
This was my first time using edge banding and I’m in love! You just iron it onto those ugly plywood edges, and it gives a clean finished look. It can also be easily sanded or stained.
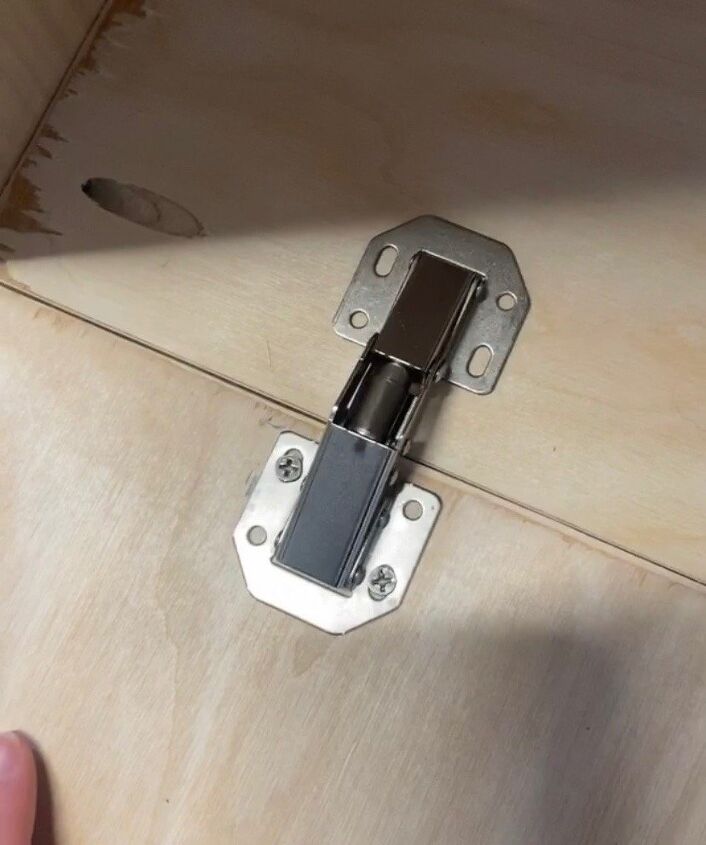
Step 4: Attach doors
Next I cut and attached my doors. This was the part I was nervous for, but I learned some tricks! First, I cut my doors a tad bit big, and sanded them down to size. This may not be the “right way” but it left me with more room for error. Once they were the right size, I added more edgenbanding to them to hide the ugly edge. I also bought face mount hinges, which were very easy to use. Finally, I found it was easier to attach the doors when they were in the closed position (this way there would be no question on how the doors would sit when they were closed). This meant that I had to install the doors before attaching the back of the cabinet.
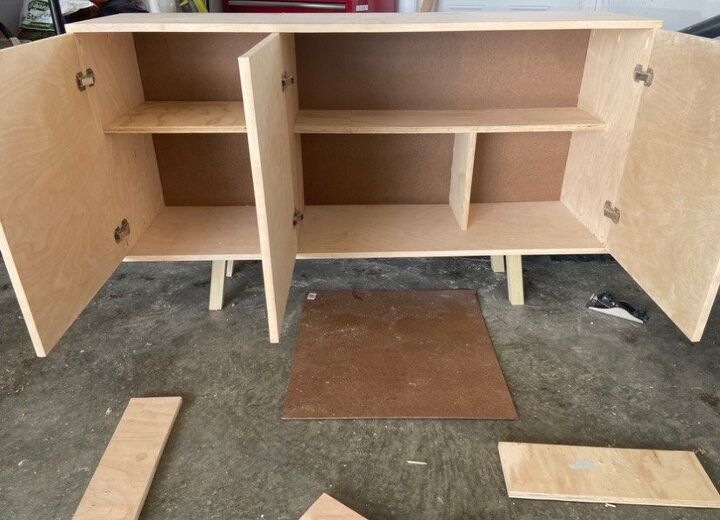
Step 5: Add in shelving
Next, I used some scrap wood to make shelves. I attached these with pocket holes and wood glue, and then added edge banding on the front faces. (This photo was taken after I had already attached the back of the cabinet, but I did add the shelves BEFORE attaching the back)
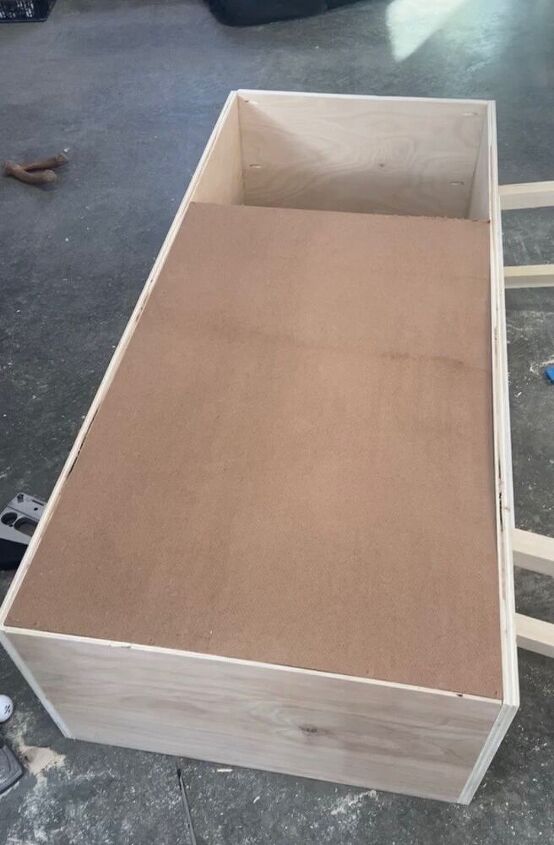
Step 6: Attach Back
Now it’s time for the back! I attached the hard board to the back of the cabinet with liquid nails and Brad nails.
Step 7: Add hardware
I didn’t want any handles or pull, so I installed these push to open latches. These were so easy to install and very affordable!
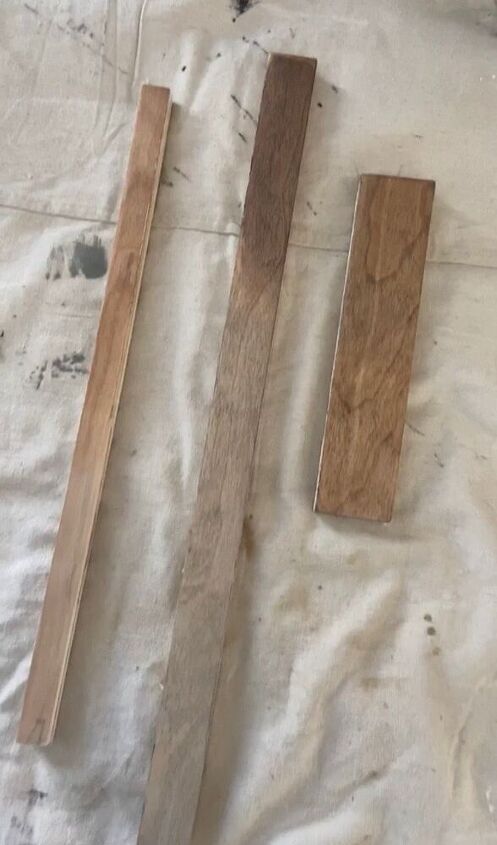
Step 8: Stain and seal
I always struggle with stain. After debating on painting vs staining for way too long, I wound up staining the whole thing Special Walnut, then sealing it with 2 coats of polyurethane, sanding with 220 grit sandpaper in between coats. I always recommend testing out your stain options on some scrap wood before making a decision on a color, and don’t forget to use wood conditioner first!
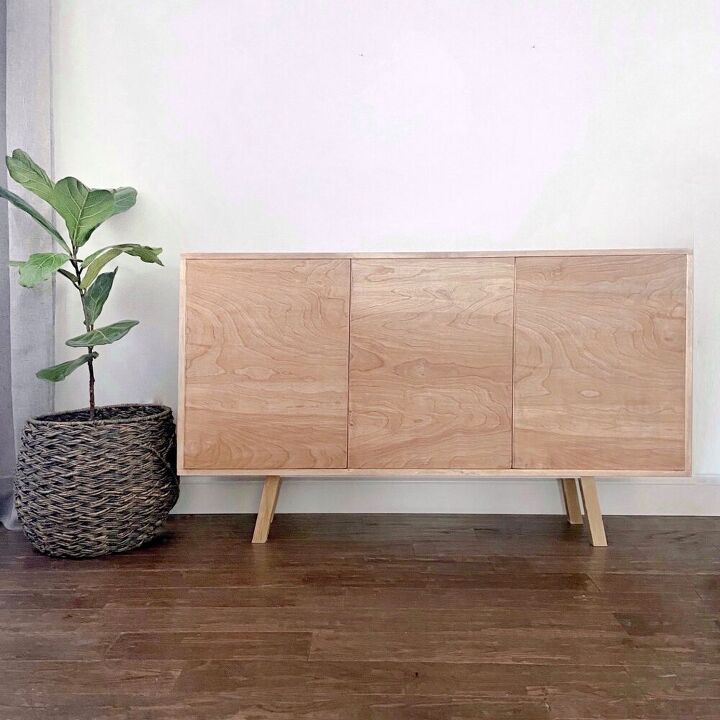
I am so proud of myself for this one! It was my first time building a cabinet and for a first time, I think it came out pretty great.
Resources for this project:
See all materials


Comments
Join the conversation
-
Beautiful.
-
Beautiful piece but I would have book matched the doors to take it to next level


Frequently asked questions
Have a question about this project?