


How To Make A Bathtub Caddy Tray With 1 Board
When I think of a bathtub caddy tray, I think of a fancy lady of leisure. You know, the one that lives in our head. All put together and rolls out of bed, looking like she just stepped out of a magazine. SCRRRRREEECH! Back to reality. That doesn’t exist. But it’s fun to imagine while soaking in a hot bubbly tub, and what could be better than a perch to hold your favorite items while you soak your worries away. Well, maybe not away, but at least put them on the back burner for another time.
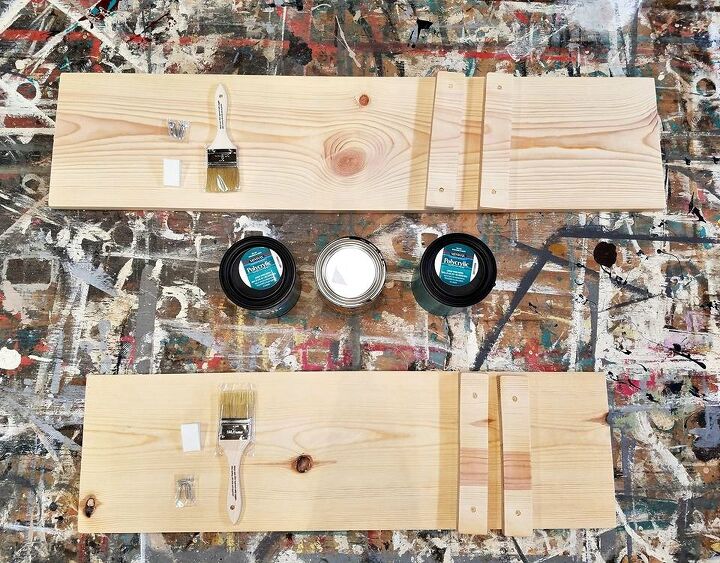
I began cutting my boards to the length of my bathtub and pre-drilling holes for the wood stays. I say boards because I was blessed to share this project with my baby sister—one for her and one for me. Yes, I know she’s obviously not a baby anymore, but some things never change. I’ll always be the older and bossier one. Love ya, sis!
We sanded down the boards with 220 grit sandpaper and dusted them off with a clean cloth.
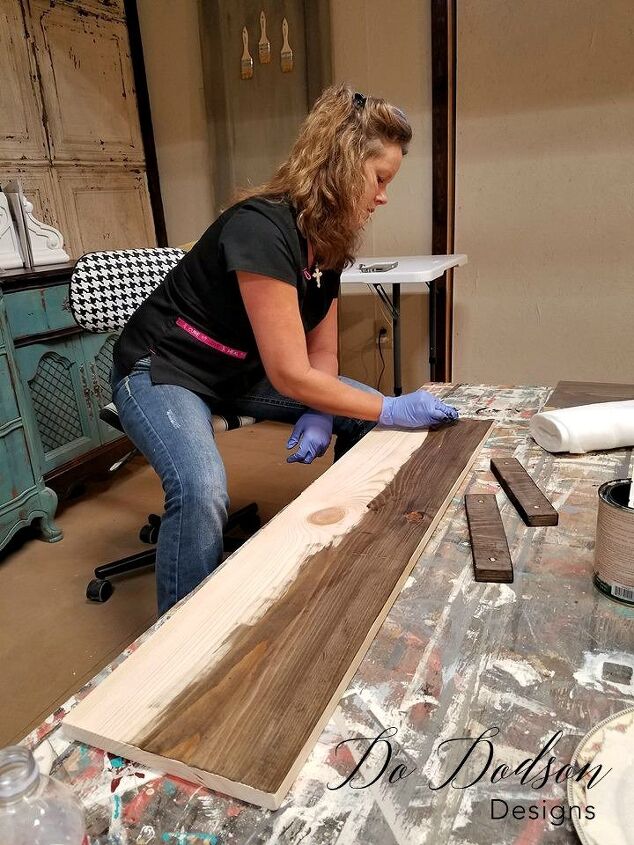
Each piece was then stained with a water-based stain and allowed to dry for about an hour.
We had decided on this Mandela stencil for our design on this project. It’s a great look. The look we grew up with at our Grandma’s house—sweet little doilies on every table. Beautiful memories.
Before we applied the stencil, I used a spray adhesive to prevent the stencil from slipping. This step allows for easy stenciling without the stencil design slipping.
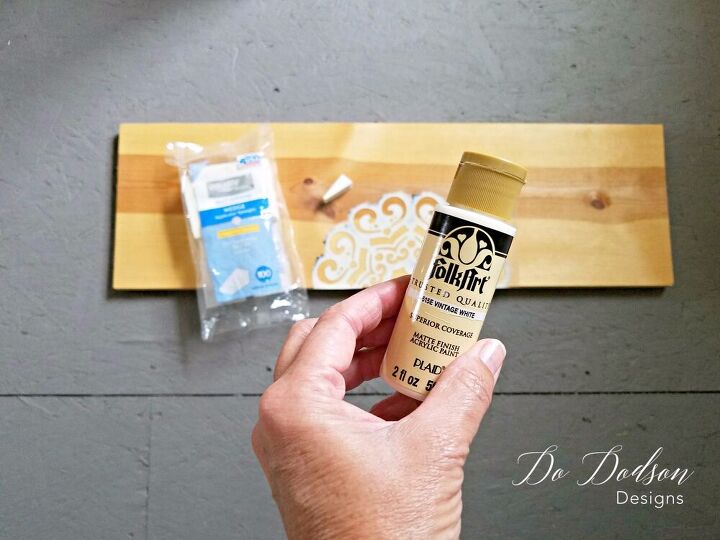
Then we applied the paint to the stencil using a makeup sponge. Just remember, less is more and when to apply to stencils. I dab the paint on the stencil with an up and down motion. I can’t emphasize this enough. Don’t use a lot of paint on the sponge. After applying the paint to the sponge, dab it off on another surface to remove most of the paint. You can always add more.
We sealed our DIY bathtub caddy tray with Minwax Polycrylic in a satin finish.
After it is dried, take the boards and lay them across your tub, and measure where the stops would need to be applied to the bottom. Use a pencil to mark the areas and secured them with 2 screws on each stay. Now, it’s ready to use!
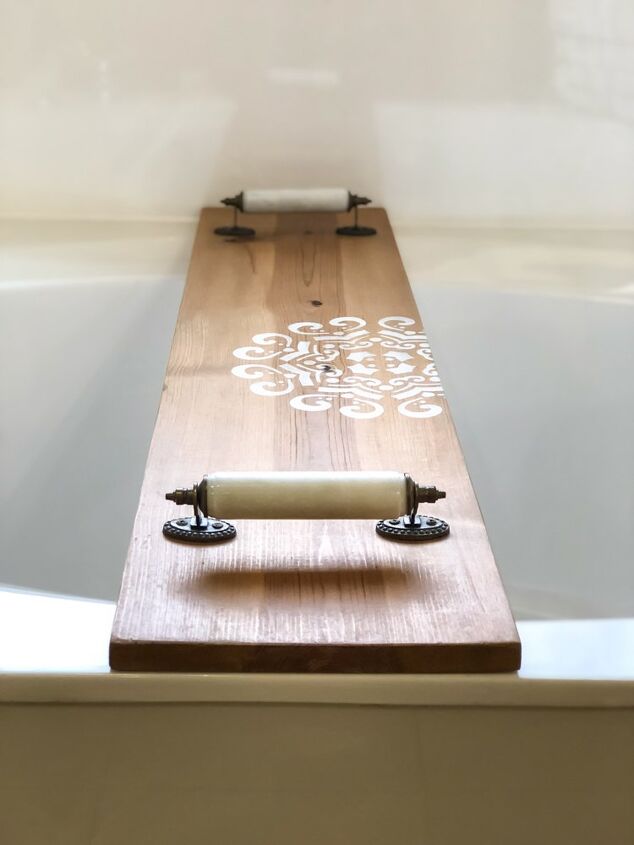
I added these decorative handles on each end of the bathtub caddy I found at Hobby Lobby for the final touch.
Thanks for joining me today, but I would like to challenge you to try this 1 board project before you go. If you’re a first-time DIYer, this is a great way to get your feet wet.
xo, Do 
Here are more Easy DIY projects you might like.
Resources for this project:
See all materials


Comments
Join the conversation
-
Great idea. Thanks!
-
Very nice!!! I’m going to use your idea so thanks for sharing. It’s lovely and practical. Can’t wait.....


Frequently asked questions
Have a question about this project?
Did you use the wooden screws for the stops/ stays?
In one paragraph you quoted „Mandela“ stencils and being a South African, I was wondering what Mandela had to do with stencils. Then you mentioned „mandala“. So my question is this: Mandela or mandala stencils?
I'm a bit foggy about what "stops" are, what they look like, why they're needed, and how to do this step?