


DIY How to Build Cool Rustic Wood Bench for $30

When pricing similar rustic wood benches like this one, I about fell out of my chair. They are so expensive. Even at HomeGoods. They were at least $100. If you already have the tools then this would be a $30 bench, just for the wood. Or at least it was back in October when we made it, but then I heard wood has gone up in price everywhere. So it might be a little more now, but still cheaper then buying it new.
I like to think my husband and I make a good team. I have been wanting this bench for a while now and I went to Pinterest to find the style I was looking for. I just showed him the picture and he helped bring it to life.
Of course you could just go out and buy one but creating something out of nothing is truly special. A piece like this can be passed down to your kids. I treasure anything I received from my grandparents, especially now that they are gone. Things made with love have a special meaning I think. So if your here reading this I hope you’re able to do that for your kids, not that it has to be a bench but something you can pass on to keep those memories alive. Okay, off the soap box. Let’s do this!
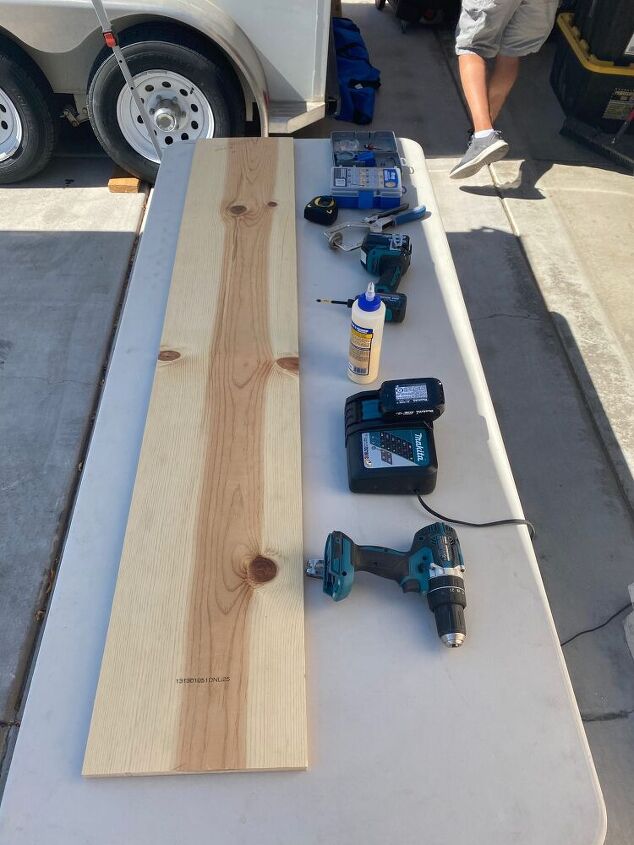
Supplies:
- 1- 3/4″X12″X72″ Pine
- 2- 2″X2″x96″ Pine
- 3/4″X4″X96″ Pine
- wood screws
- wood glue
- pocket hole kit
- measuring tape
- electric drill
- Table saw
- router (optional)
- grinder (optional)

I wanted a more rugged looking bench. I also love the look of the pine when it is stained. Its actually hard to find really good quality wood at Lowes or Home Depot. Living in Las Vegas we don’t have a local place with cheaper prices unfortunately. Luckily this project didn’t need anything fancy. I wanted it to have knots in it so I pick the best one I could find with some character.
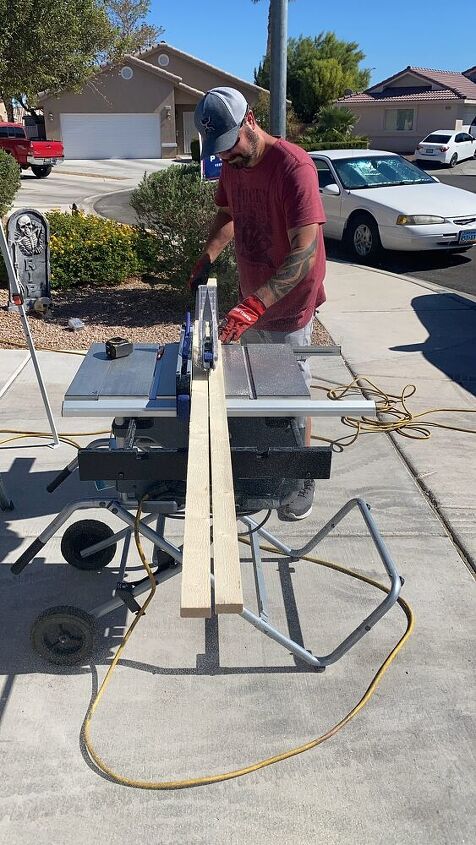
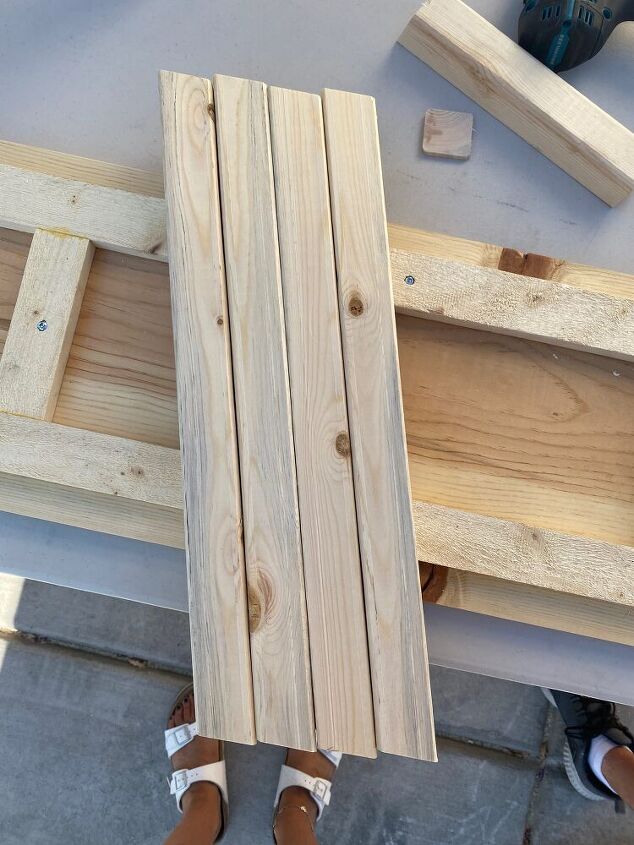
The first step was to rip the 4″ board in half to make the support on the bottom of the bench.
So with that one board you’re going to make 5 different pieces to fit your bench.
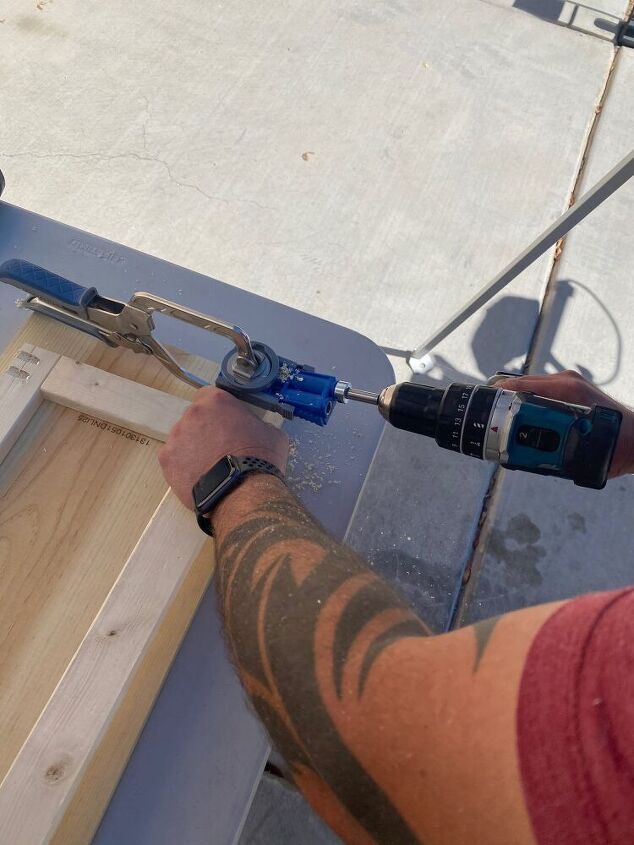
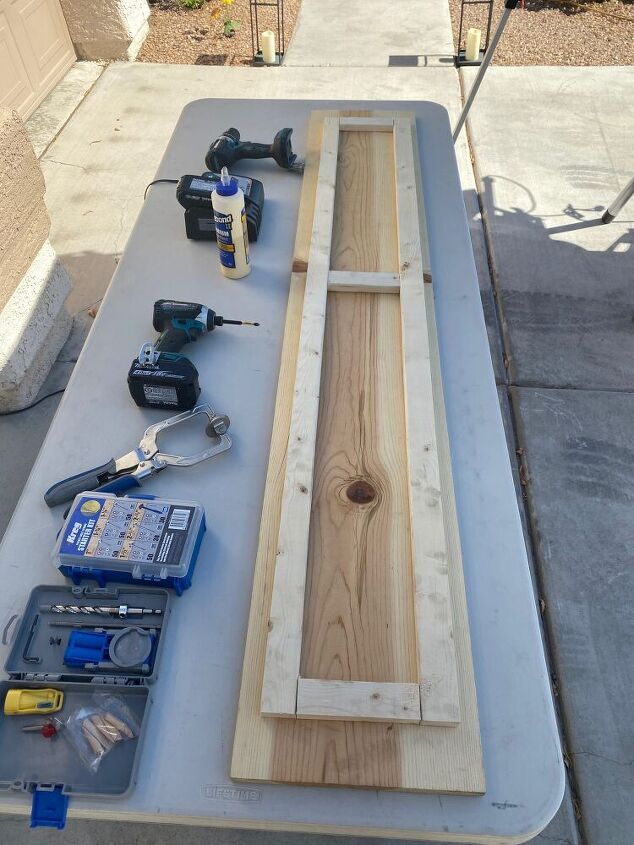
Using a pocket hole jig (if you don’t know how to use one you can find a tutorial here) make pocket holes to screw these 5 boards together then wood glue it down and finish off with wood screws but make sure they don’t go through the top of the bench.

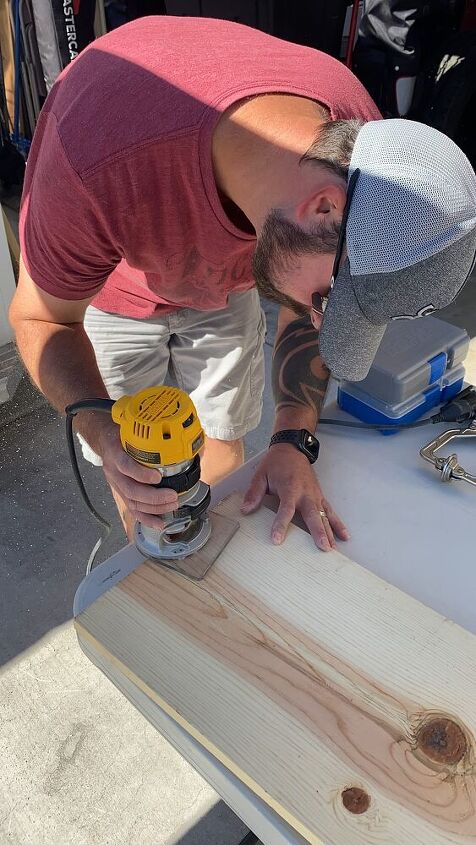
You don’t need a router but it really adds a nice touch. The board has a square edge and this makes it round.
I just measured the hight of one of our dining chairs to figure out how tall I want this bench. From floor to the top of the seat. I will sometimes use it in place of 3 of my dining chairs, on the one side of my dining table. Using 1 of the 2×2’s cut it into 4 pieces at a 15 degree angle. Ours was 18″ but you might want different measurements depending on your space. So between the bench, the support under the seat and the legs the bench sits 31″ tall.
Once you have the legs in place, you need to add supports (the pieces that connect the legs together.). He also added pocket screws for this. It’s very important to use screws and not a nail gun. This will insure the benches safety for the life of the bench. Just make sure to add the pocket holes to the inside of the legs so you can’t see them. I forgot to take a picture of it outside but here is the leg design so you can see.
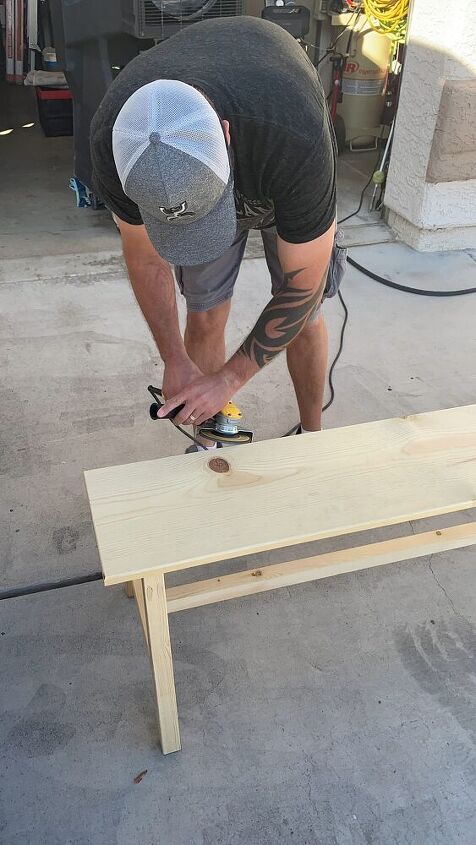
This is optional too but this really makes it look rustic. He is using his metal grinder to make little divots in the wood. You will be able to see it more once it’s stained. He’s just doing it in random areas all over.
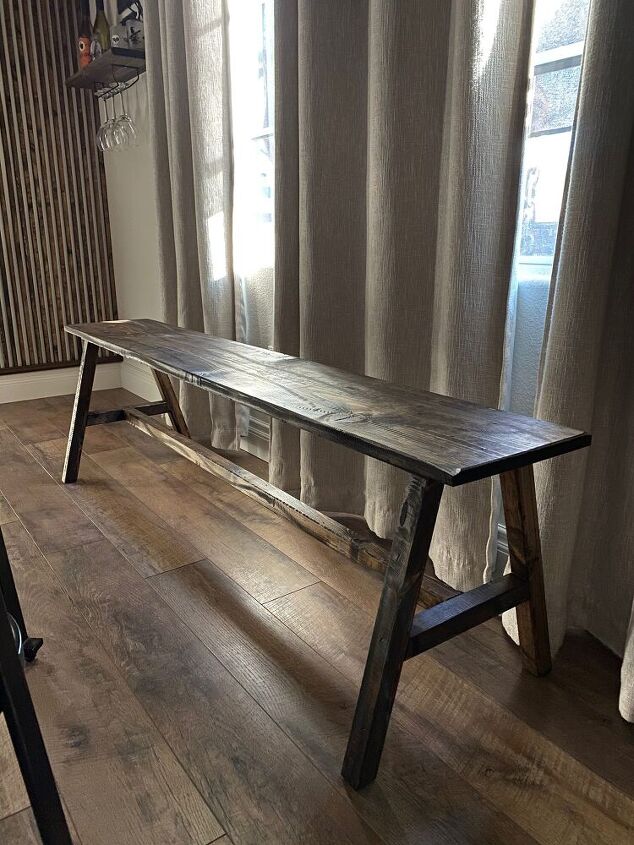
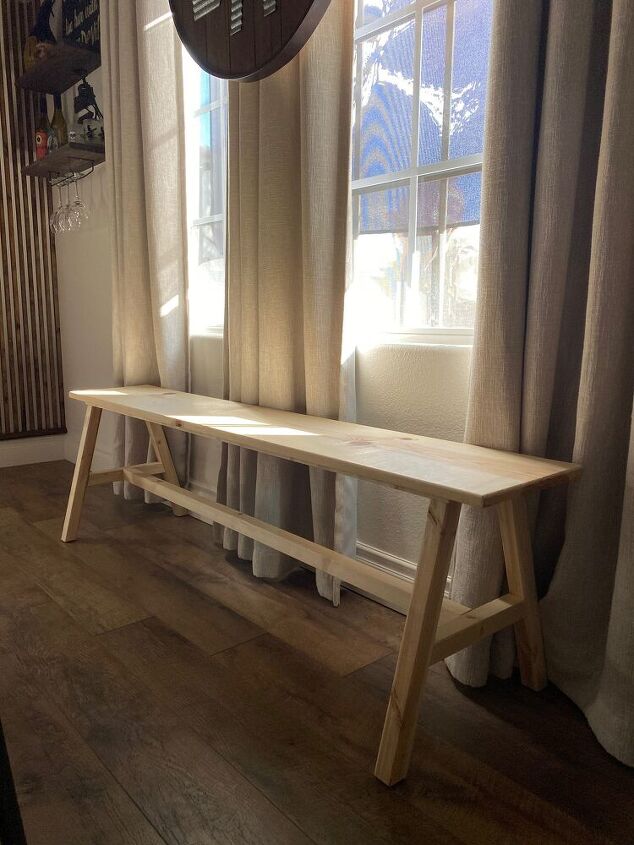
The main reason for building this bench was to have it in front of this window so our animals can look out to our front yard. They love seeing the action that going on out front. Even waiting for mom and dad to come home.
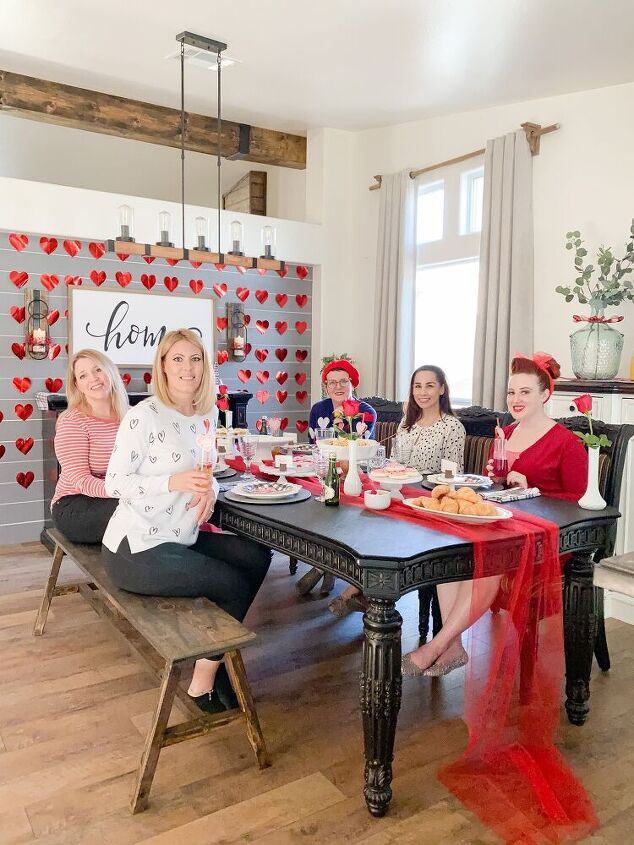
Here is a picture of my friends and I using the bench for our annual Galantines brunch.
Let me know what you think in the comments below. You can find more DIY's on my website at JessieThomasDesigns.com


Comments
Join the conversation
-
Fabulous project- good on ya🤗!
-
this is nice!! I would try it but I think I would put some type of metal looking bands on each end and in the middle.


Frequently asked questions
Have a question about this project?