


Repair and Refresh Tile Grout the Easy Way

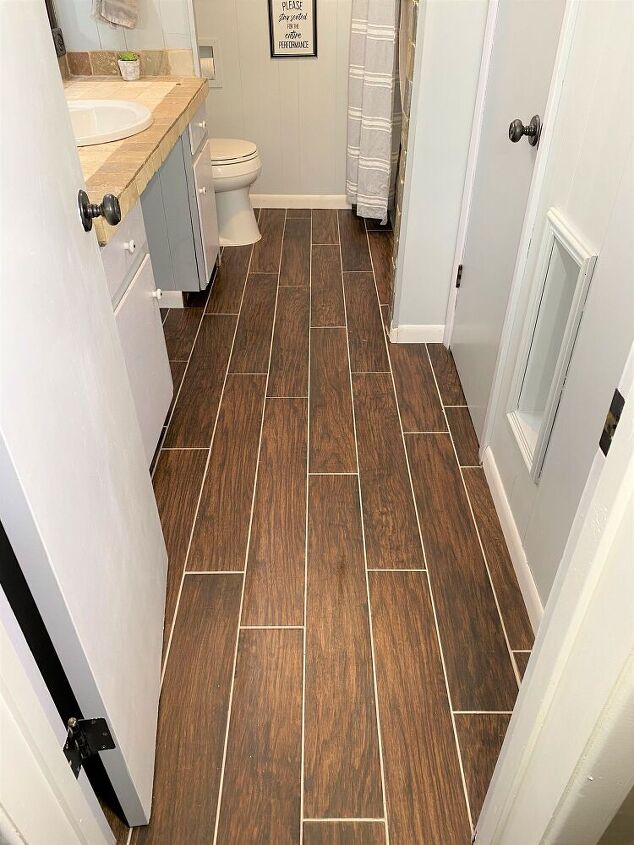
Moving right along on all the repairs needed on the Texas Blue Bungalow. The guest bathroom needed floor repairs when we bought the house. They are finally completed 10 months later!
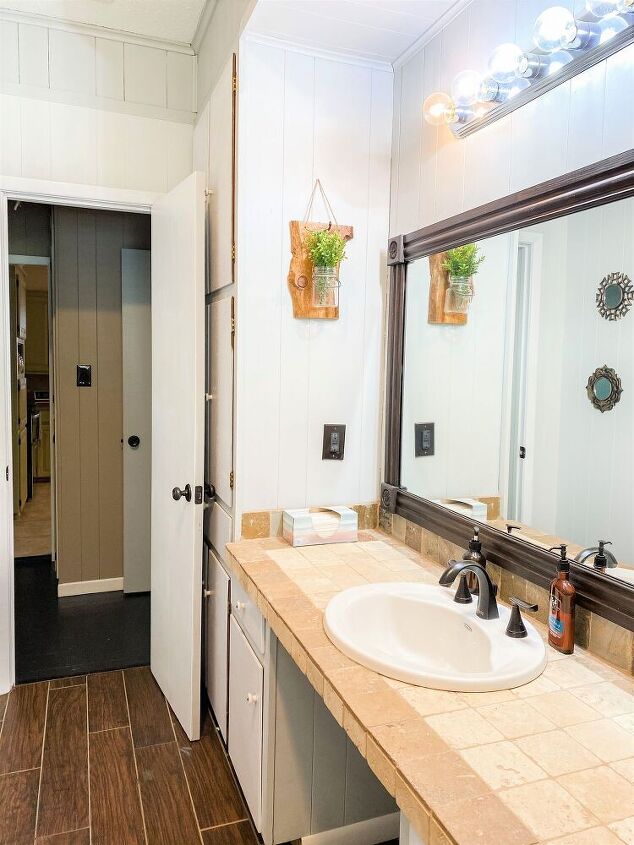
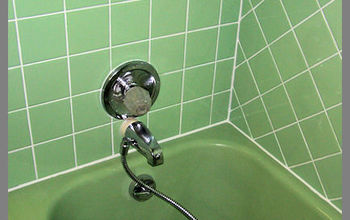
I painted this bathroom right away because, well it was, um yeah! Click HERE to see what color is used to be!
NOTE: I'm not a pro, I'm just winging it!
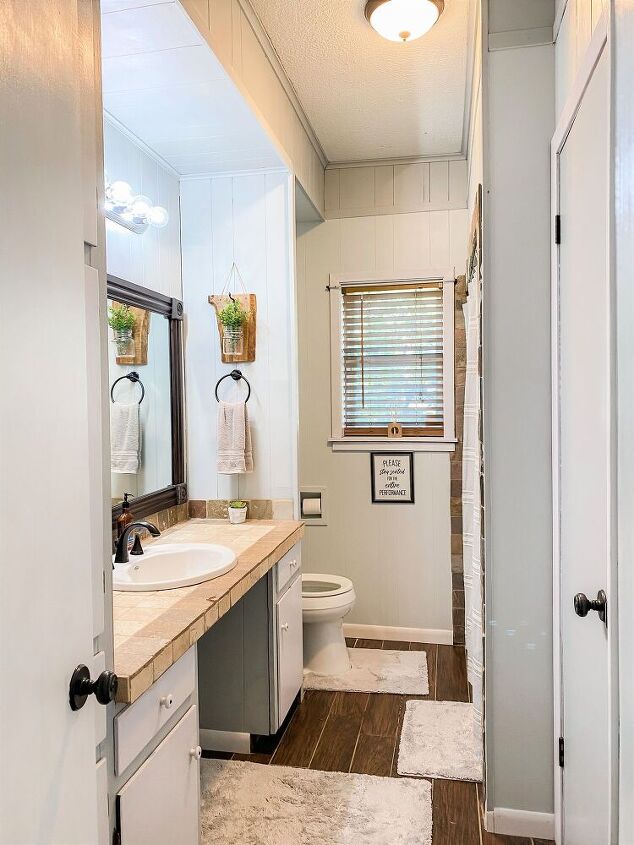
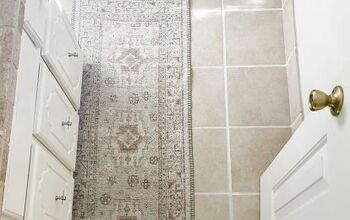
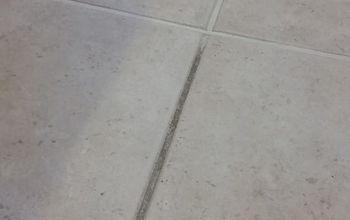
Like I said, this floor needed repairs when we bought the house. There was large spaces that there was no grout at all and then lots of places that had very little grout and several places with crumbled and loose grout. If you look closely you can see the missing grout in that area in front of the cabinet, between all the rugs.
More missing over by the door too. It was crumbling and or missing throughout the entire walkway area. It's an old house and the wooden floor underneath it flexes is my guess at why the grout gave up and quit holding together, but don't quote me on that cuz IDK for sure!
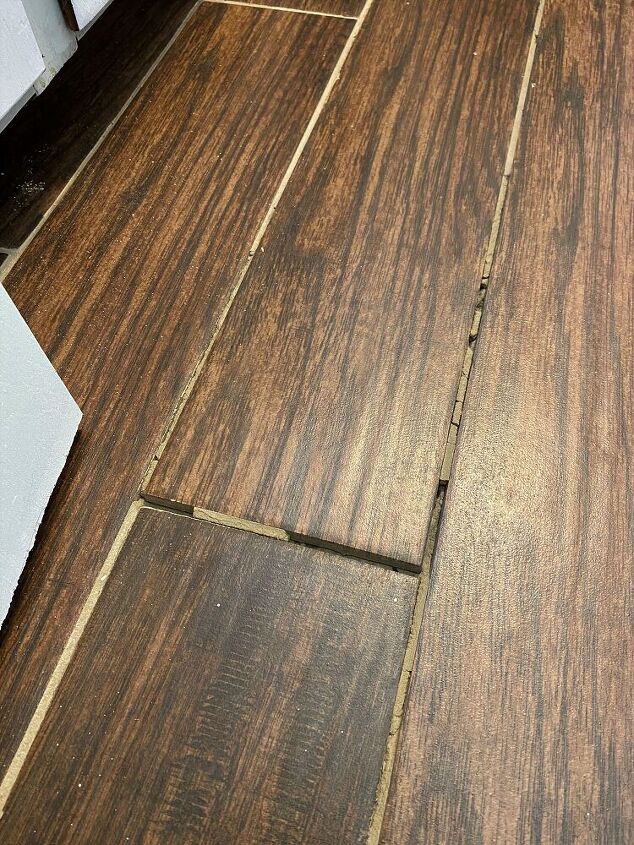
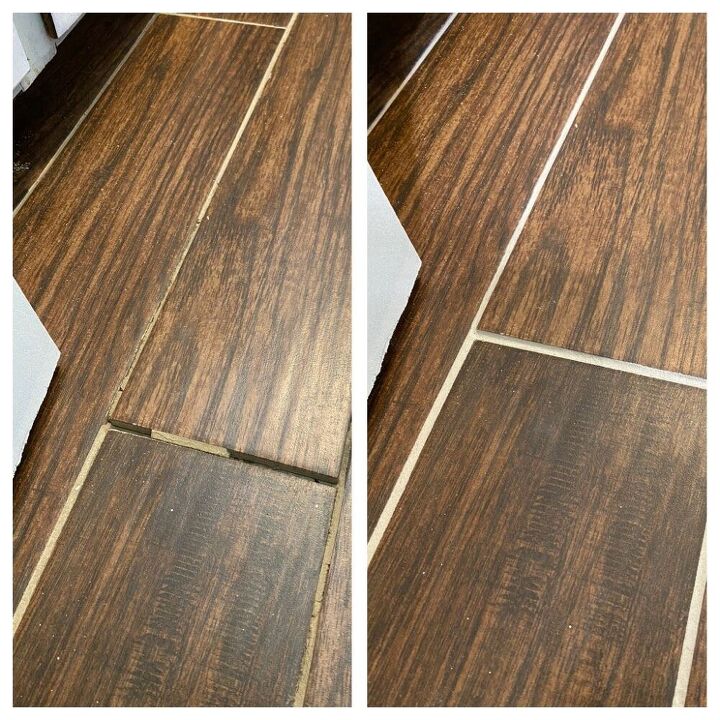
Anywhoobs, here are a few shots of the worst damage where there was grout completely missing or just crumbled in the cracks.
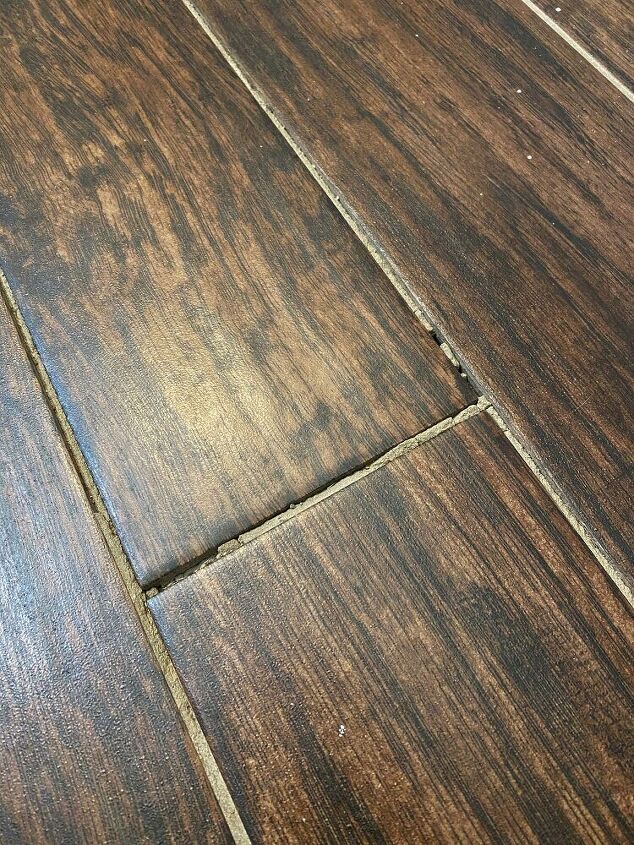
You could hear the floor crunching when you walked on it before. NOT ANY MORE!
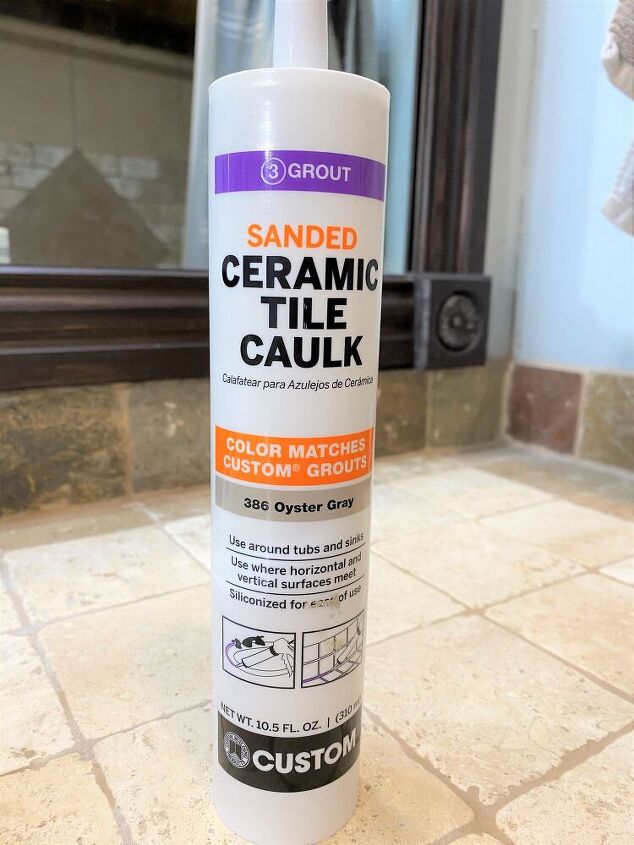
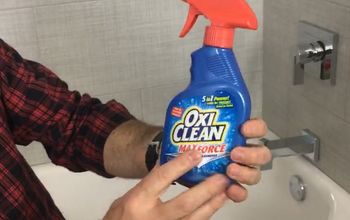
This is the caulk/grout used to do the repair and re-finish of the entire bathroom floor. It's siliconized sanded grout in a tube that came from Home Depot. To be honest, I never even knew this stuff existed until now! Best stuff ever!
Step 1: Use a shop vac and vacuum the entire room, making sure to get all loose pieces out. You can use a flat head screwdriver to test if the grout wants to come loose too.
Step 2: Clean the entire floor well. I used a steam mop.
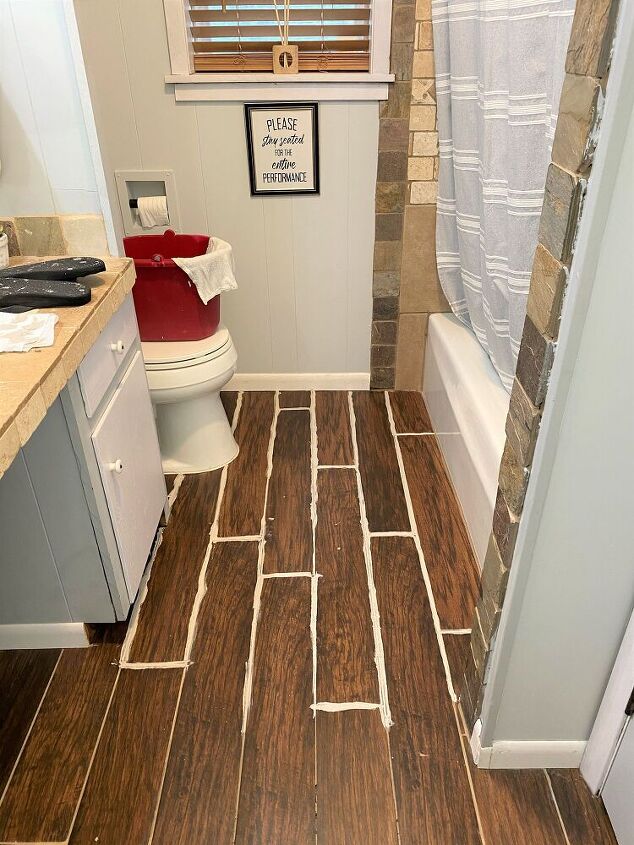
Step 3: Starting at the far end of the bathroom and working toward the door is the best idea. To refresh, run a bead of caulk/grout on each grout line.
Step 4: Smooth each line with a damp fingertip.
Step 5: Clean up excess grout with warm soapy water. I used a mop bucket and old micro fiber towels.
NOTE: This is WAY too much grout and WAY too big of an area to work with. It is not necessary to use large amounts of grout (unless there is a crack) , just small amounts will do.
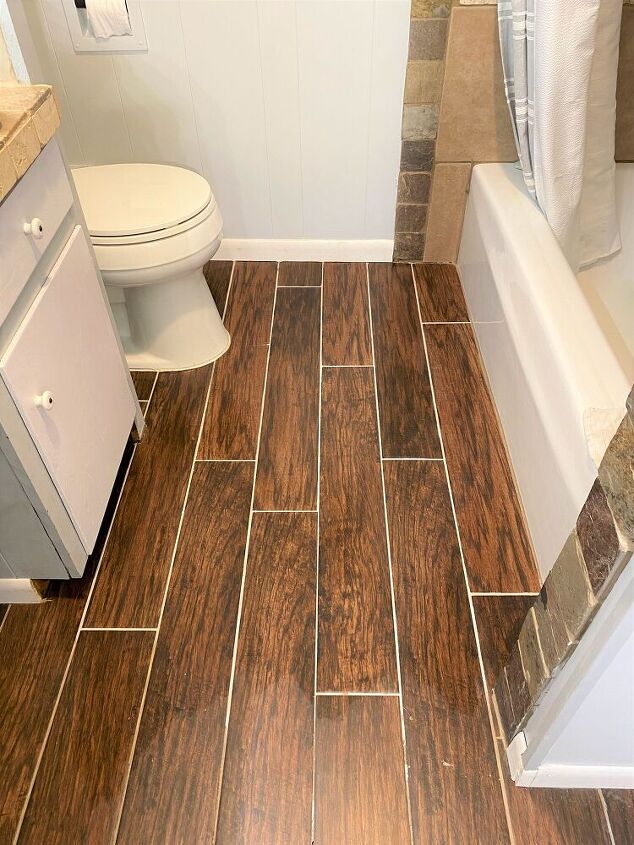
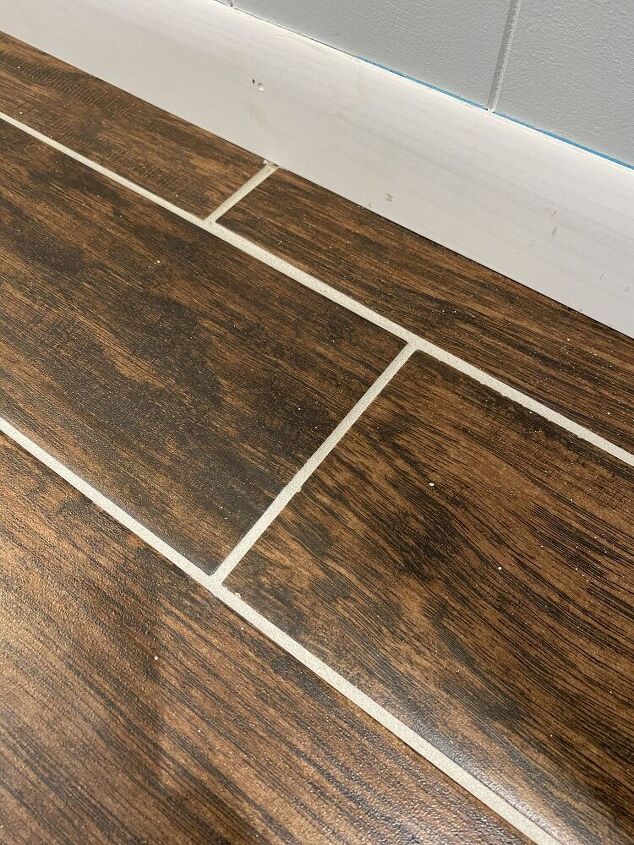
This is after clean up. It took me forever to clean up that much area. It starts drying pretty quickly so work a small area at a time.
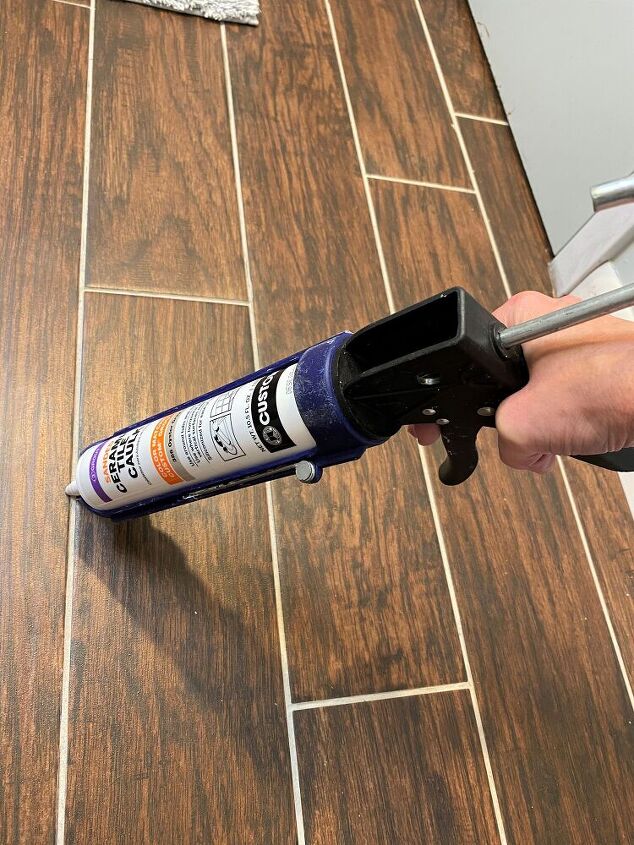
TIP: Squeeze out small, thin lines of grout and stop short before you get the end of your line. When you smooth it out with your damp finger, you WILL have enough to keep going to the end of your line. Less grout means less waste.
Obviously, if you're trying to fill a gap, you will need to use more grout and keep pushing it in the crack until its full.
Let the caulk/grout cure 24 to 48 hours before you walk on it.
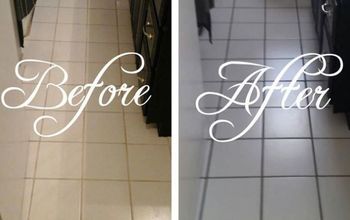
Wowee! What a big difference! It looks brand new now! Why didn't this happen sooner?
Just look at how nice its looking now! No more gaping cracks and crumbles!
I can't get over how easy this was to do! I will definitely be using this method again in the future!
Thanks for looking!
Resources for this project:
See all materials


Comments
Join the conversation
-
How do you not walk on it for 24-48 hours if it’s your only bathroom or even your kitchen?
-
Nice


Frequently asked questions
Have a question about this project?
Is this chalk paintable? Or does it come in different colors?
My question is the same as several others....does it come in other colors but white?
Can this caulk/technique be used within a shower stall?