


Simple Idea for DIY Wall Art
We all have that wall…
You know the one…
Every time you walk by or are sitting on the couch staring at the blank space near your dining room table …
Your imagination starts to wonder…
And you start asking yourself.. how can I fill that space?
Well..I have just the solution! Follow along and I’ll show you how to make art, that is amazing, is affordable and is simple.
I know you are excited…so let’s get started!
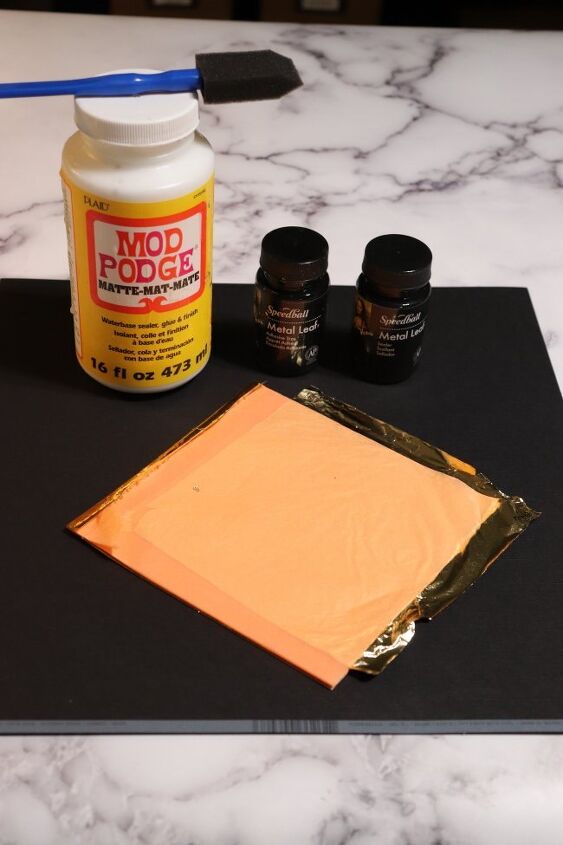
Here are the supplies I used:
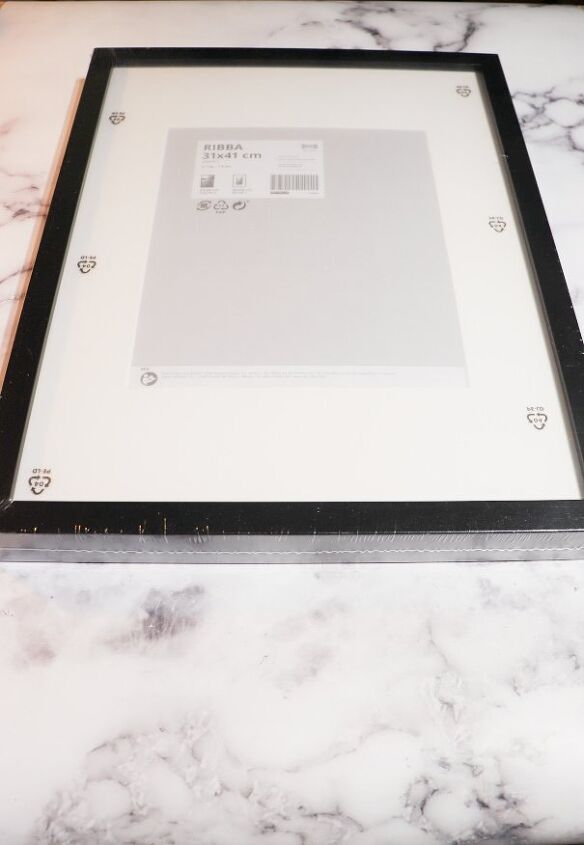
- 12 x 16 RIBBA Frame
- 8 x 10 White Frame
- Faux Fern
- 12 x 12 Black Card Stock
- Goldleaf
- Metallic Gold Spray Paint
- Mod Podge
- 8.5 x 11 Green Card Stock
- White Spray Paint
Making The Wall Art!
Simple Idea..How to Make Wall Art That is AMAZING!
- PICK YOUR FRAME
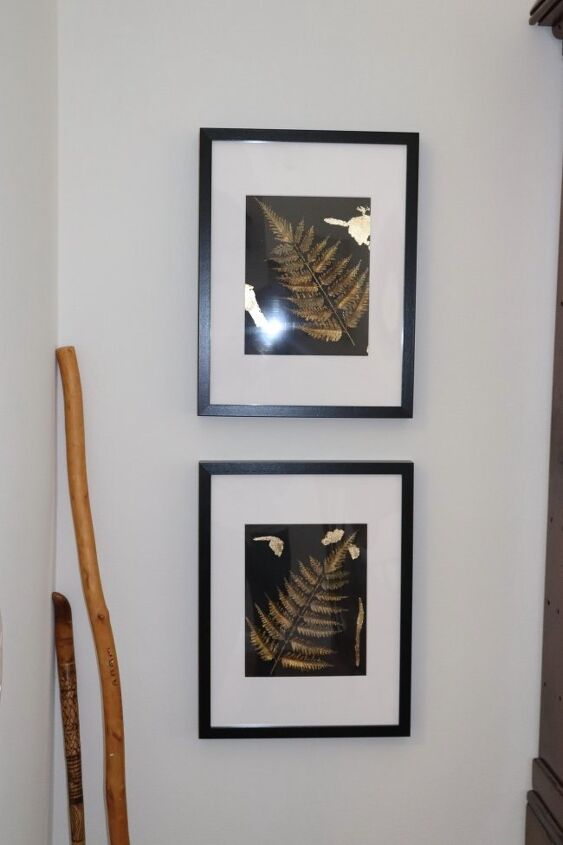
- Find a frame that fits into your decor. I like frames from IKEA, Michaels, Hobby Lobby, and Amazon. I have also found unusual frames at thrift stores. I have even bought artwork at the thrift stores just for the frame. Artwork doesn’t have to be expensive to be beautiful…
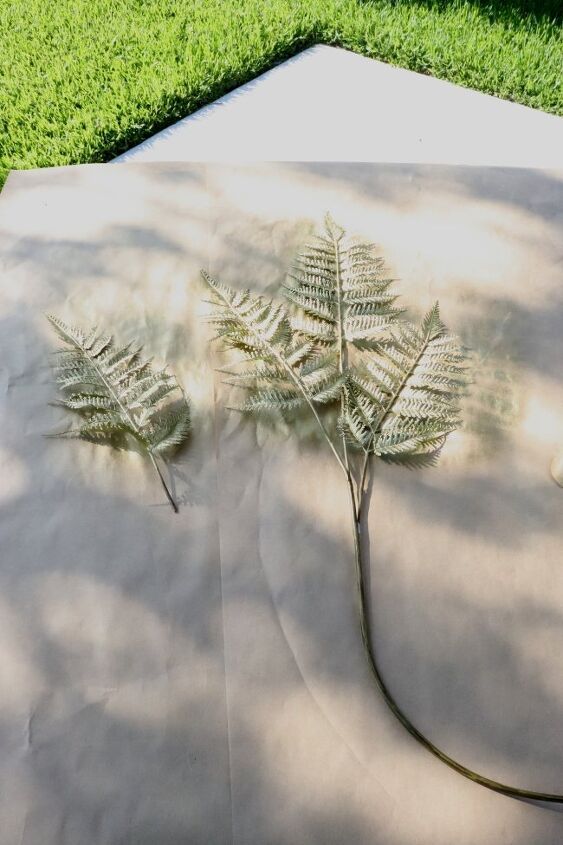
PAINT THE FAUX FERNS
I used metallic gold paint for this project.
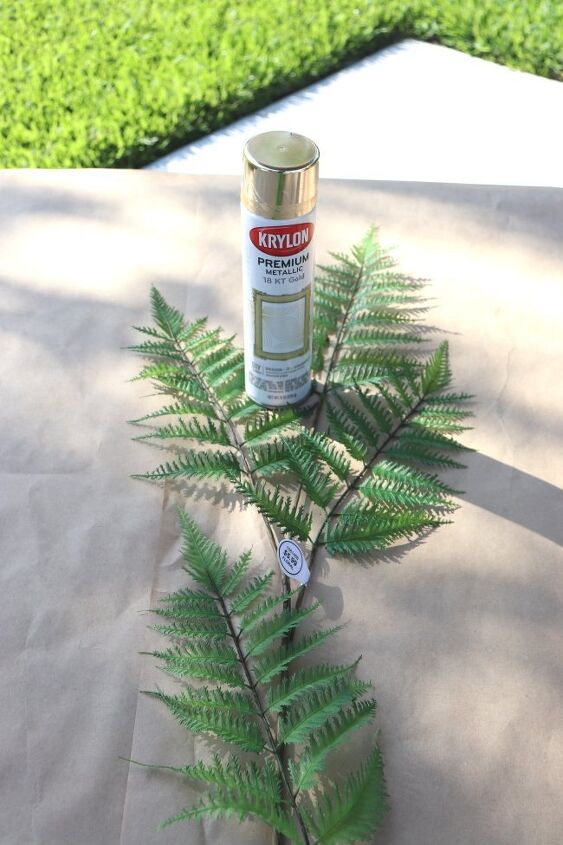
ALLOW THE FERNS TO DRY
REMOVE THE MAT FROM THE FRAME
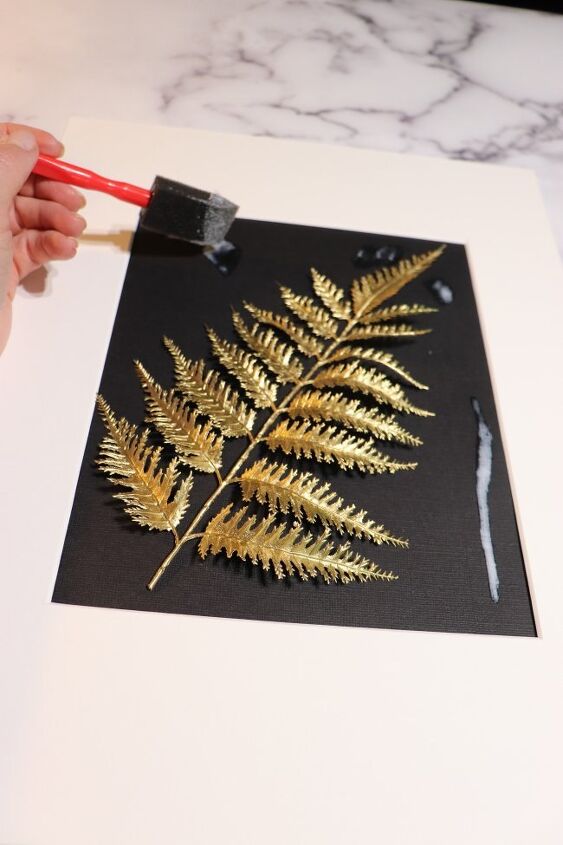
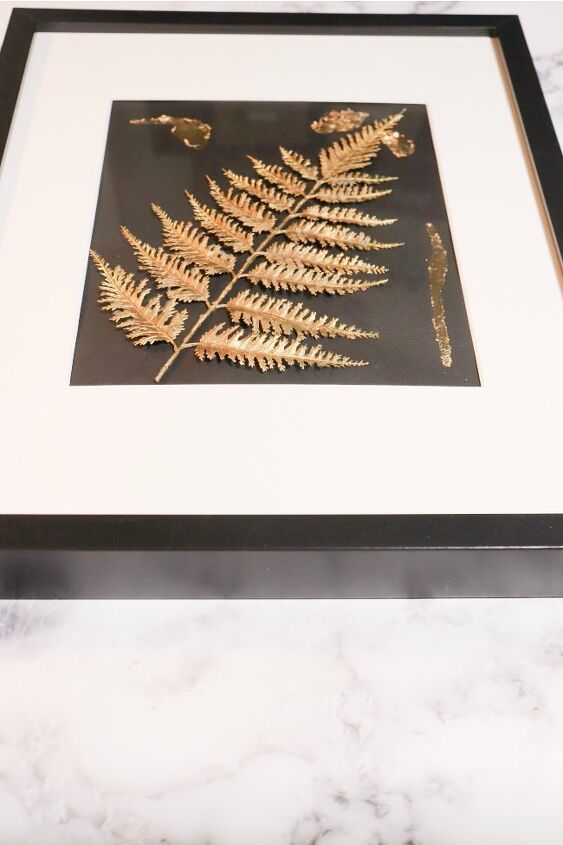
Place the black card stock behind the mat. If the card stock is too large, cut it to size. Use the mat as a guide for placement of the fern.

POSITION THE FERN
Place the fern so that it is not overlapping onto the mat.
MOD PODGE THE BACK OF THE FERN
Use a thin coat of Mod Podge, you don’t want to add too much glue, and it runs onto the black card stock.
PLACEMENT OF THE FERN
Place the fern on the card stock, keeping the mat in place. This will help you to decide the placement of the fern and where you want to embellish it with the gold foil.
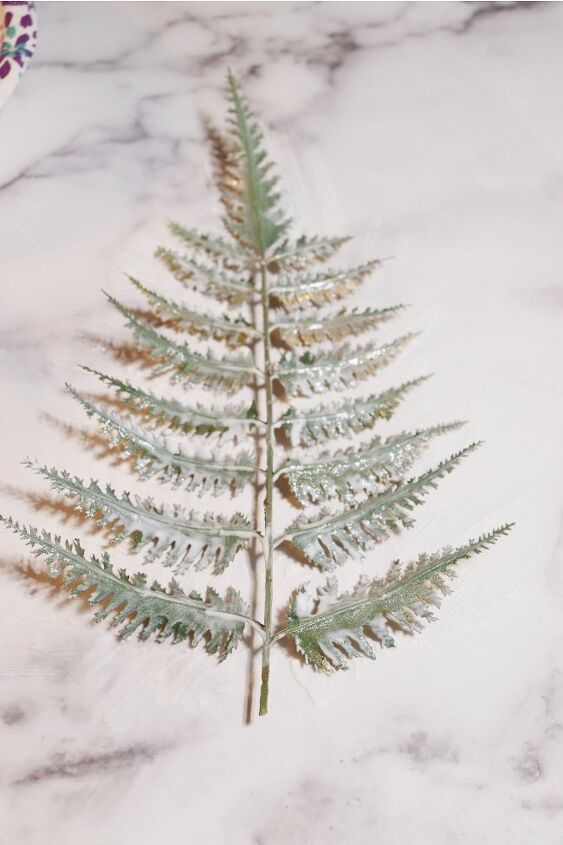
NEXT ADD GOLD LEAF
I used Speedball Gold Leaf but any brand will work.
RANDOMLY ADD GOLD LEAF ONTO THE BLACK CARD STOCK.
Follow the directions and place the adhesive and allow to dry, followed by adding the foil.
ALLOW TO DRY
I placed wax paper over the fern and card stock to allow to dry
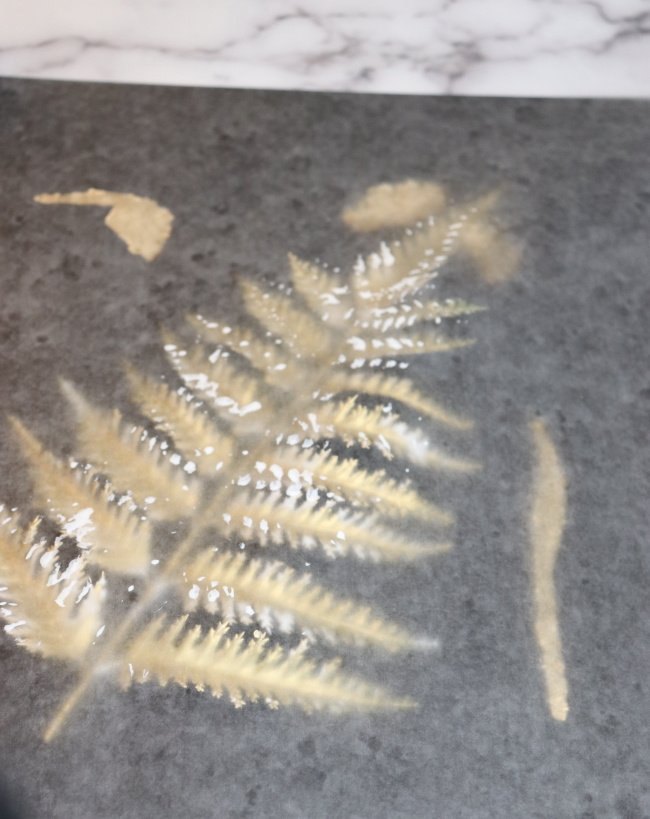
PLACE SOMETHING HEAVY TO HELP THE FERN TO LAY FLAT WHILE DRYING
I used bricks to help flatten the fern.
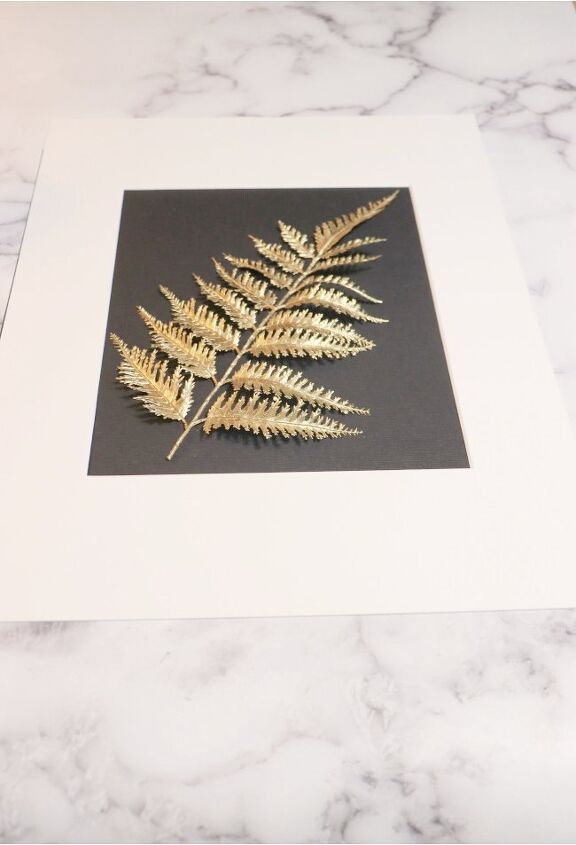
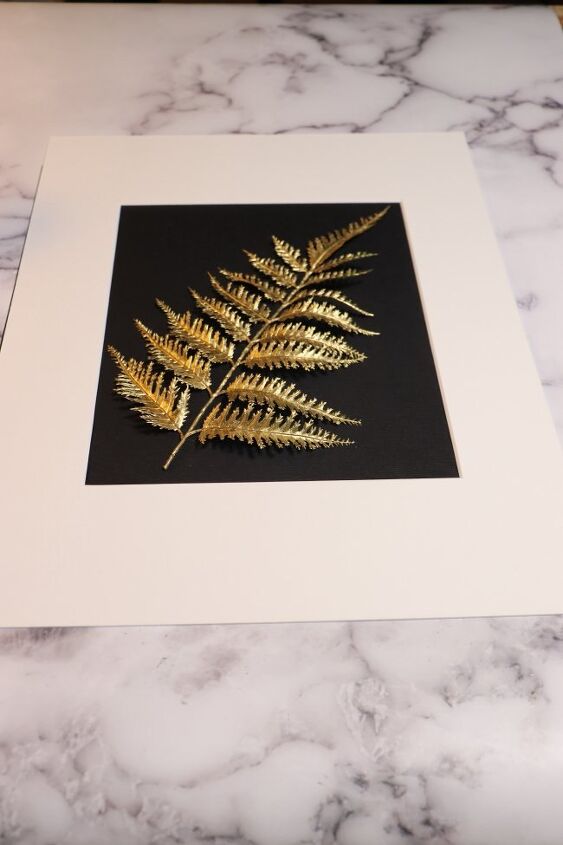
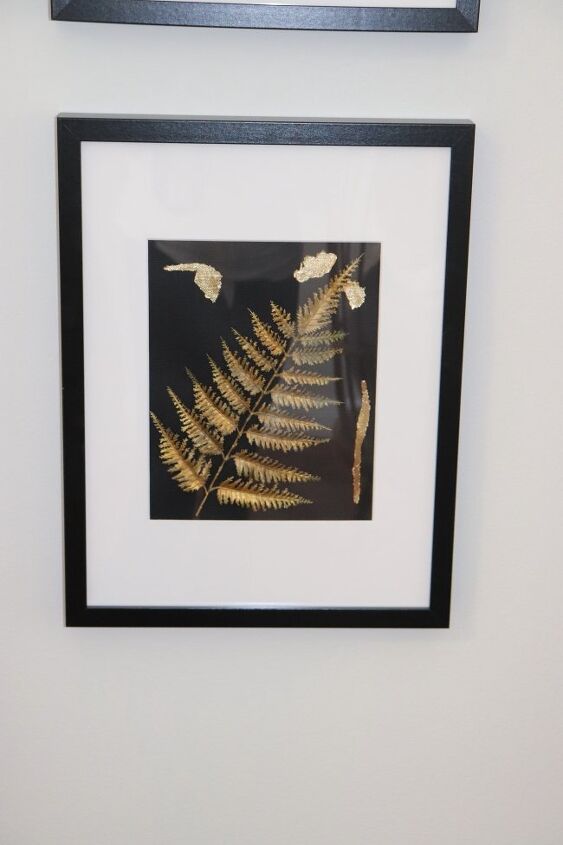
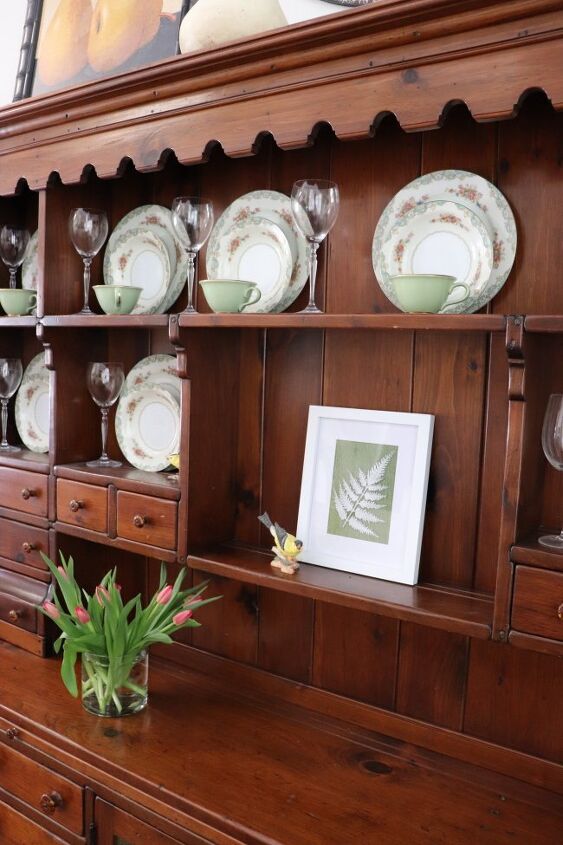
PLACE IN FRAME
Allow to dry and place into the frame…
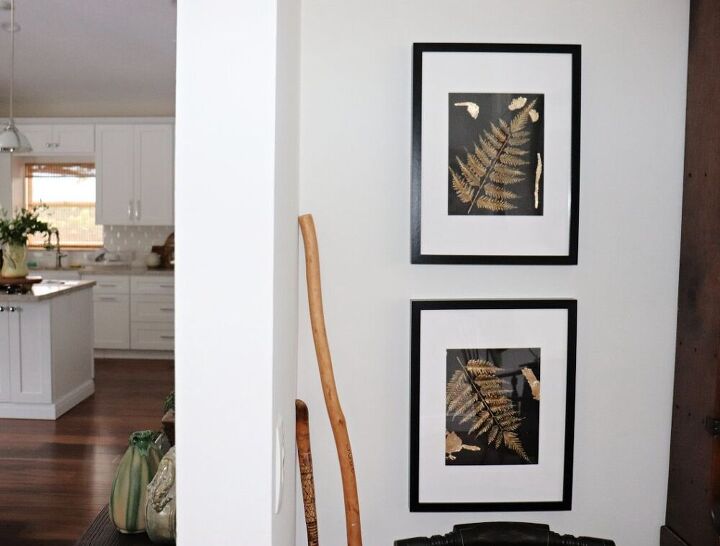
The Finished Wall Art Project…How Simple!
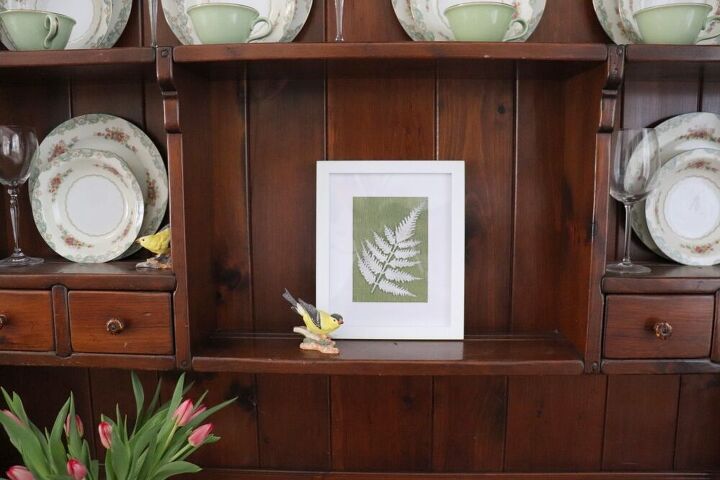
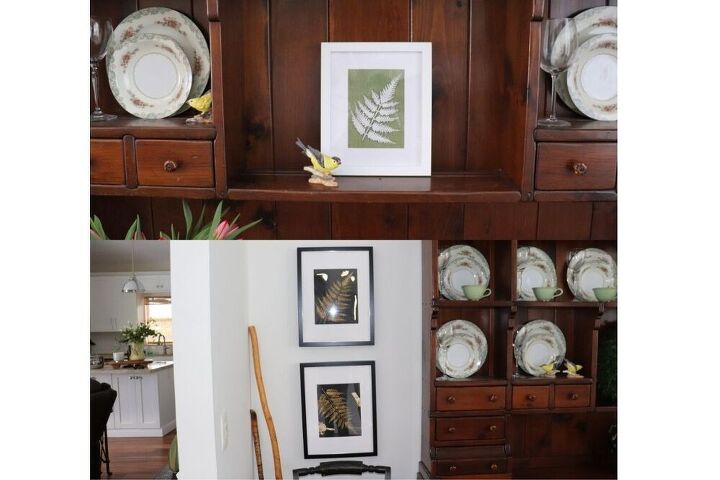
How to Make Wall Art…Another Version
While I had the spray paint out, I painted a fern white to show another example of how to make your very own wall art. There are so many different ways to do this project. Not only can the fern color be changed, but the background color and design can be any material or color.
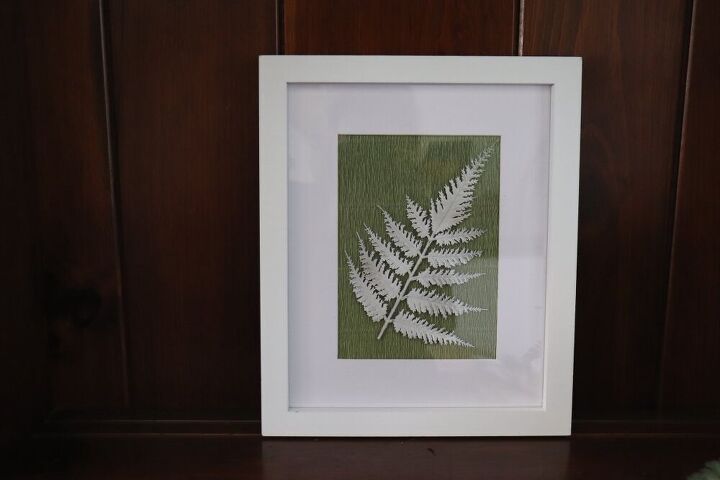
The steps are the same, only this time, because the leaf and the frame are smaller, I skipped gluing it down and used the glass to hold it in place, and it worked fine.
Final Thoughts
I hope you enjoyed this simple wall art tutorial and it gave you inspiration and your imagination started wondering and If you liked these, for more inspiration, check out these blog post Black and White Wall Art and a more recent post using seashells, DIY HOME DECOR USING SHELLS.

HERE ARE LINKS TO THE PRODUCTS OR SIMILAR PRODUCTS I USED IN THE DIY WALL ART CRAFT PROJECTS.
As an Amazon affiliate, I found the items used for these projects on Amazon for your shopping convenience at no extra charge to you! Also, your shopping may help this blog!
Thank you for spending time with me! If you have any ideas or have tried to make these projects, leave a comment below. Lets get to know each other better.
Karen


Comments
Join the conversation
-
Simply beautiful. I would not have thought to add random gold leaf accents. Thanks for sharing!
-
The gold is pretty, but i love the simplicity and such a refreshing look to the white fern on the green background.... love them both!


Frequently asked questions
Have a question about this project?